Beautiful cross stitch does not require every stitch to be mechanically perfect. What makes a finished design look polished is consistency: the crosses face the same direction, the floss lies smoothly, the fabric stays flat, and the thread tension remains comfortable from one section to the next.
If your stitches look uneven, twisted, loose or too tight, do not worry. These are normal beginner problems, and most of them can be corrected with a few simple habits. This guide explains how to make cross stitch look neat without expensive equipment or complicated techniques.
If this is your first project, begin with our step-by-step cross stitch guide for beginners. Then use the techniques below to improve the appearance of every stitch.
How Do You Make Cross Stitch Look Neat?
For a quick improvement, focus on these six rules:
- Make the top arm of every cross face the same direction.
- Keep the thread gently resting on the fabric instead of pulling it tight.
- Use the number of strands listed in your pattern or kit instructions.
- Separate embroidery floss strands before combining them.
- Use manageable thread lengths to reduce knots and twisting.
- Secure thread ends without large knots.
These small details matter more than stitching quickly. Speed usually improves naturally after your hands become familiar with the movement.
1. Use the Correct Fabric, Needle and Number of Strands
Neat stitches begin with materials that work well together. A needle that is too large can stretch the fabric holes, while a needle that is too small may make the floss difficult to pull through.
For ordinary counted cross stitch, use a blunt tapestry needle. Its rounded tip passes through the existing fabric holes instead of splitting the fabric threads.
Common starting combinations include:
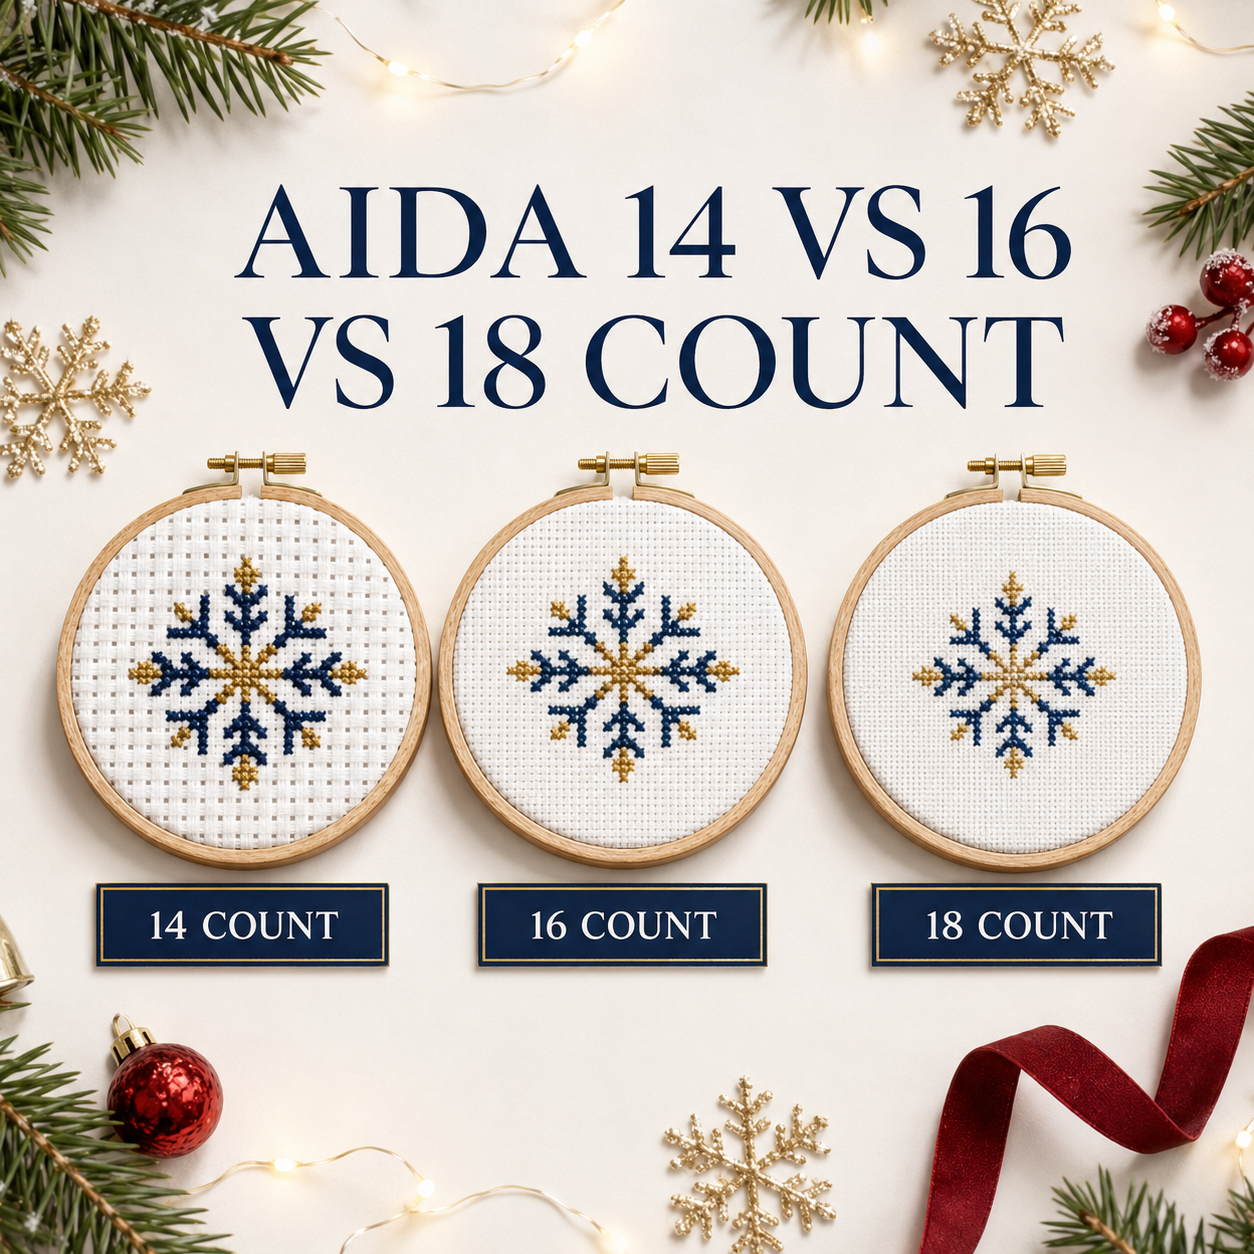
- 11-count Aida: size 22 or 24 tapestry needle, often 3 strands;
- 14-count Aida: size 24 tapestry needle, often 2 strands;
- 16-count Aida: size 24 or 26 tapestry needle, often 2 strands;
- 18-count Aida: size 26 tapestry needle, often 1 or 2 strands.
These are general starting points, not fixed rules. Always follow the instructions supplied with your pattern or cross stitch kit. Thread color, fabric color and personal coverage preference can change the best number of strands.
2. Separate Embroidery Floss Strands Before Stitching
Standard embroidery floss normally contains six strands twisted together. If your pattern requests two strands, do not pull two strands out as one group. This can leave them twisted around each other and create raised, uneven stitches.
Instead:
- Cut a comfortable length of floss.
- Hold the floss gently near one end.
- Pull out one strand at a time.
- Combine the required number of strands again.
The separated strands lie beside each other more smoothly and create fuller, more even coverage.
3. Use a Comfortable Thread Length
Very long floss may look efficient, but it twists, tangles and wears more quickly as it repeatedly passes through the fabric.
A length of approximately 18–20 inches (45–50 cm) is comfortable for most cotton embroidery floss. Use a shorter piece for metallic or delicate specialty threads because they can fray more easily.
Replace the floss when it begins to look thin, fuzzy or dull. Continuing with damaged thread can make one part of the design look different from the surrounding stitches.
4. Keep Every Top Stitch Facing the Same Direction
This is one of the most important rules for a neat cross stitch project.
Each full cross contains two diagonal arms. For example, you can make the lower arm from bottom left to top right, then place the upper arm from bottom right to top left.
The opposite order is also acceptable. What matters is that you use the same order throughout the entire design. When some top arms lean one way and others lean the opposite way, light reflects differently and the stitched area looks uneven.
Before starting a large project, decide which direction will form your top arm. After a few rows, the movement will become automatic.
5. Choose a Stitching Method and Use It Consistently
There are two common ways to complete full cross stitches. Both can produce beautiful results.
The Danish Method
Work a row of lower half-stitches in one direction, then return across the row to complete the upper arms. This method is efficient for rows and larger areas of one color.
The English Method
Complete one full cross before moving to the next square. This method can be useful for isolated stitches, irregular shapes and sections with frequent color changes.
You may use both methods in one project when the design requires it. Just make sure the top arm of every completed cross still faces the same direction.
6. Maintain Gentle, Even Cross Stitch Tension
Correct cross stitch tension means the floss lies flat against the fabric without pulling or hanging loose.
Signs That Your Tension Is Too Tight
- The fabric puckers around the stitched area.
- The holes look stretched or distorted.
- The crosses appear thin in the center.
- It becomes difficult to pass the needle through a used hole.
Signs That Your Tension Is Too Loose
- The stitches form loops above the fabric.
- The floss catches easily on fingers or nearby thread.
- Some crosses look larger than others.
- The stitched surface feels untidy or unstable.
Pull the floss only until the stitch rests against the fabric. Do not yank the thread at the end of each movement. Try to repeat the same gentle pull for every stitch.
7. Hold the Fabric Smoothly in a Hoop or Frame
A hoop, Q-snap or embroidery frame can make even tension easier because it keeps the working area flat.
The fabric should feel smooth and comfortably taut, but it does not need to be stretched as tightly as possible. Excessive tension can distort the weave and may leave deep hoop marks.
If the fabric becomes loose while you work, adjust the hoop before continuing. When you finish a stitching session, consider loosening or removing the hoop, especially if it sits directly over completed stitches.
8. Stop the Floss from Twisting
Every time the needle turns in your fingers, the floss can twist. Twisted strands do not spread evenly, so the stitches may look thin, raised or lumpy.
To relax the thread, let the needle hang freely below the fabric every few stitches. The needle will rotate and release much of the twist by itself.
Optional Technique: Railroading
When stitching with two strands, bring the needle between the two strands before completing the stitch. This separates them and encourages both strands to lie side by side.
Railroading can create a smoother finish, particularly on the top arm of each cross. It is optional, not a requirement. Beginners should first concentrate on direction and tension.
9. Start and End Threads Without Large Knots
Large knots can create bumps, catch other threads and make mounting or sewing the finished embroidery more difficult.
Loop Start
When stitching with an even number of strands, a loop start can secure the floss neatly. For two strands, cut one strand twice the required length, fold it in half and thread the two loose ends through the needle. After making the first half-stitch, pass the needle through the loop on the back.
Buried Thread Start and Finish
You can also secure the beginning or end of the floss beneath three to five nearby stitches on the back. Pull it through gently and trim the remaining tail close to the fabric.
A tidy back is useful, but it does not need to look identical to the front. The goal is to avoid large knots, loose tails and long thread carries that may show through the fabric.
10. Avoid Carrying Dark Floss Across Empty Fabric
Carrying thread between distant sections can save time, but dark floss may be visible through light fabric. Long carries can also catch on fingers and create uneven tension.
Before carrying the floss, look at the space between the two areas. If the thread would cross a large unstitched section or remain visible from the front, end it neatly and start again closer to the next group of stitches.
Short carries behind already stitched areas are usually less noticeable. Check the front of the work before continuing.
11. Check Each Small Section Before Moving On
After completing a row or small color area, pause and look at it from a normal viewing distance.
Check that:
- all top arms face the same way;
- no stitch is missing;
- the tension looks similar across the section;
- there are no knots or loops on the back;
- the stitched symbols match the chart.
A slightly twisted strand can sometimes be adjusted with the blunt tip of the needle. If a stitch is seriously misplaced, too tight or too loose, removing it immediately is usually easier than correcting a larger area later.
12. Add Backstitch After the Main Cross Stitches
Backstitch creates outlines, lettering and small details. In most patterns it should be added after the surrounding full cross stitches are complete. This keeps the outline visible and prevents later crosses from covering it.
Use the number of strands listed in the pattern and avoid pulling the backstitch too tightly. Long lines may be divided into shorter sections when the chart shows intermediate fabric holes.
For a complete explanation, read our beginner guide to backstitch in cross stitch.
How to Fix Common Cross Stitch Problems
My Fabric Is Puckering
Your thread tension may be too tight, or the fabric may be stretched unevenly in the hoop. Stop pulling the floss firmly at the end of every stitch. Reposition the fabric so the weave lies straight.
My Crosses Look Thin or Uneven
Check whether the strands are twisted, damaged or too few for your fabric count. Let the needle untwist, separate the floss strands before use and confirm the strand number in the pattern instructions.
Some Stitches Reflect Light Differently
The upper arms may be facing different directions. Choose one top-stitch direction and use it consistently across the project.
The Back of My Work Has Knots
Use shorter floss, let the needle unwind and check the back every few stitches. If you find a knot, stop and loosen it gently with the needle instead of stitching over it.
Fabric Shows Between the Stitches
A small amount of visible fabric is normal. If you want fuller coverage, check whether the pattern allows an additional strand. Test the new strand count on spare fabric before changing the whole project.
A Simple Practice Exercise for Even Cross Stitches
Before beginning an important design, stitch a small 10 × 10 square on spare fabric using one floss color.
- Complete all lower arms in one direction.
- Return to complete all upper arms.
- Relax the needle whenever the thread twists.
- Keep the pull gentle and consistent.
- Compare the first row with the final row.
This short exercise helps your hands learn the movement without the pressure of following a complicated chart.
Frequently Asked Questions
Should Every Cross Stitch Face the Same Direction?
Yes. The top arm of each full cross should normally face the same direction throughout the design. This creates a consistent surface and allows light to reflect evenly.
How Tight Should Cross Stitch Be?
The floss should rest smoothly against the fabric without pulling the holes inward. If the fabric puckers, loosen your thread tension. If stitches form loops, pull slightly more firmly.
How Many Strands Should I Use on 14-Count Aida?
Two strands are a common choice for full cross stitch on 14-count Aida, but the pattern instructions should always take priority. Some designs use more or fewer strands for a specific visual effect.
Does the Back of Cross Stitch Need to Be Perfect?
No. A tidy back helps prevent knots, bulk and visible thread carries, but it does not need to be perfectly uniform. Concentrate first on an accurate, smooth front.
Do Beginners Need a Laying Tool?
No. A laying tool can help arrange multiple strands, but it is optional. Separating the strands, using shorter floss and letting the needle unwind will already improve most beginner stitches.
Can Uneven Cross Stitches Be Fixed?
A slightly twisted stitch can sometimes be adjusted with the needle tip. A stitch that is misplaced or has very different tension should normally be removed and stitched again.
Prepare Your Next Cross Stitch Project
Learning how to make cross stitch look neat is a gradual process. Do not judge your first row against the work of someone who has stitched for years. Concentrate on one habit at a time: consistent direction, gentle tension, smooth strands and secure thread ends.
Before starting your next design, use our free Cross Stitch Fabric Calculator to check the finished size and our Cross Stitch Thread Calculator to estimate the floss required.
When you are ready to practise, explore our digital cross stitch patterns for an instant-download project or browse our cross stitch kits when you prefer the main materials prepared together.
Neat stitches come from consistency, not pressure. Work slowly, enjoy the process and allow every project to teach you something new.