How to Center a Name on a Cross-Stitch Christmas Stocking: 3 Easy Methods
Adding a name is one of the most special parts of making a cross-stitch Christmas stocking. It turns a beautiful holiday decoration into a personal keepsake that can be used for many years.
However, centering a name can feel confusing, especially when every letter has a different width. The good news is that you do not need advanced math. You only need to know the available width of the stocking cuff, the width of each letter, and the spacing between the letters.
In this guide, you will learn three simple ways to center a name correctly. You can calculate the starting stitch manually, match the center of the name to the center of the cuff, or use graph paper. At the end, you will also find our free Name Centering Calculator, which does the counting for you.
If you are making your first stocking, you may also find our complete beginner tutorial helpful.
Read How to Cross Stitch a Christmas Stocking →
What Does It Mean to Center a Name?
A centered name has nearly the same amount of empty space on its left and right sides.
You are not centering the number of letters. You are centering the total stitched width of the complete name.
For example, the letters I and M do not usually have the same width. The letter I may be only a few stitches wide, while M may be much wider. This means that two names with the same number of letters can have different total widths.
You must also include the empty stitches between the letters.
A name is centered correctly when you count:
• The width of every letter
• The spaces between the letters
• The usable width of the stocking cuff
⭐ CrossStitchStyleArte Tip
Do not use the middle letter as the center unless every letter in the alphabet has exactly the same width. The safest method is to calculate the total width of the complete name.
What You Need Before You Begin
Prepare the following before you start counting:
• Your finished stocking design or pattern
• The alphabet chart you plan to use
• The name you want to stitch
• A pencil and paper
• A ruler or a piece of contrasting basting thread
• The width of the usable name area, measured in stitches
Find the Usable Cuff Width
The cuff width is not always the full physical width of the fabric.
You need to count only the stitch squares available for the name. Do not include fabric that will be hidden inside a seam, folded over the top, or covered by another part of the finished stocking.
Count the available squares from the left edge of the name area to the right edge.
For example, your fabric may be 140 stitches wide, but the safe area for the name may be only 120 stitches wide. In this case, enter or use 120 stitches in your calculation.
Check the Width of Every Letter
Find each letter in your alphabet chart and count how many stitch columns it uses.
Measure from the first used column to the last used column. Do not add an empty column around the letter unless your alphabet instructions tell you to include it.
Write down the width of each letter in the correct order.
For example:
E = 5 stitches
M = 7 stitches
M = 7 stitches
A = 5 stitches
Choose the Space Between Letters
Most cross-stitch names look clear with one to three empty stitches between the letters.
One stitch creates a compact name.
Two stitches usually create a balanced and easy-to-read name.
Three stitches create more space but make the complete name wider.
Use the same spacing between every letter unless the alphabet pattern includes special instructions.
A four-letter name has three spaces. A six-letter name has five spaces.
The number of spaces is always one less than the number of letters.
Method 1: Calculate the Starting Stitch
This is the most accurate manual method. It works with alphabets that have letters of different widths.
Step 1: Count the Total Width of the Letters
Add the widths of all the letters in the name.
For the name EMMA:
5 + 7 + 7 + 5 = 24 stitches
The letters use a total of 24 stitches.
Step 2: Add the Spaces Between the Letters
EMMA has four letters, so it has three spaces.
If you want two empty stitches between each letter:
3 spaces × 2 stitches = 6 stitches
Add the letter width and the spacing:
24 + 6 = 30 stitches
The complete name is 30 stitches wide.
Step 3: Subtract the Name Width from the Cuff Width
Imagine that the usable cuff area is 120 stitches wide.
120 − 30 = 90 stitches
This means that 90 empty stitches remain around the name.
Step 4: Divide the Empty Space in Half
Divide the remaining space by two:
90 ÷ 2 = 45 stitches
Leave 45 empty stitches on the left side and 45 empty stitches on the right side.
Step 5: Find the Starting Stitch
If there are 45 empty stitches before the name, begin stitching on the next square.
The name begins at stitch 46.
The name is 30 stitches wide, so it ends at stitch 75.
Your final placement is:
Left empty margin: 45 stitches
Name: stitches 46–75
Right empty margin: 45 stitches
The name is perfectly centered.
What If the Number Does Not Divide Evenly?
Sometimes the remaining space is an odd number.
For example:
121 − 30 = 91 stitches
91 cannot be divided into two equal whole numbers. You can leave 45 stitches on one side and 46 stitches on the other side.
A difference of one stitch is normal and will not be visible on the finished stocking.
⭐ CrossStitchStyleArte Tip
Count the starting position twice before making the first stitch. It takes only a few seconds and can prevent you from having to remove an entire name later.
Method 2: Match the Center of the Name to the Center of the Cuff
This method is useful when you already have the complete name drawn on graph paper or included in a personalized chart.
Instead of calculating the left margin first, you find two center points:
- The center of the usable cuff area
- The center of the complete name chart
Then you align the two centers.
Step 1: Find the Center of the Cuff
Count the usable cuff width.
If the cuff is 120 stitches wide, its center is between stitches 60 and 61.
If the cuff is 121 stitches wide, stitch 61 is the center.
Mark the center with a small piece of contrasting basting thread. Basting thread is easy to see and can be removed after you finish the name.
Step 2: Find the Center of the Complete Name
Count the total name width, including all letter spaces.
If the name is 30 stitches wide, its center is between columns 15 and 16.
If the name is 31 stitches wide, column 16 is the center.
Mark this point on your paper chart.
Step 3: Align the Two Centers
Place the center of the name chart directly over the center of the cuff.
Once the two center points match, count from the center to the first stitch of the first letter. Mark that starting position on the fabric.
You can then stitch the name from left to right.
Should You Start Stitching from the Middle?
You can start with a middle letter, but you do not have to.
For most beginners, it is easier to use the aligned centers to find the first stitch and then stitch the name from left to right.
Starting in the middle is helpful only when you are comfortable moving in both directions and carefully following the chart.
Method 3: Use Graph Paper
Graph paper is a simple visual method. It is especially helpful for children, beginners, and anyone who prefers to see the complete name before stitching it.
Each square on the graph paper represents one cross stitch.
Step 1: Copy the Letters
Use your alphabet chart to draw each letter on the graph paper.
Copy the letters exactly as they appear in the pattern. Leave your chosen number of empty squares between them.
Step 2: Draw a Box Around the Complete Name
Draw a rectangle around the name, beginning with the first used stitch column and ending with the last used stitch column.
Do not include unnecessary blank squares outside the name.
Step 3: Mark the Center of the Name
Count the total number of squares across the box.
Mark the center column or the center line between two columns.
Step 4: Mark the Center of the Cuff
Count the usable width of the cuff and mark its center with basting thread.
Step 5: Match the Center Marks
Align the center of the paper name with the center of the cuff.
Count from the center to the first stitch of the name. This will show you exactly where to begin stitching.
⭐ CrossStitchStyleArte Tip
Keep the graph-paper chart beside you while stitching. Cross out each completed letter with a pencil so you always know where you are.
How to Center the Name Vertically
Most names are centered horizontally across the cuff, but their vertical position is also important.
Before choosing the vertical position, check how the stocking will be sewn. Leave enough room for the upper fold, seam allowance, or decorative border.
Count the usable height of the name area in stitches. Then count the height of the letters.
Use the same basic calculation:
Usable cuff height − letter height = remaining vertical space
Divide the remaining space between the top and bottom.
For example:
Usable cuff height: 25 stitches
Letter height: 9 stitches
25 − 9 = 16 stitches
16 ÷ 2 = 8 stitches
Leave approximately eight empty stitches above and eight below the letters.
If your cuff has a decorative border, position the name so it looks balanced between the border and the top edge.
What to Do If the Name Is Too Long
Do not force a long name into a space that is too small. This can make the letters difficult to read.
Try these solutions in order.
Reduce the Letter Spacing
If you planned to leave three stitches between letters, try two.
If you planned to leave two stitches, try one.
Check the complete name again before stitching.
Choose a Narrower Alphabet
Some alphabets use wide decorative letters. A simpler alphabet with narrow letters may fit much better.
Make sure all letters belong to the same alphabet style. Mixing unrelated letter styles can make the name look uneven.
Use Smaller Letters
If the stocking pattern includes enough vertical space, choose an alphabet with shorter and narrower letters.
Always make a complete name preview before stitching.
Use an Initial or Shortened Name
If the full name cannot fit clearly, consider using a familiar shortened name or initials.
Only do this if the shorter version is appropriate for the person receiving the stocking.
Do Not Distort Individual Letters
Do not make one letter much narrower than the others just to save space. The name may become difficult to read.
It is better to use a consistently smaller alphabet.
Common Name-Centering Mistakes
Counting Letters Instead of Stitches
The number of letters does not tell you the total width of the name. Count the width of every letter and every space.
Forgetting the Spaces Between Letters
All empty squares between letters are part of the total name width.
Measuring in Inches Instead of Stitches
Cross-stitch placement must be calculated in stitch squares. Physical measurements can be helpful, but they are not accurate enough for finding the starting stitch.
Counting the Seam Allowance
Do not include fabric that will be folded, trimmed, or hidden inside the finished stocking.
Using Different Spacing Between Letters
Uneven spacing can make a correctly centered name look unbalanced. Use the same spacing throughout the name unless the alphabet requires a special adjustment.
Beginning Before Checking the Complete Name
Draw, calculate, or preview the entire name before making the first stitch.
Marking the Fabric with a Permanent Pen
Use removable basting thread or a fabric-safe marking tool. Test any marking tool on a separate piece of fabric first.
Basting thread is usually the safest choice because it does not require water or chemicals for removal.
⭐ CrossStitchStyleArte Tip
After marking the starting stitch, count from the left edge to the mark and then from the mark to the right edge. This quick check can help you catch a counting mistake before stitching.
Frequently Asked Questions
How Much Space Should I Leave Between Letters?
One to three stitches usually works well. Two stitches is a good starting choice for many block-style alphabets.
Should I Center the Middle Letter?
Not always. Center the complete stitched width of the name, not simply the middle letter. Different letters can have different widths.
Can I Use Lowercase Letters?
Yes, if your alphabet includes lowercase letters. Check the height and width of each lowercase letter because they may not match the uppercase measurements.
The CrossStitchStyleArte calculator currently works with uppercase letters A–Z and numbers 0–9.
What If the Name Contains a Space or Hyphen?
Plan the space or hyphen as part of the complete name width.
Our calculator ignores spaces and symbols, so you may need to add that area manually or calculate each part of the name separately.
Can I Center a Name After the Stocking Is Sewn?
It may be possible, but it is much more difficult. Whenever possible, stitch the name before cutting and sewing the stocking.
What Should I Do If I Started in the Wrong Place?
Stop stitching as soon as you notice the mistake. Recalculate the total name width and starting position.
If only a few stitches are incorrect, remove them carefully with a needle or small embroidery scissors. Do not pull or cut the fabric.
The Fastest Method: Use Our Free Name Centering Calculator
Manual calculations are useful because they help you understand how centering works. However, you do not have to calculate every letter yourself.
Our free Cross-Stitch Stocking Name Centering Calculator automatically calculates the total name width and shows the exact starting and ending stitch positions.
How to Use the Calculator
- Enter the usable cuff width in stitches.
- Enter the name.
- Choose the number of stitches between the letters.
- Check the width of each letter.
- If you use a different alphabet, enter the correct custom letter widths.
- Click Apply Widths after changing any letter measurements.
- Click Calculate & Preview.
The calculator will show:
• The total name width
• The exact starting stitch
• The exact ending stitch
• The center of the cuff
• A visual preview of the letters and spaces
You can also save the preview as a PNG image or print it and keep it beside your project.
The calculator is already prepared for the alphabets included with CrossStitchStyleArte Christmas stocking patterns. If you use another alphabet, simply enter its letter widths before calculating.
Try the Free Name Centering Calculator →
⭐ CrossStitchStyleArte Tip
Even when using the calculator, check the cuff width and letter measurements before stitching. The result can only be accurate when the measurements you enter are correct.
Create Your Personalized Christmas Stocking
A carefully centered name makes a handmade Christmas stocking feel truly personal. Once you know the usable cuff width and the complete stitch width of the name, the process becomes simple.
If you would like everything prepared for you, explore our Christmas stocking cross-stitch kits. They are designed to help beginners create a complete personalized stocking with clear instructions and coordinated materials.
Explore Christmas Stocking Cross-Stitch Kits →
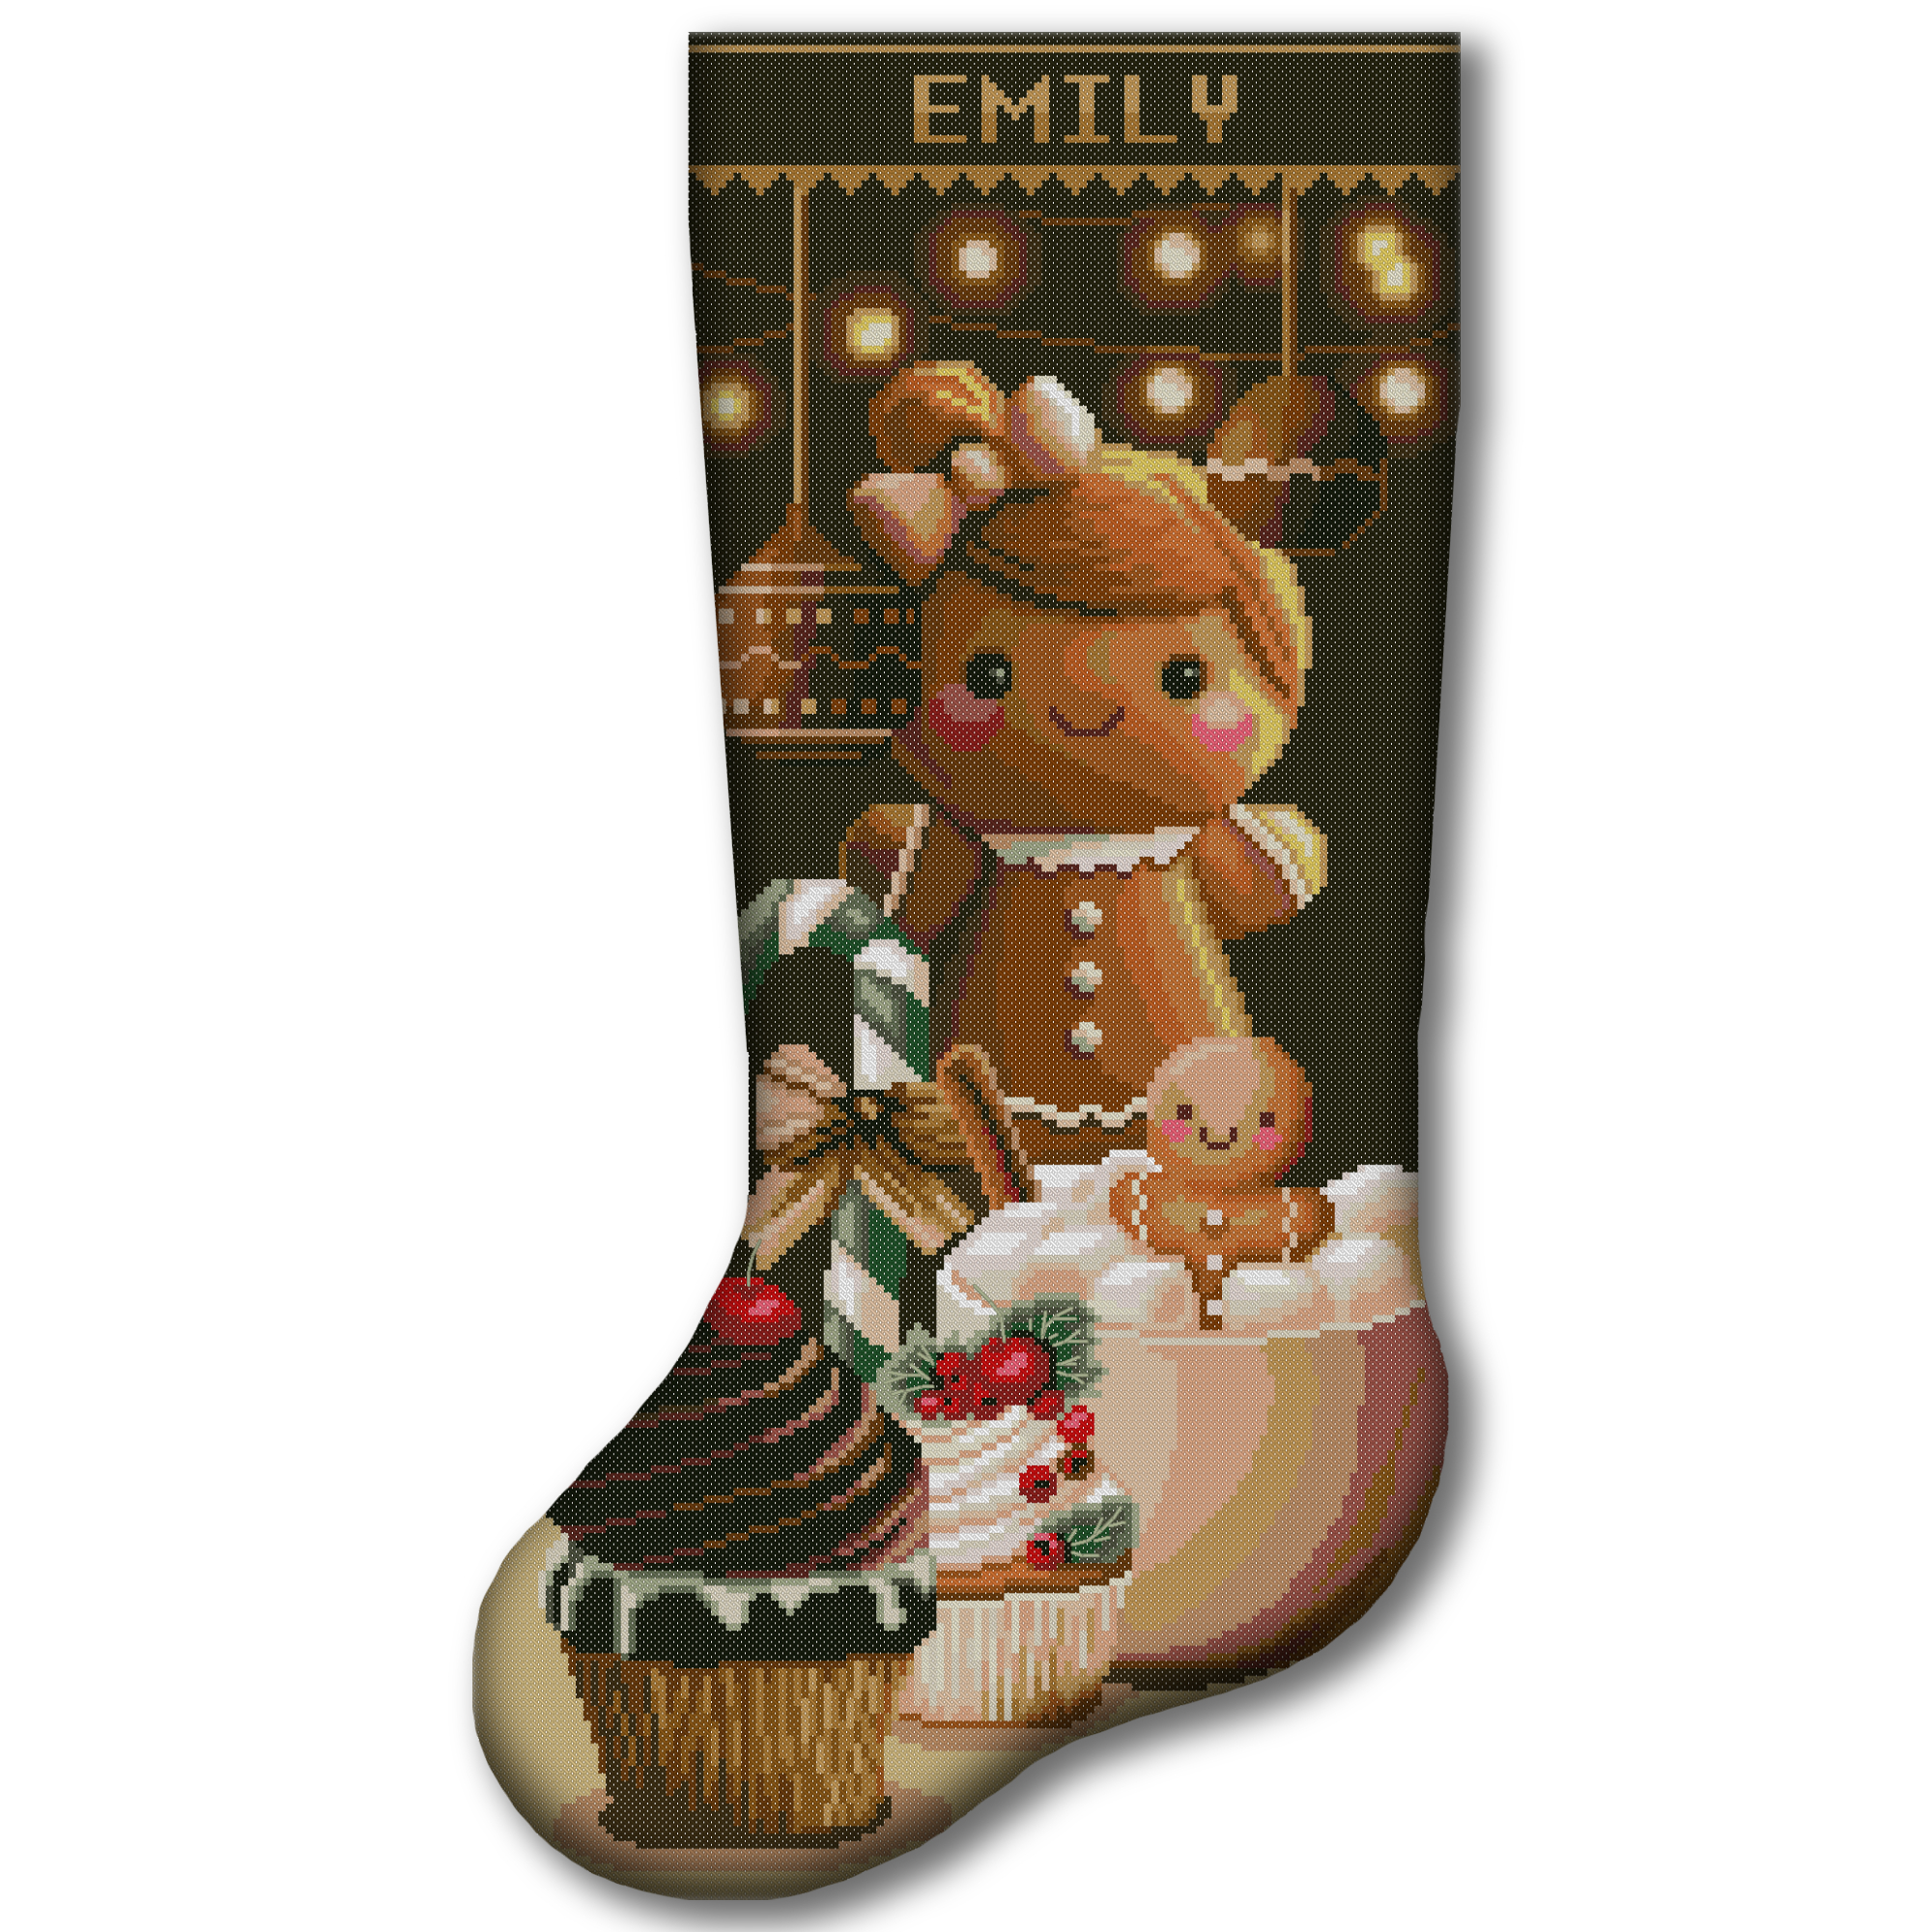
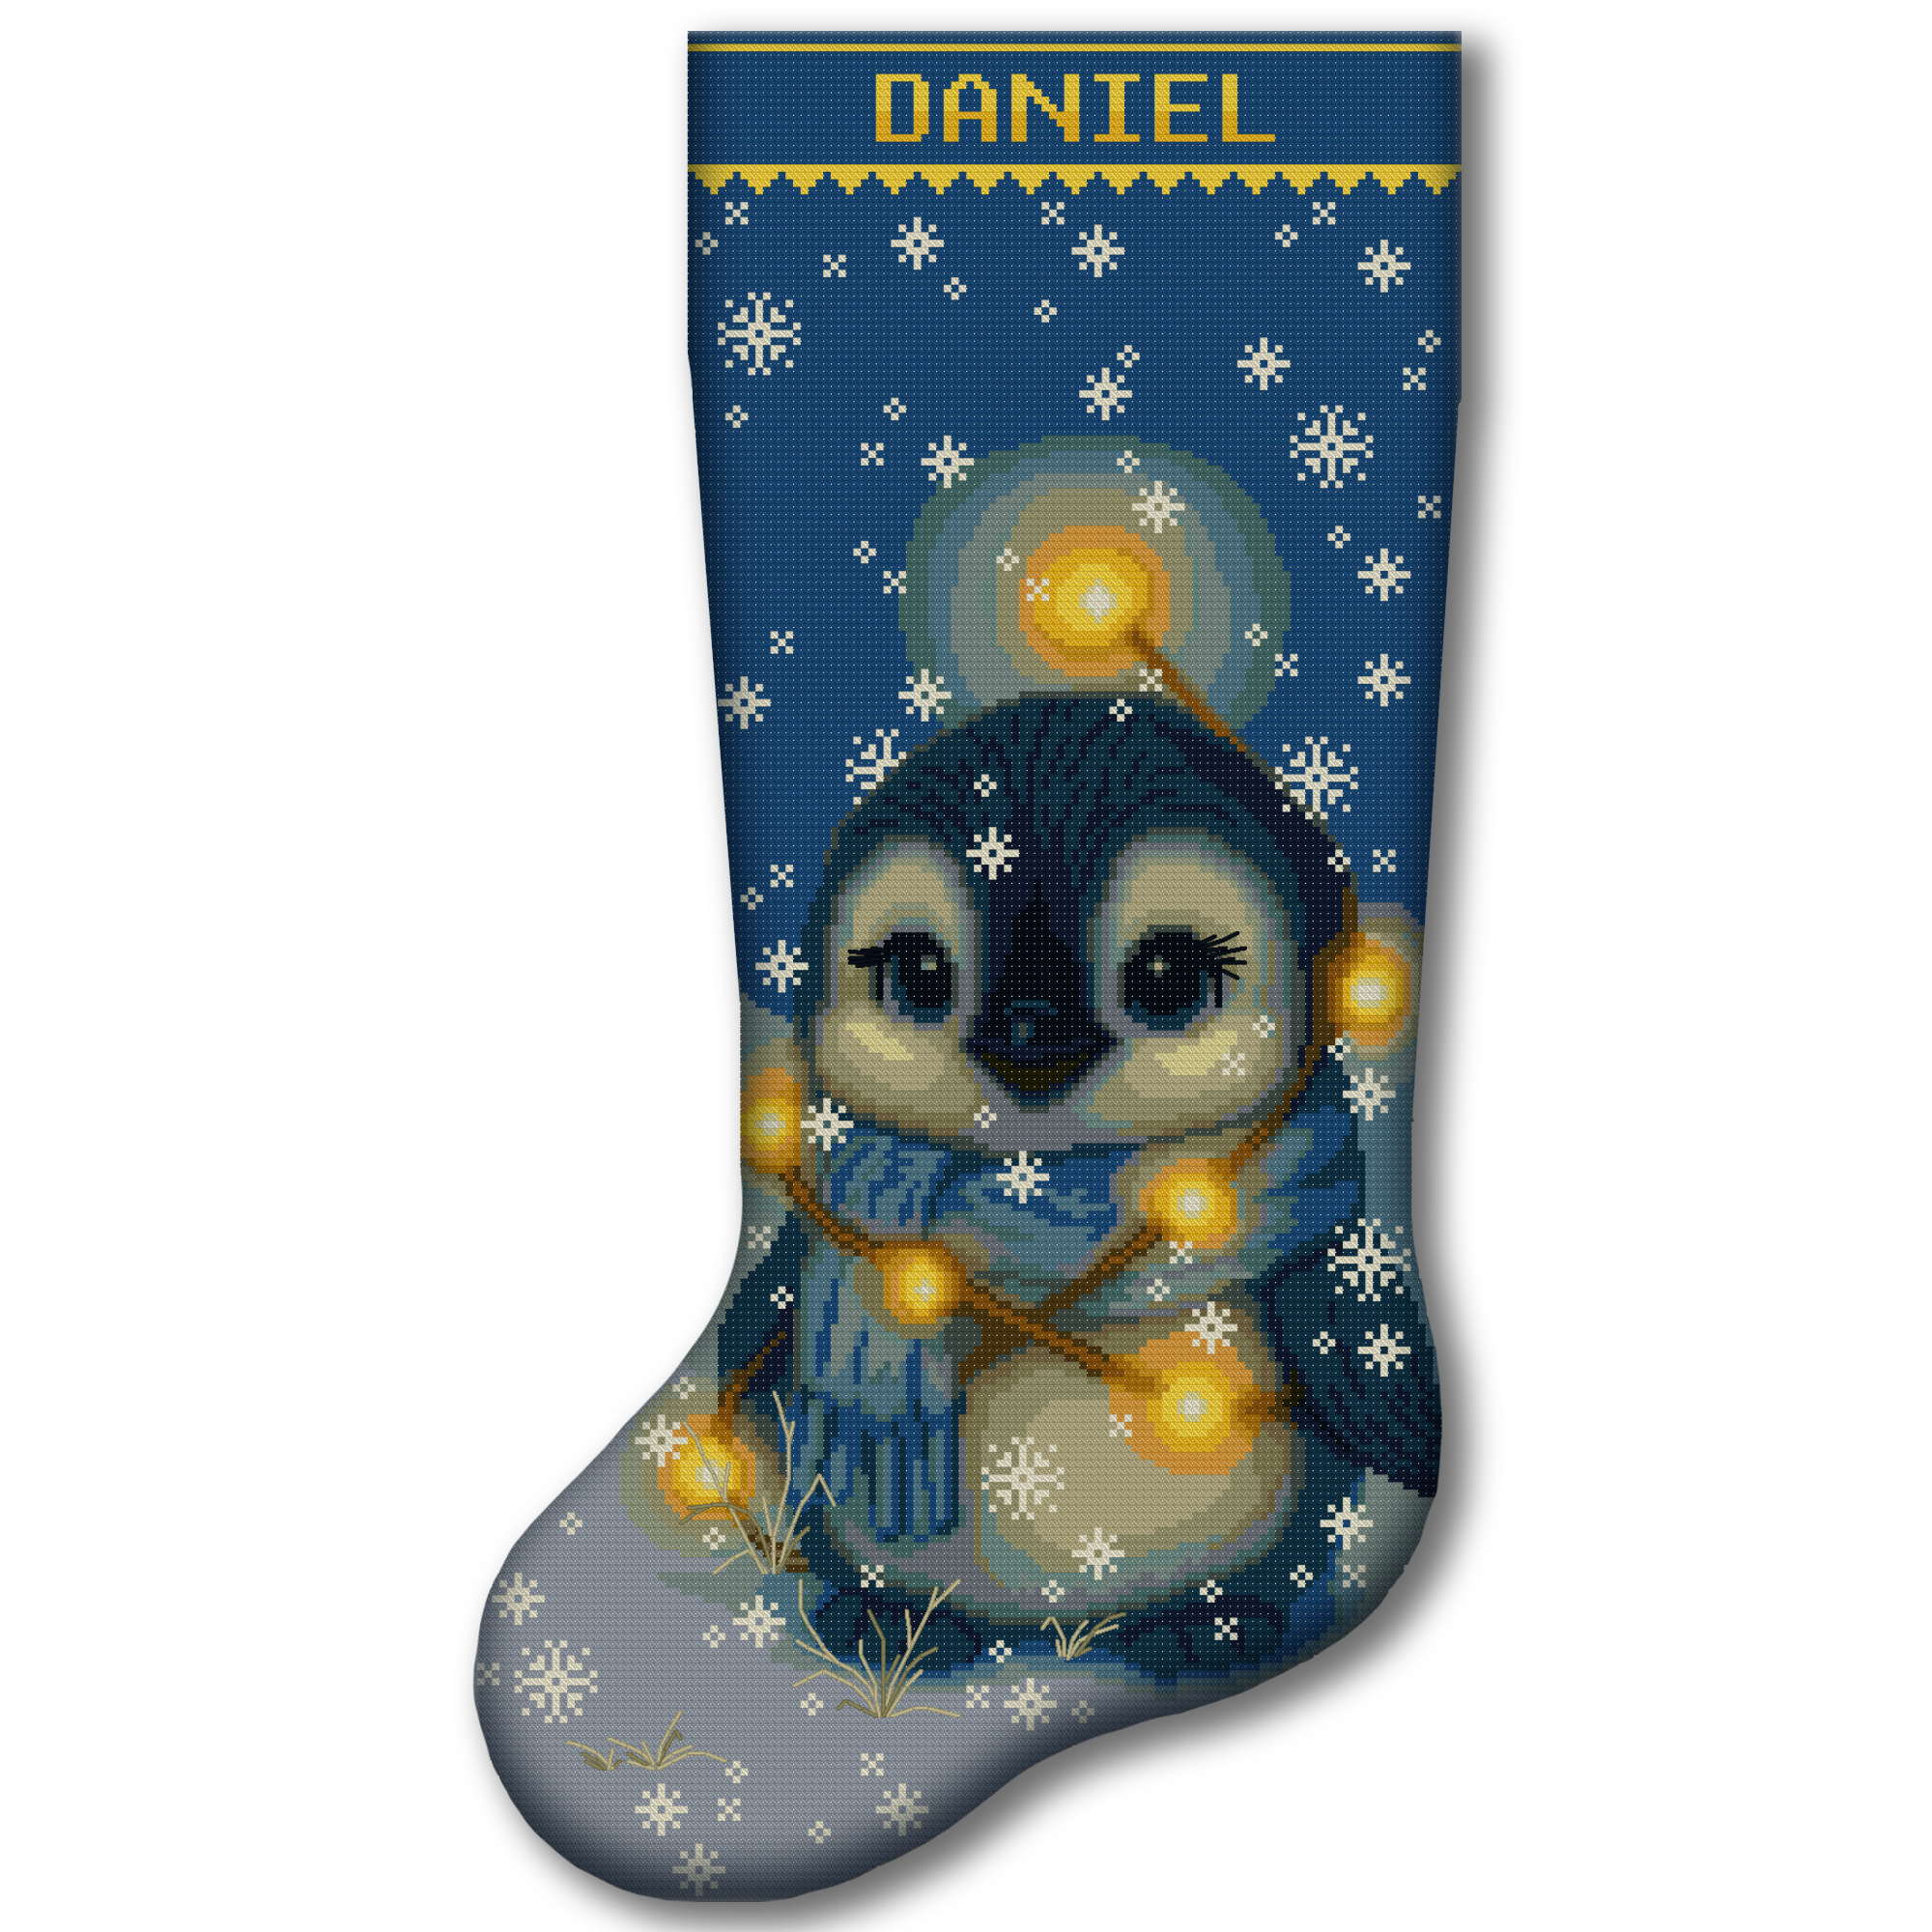
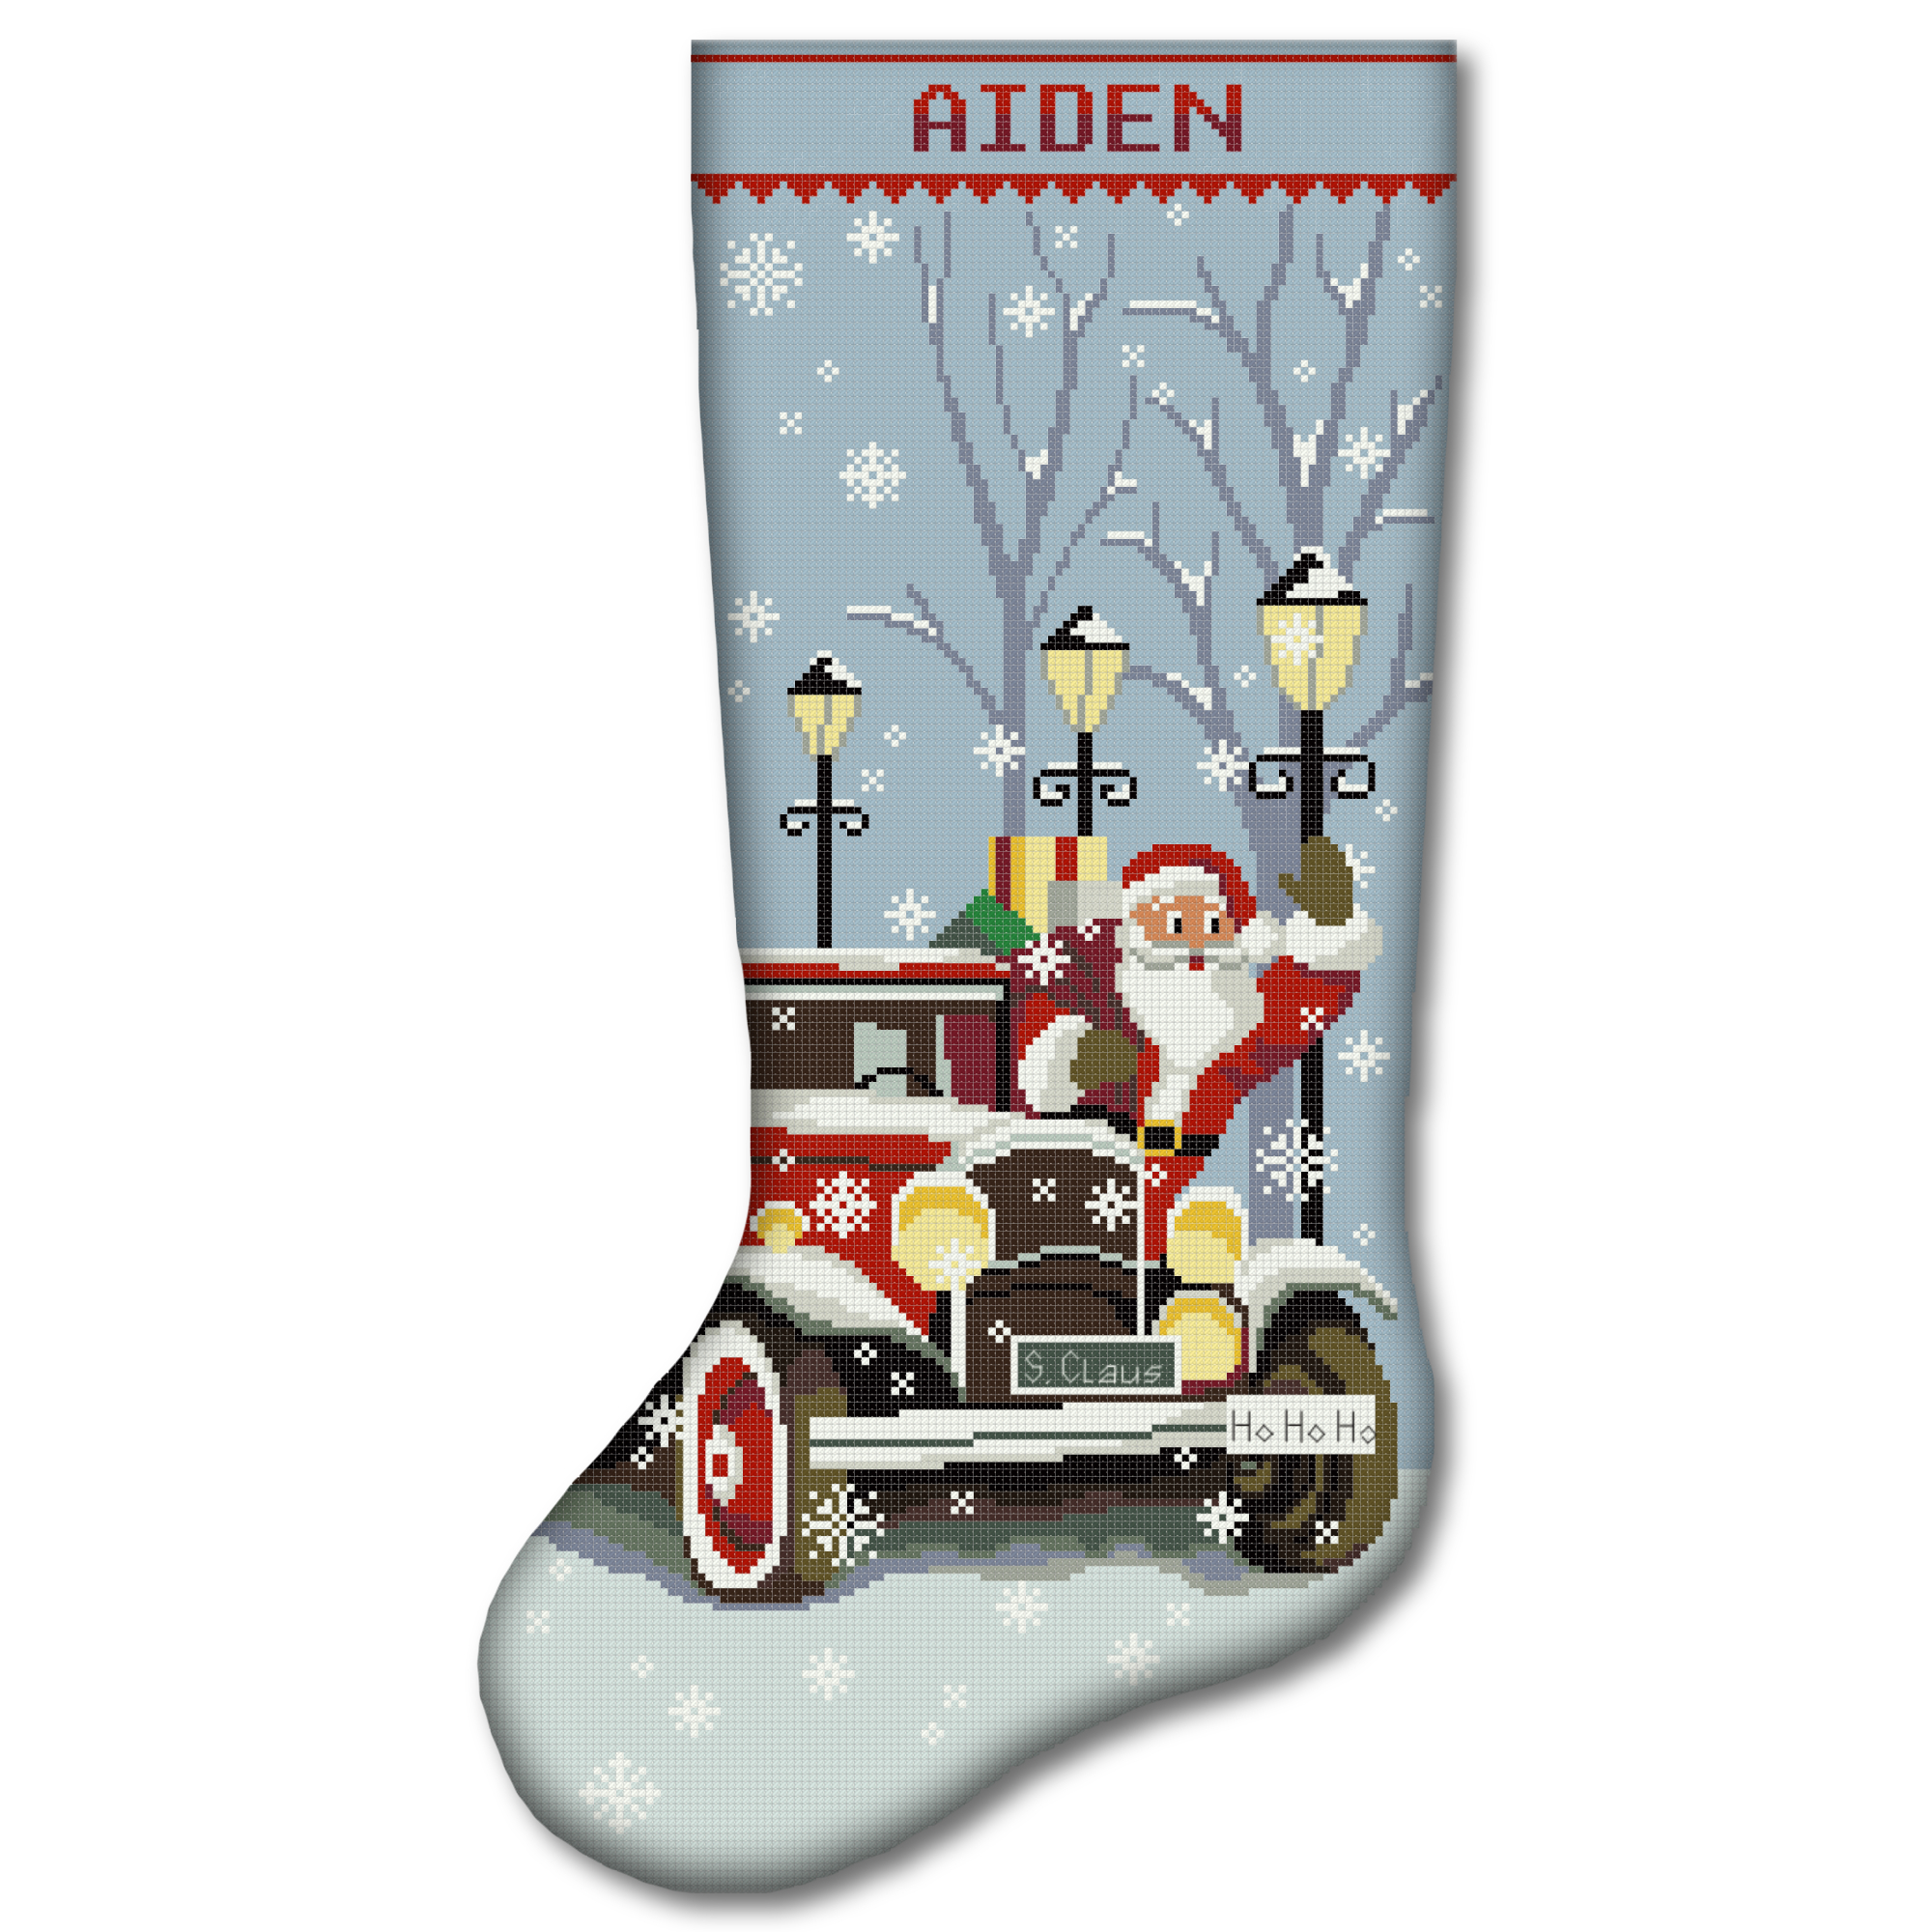
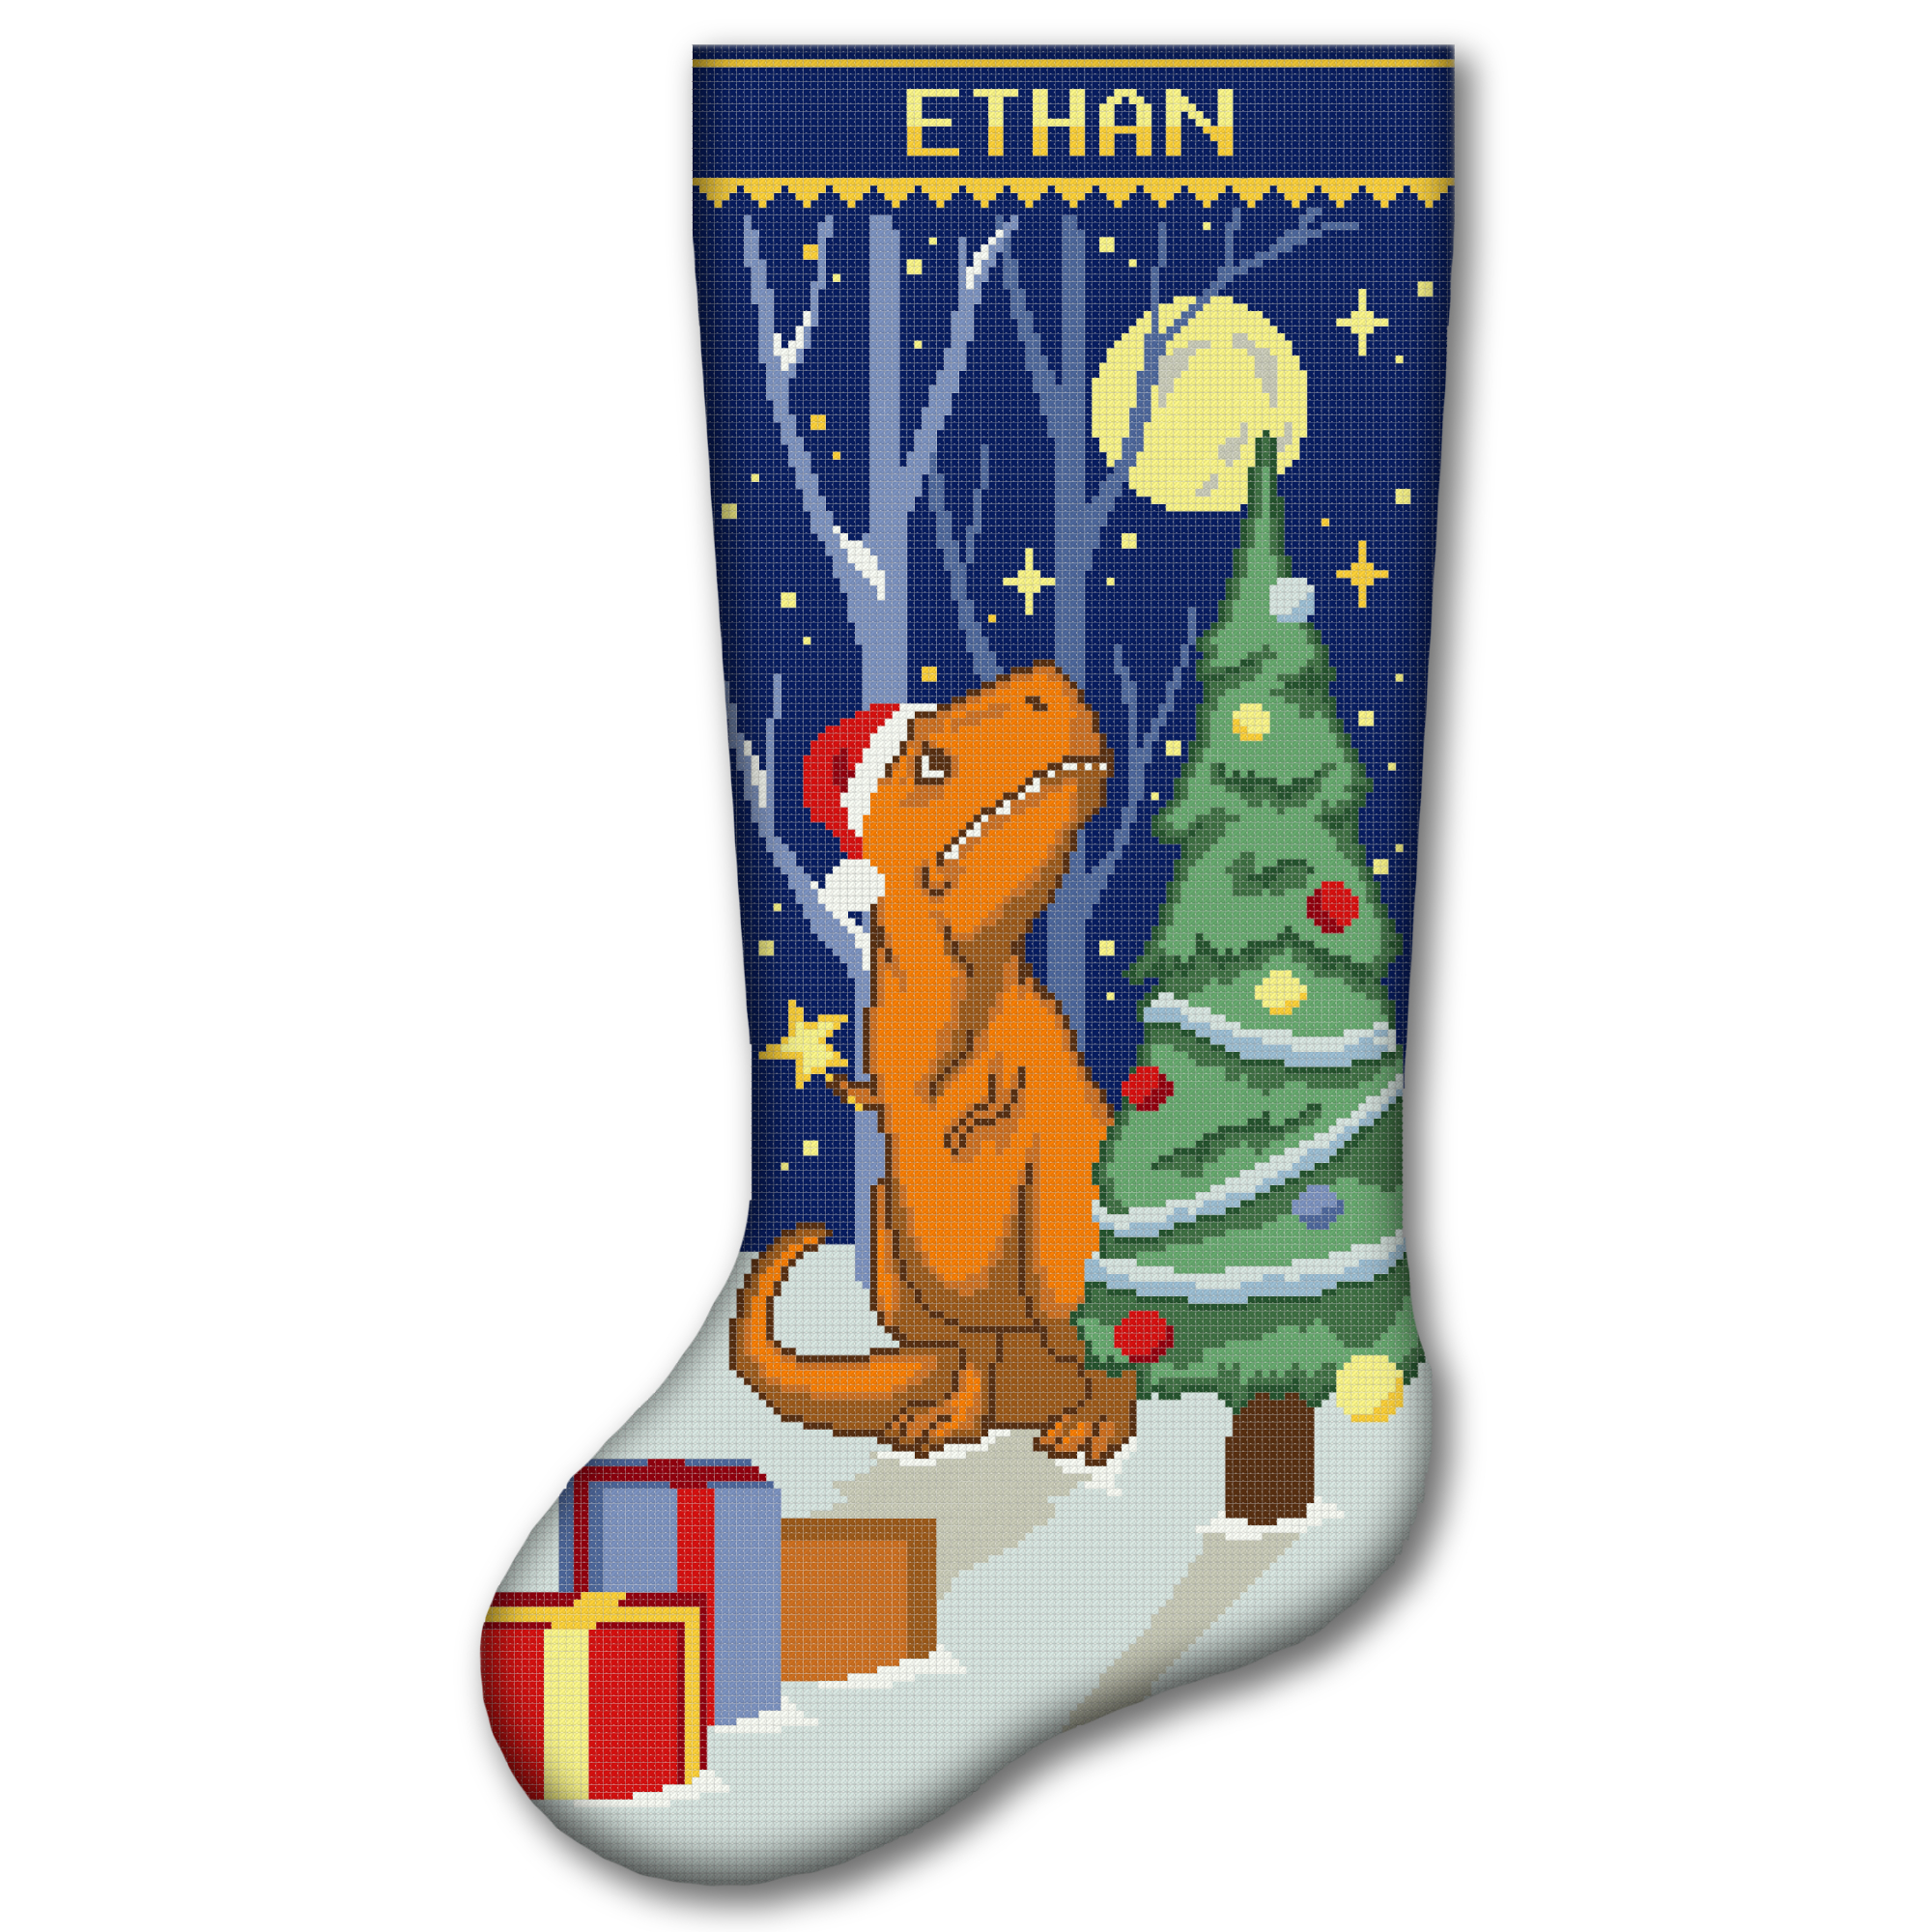
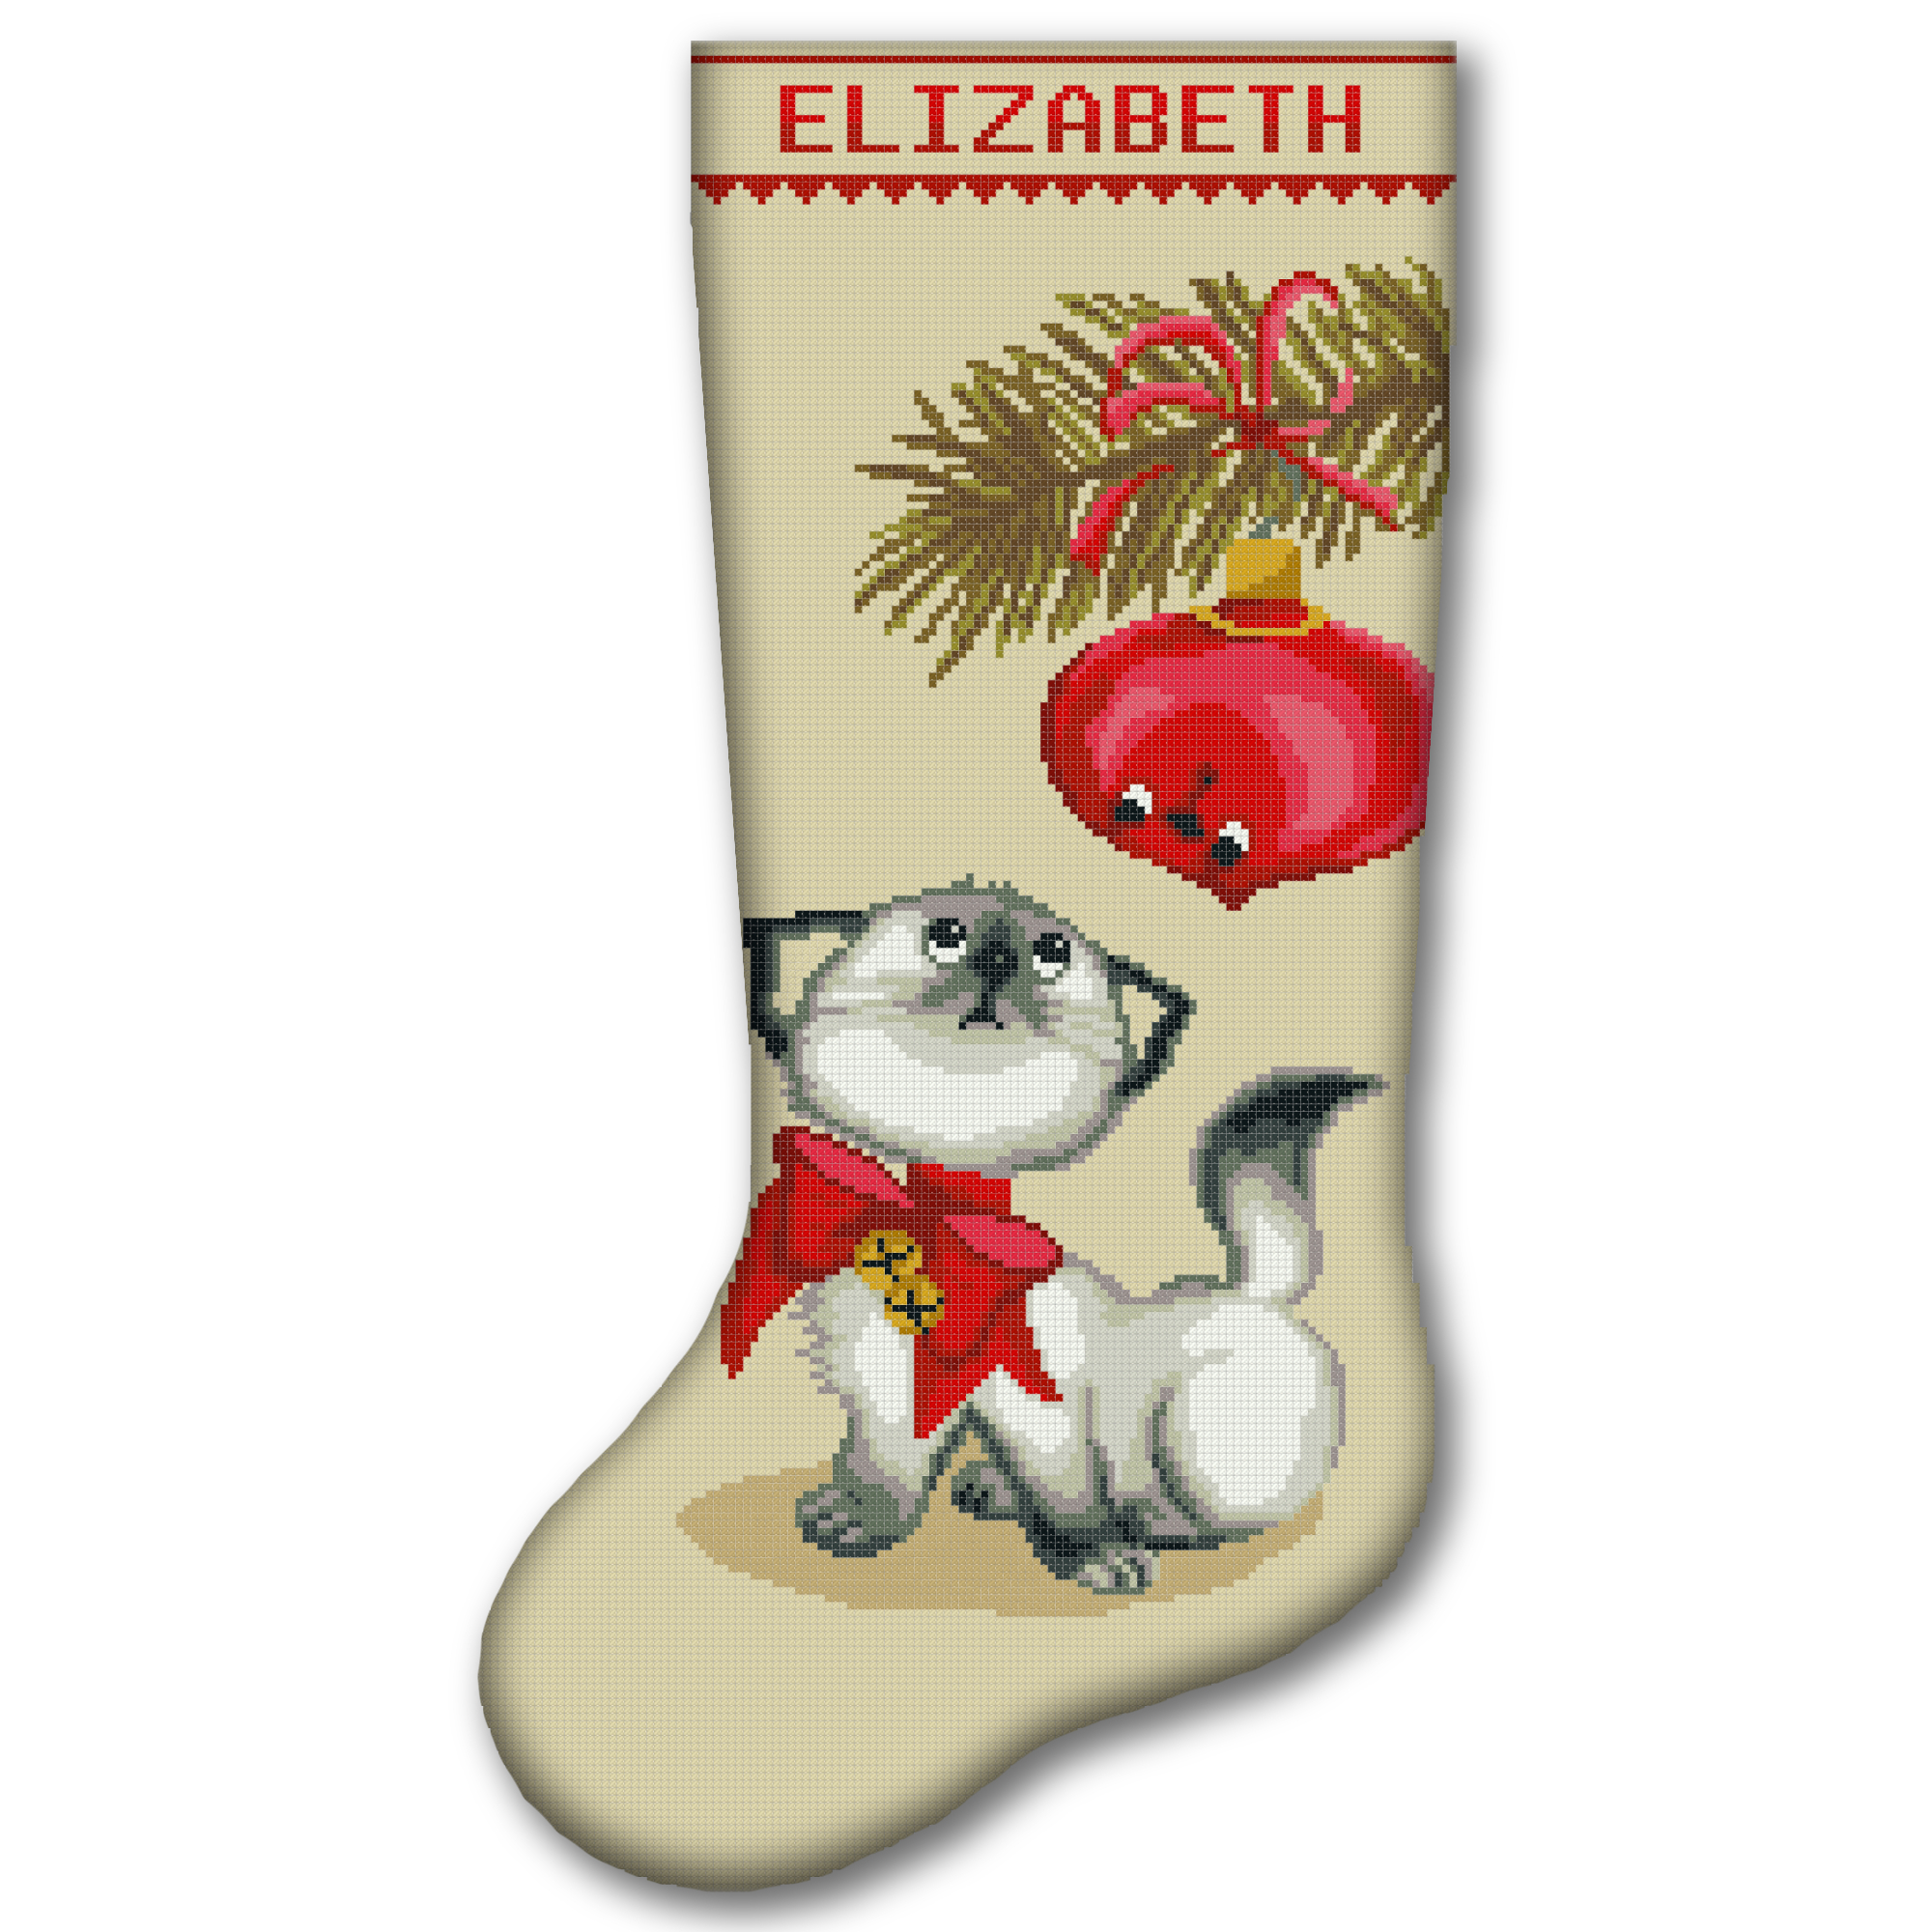
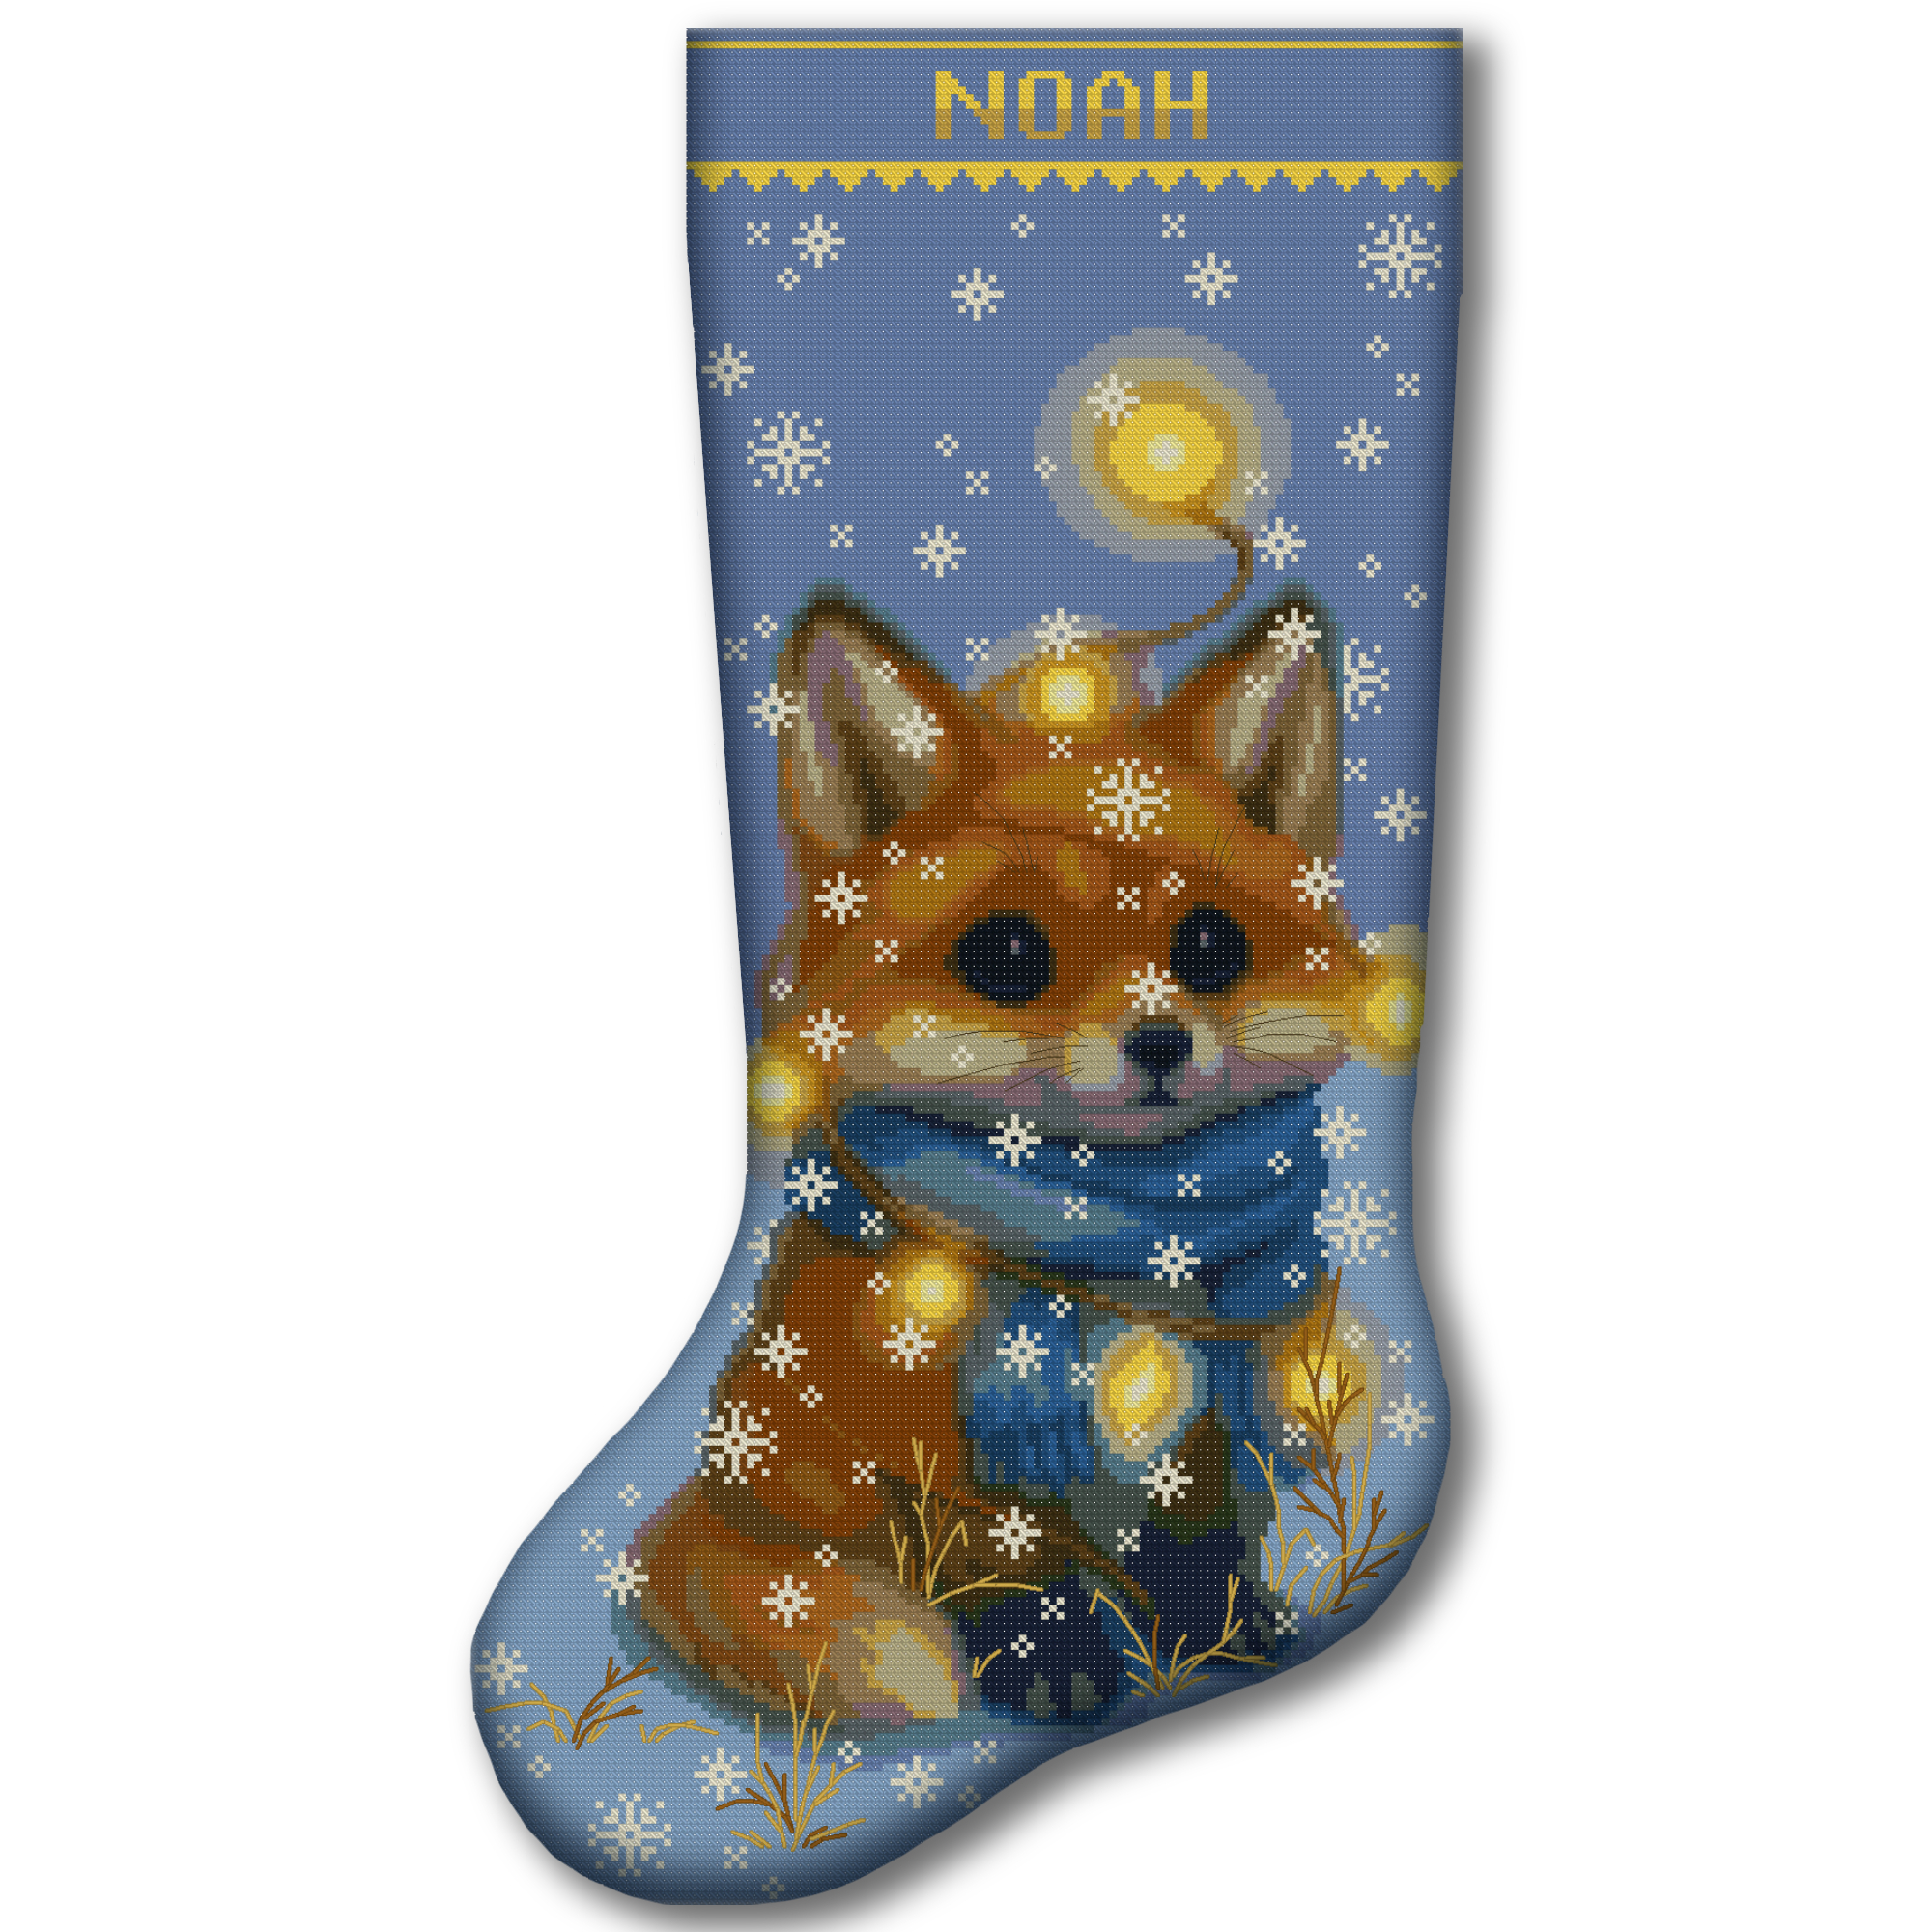
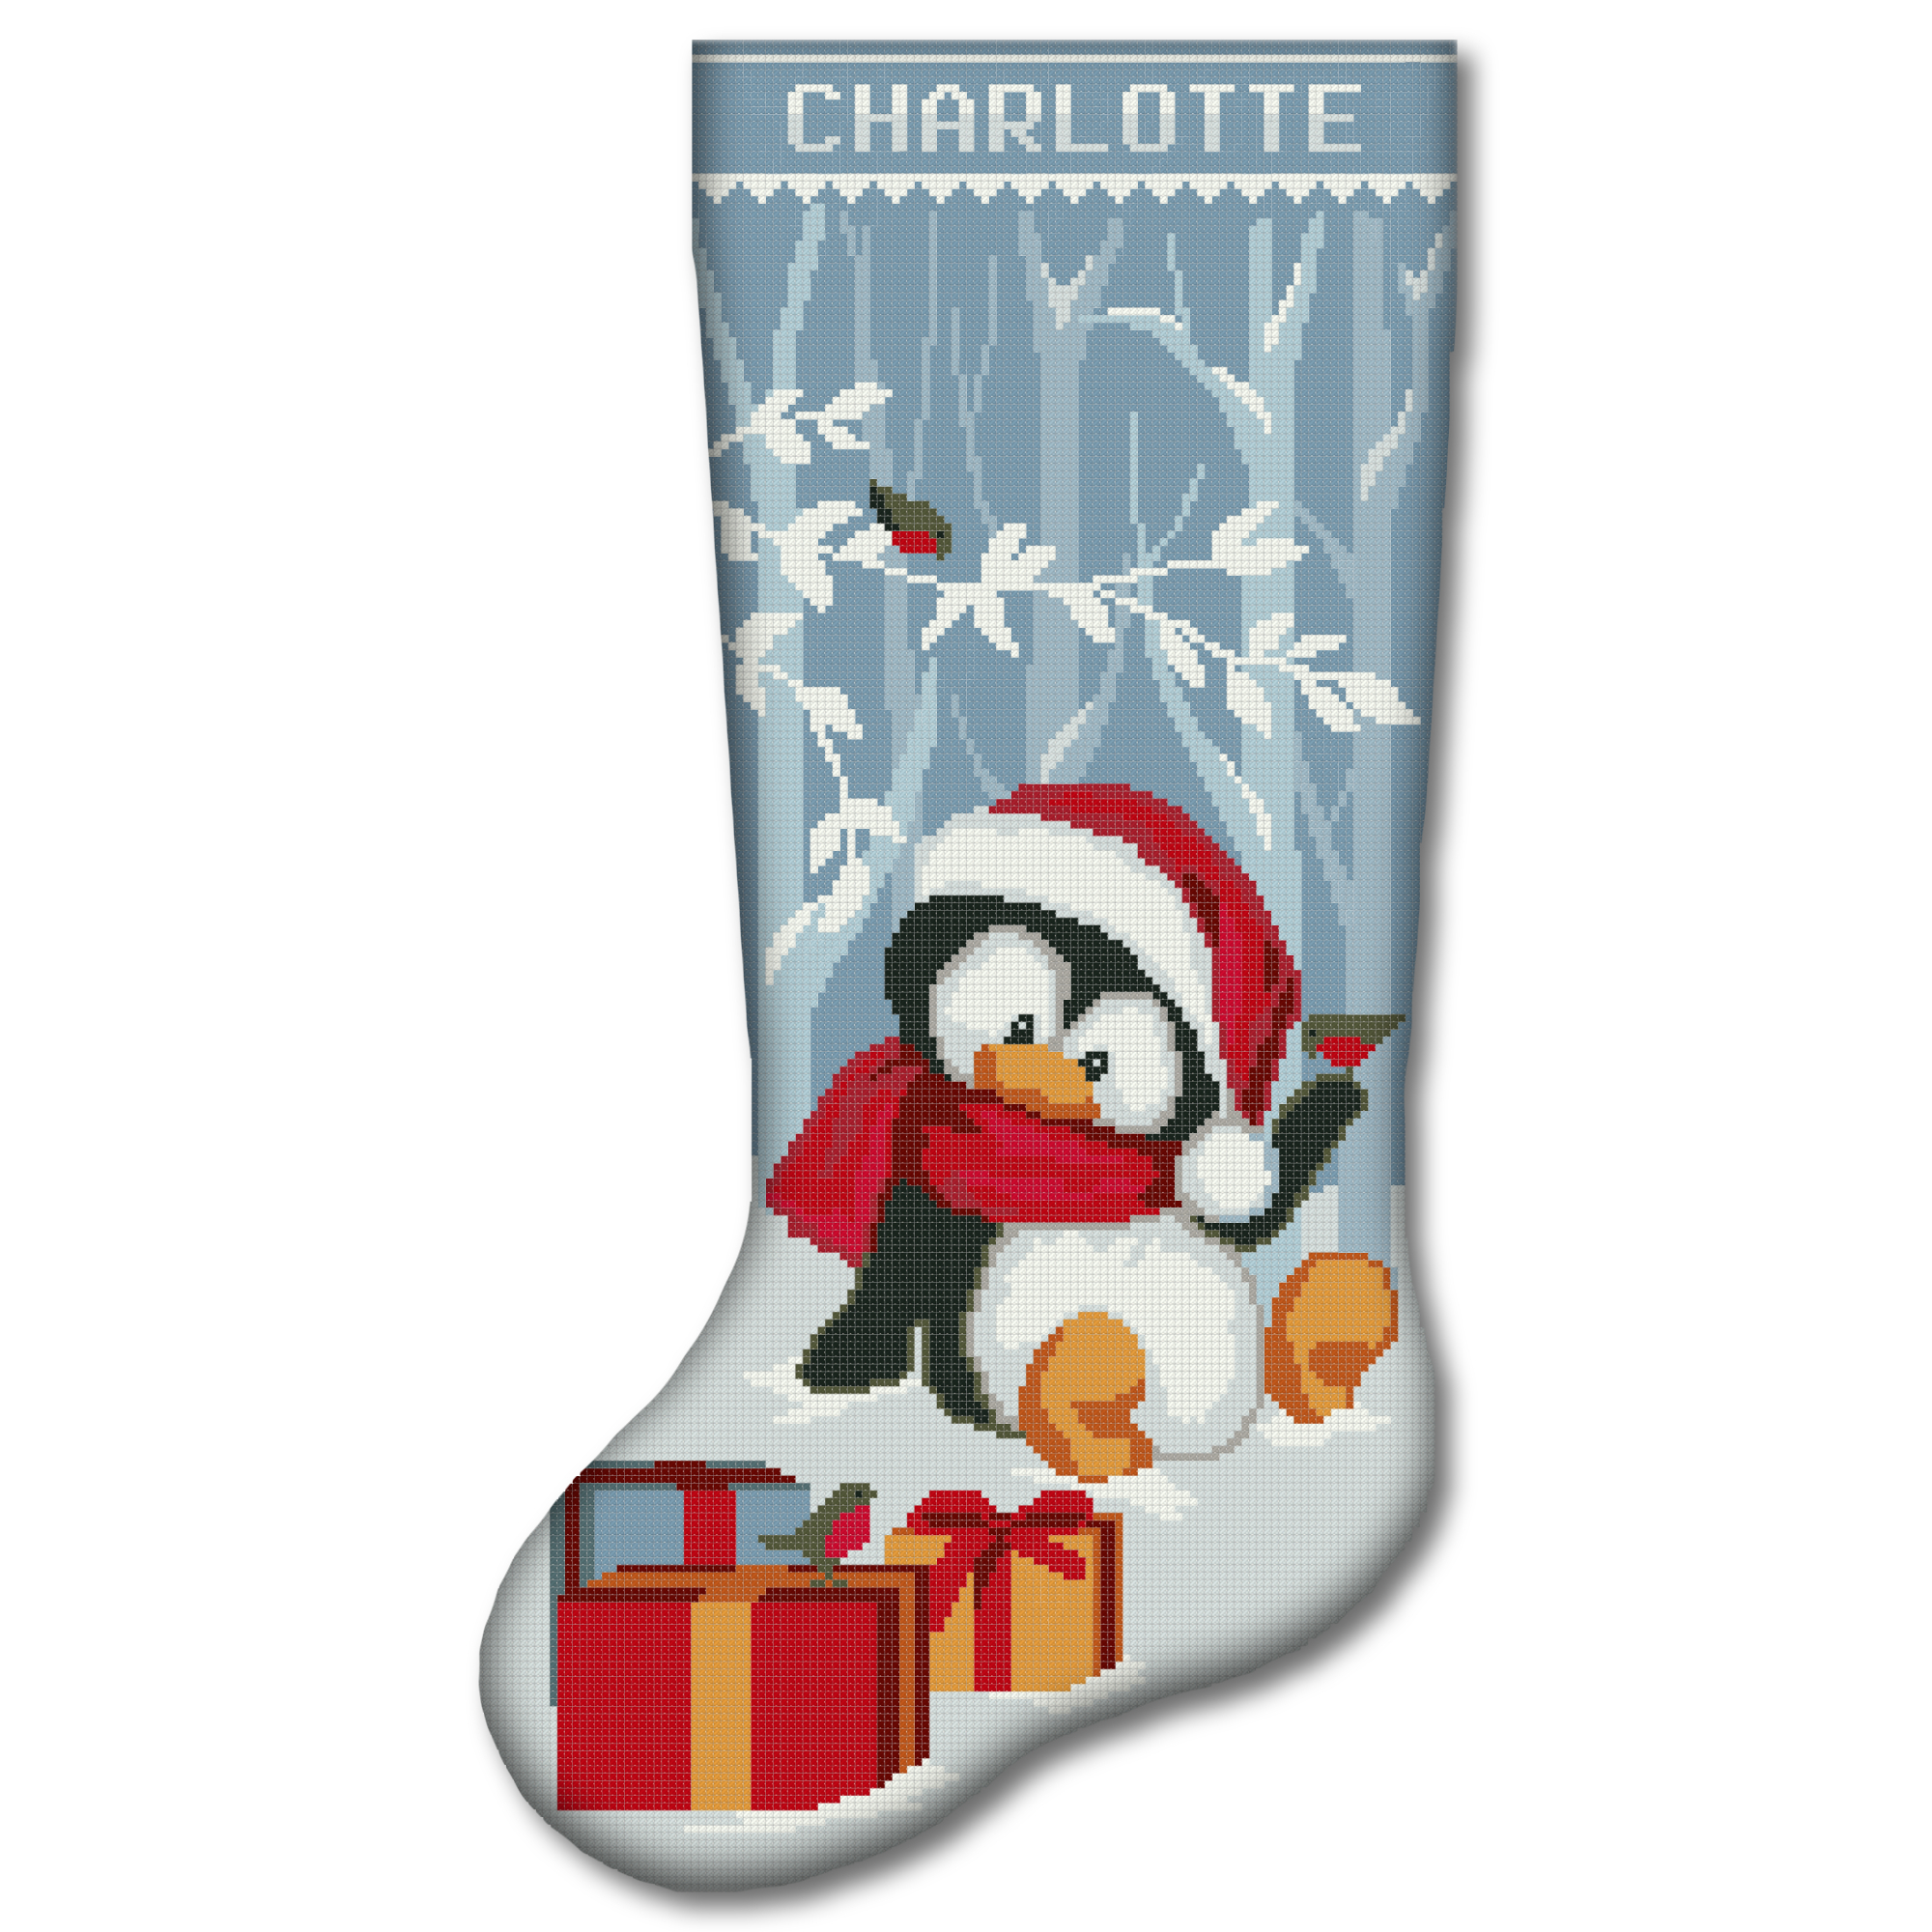
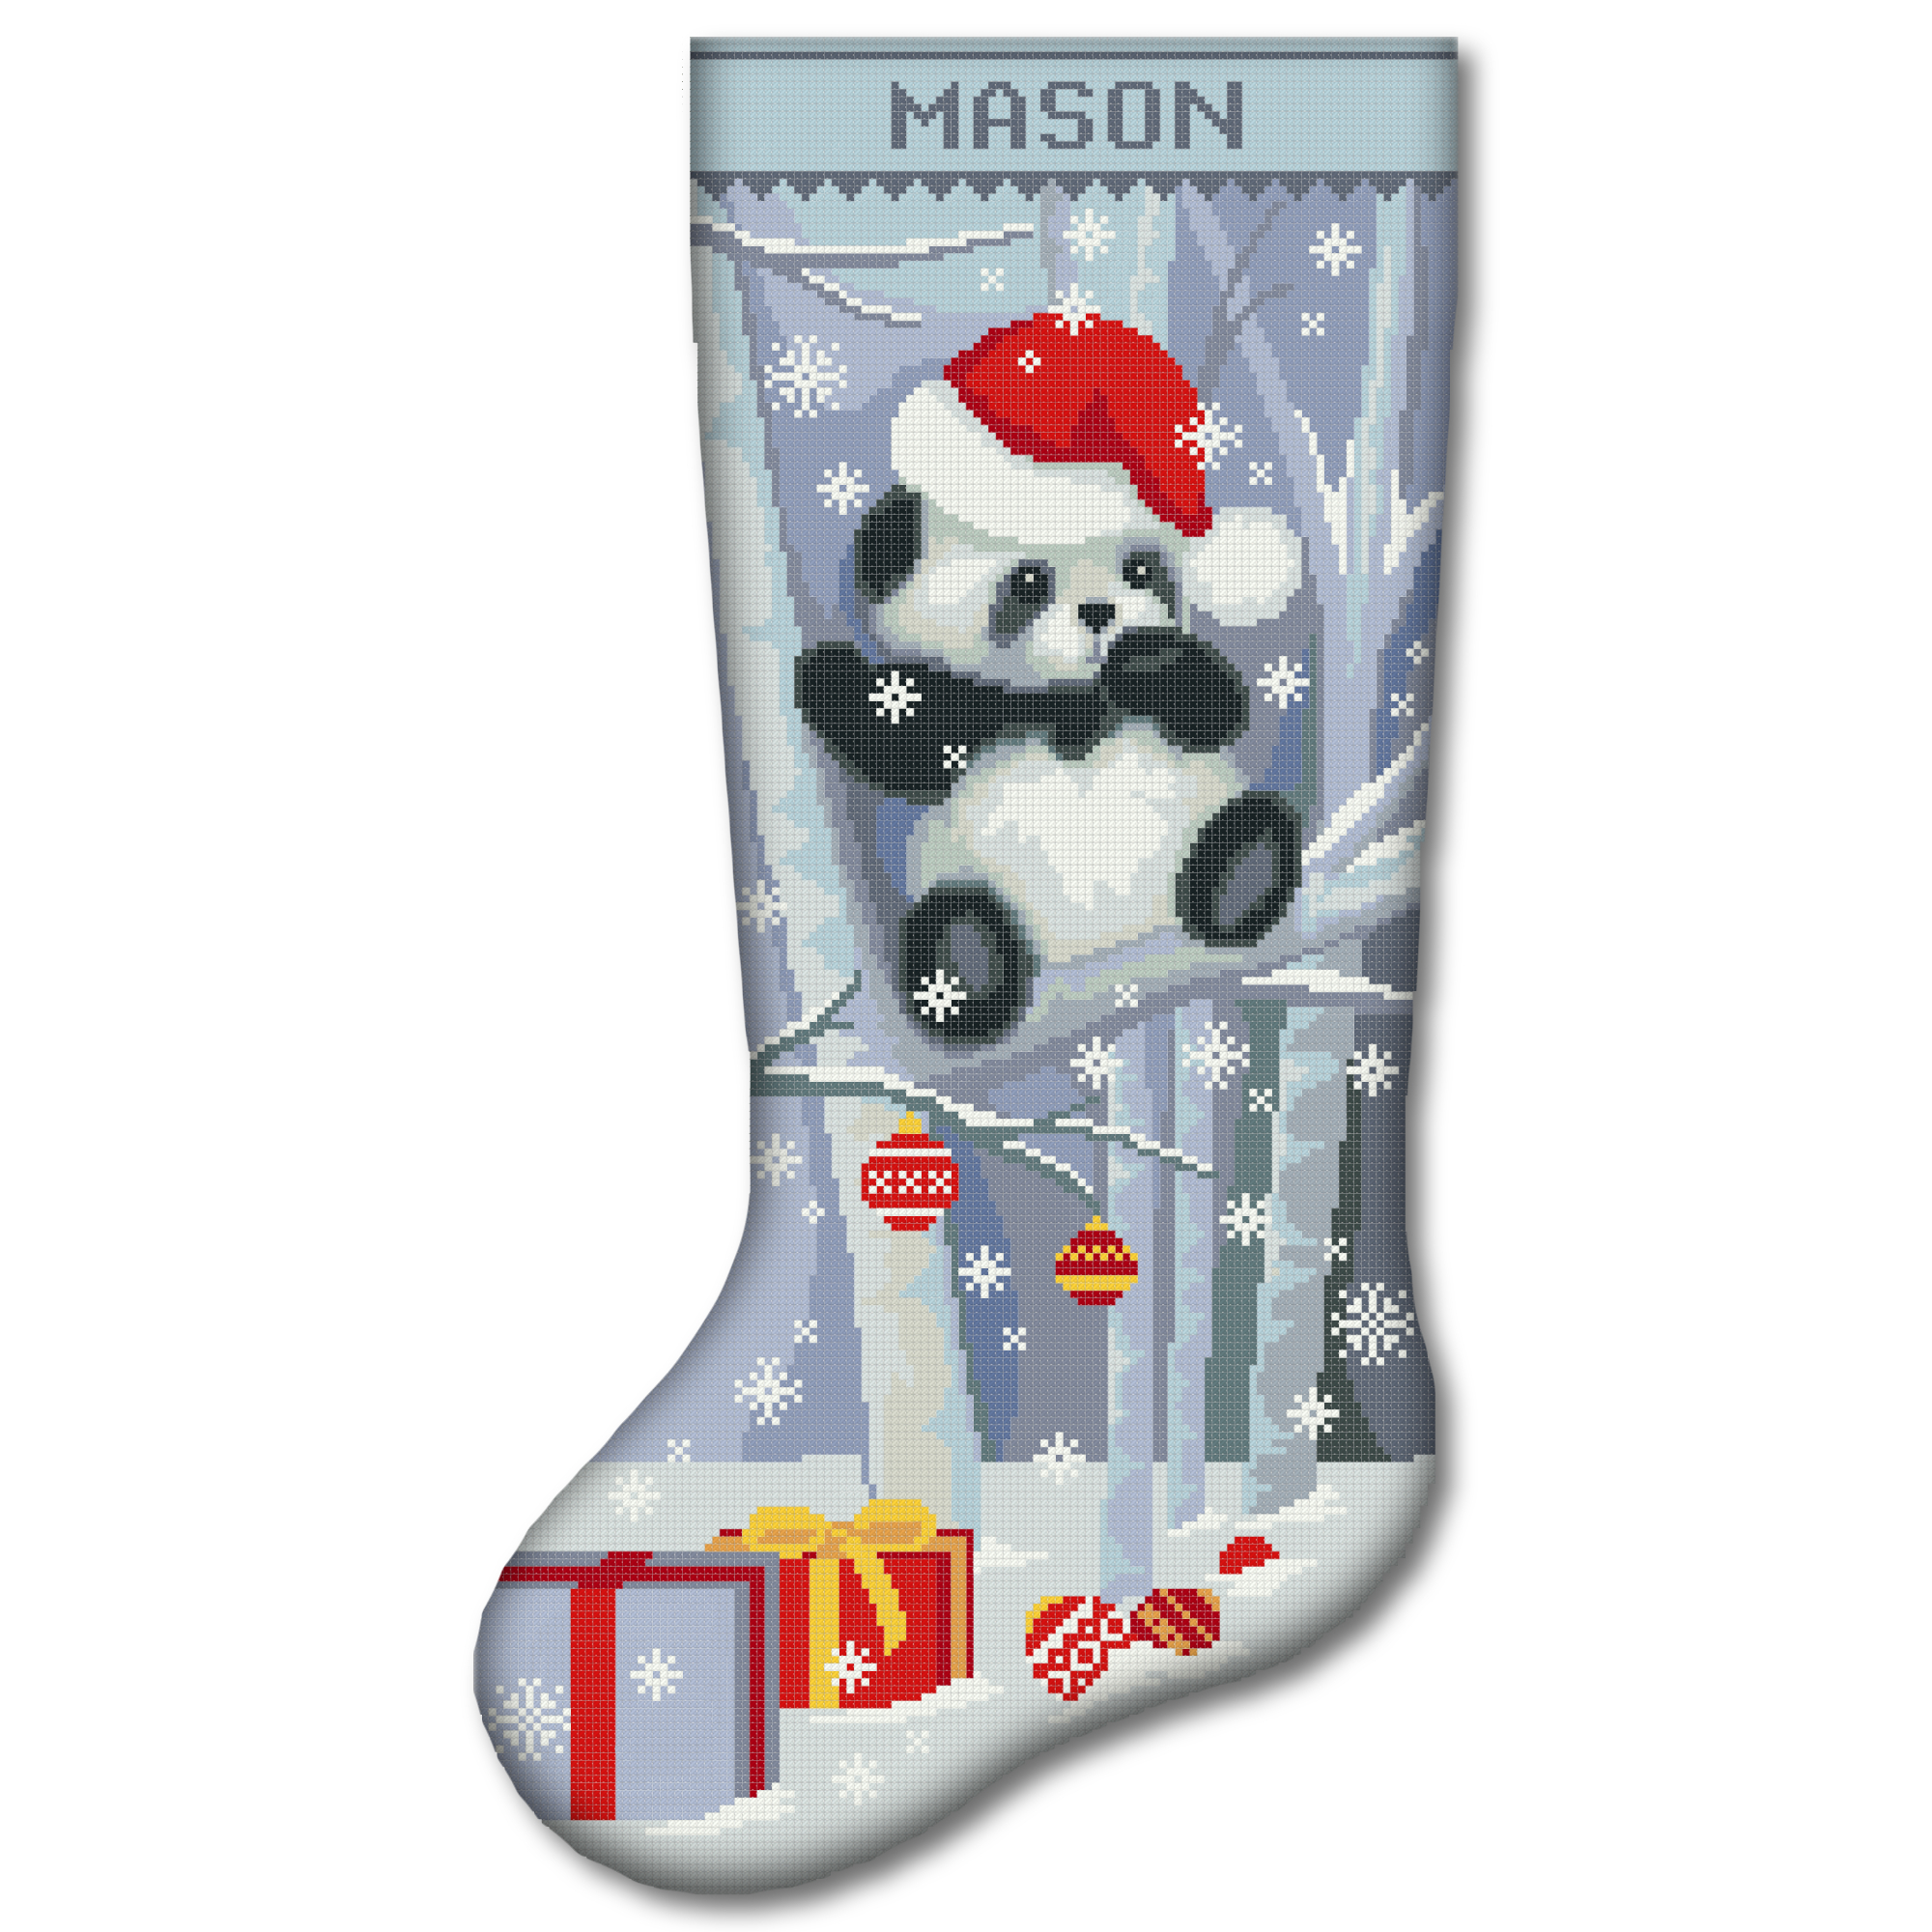
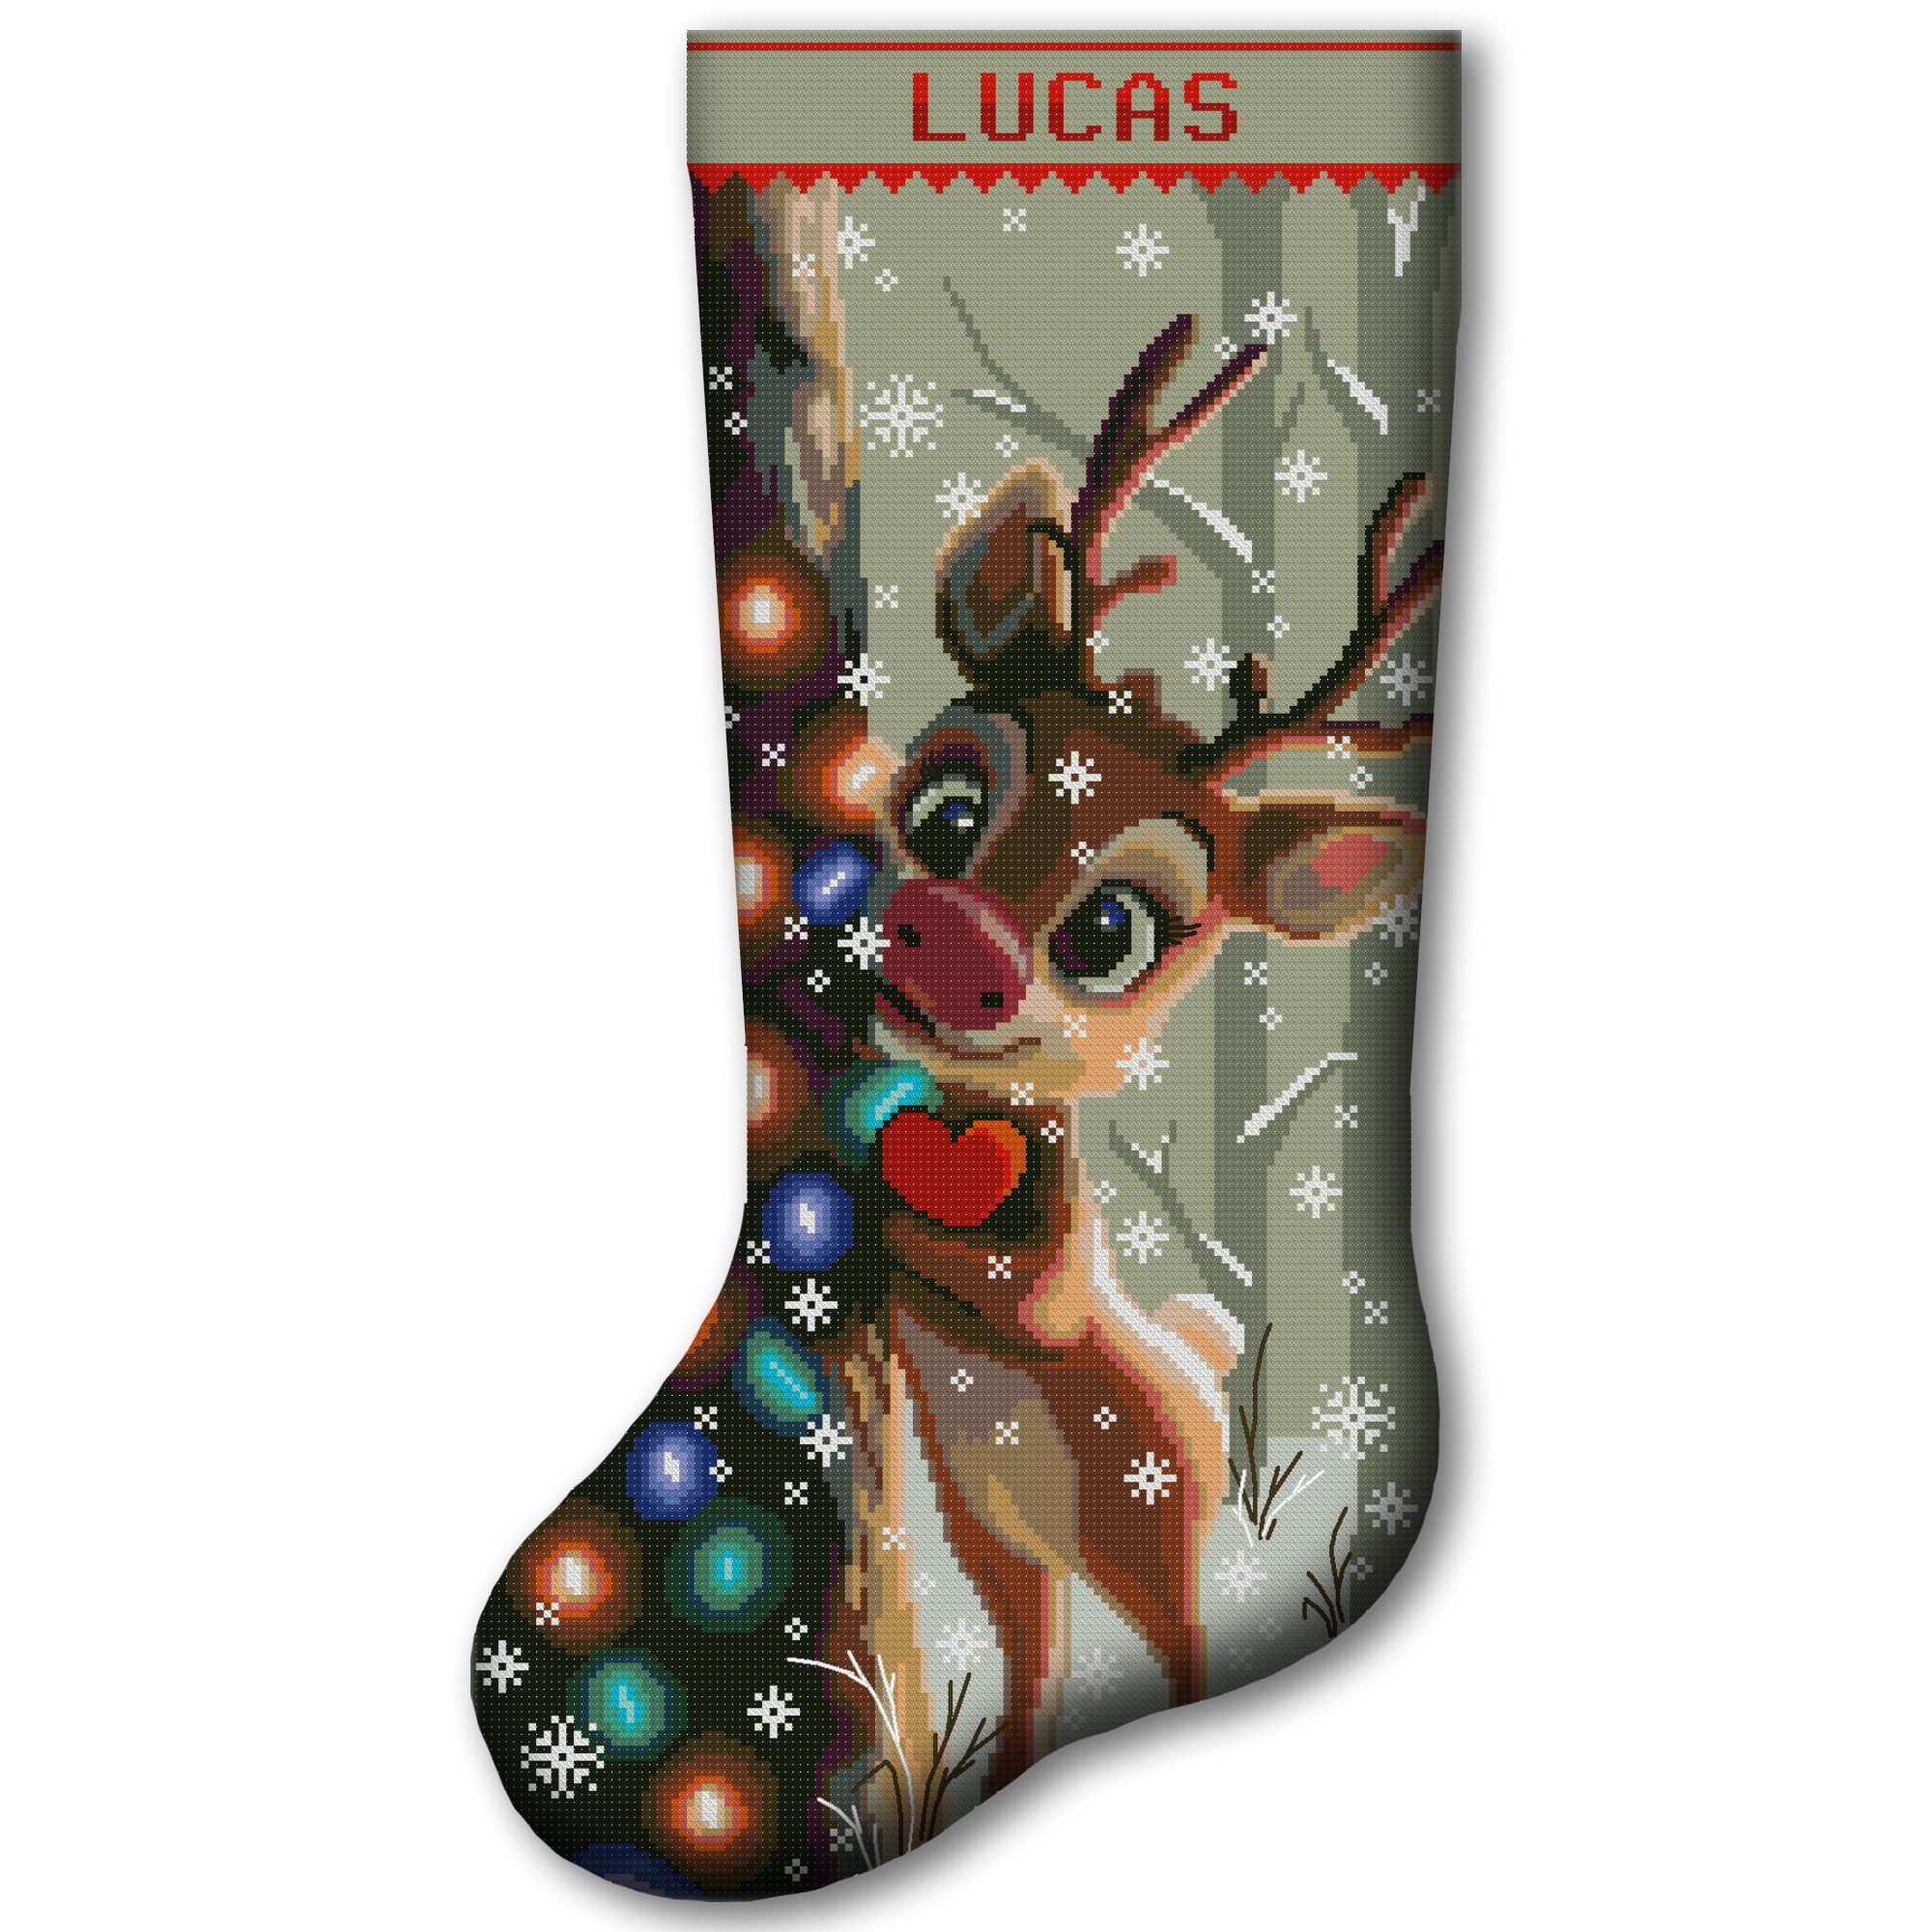
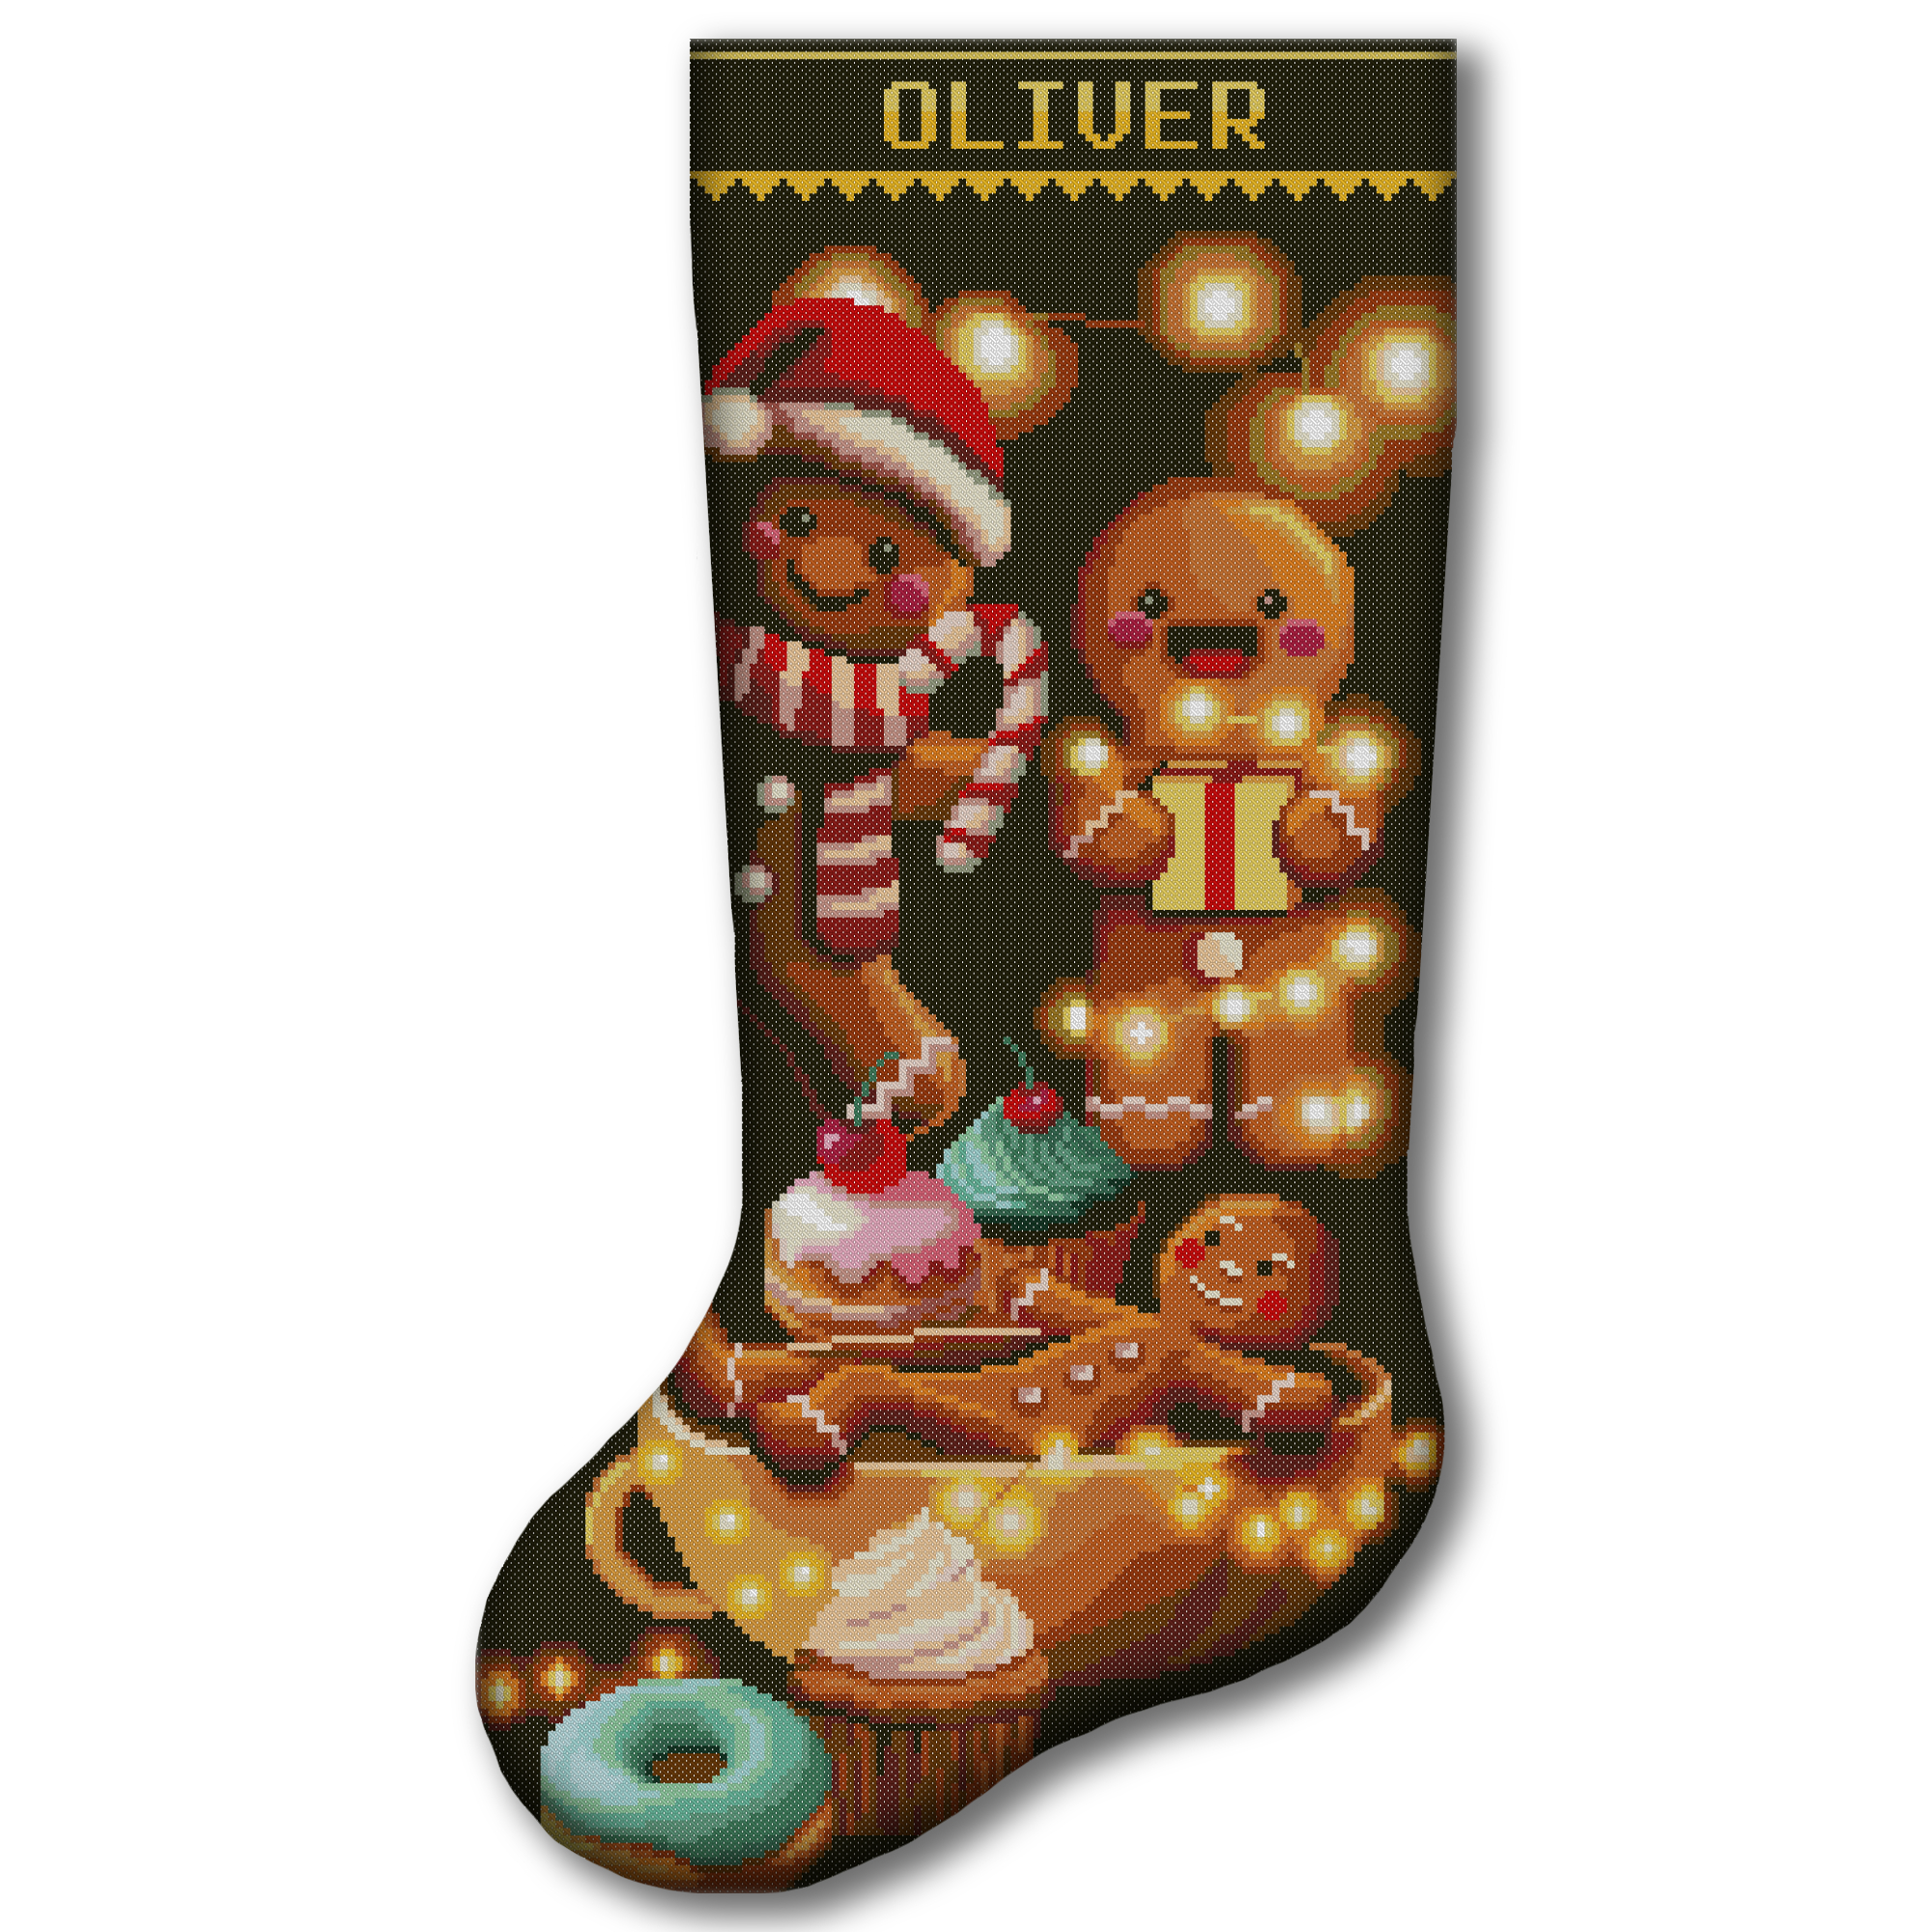
If you prefer to choose your own fabric and floss, browse our digital Christmas stocking patterns. Our stocking patterns include an alphabet for adding a personalized name.
Browse Digital Christmas Stocking Patterns →
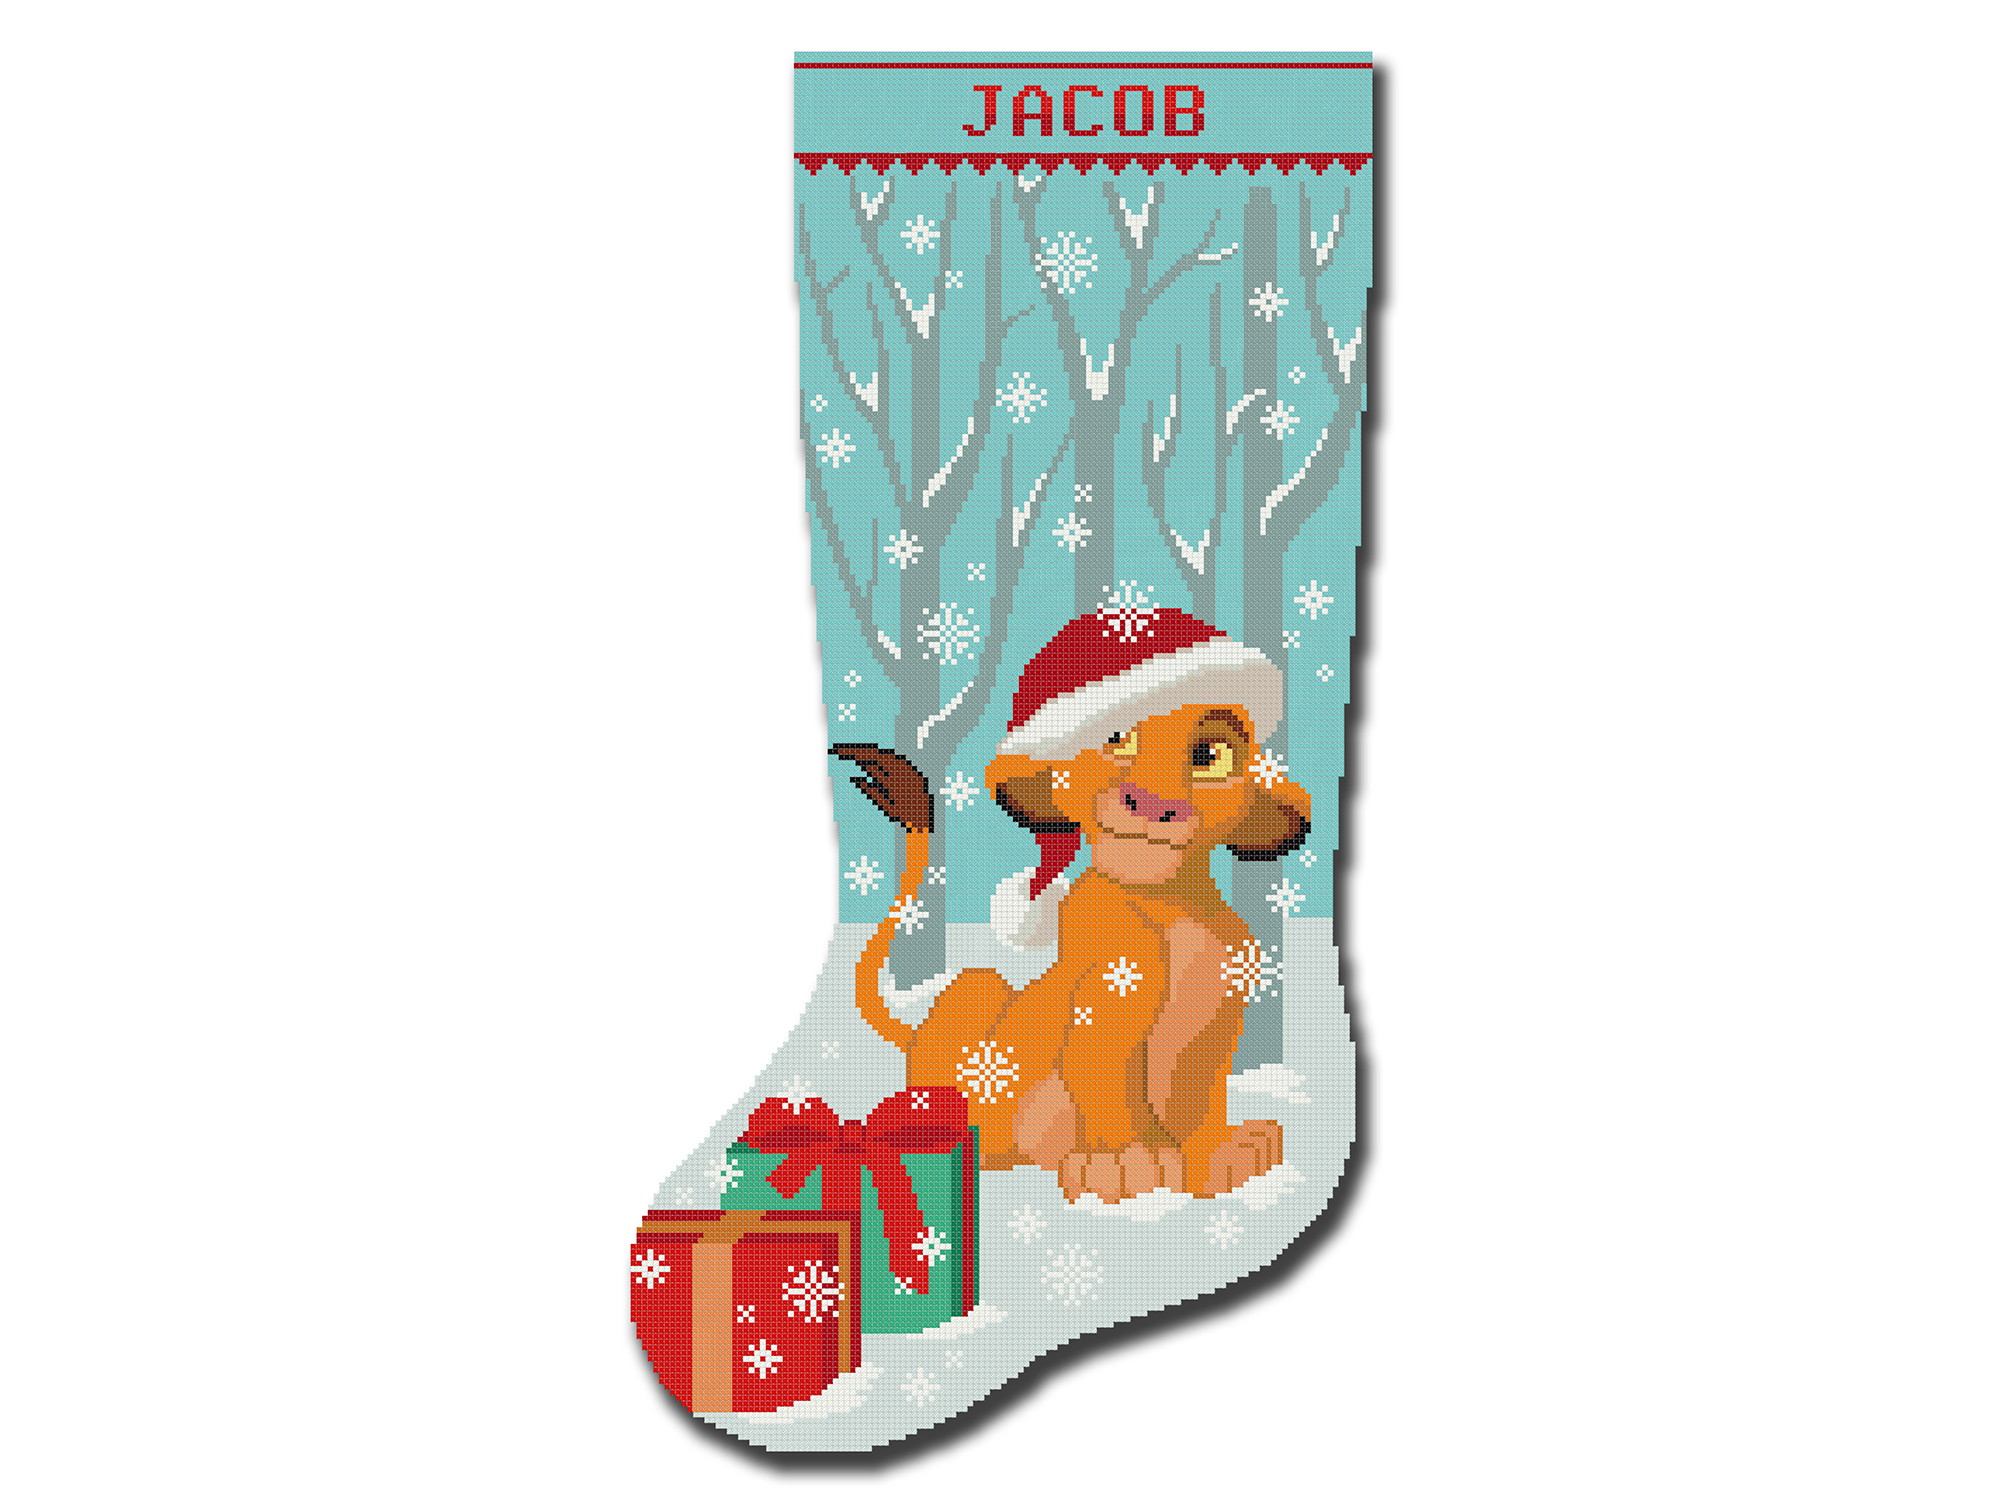
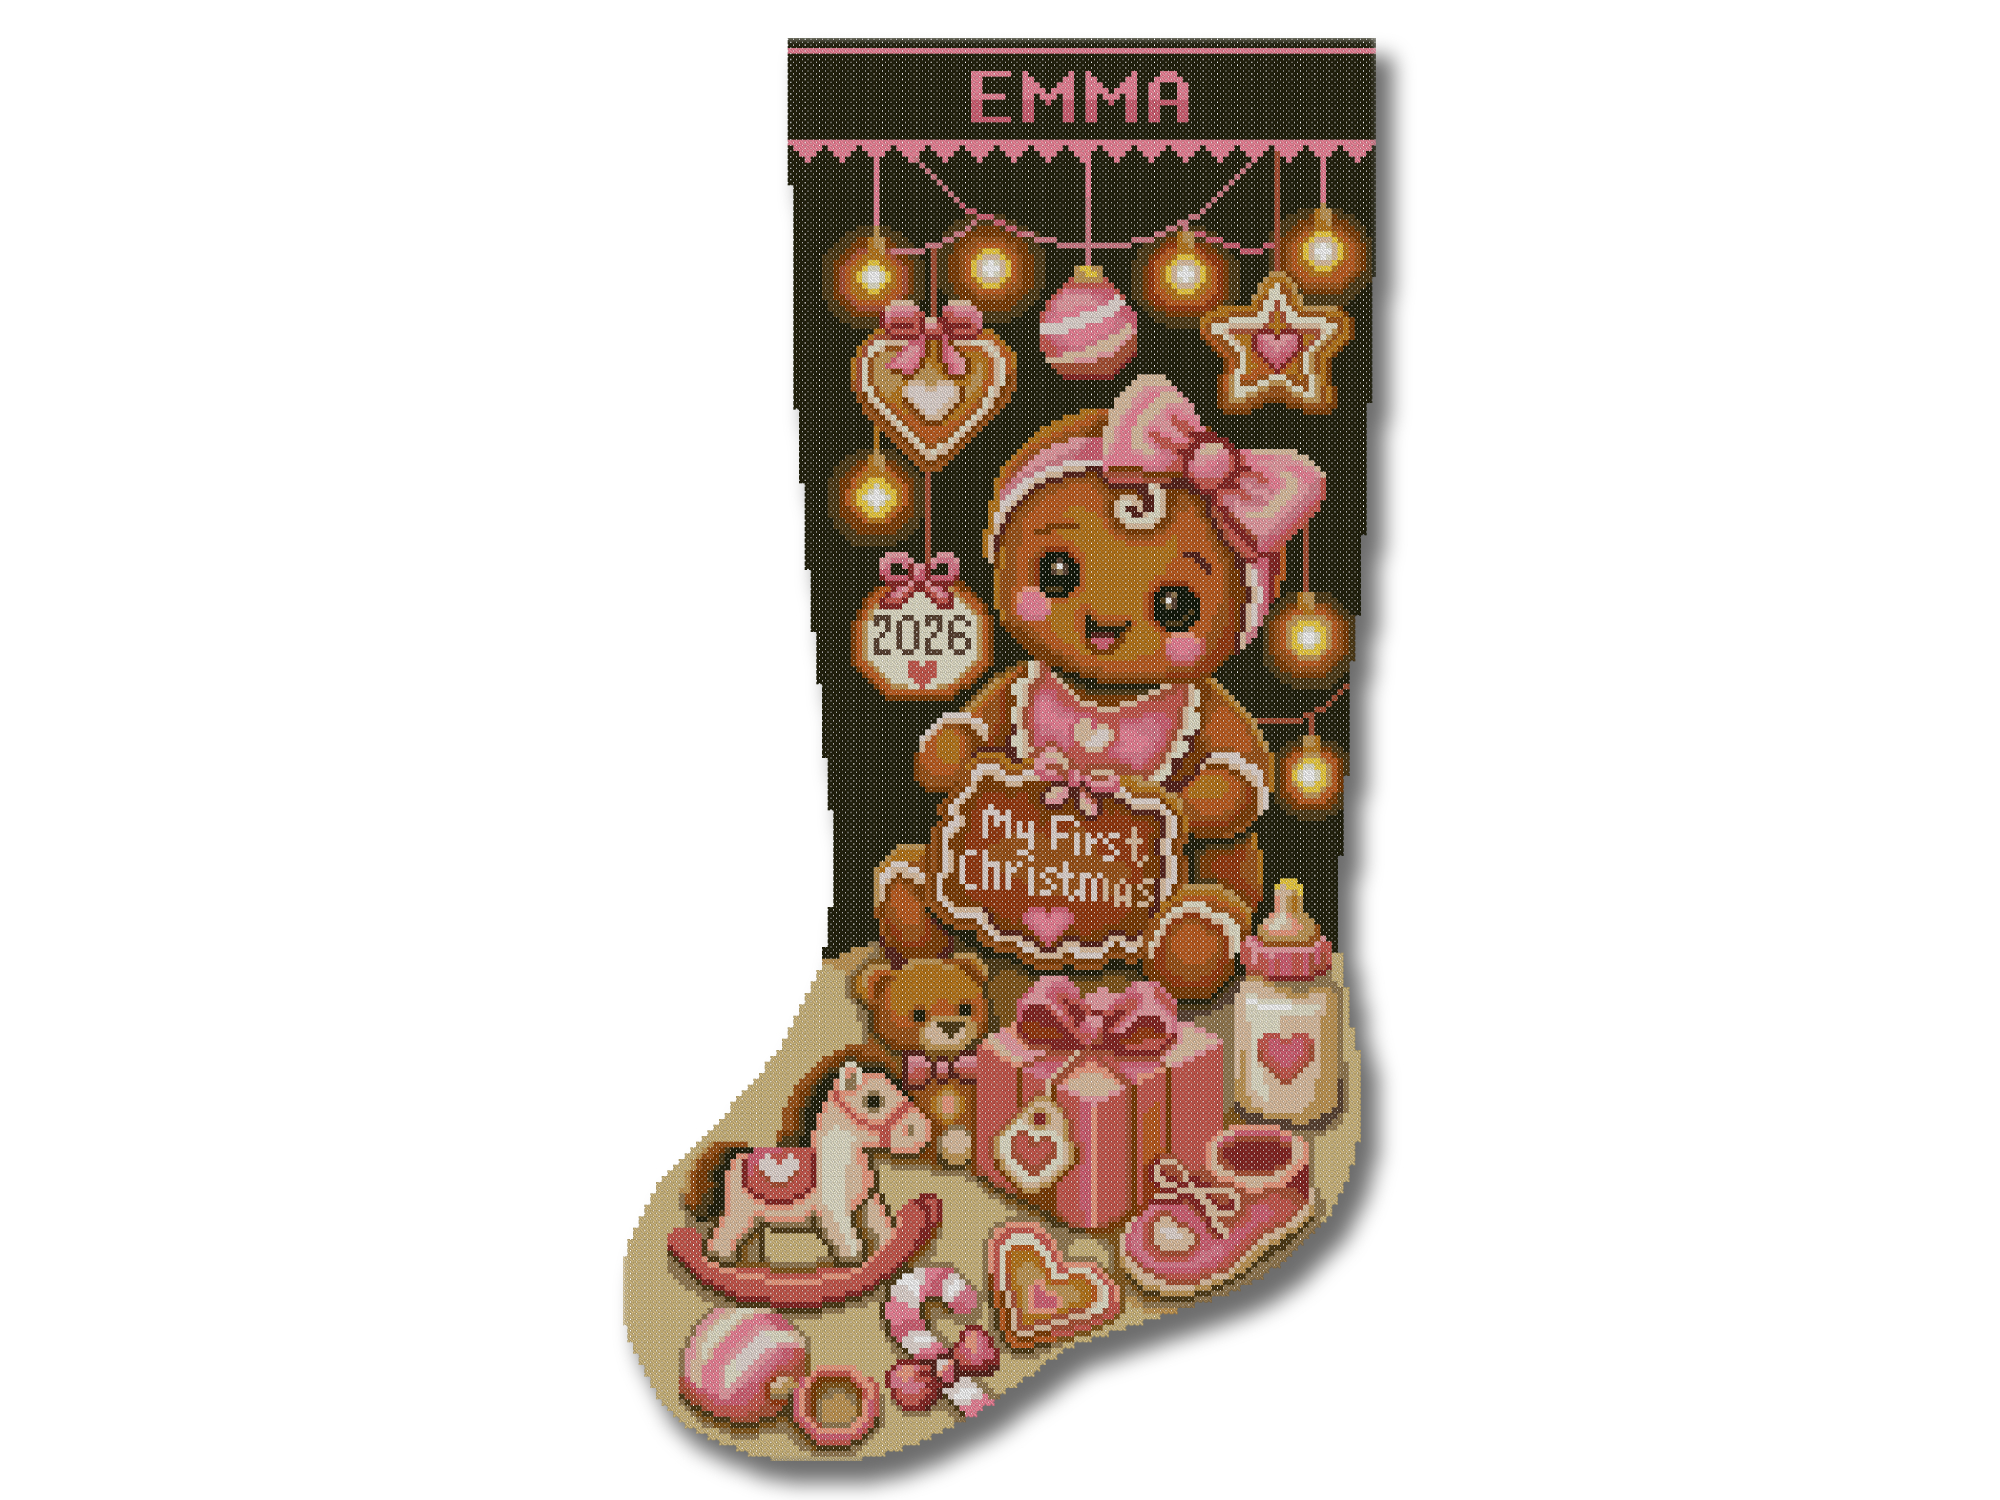


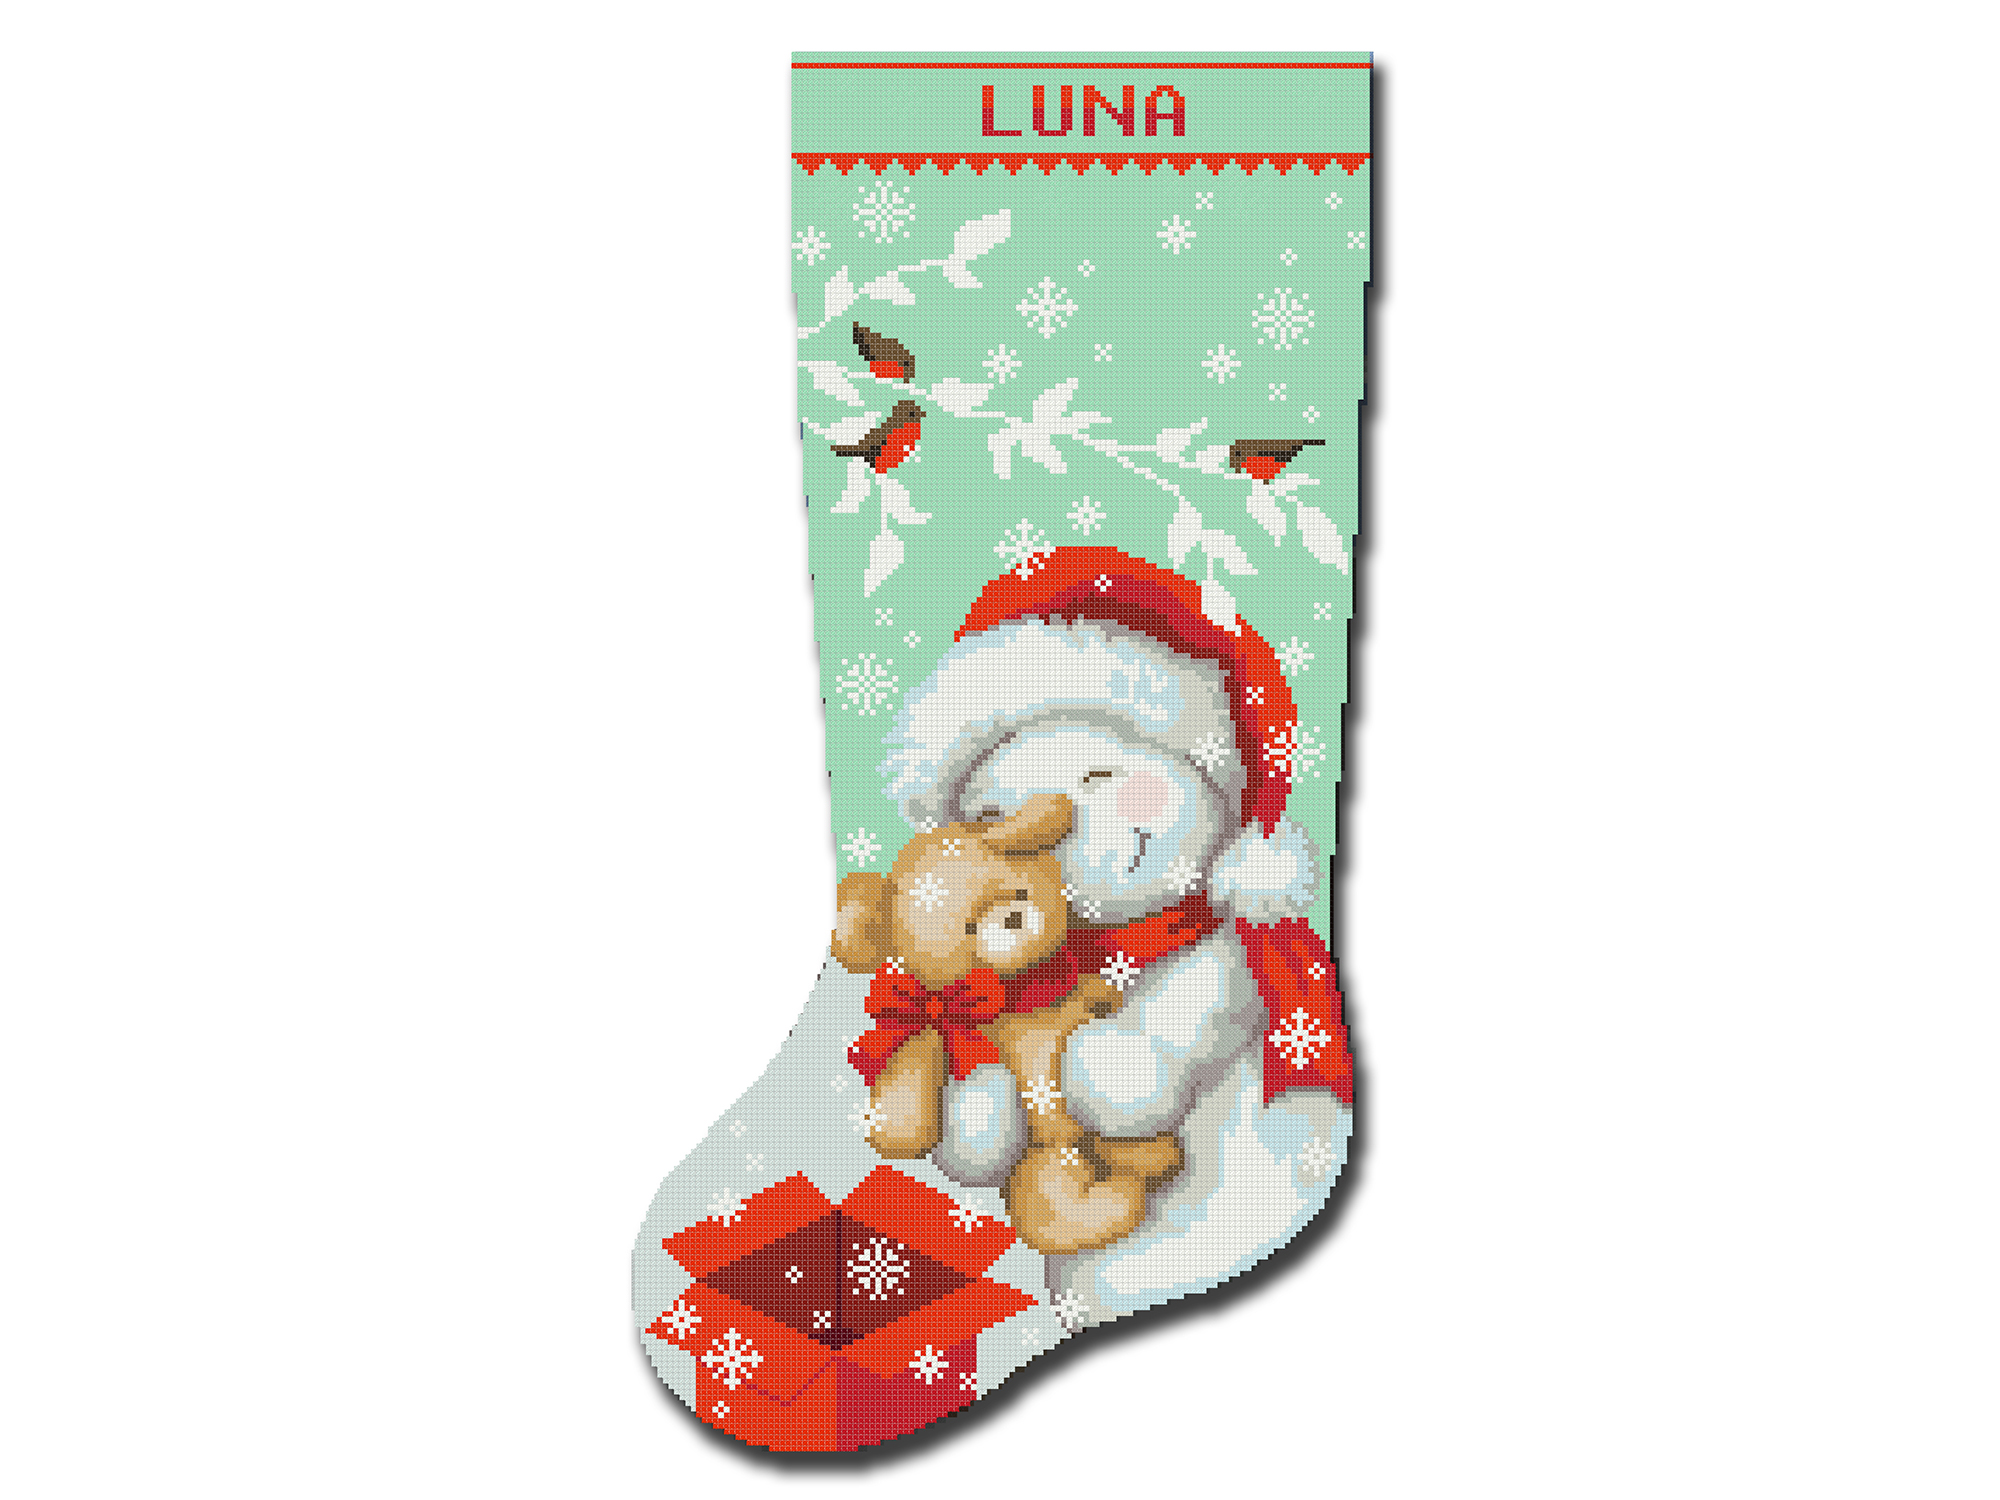

You can also visit our complete Christmas Stocking Cross Stitch Guides library for more help with materials, stitching, washing, sewing, and finishing.
Explore Christmas Stocking Cross Stitch Guides →
Final Thoughts
Centering a name may look difficult at first, but the process is based on three simple numbers: the cuff width, the name width, and the space between the letters.
Always calculate the complete stitched name rather than counting only the number of letters. Check your starting position before stitching, use the same spacing throughout the name, and keep the seam allowance outside the usable name area.
You can calculate everything manually, align the center points, prepare the name on graph paper, or let our free calculator do the counting for you.
Choose the method that feels easiest and take your time. A few careful minutes of planning will help you create a balanced, professional-looking name that makes your Christmas stocking truly special.