A cross stitch Christmas stocking may look like a large and complicated project, but with the right pattern, materials and clear instructions, it can be enjoyable even for a beginner. This complete guide explains how to choose between stamped and counted cross stitch, understand your kit or digital pattern, plan your stitching time, personalize a name, wash the finished embroidery and turn it into a beautiful handmade Christmas stocking.
What Is a Cross Stitch Christmas Stocking?
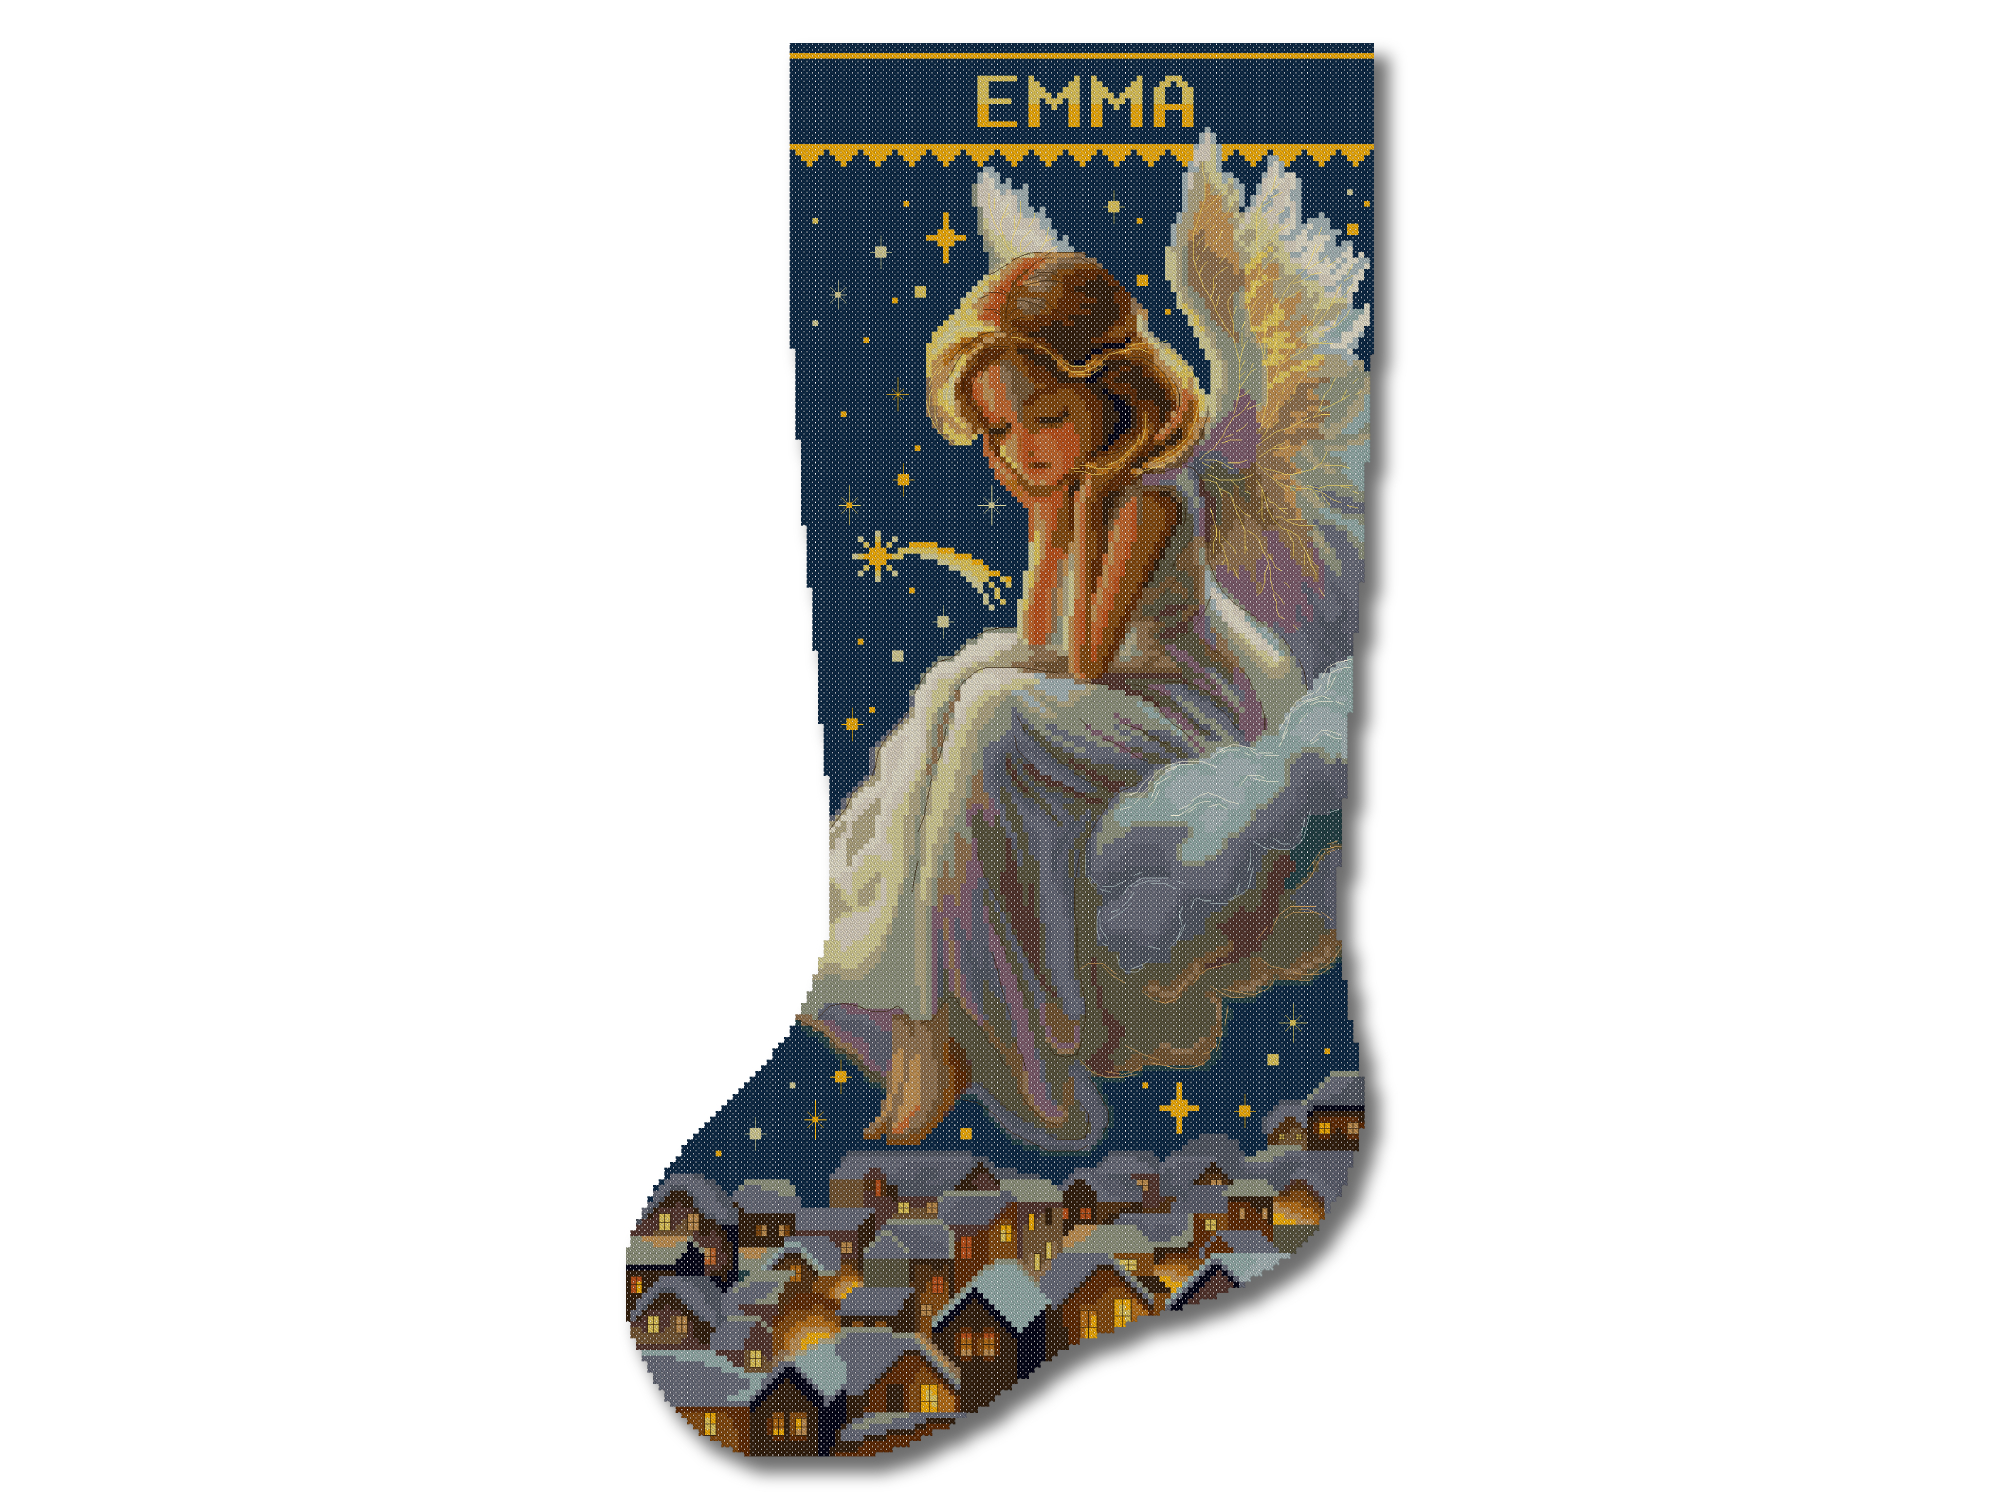
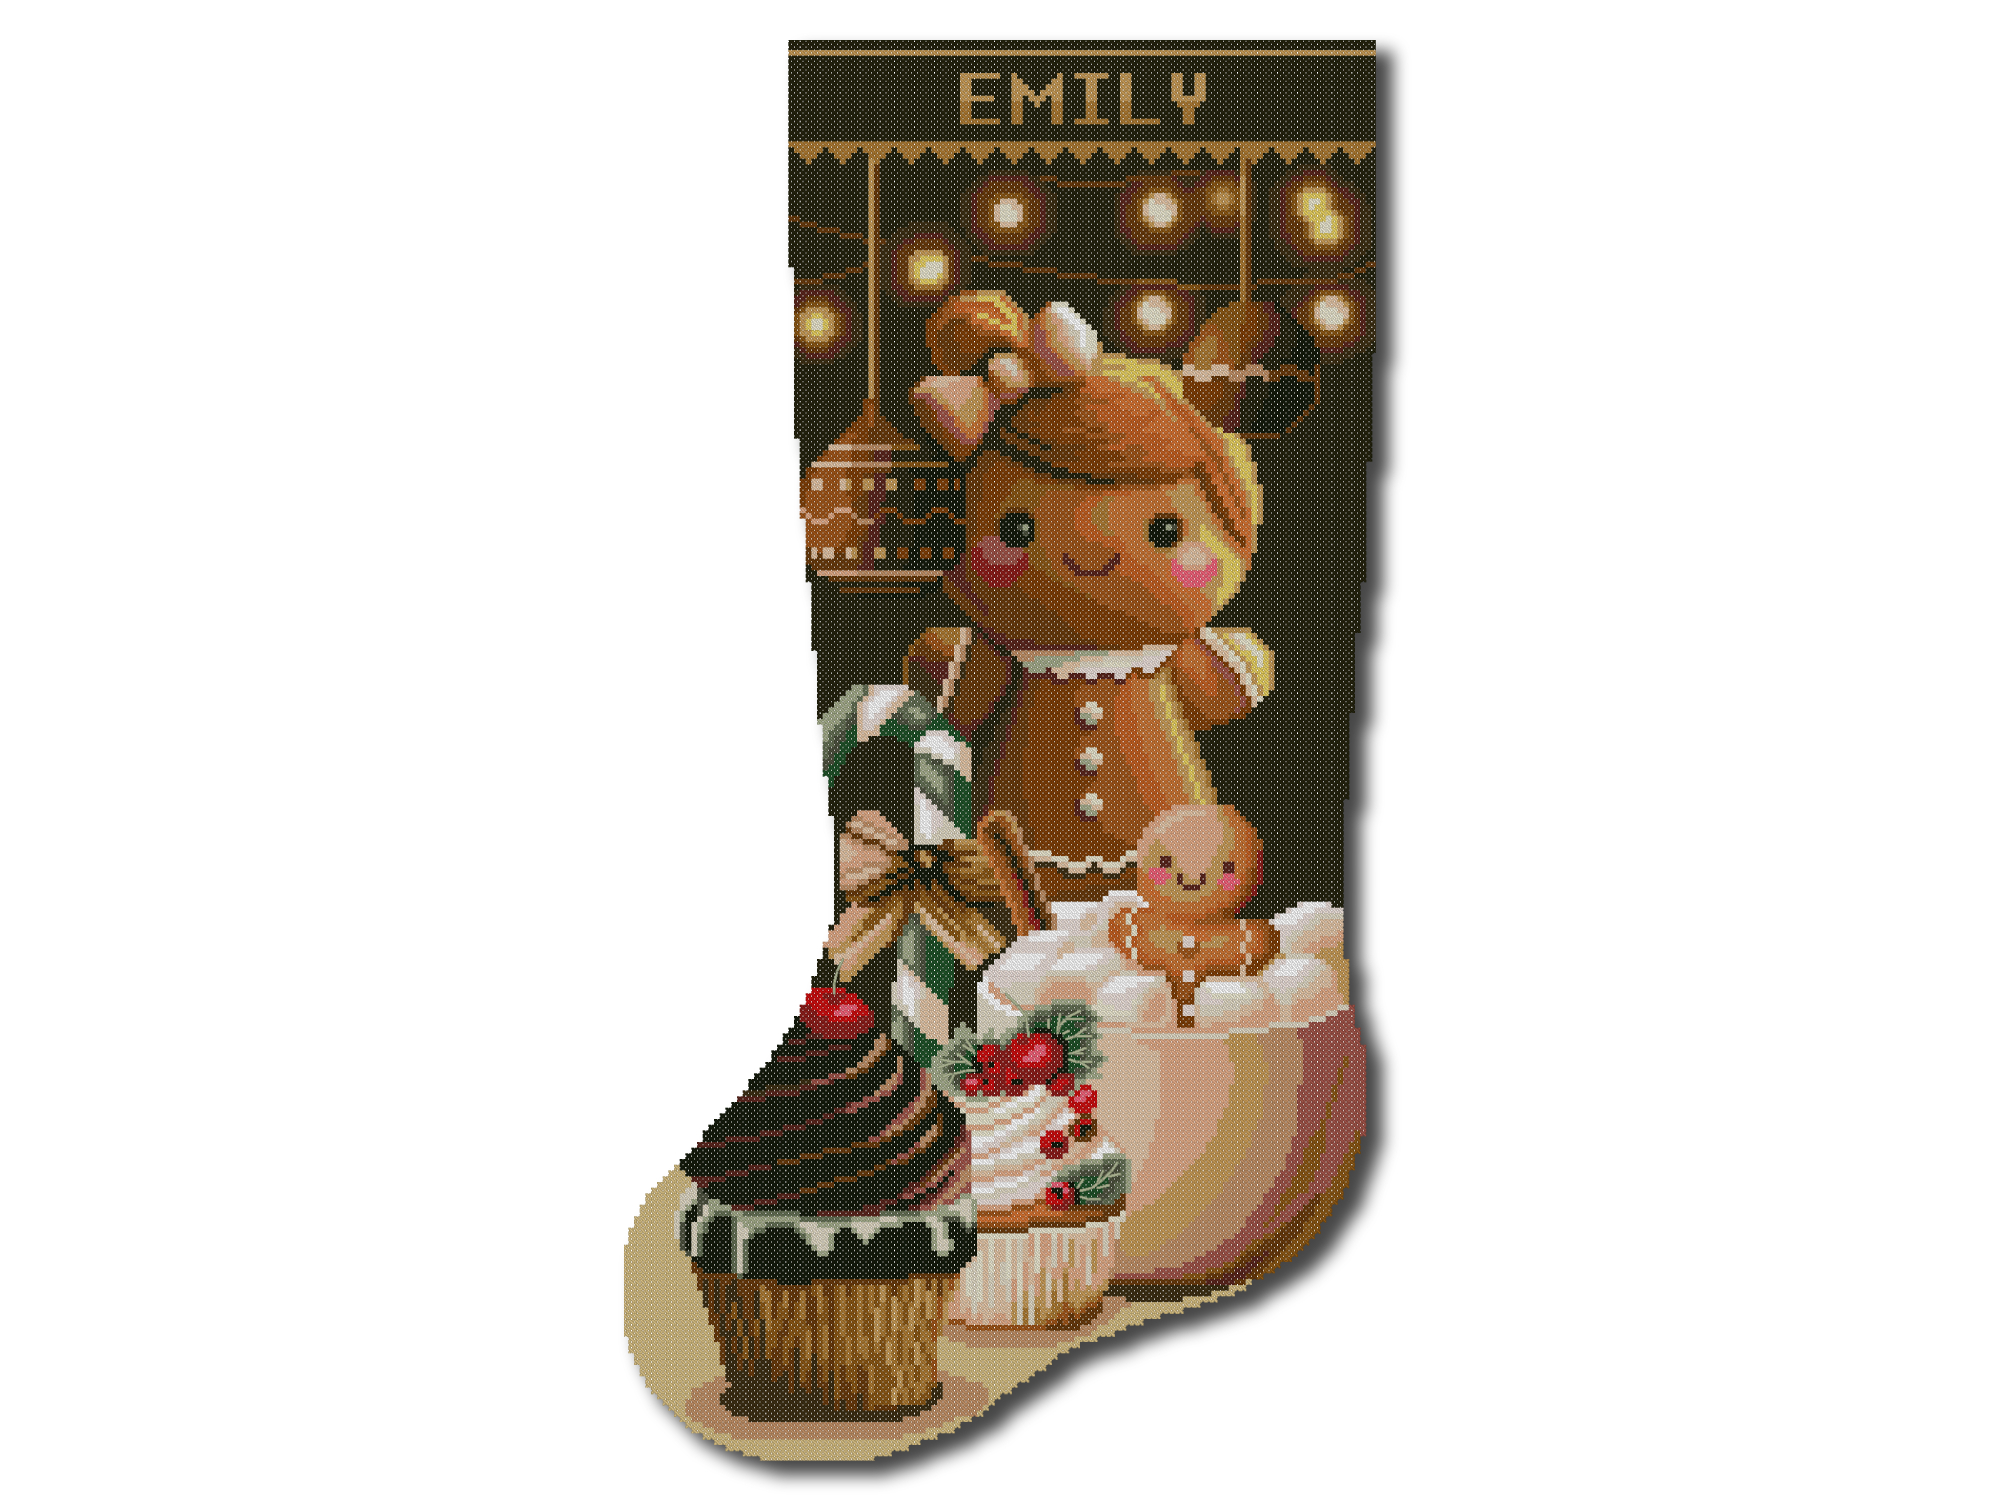
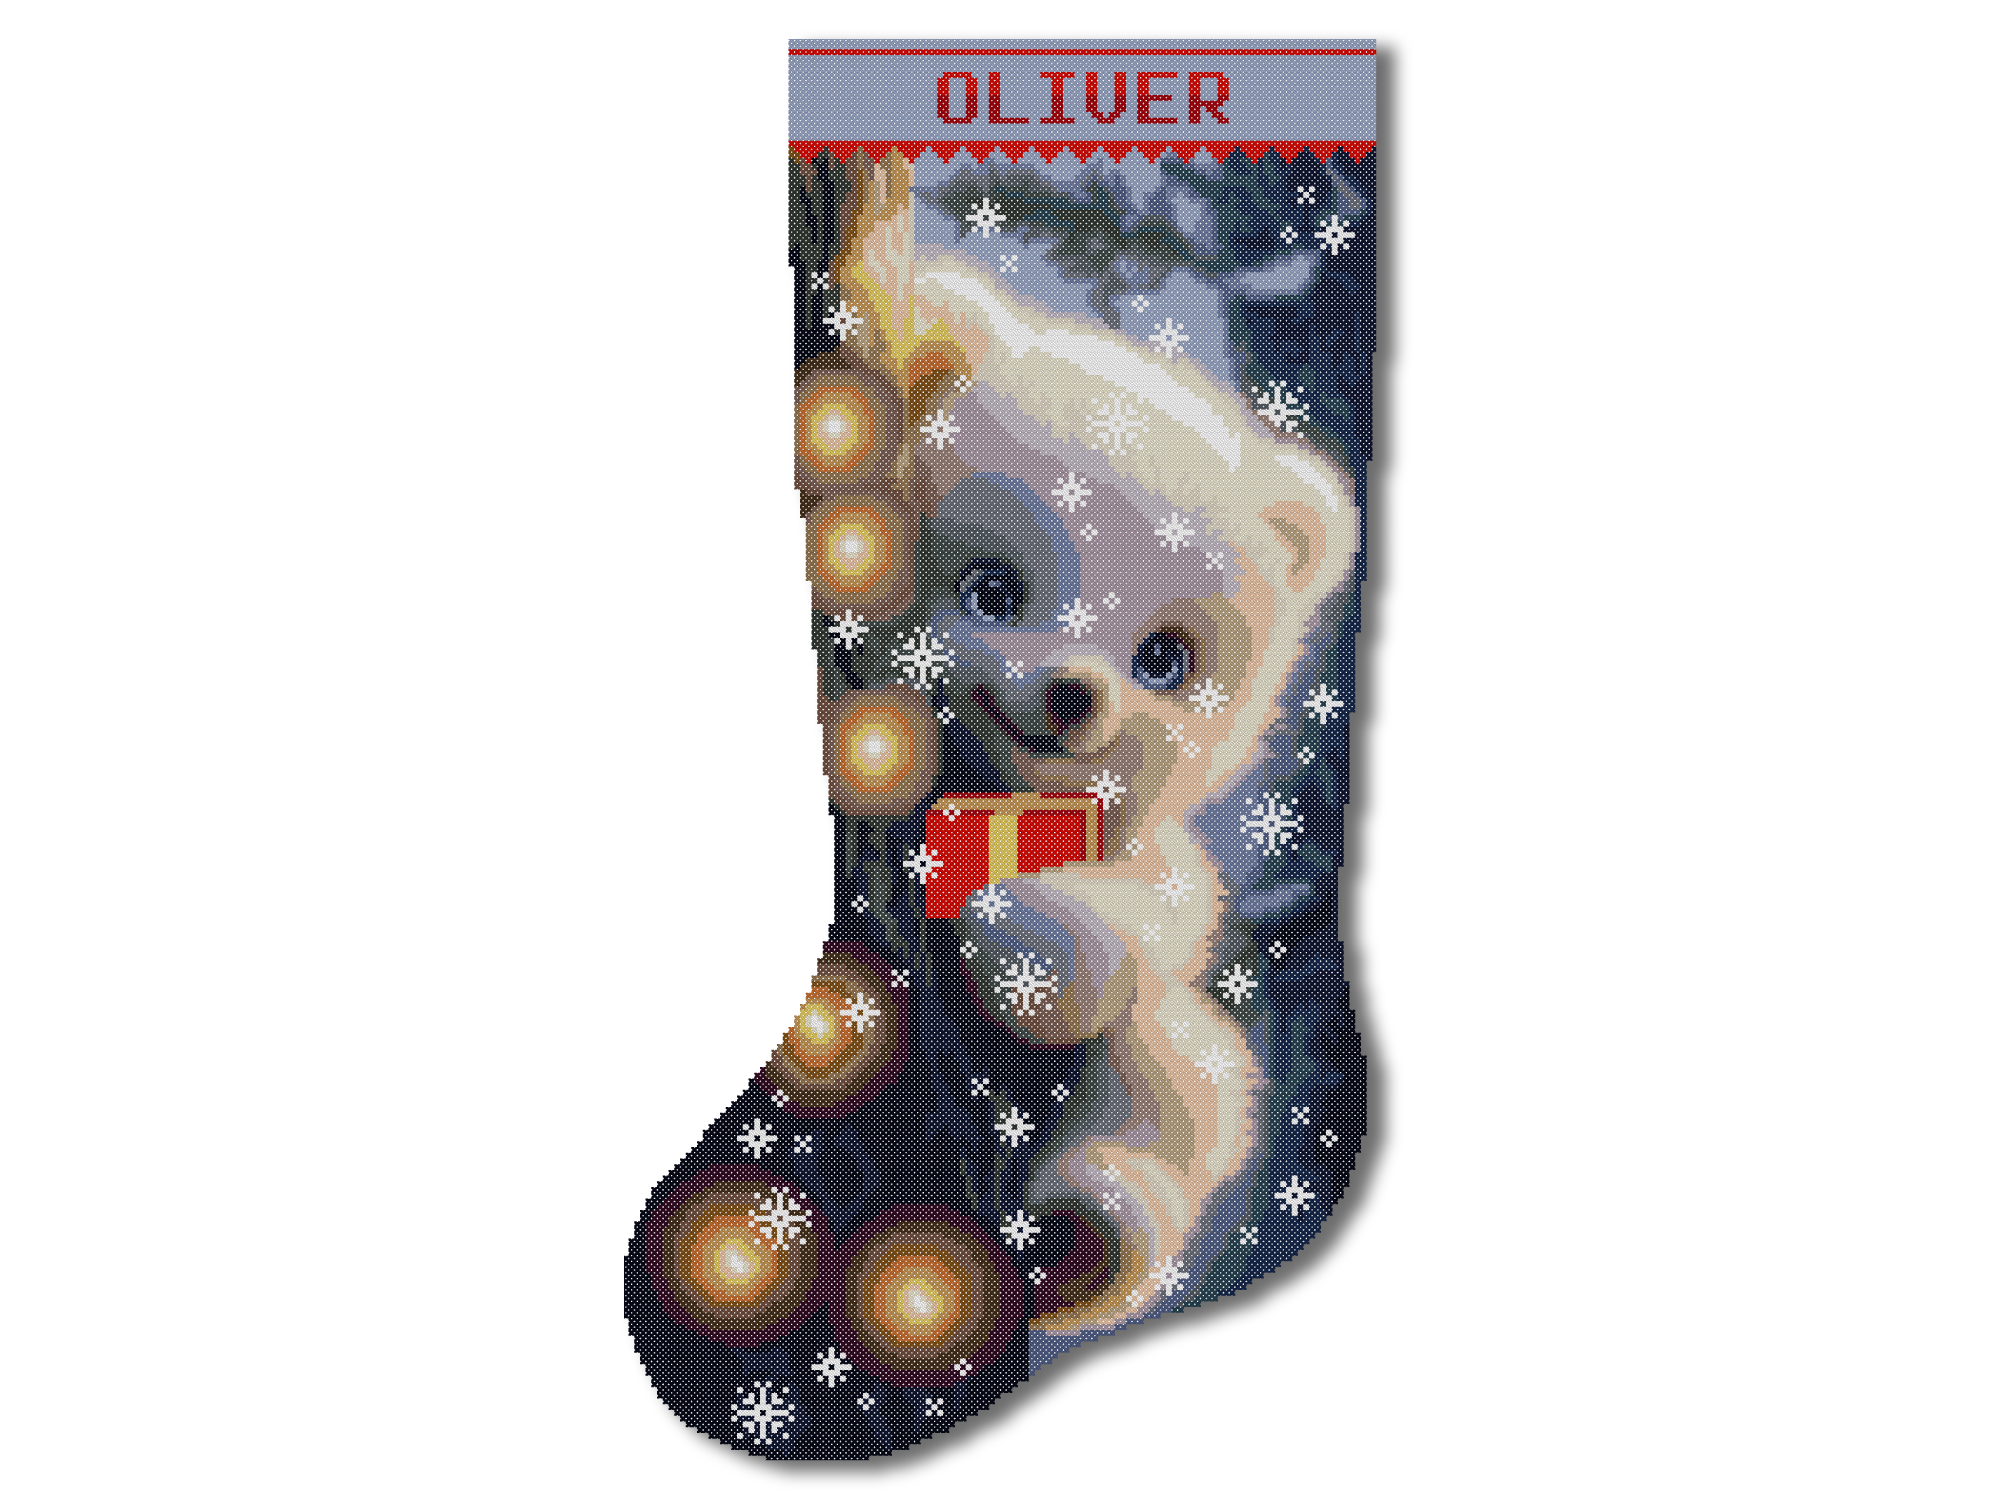
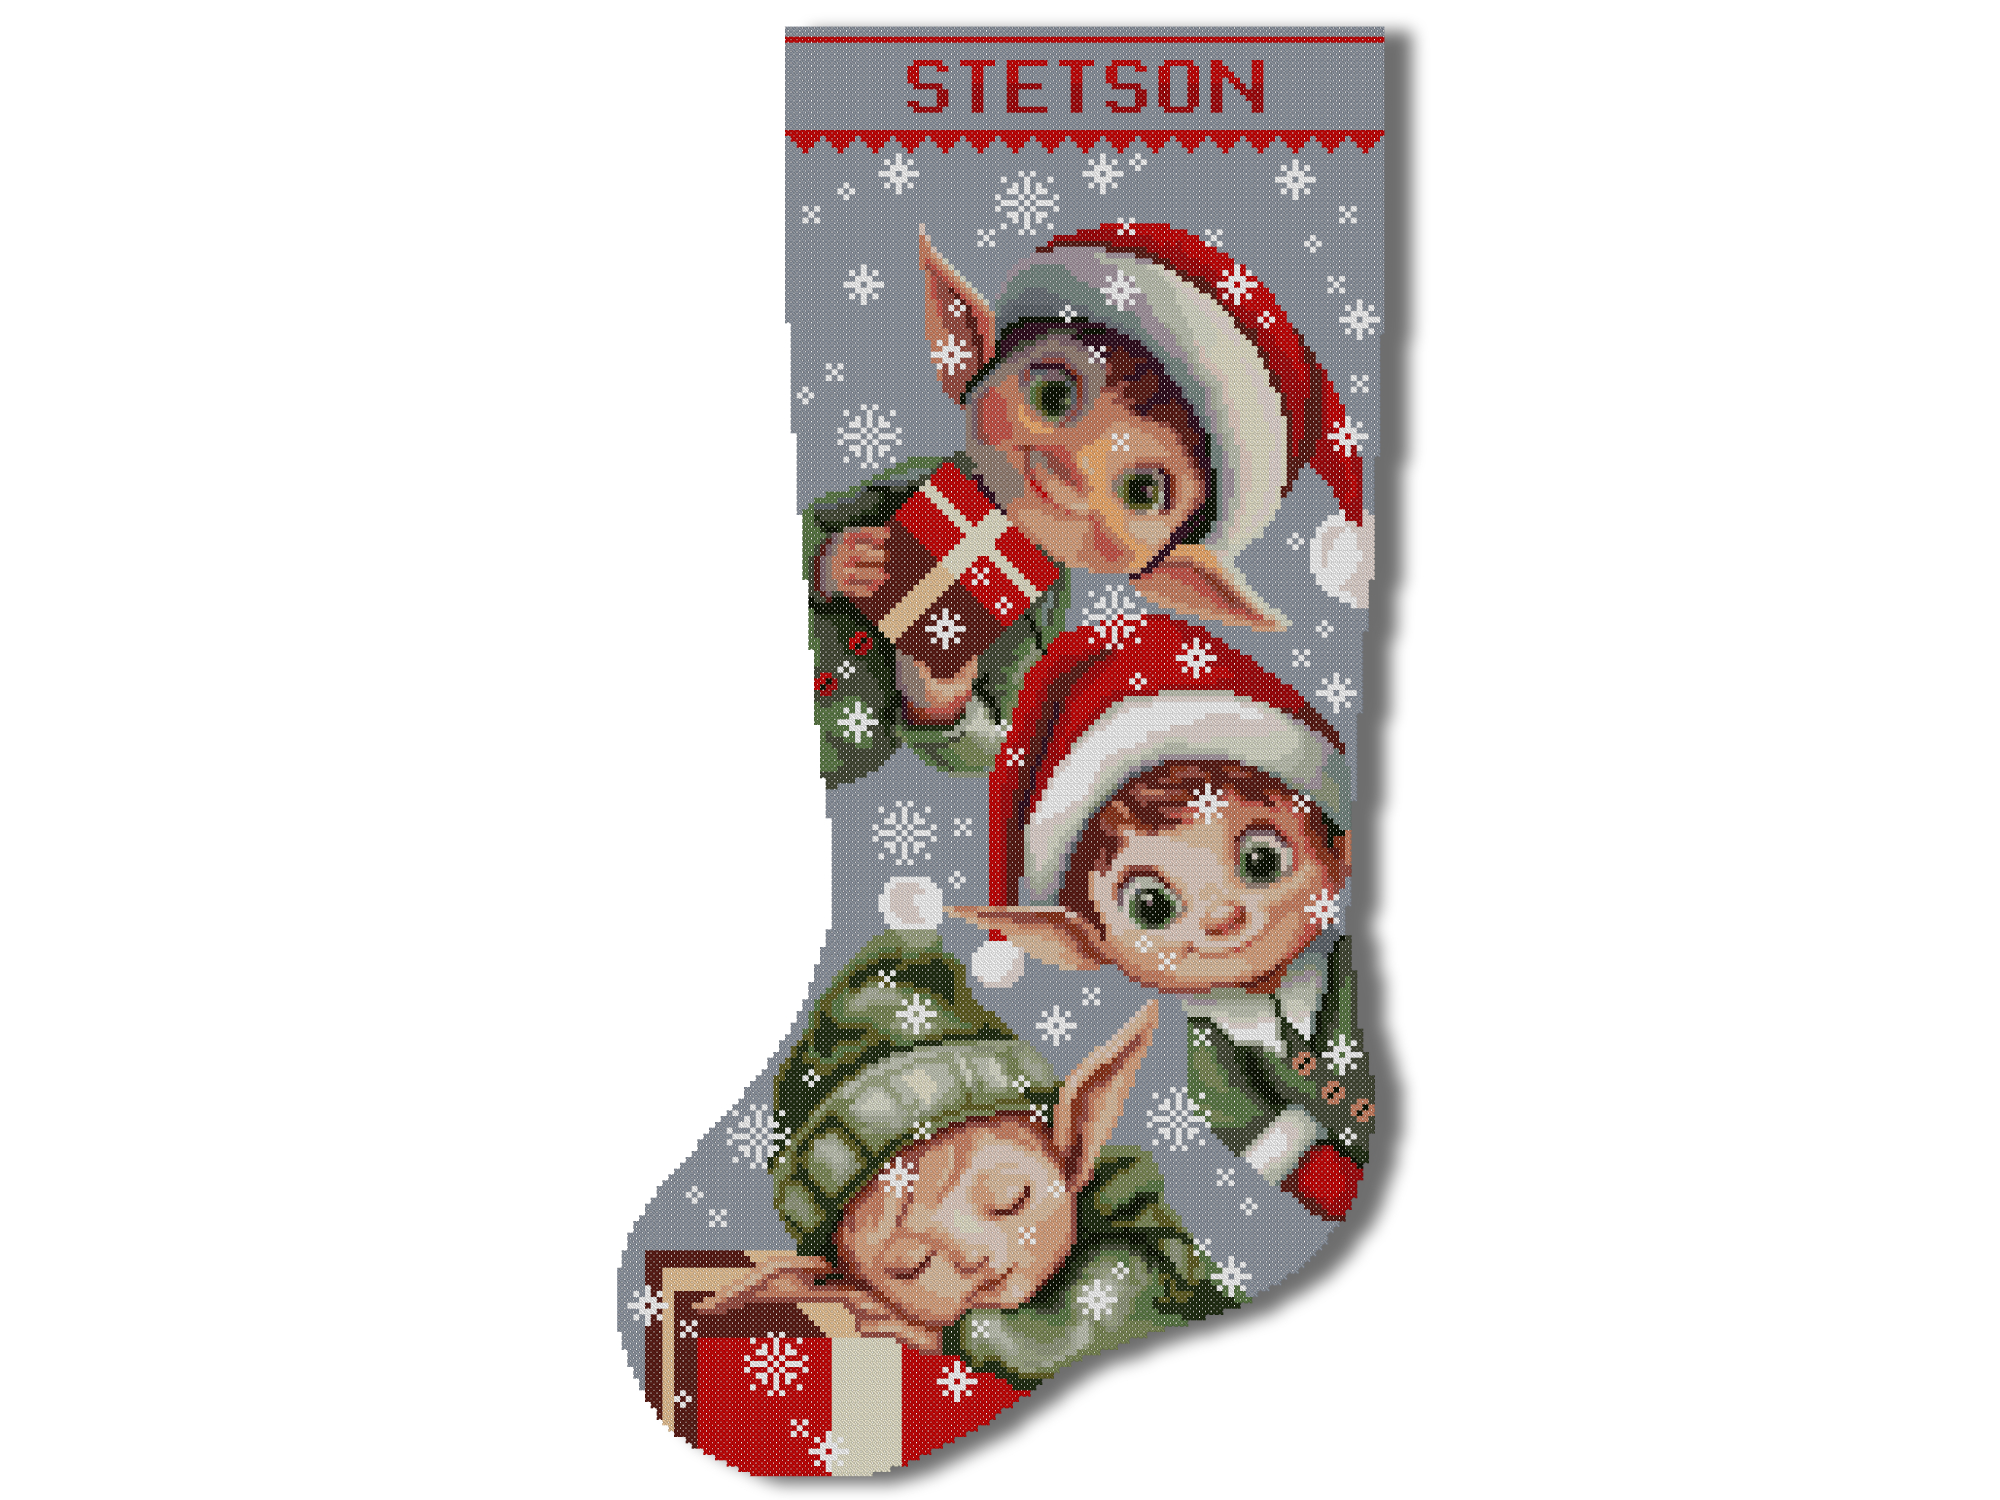
A cross stitch Christmas stocking is a decorative Christmas stocking that is embroidered by hand using cross stitch. Unlike store-bought stockings, every stitch is created by you, making the finished stocking a meaningful keepsake that can be displayed and enjoyed for many Christmas seasons.
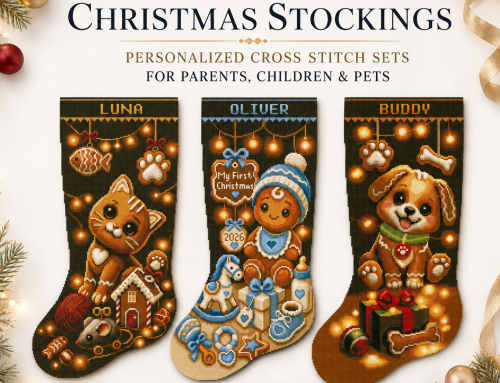
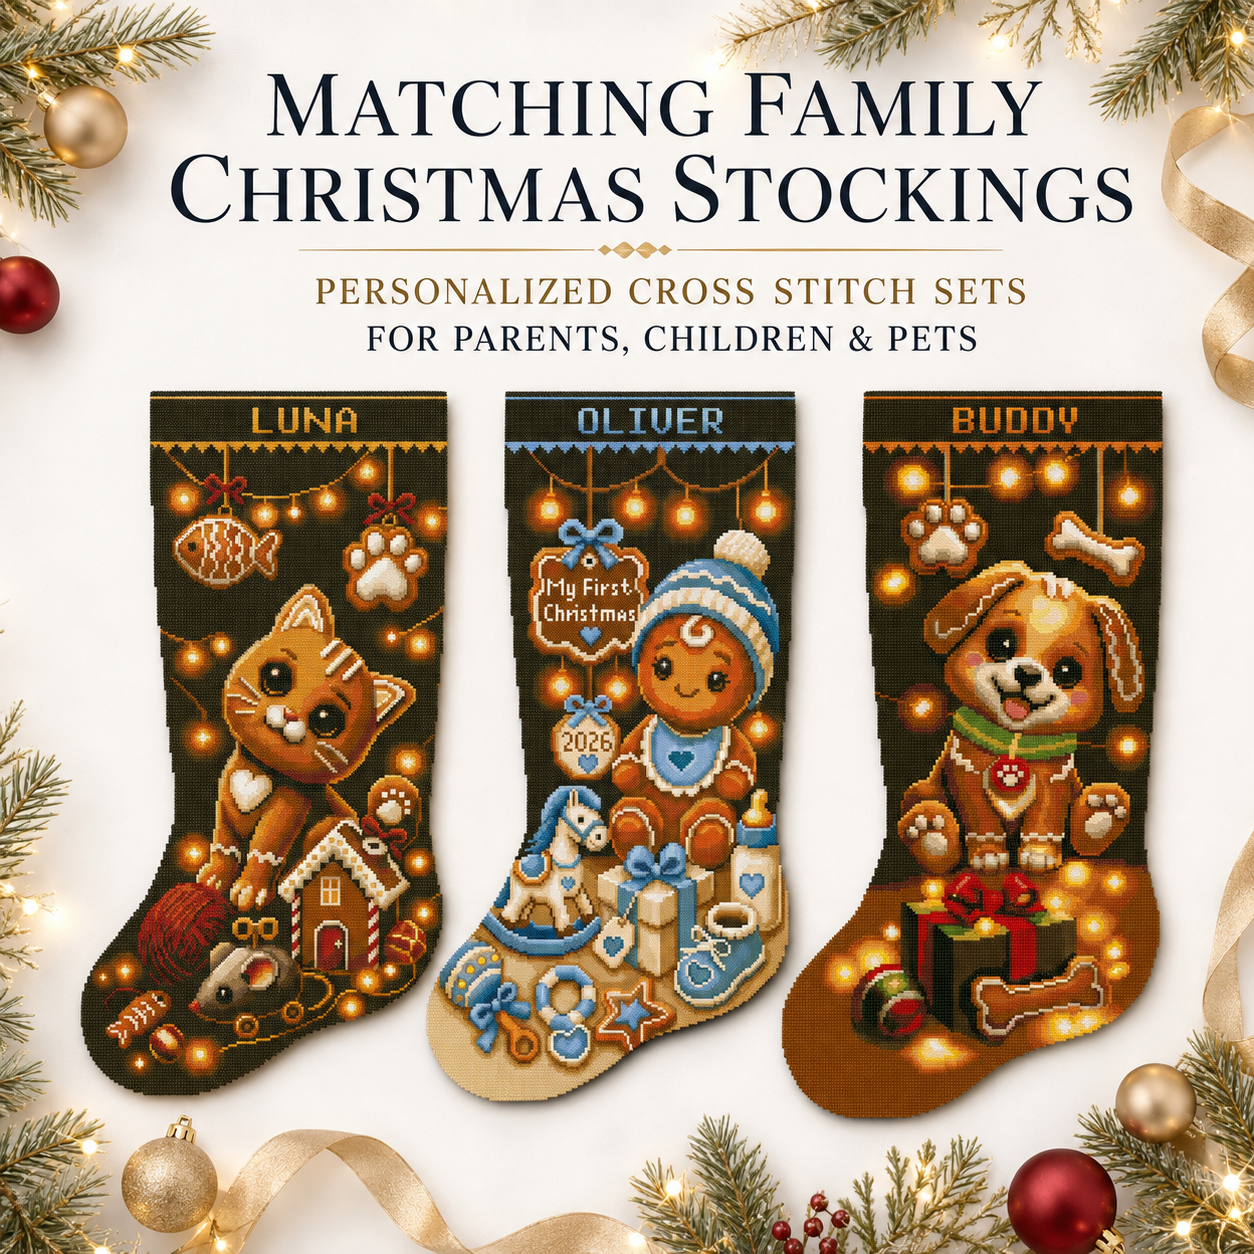
Many stitchers create one stocking for every family member, adding names to make each design unique. Over time, these handmade stockings often become treasured family traditions and are passed down from one generation to the next.
Today, there are several ways to create a Christmas stocking.
- Stamped cross stitch kits include printed fabric with the design already marked, making stitching easier for beginners.
- Counted cross stitch kits use blank Aida fabric and a printed chart, allowing experienced stitchers to follow the pattern stitch by stitch.
- Digital PDF patterns give you complete flexibility to choose your own fabric, threads and finishing materials.
At CrossStitchStyleArte, our 2-in-1 Christmas stocking kits include both stamped and counted cross stitch options in one package. You can choose the stitching method you enjoy most while using the same beautiful design.
If you prefer complete flexibility, our digital Christmas stocking patterns include both full-color and black-and-white charts, DMC thread lists, alphabet charts for personalization and detailed finishing instructions.
Whether you are making your very first stocking or adding another design to your family’s collection, creating a handmade Christmas stocking is one of the most rewarding cross stitch projects you can complete.
Did You Know?
Every CrossStitchStyleArte Christmas stocking pattern includes an alphabet for personalization, allowing you to create a unique stocking with any name.
Is a Cross Stitch Christmas Stocking Suitable for Beginners?
A cross stitch Christmas stocking project can suit almost anyone, but the best format depends on your experience, patience and preferred way of stitching.
For an absolute beginner, a stamped cross stitch stocking is usually the easiest place to start. The design is already printed on the fabric, so you can follow the marked areas while checking the paper chart when needed. This removes much of the stress of counting every square and helps you focus on learning how to make neat, even stitches.
A counted cross stitch stocking is a better choice for stitchers who enjoy working from a chart and prefer a traditional blank-fabric method. It requires more concentration because every stitch must be counted and placed correctly, but many experienced stitchers find this process relaxing and rewarding.
A 2-in-1 kit is ideal for someone who wants flexibility. It includes both stamped Aida 14 and blank white Aida 14, allowing the stitcher to choose either the guided stamped method or classic counted cross stitch.
A digital PDF pattern is best for people who already have some materials or want complete freedom to select their own fabric, threads and finishing options.
A Good Choice for Beginners
A well-designed Christmas stocking does not need to be technically difficult. Most CrossStitchStyleArte designs use full cross stitches, with backstitch added only where extra detail is needed. There are no French knots or complicated specialty stitches, and the color areas are arranged in clear sections rather than scattered single stitches.
This makes the project easier to follow, even though the finished stocking looks detailed and impressive.
A Good Choice for Experienced Stitchers
Experienced stitchers can use the same designs with counted cross stitch, experiment with fabric count, add metallic threads or beads, and customize names, dates or family details.
CrossStitchStyleArte Tip: If this is your first large cross stitch project, choose a stamped kit and use a hoop or frame for more even tension. You do not need to rush. Consistent stitching matters more than speed.
Stamped, Counted, 2-in-1 Kit or Digital Pattern: Which Should You Choose?
Choosing the right type of Christmas stocking project is one of the most important decisions before you begin stitching. The good news is that there is no single “best” option—each type has its own advantages depending on your experience, stitching style and personal preferences.
Some stitchers love the simplicity of stamped cross stitch, while others enjoy the traditional counted method. Many prefer the flexibility of a 2-in-1 kit, and experienced stitchers often choose digital PDF patterns because they already have their favorite fabric and supplies.
The following comparison will help you decide which option is the best fit for your next Christmas stocking project.
Stamped Cross Stitch Kit
A stamped cross stitch kit is the easiest option for beginners and anyone who wants a relaxing stitching experience.
The design is already printed directly on the Aida fabric, so you simply match the printed symbols or colors with the correct embroidery floss. Because most of the counting has already been done for you, it is much easier to stay on track and avoid mistakes.
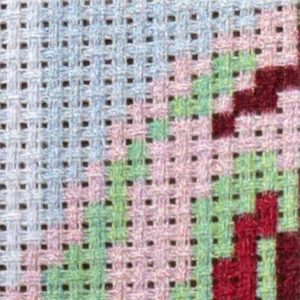
A stamped kit is an excellent choice if you:
- Are new to cross stitch.
- Prefer a more relaxing project.
- Want to finish your stocking faster.
- Feel nervous about counting stitches.
- Want a clear guide while stitching.
After the embroidery is complete, the printed design is removed by gently washing the fabric according to the instructions.
Counted Cross Stitch Kit
Counted cross stitch is the traditional embroidery method that many experienced stitchers enjoy.
Instead of a printed design, you receive blank white Aida fabric and a detailed printed chart. Every stitch is placed by carefully counting the fabric squares.
Although counted cross stitch requires more concentration, it offers complete control over every stitch and is often preferred by stitchers who enjoy reading patterns.
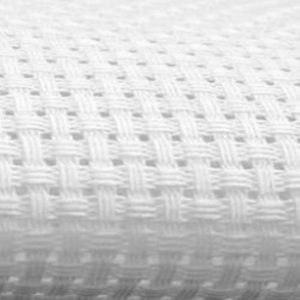
A counted kit is ideal if you:
- Already have cross stitch experience.
- Enjoy following printed charts.
- Like traditional embroidery.
- Prefer working on blank fabric.
2-in-1 Christmas Stocking Kit
If you are unsure which method you will enjoy most, a 2-in-1 Christmas stocking kit offers the best value and flexibility.
Each CrossStitchStyleArte 2-in-1 kit includes:
- Stamped Aida 14 fabric.
- Blank white Aida 14 fabric for counted cross stitch.
- Printed color chart.
- Black-and-white symbol chart.
- DMC thread organizer with approximately 30% extra floss.
- Two embroidery needles.
- Backing fabric.
- Complete stitching instructions.
- Step-by-step finishing instructions.
- Alphabet for personalization.
- Threads for creating the hanging braid.
You can stitch exactly the same design using either method, making this a perfect choice for families where different people prefer different stitching styles.
Digital Christmas Stocking Pattern
A digital PDF pattern gives you complete creative freedom.
Instead of receiving physical materials, you instantly download everything you need to begin stitching with your own supplies.
Each CrossStitchStyleArte digital pattern includes:
- Full-color chart.
- Black-and-white symbol chart.
- Complete DMC thread list.
- Stitch count.
- Finished design size.
- Alphabet for personalization.
- Detailed stitching instructions.
- Complete stocking finishing guide.
Digital patterns are perfect if you:
- Already own embroidery supplies.
- Want instant access after purchase.
- Prefer choosing your own fabric.
- Like collecting cross stitch patterns.
- Live outside countries where shipping may take longer.
Which Option Is Right for You?
| If you… | Best Choice |
|---|---|
| Have never stitched before | Stamped Kit |
| Want the easiest experience | Stamped Kit |
| Enjoy traditional counted cross stitch | Counted Kit |
| Cannot decide between both methods | 2-in-1 Kit |
| Already own fabric and threads | Digital Pattern |
| Want instant download | Digital Pattern |
| Like maximum flexibility | Digital Pattern |
| Want everything included in one box | 2-in-1 Kit |
⭐ CrossStitchStyleArte Tip
If this is your very first Christmas stocking, don’t worry about making it perfect. Choose the option that feels most comfortable for you and enjoy the process. A handmade Christmas stocking is more than just a decoration—it becomes part of your family’s Christmas traditions for years to come.
What Is Included in a Cross Stitch Christmas Stocking Kit?
A high-quality Christmas stocking cross stitch kit should include everything you need to complete your project successfully. This allows you to start stitching immediately without searching for additional materials.
At CrossStitchStyleArte, every kit is carefully designed to make the stitching experience simple, enjoyable and suitable for both beginners and experienced stitchers.
Every CrossStitchStyleArte Christmas Stocking Kit Includes:
✔ Stamped Aida 14 Fabric
The front of the stocking is printed on premium white Aida 14 fabric using a water-soluble pattern. The printed design makes stitching much easier because you can follow the symbols directly on the fabric.
After the embroidery is finished, the printed pattern washes away with cool water, leaving only your beautiful stitches.
✔ White Aida 14 Fabric for Counted Cross Stitch
Our 2-in-1 kits also include a second piece of blank white Aida 14 fabric.
This allows you to stitch the same design using the traditional counted cross stitch method if you prefer working from a printed chart.
Whether you enjoy stamped or counted cross stitch, both options are included in one kit.
✔ Premium Embroidery Floss
Every kit includes high-quality embroidery floss organized on a thread organizer.
To help prevent running out of thread, we include approximately 30% more floss than is normally required for the design.
✔ Two Embroidery Needles
Each kit contains two embroidery needles, so you’ll always have a spare available while stitching.
✔ Backing Fabric
The kit includes matching backing fabric for sewing the finished Christmas stocking.
The color is selected to complement the embroidered design, creating a beautiful finished project.
✔ Printed Color and Symbol Charts
Every kit includes easy-to-read printed charts.
You receive both:
- Full-color chart
These charts make it easy to check your progress while stitching.
✔ Step-by-Step Stitching Instructions
Even if you have never embroidered before, our detailed instructions explain:
- how to start stitching
- how to end a thread
- how to make neat cross stitches
- how to stitch backstitch (when required)
- how to avoid common beginner mistakes
✔ Complete Stocking Finishing Guide
After completing the embroidery, you will also receive illustrated instructions explaining how to:
- cut the stocking correctly
- sew the front and back together
- turn the stocking right side out
- press the seams
- finish the opening
- attach the hanging loop
No previous sewing experience is required.
✔ Alphabet for Personalization
Every design includes an alphabet chart, making it easy to personalize your stocking with any name.
To make personalization even easier, you can also use our free Name Centering Calculator, which automatically centers names in just a few clicks.
✔ Threads for the Hanging Braid
The remaining embroidery floss can be used to create a decorative braided hanger.
Our instructions show exactly how to braid and attach it, giving your finished stocking a beautiful handmade touch.
Ready to Start Stitching?
With all materials and detailed instructions included, you can spend less time preparing and more time enjoying the creative process of making a personalized Christmas stocking that will become part of your family’s holiday traditions.
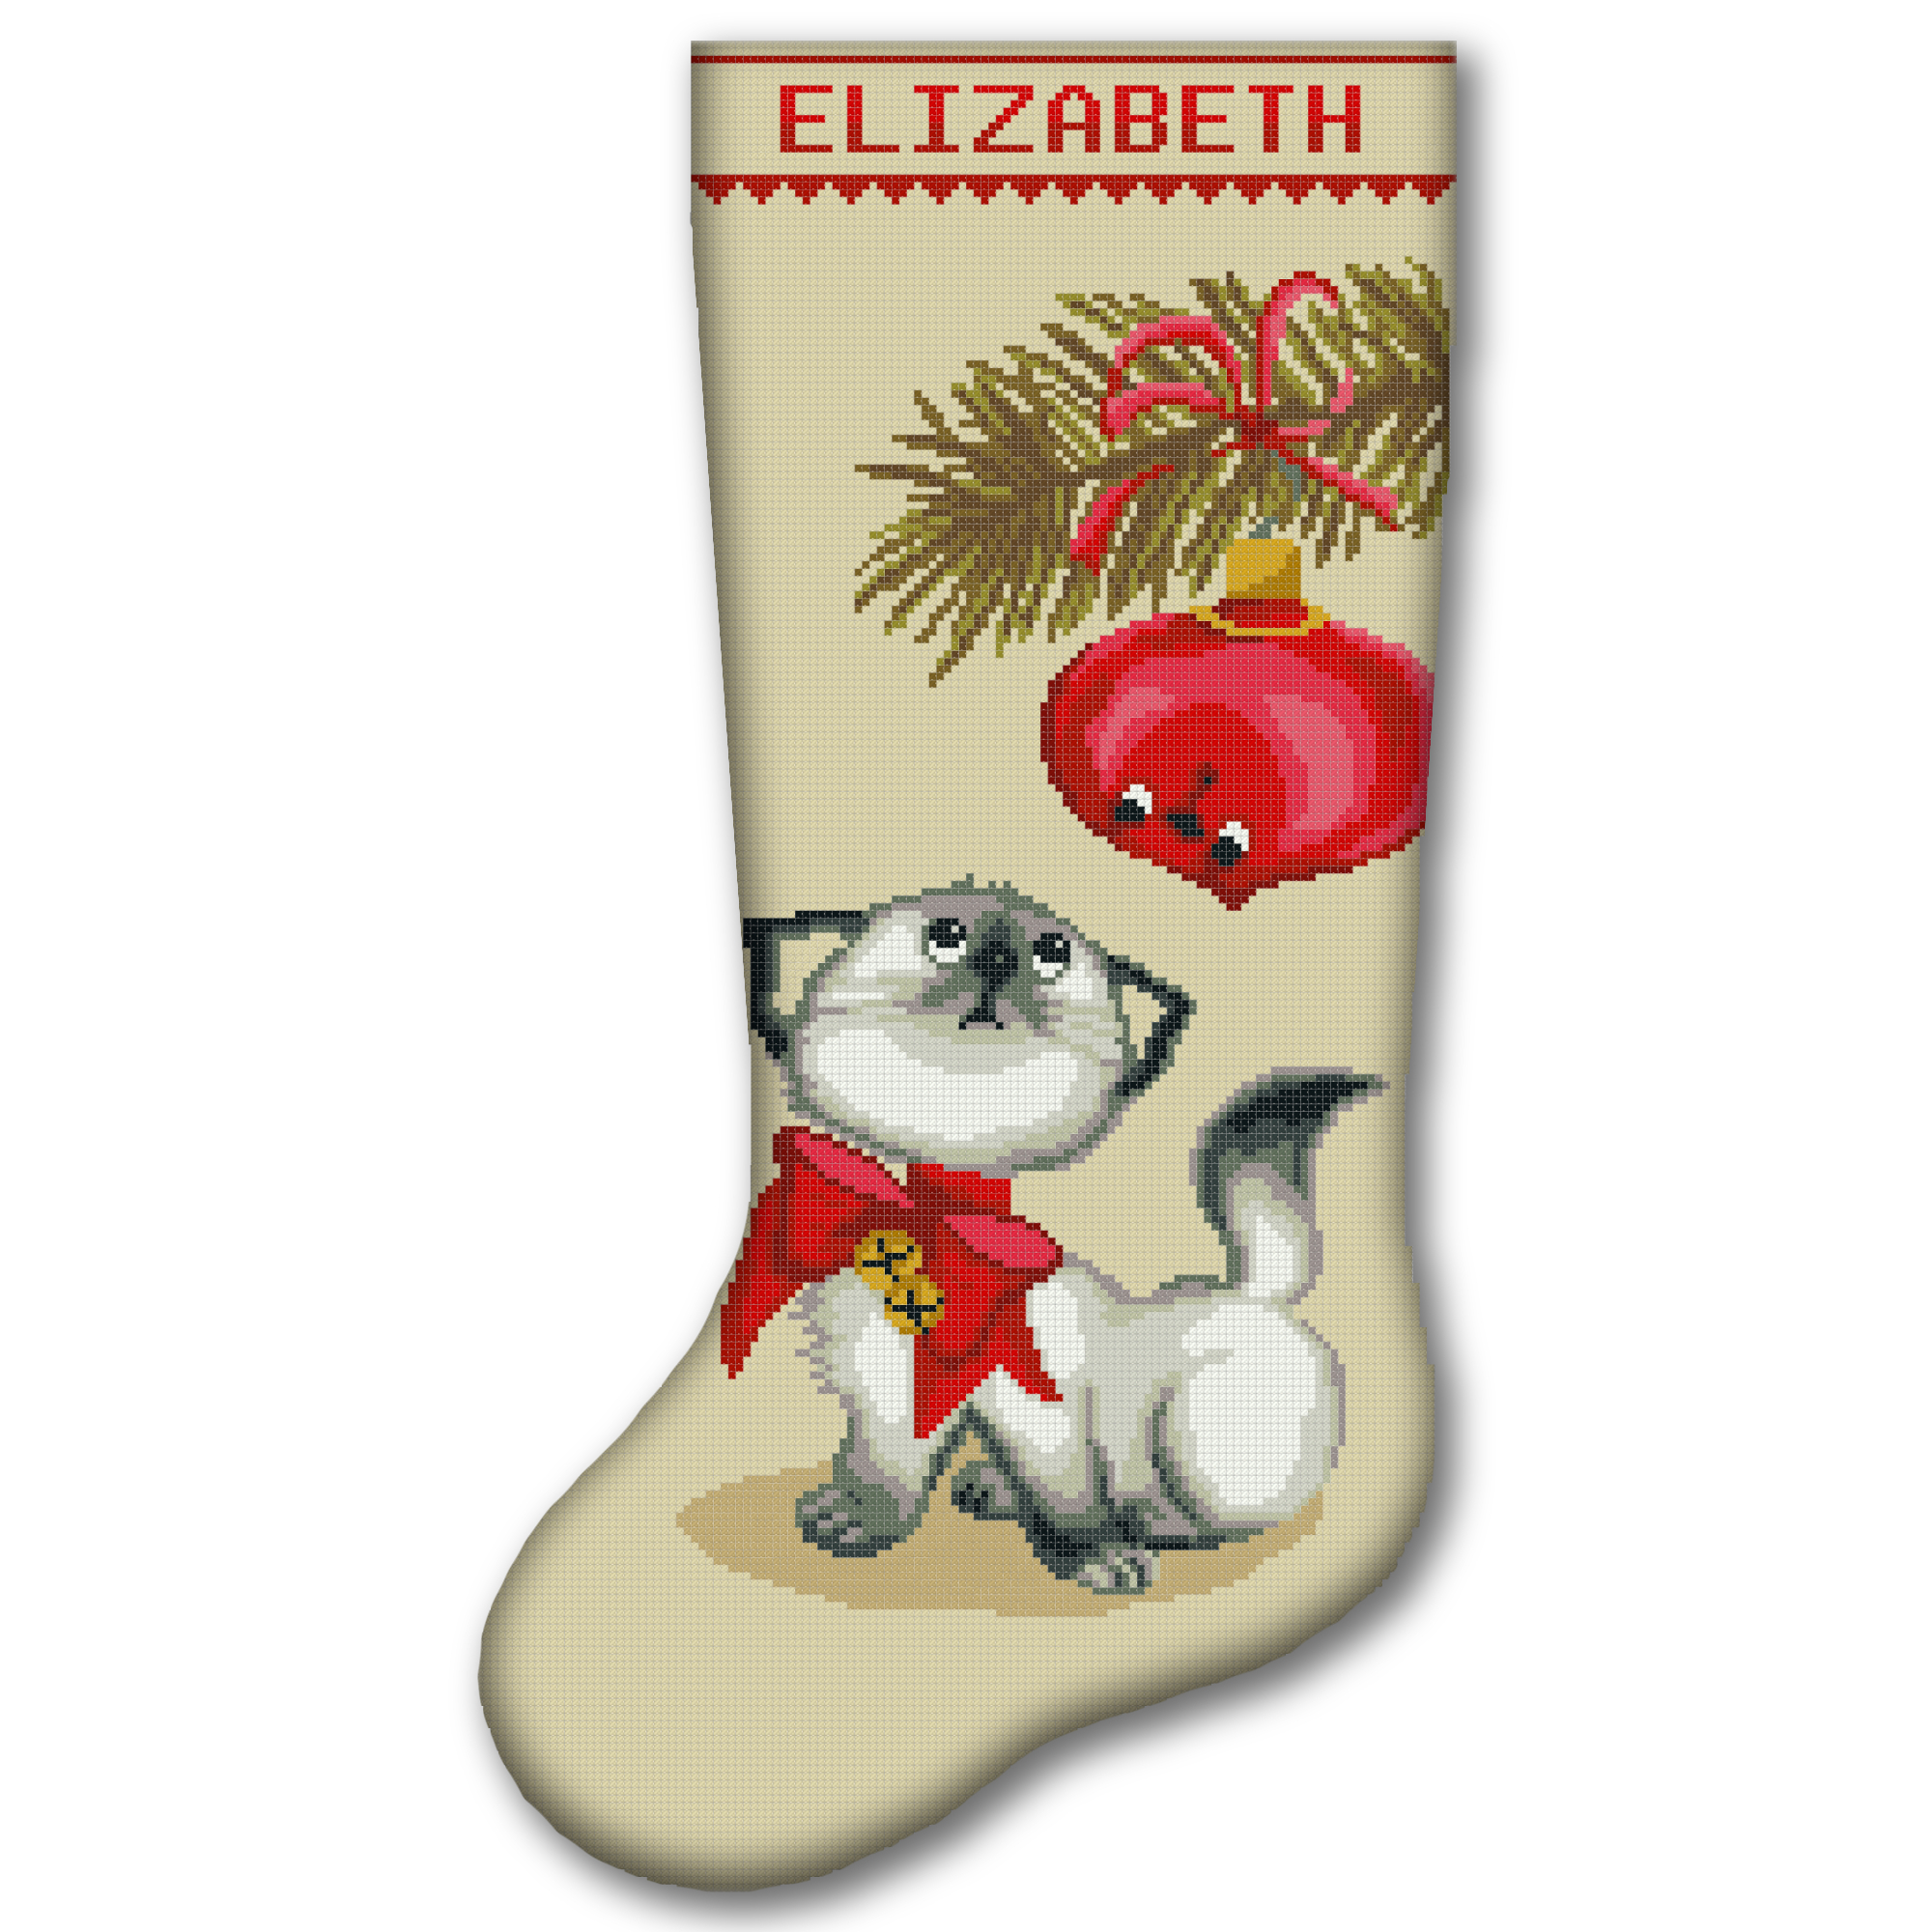
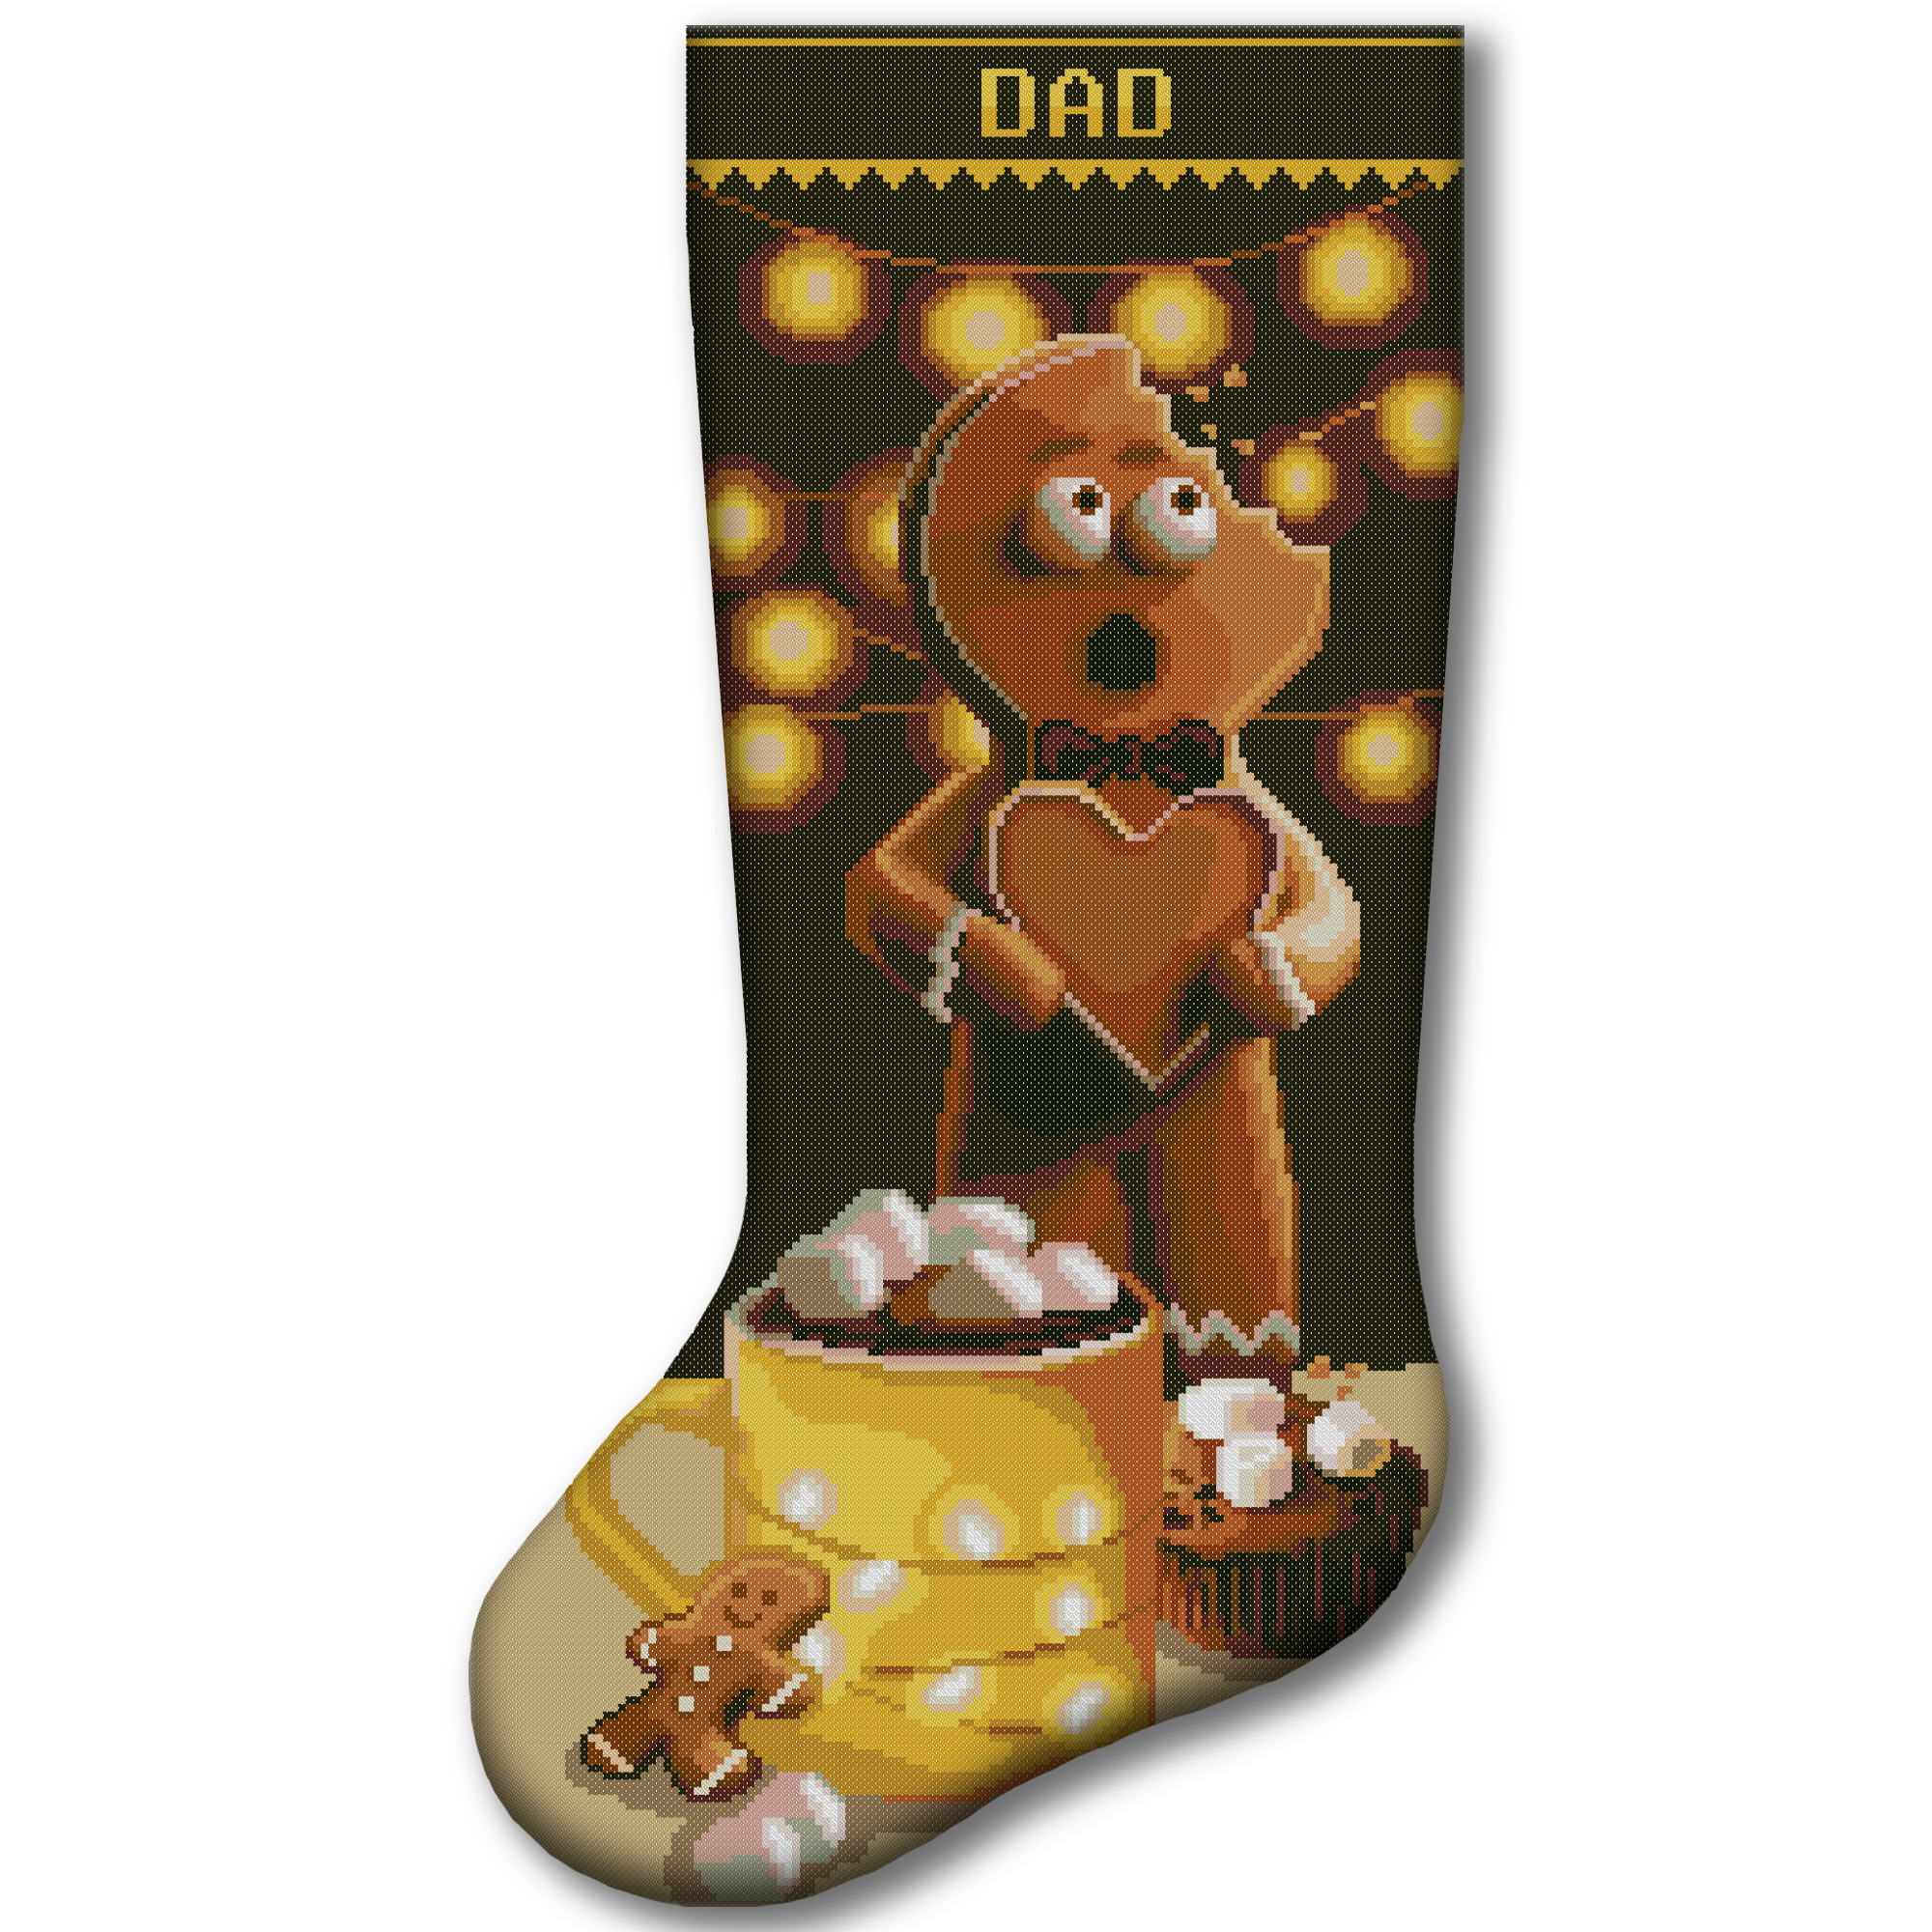
What Is Included in a Digital Christmas Stocking Pattern?
A digital Christmas stocking pattern gives you everything you need to complete the project using your own fabric and embroidery supplies. It is an excellent choice for stitchers who enjoy selecting their own materials or want instant access to a new design without waiting for shipping.
Every CrossStitchStyleArte digital pattern is designed to make the stitching process as simple and enjoyable as possible. Whether you are creating your first Christmas stocking or adding another design to your holiday collection, you’ll have clear instructions from the first stitch to the final finishing.
Every Digital Pattern Includes
✔ Full-Color Cross Stitch Chart
A clear, easy-to-read color chart helps you quickly identify each thread color and follow the design with confidence.
✔ Black-and-White Symbol Chart
Many experienced stitchers prefer working with symbols instead of colors. Every pattern includes a high-contrast black-and-white chart that is easy to print and comfortable to use during long stitching sessions.
✔ Complete DMC Thread List
Every design includes a complete list of DMC thread colors, making it easy to prepare your materials before you begin stitching.
✔ Stitch Count and Finished Size
Each pattern clearly shows:
- Stitch count
- Finished design dimensions
- Recommended fabric counts
This helps you choose the right fabric and estimate the finished stocking size before you start.
✔ Alphabet for Personalization
Every pattern includes a complete alphabet, allowing you to personalize your Christmas stocking with any name.
For perfectly centered names, you can also use our free Name Centering Calculator, which automatically positions the name in just a few seconds.
✔ Complete Stitching Instructions
Even if this is your first counted cross stitch project, detailed instructions explain:
- how to start stitching
- how to secure your thread
- how to complete full cross stitches
- how to stitch backstitch (when required)
- how to achieve neat, even stitches
✔ Complete Stocking Finishing Guide
Your digital download also includes step-by-step instructions showing how to:
- cut the finished embroidery
- sew the stocking together
- finish the opening
- attach the hanging loop
- press the finished stocking
You do not need previous sewing experience to follow the guide.
Helpful Free Tools
To make your project even easier, you can use our free online tools:
- Fabric Size Calculator – calculate the perfect fabric size before you begin.
- Floss Usage Calculator – estimate how much DMC thread you will need.
- Cross Stitch Time Calculator – plan your stitching schedule and estimate your completion date.
- Name Centering Calculator – center any name automatically before stitching.
⭐ CrossStitchStyleArte Tip
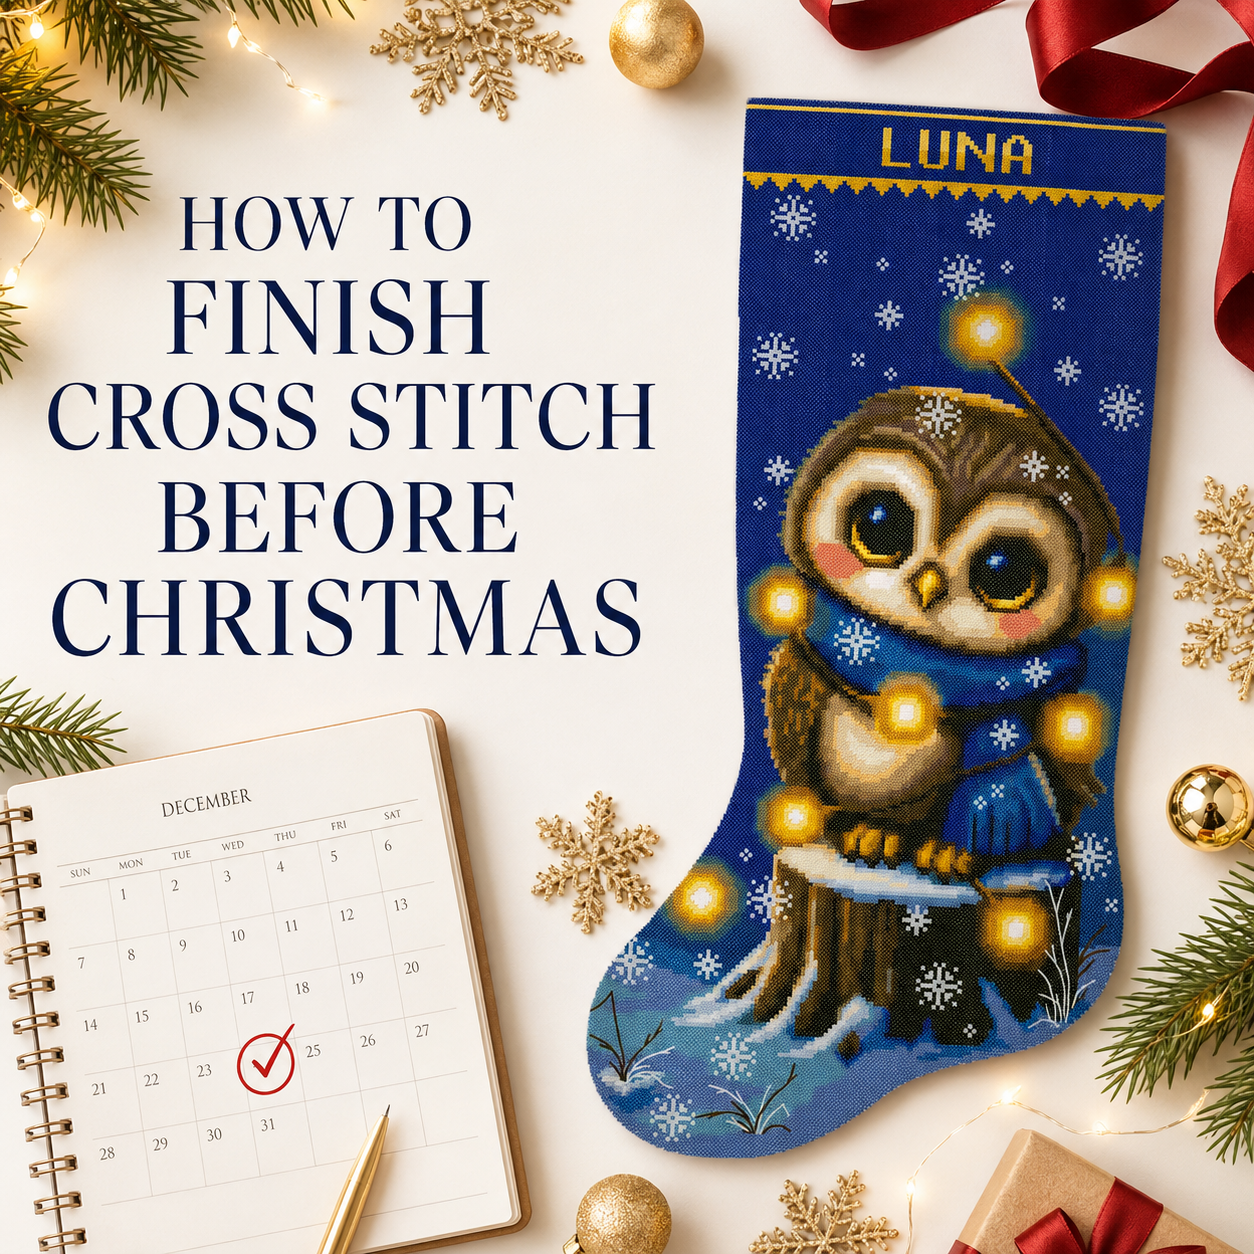
If you’re stitching a personalized Christmas stocking as a gift, plan your project early. Our Cross Stitch Time Calculator helps you estimate how many hours you’ll need based on your stitching speed and your target completion date, making it easier to finish before Christmas.





Which Fabric Is Best for a Cross Stitch Christmas Stocking?
Choosing the right fabric is one of the most important decisions when making a cross stitch Christmas stocking. The fabric affects not only how easy the project is to stitch but also how your finished stocking will look and feel.
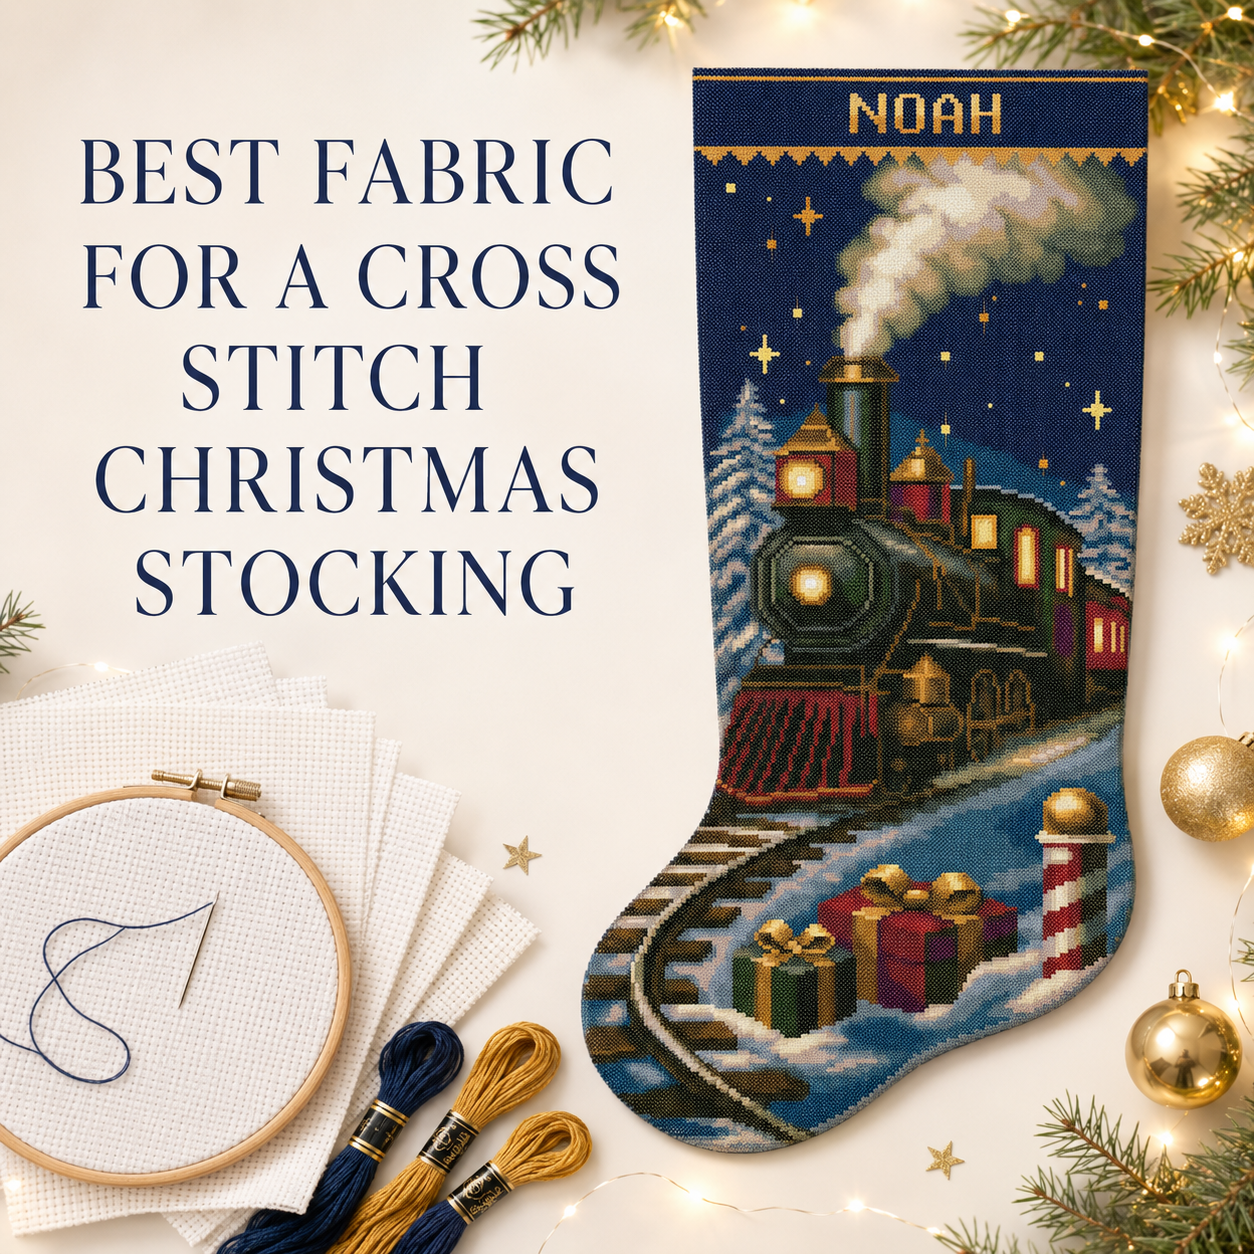
For most Christmas stocking projects, 14-count Aida is considered the best choice. It offers an excellent balance between stitch size, visibility and ease of stitching, making it suitable for both beginners and experienced stitchers.
At CrossStitchStyleArte, we use premium white 14-count Aida for all of our Christmas stocking designs because it provides consistent results and makes the patterns easy to follow.
Why We Use Aida 14
Aida 14 is one of the most popular cross stitch fabrics in the world, and for good reason.
It offers several advantages:
- Large, easy-to-see holes that help you place stitches accurately.
- A comfortable fabric count for beginners and experienced stitchers alike.
- A finished design that shows beautiful detail without requiring extremely small stitches.
- Excellent durability for Christmas stockings that will be displayed year after year.
If this is your first Christmas stocking project, Aida 14 is the fabric we recommend.
Stamped Aida vs Blank White Aida
If you choose a stamped cross stitch kit, the design is already printed on the Aida fabric. This makes stitching easier because you simply follow the printed symbols while checking the chart whenever needed.
If you prefer counted cross stitch, you’ll stitch on blank white Aida using the printed chart. This traditional method requires more counting but gives you complete control over every stitch.
Our 2-in-1 kits include both options, allowing you to choose the stitching method that suits you best.
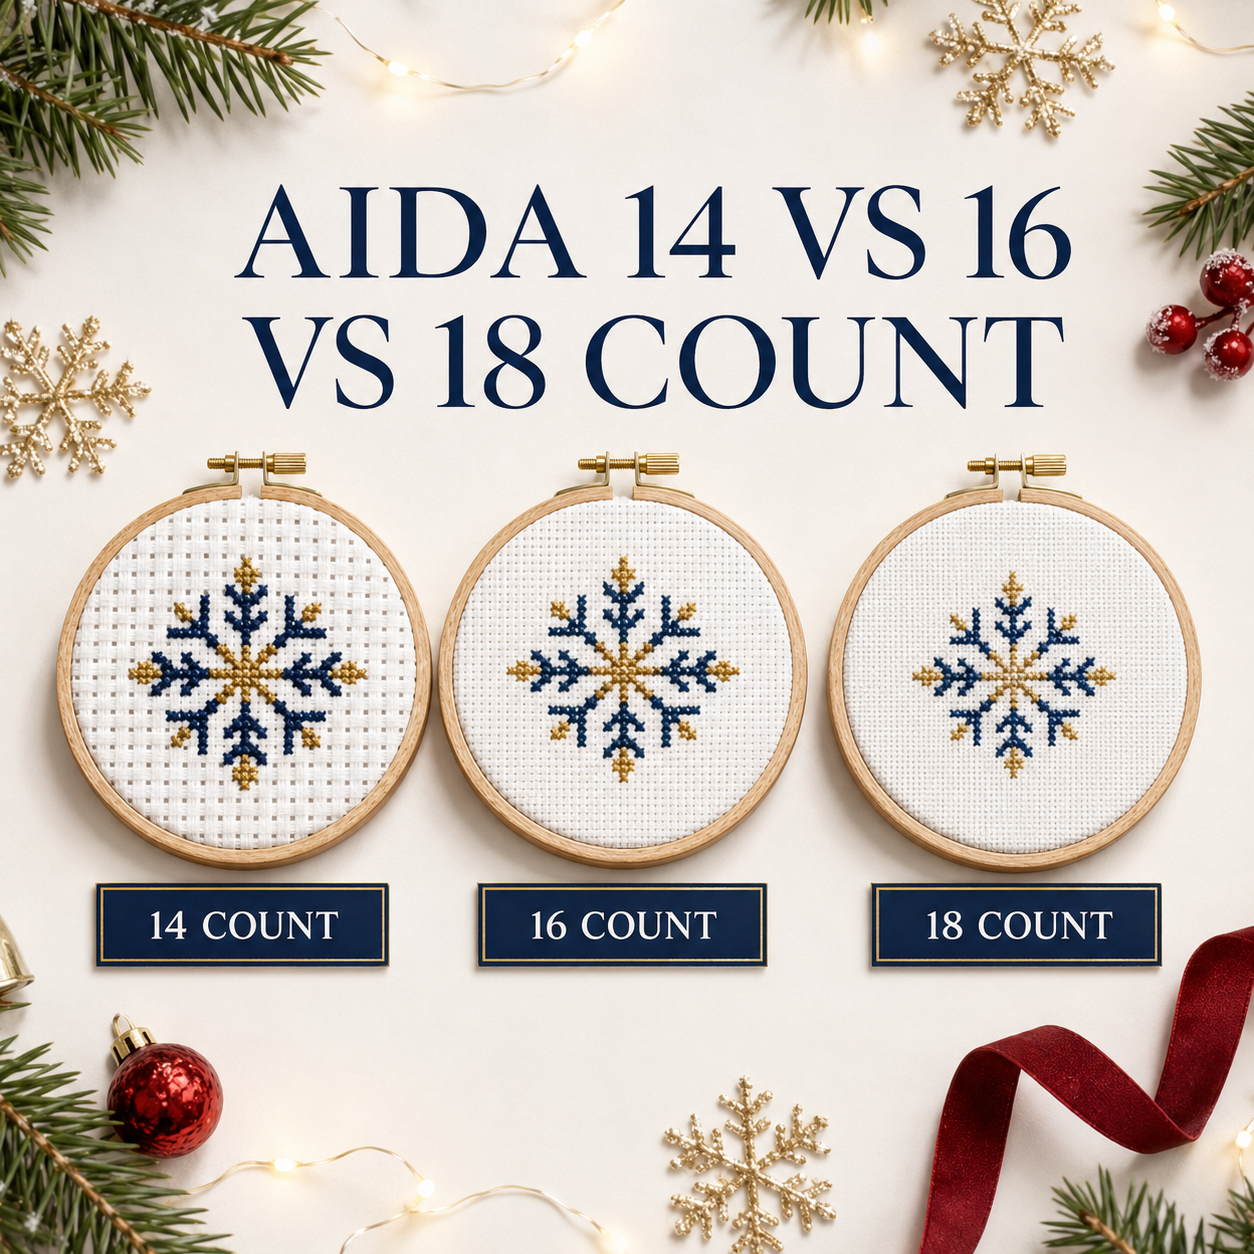
Can I Use Other Fabric Counts?
Yes. If you’re using one of our digital Christmas stocking patterns, you can stitch it on different fabric counts if you prefer.
Keep in mind that changing the fabric count will change the finished size of your stocking. Before purchasing fabric, we recommend calculating the finished dimensions to ensure you have enough material for both the embroidery and the sewing allowance.
👉 Need help choosing the correct fabric size?
Use our Fabric Size Calculator to calculate the exact fabric dimensions for your project before you begin stitching.
⭐ CrossStitchStyleArte Tip
If you’re stitching your first Christmas stocking, we recommend using 14-count Aida with a hoop or frame. It provides comfortable fabric tension, makes counting easier and helps create neat, even stitches throughout the project.
What Tools and Materials Do You Need?
Before starting a cross stitch Christmas stocking, it helps to prepare all the materials you will need in one place. A complete kit already includes most of the essentials, while a digital pattern gives you more freedom to choose your own fabric, threads and finishing materials.
The exact list depends on whether you are using a stamped kit, a counted cross stitch kit, a 2-in-1 kit or a digital PDF pattern.
Essential Cross Stitch Materials
For the embroidery itself, you will need:
- Aida fabric — stamped or blank, depending on the stitching method.
- Embroidery floss in the colors listed in the pattern.
- Embroidery needle suitable for your fabric count.
- Printed or digital cross stitch chart.
- Thread organizer to keep colors separated and easy to identify.
- Small embroidery scissors for trimming threads.
- Alphabet chart if you plan to personalize the stocking with a name.
CrossStitchStyleArte physical kits include the fabric, organized threads, two needles, printed charts, personalization alphabet and detailed instructions.
If you are using a digital pattern, check the included DMC thread list and finished dimensions before purchasing your supplies.
Is a Hoop or Frame Necessary?
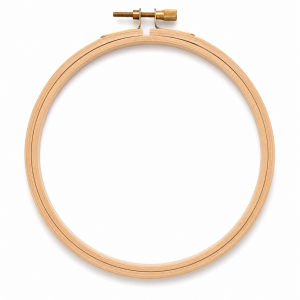
A hoop or embroidery frame is not absolutely required, but it is recommended.
Keeping the fabric under even tension can help you:
- make more consistent cross stitches;
- prevent the fabric from bunching;
- see the holes more clearly;
- work more comfortably during longer stitching sessions.
Avoid stretching the fabric too tightly. The goal is to keep it smooth and stable, not rigid.
For a large stocking project, some stitchers prefer a larger hoop, Q-snap frame or scroll frame. Choose the option that feels most comfortable for you.
Materials Needed for Finishing the Stocking
After the embroidery is complete, you will also need a few basic sewing supplies:
- Backing fabric for the reverse side of the stocking;
- sewing thread in a coordinating color;
- pins or fabric clips;
- fabric scissors;
- measuring tape or ruler;
- sewing machine or hand-sewing needle;
- iron and pressing cloth;
- special braiding threads for the hanging loop.
CrossStitchStyleArte physical kits include coordinating backing fabric and special threads provided specifically for creating the decorative hanging braid.
A sewing machine makes the finishing process faster, but the stocking can also be sewn by hand with small, secure stitches.
Optional Materials
The following items are optional and are not required to complete the stocking:
- Lining fabric for a finished interior;
- lightweight interfacing for added structure;
- batting for a softer, fuller appearance;
- metallic thread, beads or crystals for extra decoration;
- color catcher sheets for the final rinse.
A basic stocking can be completed successfully without lining, batting or interfacing. These additions are personal choices rather than necessities.
Prepare Everything Before You Begin
Before making the first stitch:
- Check that all thread colors are present.
- Read the instructions from beginning to end.
- Confirm the fabric orientation.
- Decide where the personalized name will go.
- Estimate your project time.
- Keep your chart, needle and scissors together in a safe place.
Preparing everything first reduces mistakes and makes the stitching process more relaxing.
CrossStitchStyleArte Tip: If you are working from a digital pattern, use the free Fabric Size Calculator and Floss Usage Calculator before buying supplies. This helps you avoid purchasing too little fabric or thread.
How to Read a Christmas Stocking Cross Stitch Pattern
Learning to read a cross stitch pattern may seem confusing at first, but once you understand the basic symbols and layout, it quickly becomes second nature. Whether you are using a printed chart from a kit or a digital PDF pattern, every chart follows the same basic principles.
Our patterns are designed to be clear, beginner-friendly and easy to follow, allowing you to focus on enjoying the stitching process rather than struggling to understand the chart.
Understanding the Pattern Layout
Every CrossStitchStyleArte pattern includes a complete chart showing exactly where each stitch belongs.
You’ll find:
- A clearly marked center point to help you start in the correct position.
- A numbered grid that makes it easy to find your place.
- Color symbols representing each DMC thread color.
- A complete color key with thread numbers.
- Finished stitch count and design size.
We recommend taking a few minutes to look through the entire pattern before making your first stitch. Understanding the layout will make the project much easier to follow.
Color Chart or Black-and-White Symbols?
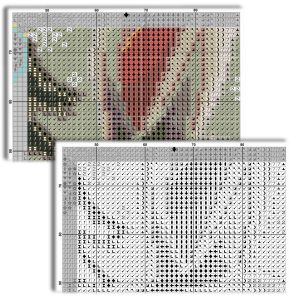
Our patterns include both versions, allowing you to choose the one you find most comfortable.
A color chart makes it easy to recognize color changes at a glance and is especially helpful for beginners.
A black-and-white symbol chart provides high contrast and is often preferred for long stitching sessions or when printing the pattern at home.
Many stitchers switch between both versions depending on the section they are working on.
Finding the Center of Your Fabric
Most cross stitch projects begin from the center.
Locate the center of your fabric by folding it in half vertically and horizontally. The point where the folds meet marks the center.
Starting near the center helps keep the design properly positioned and ensures there is enough fabric around all sides for finishing the stocking.
If you are stitching one of our stamped designs, the printed layout already guides the placement of the stitches, making the process even easier.
Following the Chart Without Losing Your Place
One of the most common beginner mistakes is losing track of the current stitching position.
These simple habits can help:
- Complete one color section at a time whenever possible.
- Mark completed areas on a printed chart or digital device.
- Avoid jumping long distances across the design.
- Check your work regularly instead of waiting until the end.
Working methodically helps reduce mistakes and makes stitching more relaxing.
Reading the Pattern with Confidence
Don’t worry if the chart looks complicated at first. After completing just a small section, the symbols and grid become much easier to understand.
Our Christmas stocking designs are created with large color areas and logical stitching paths, making them easier to follow than many highly detailed cross stitch patterns.
Whether you’re stitching your very first stocking or your fiftieth, taking a few extra moments to understand the chart before you begin will make the entire project more enjoyable.
⭐ CrossStitchStyleArte Tip
Before threading your needle, spend five minutes studying the chart. Understanding where the design begins, how the symbols are organized and where the larger color blocks are located will save time and help prevent mistakes later.
How to Start Cross Stitching Your Stocking
Starting your first Christmas stocking may feel exciting and a little intimidating, but with a few simple preparations, you’ll be ready to begin with confidence. Taking your time before making the first stitch can help prevent mistakes and make the entire project more enjoyable.
Whether you are using a stamped cross stitch kit or a counted cross stitch pattern, the basic preparation steps are very similar.
Prepare Your Workspace
Choose a comfortable place with good lighting where you can leave your project undisturbed between stitching sessions.
Before you begin, gather all your materials:
- Your Christmas stocking kit or digital pattern
- Fabric
- Embroidery floss
- Needle
- Scissors
- Hoop or frame (recommended)
- Printed or digital chart
- Highlighter or pencil for marking your progress (optional)
Keeping everything within easy reach allows you to focus on stitching instead of searching for supplies.
Find the Center Before You Start
For counted cross stitch, always locate the center of both your fabric and your pattern before making the first stitch.
Starting from the center helps ensure that the entire design fits correctly on the fabric and leaves enough space around the edges for sewing the finished stocking.
If you are using a stamped kit, the printed design already guides your stitching, making this step much easier.
Thread Your Needle Correctly
Cut a comfortable length of embroidery floss—about 18 to 20 inches (45–50 cm) is ideal for most stitchers.
Using shorter lengths helps prevent:
- tangling
- twisting
- excessive wear on the thread
Avoid using very long strands, as they tend to knot more easily and can lose their smooth appearance while stitching.
Make Your First Stitches
Begin with a small section rather than jumping around the design.
Complete one area before moving to the next whenever possible. Working in logical sections helps maintain a neat appearance and reduces counting mistakes.
Try to keep every top stitch facing the same direction throughout the entire project. Consistent stitch direction gives your finished stocking a smooth, professional look.
Secure the Thread
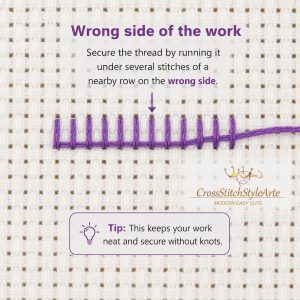
Start and finish each thread neatly without creating bulky knots on the back of the fabric.
For beginners, securing the thread under several completed stitches is a simple and reliable method.
A neat back not only looks more professional but also makes finishing and sewing the stocking easier.
Take Your Time
There is no need to rush.
A Christmas stocking is a project that will become part of your family’s holiday traditions, so enjoy every stage of the process.
Many stitchers find cross stitch relaxing because it allows them to slow down, focus on one stitch at a time and create something meaningful with their own hands.
⭐ CrossStitchStyleArte Tip
Don’t worry about how quickly you stitch. Everyone works at a different pace.
If you’re wondering how long your project will take, try our free Cross Stitch Time Calculator. Simply enter the stitch count, your stitching speed and how much time you can stitch each day to estimate your completion date.
👉 Estimate Your Stitching Time →
How to Keep Your Stitches Neat and Even
Beautiful cross stitch is not about stitching quickly—it’s about creating consistent, even stitches that give your finished Christmas stocking a smooth and professional appearance. A few simple habits can make a remarkable difference, even if this is your very first project.
The good news is that neat stitching is a skill that improves naturally with practice. By following a few basic techniques from the beginning, you’ll build good habits that will benefit every future project.
Keep Every Top Stitch Facing the Same Direction
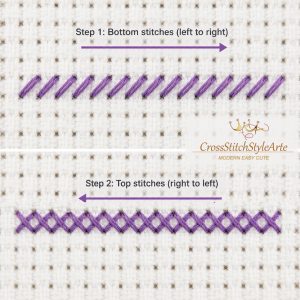
One of the easiest ways to improve the appearance of your embroidery is to make sure every top stitch crosses in the same direction.
For example:
- Stitch the bottom leg from lower left to upper right.
- Finish every cross with the top leg from lower right to upper left.
Whichever direction you choose, use it consistently throughout the entire project. Uniform stitches reflect light evenly and create a smooth, polished finish.
Maintain Even Thread Tension
Pull the thread gently after each stitch.
The thread should lie flat against the fabric without being pulled so tightly that it distorts the Aida or so loosely that the stitches look uneven.
A comfortable, consistent tension produces the best results.
Avoid Long Thread Jumps
Whenever possible, finish one section before moving to another nearby area.
Long jumps across the back of the fabric can:
- waste embroidery floss;
- create bulk;
- show through lighter areas of the fabric;
- make finishing the stocking more difficult.
If the next section is several stitches away, it is often better to secure the thread and start again in the new area.
Work One Color at a Time
Many stitchers find it easier to complete one color in a small area before changing to another.
This approach helps you:
- stay organized;
- reduce counting mistakes;
- avoid unnecessary thread changes;
- see your progress more clearly.
For stamped cross stitch, the printed design makes following color sections especially simple.
Keep Your Fabric Clean
Your hands naturally transfer oils and dirt to the fabric over time.
Before every stitching session:
- wash and dry your hands;
- keep food and drinks away from your project;
- store your embroidery in a clean project bag when not in use.
Clean fabric is much easier to finish and wash after the embroidery is complete.
Don’t Worry About Perfection
Every stitcher makes small mistakes from time to time.
If you notice an error early, simply remove the incorrect stitches and continue. If the mistake is very small and does not affect the overall design, it is often better to leave it and keep enjoying the project.
Remember that a handmade Christmas stocking tells the story of the person who created it. Small imperfections rarely stand out in the finished design, but the care and love behind every stitch always do.
⭐ CrossStitchStyleArte Tip
Focus on consistency rather than speed. Even experienced stitchers build beautiful projects one stitch at a time. The more relaxed you are, the neater your stitches will naturally become.
How to Use Backstitch
Backstitch is one of the final steps in many cross stitch projects. While the cross stitches create the main design, backstitch adds definition, outlines and small details that bring the image to life.
Not every Christmas stocking pattern includes backstitch. Many CrossStitchStyleArte designs are stitched using full cross stitches only, while others use a small amount of backstitch to highlight facial features, outlines or decorative details.
Don’t be intimidated by backstitch—it is much easier than it looks and can dramatically improve the finished appearance of your embroidery.
What Is Backstitch?
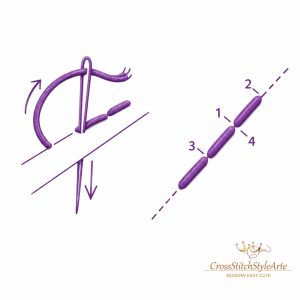
Backstitch is a simple straight stitch worked along the printed lines or symbols shown on the pattern.
Unlike cross stitches, backstitch is used to outline shapes and add fine details that cannot be created with crosses alone.
It is commonly used for:
- facial features;
- eyes and noses;
- lettering and names;
- outlines of animals and decorations;
- small decorative accents.
Just a few lines of backstitch can make your finished Christmas stocking look sharper and more detailed.
When Should You Stitch Backstitch?
Backstitch should almost always be completed after all cross stitches are finished.
Waiting until the end allows the outlines to sit neatly on top of the completed embroidery and prevents them from being covered by additional cross stitches.
Before starting, check your chart carefully to identify which areas require backstitch and which color of thread should be used.
How to Make a Backstitch
Working one section at a time makes backstitch much easier.
For the best results:
- Follow the backstitch lines shown on the chart.
- Keep each stitch the same length whenever possible.
- Pull the thread gently so the line lies flat without puckering the fabric.
- Avoid pulling too tightly, as this can distort the surrounding cross stitches.
Take your time. Backstitch is all about precision rather than speed.
Common Backstitch Mistakes
Beginners sometimes make a few simple mistakes that are easy to avoid.
Try not to:
- complete backstitch before finishing the cross stitches;
- pull the thread too tightly;
- skip sections shown on the chart;
- use stitches that are much longer than necessary.
Working slowly and checking your progress every few stitches will give the cleanest result.
Do All Christmas Stockings Need Backstitch?
No.
Many CrossStitchStyleArte Christmas stocking designs use only full cross stitches, making them especially suitable for beginners.
Other designs include a small amount of backstitch to add extra definition and make certain features stand out. These details are clearly marked in both the color chart and the black-and-white symbol chart.
Even if you’ve never tried backstitch before, you’ll quickly discover that it is one of the easiest embroidery techniques to learn.
⭐ CrossStitchStyleArte Tip
If this is your first time using backstitch, finish all your cross stitches first, then work on one small area at a time. You’ll be surprised how just a few simple outline stitches can transform your finished Christmas stocking and give it a polished, professional look.
How Long Does It Take to Cross Stitch a Christmas Stocking?
One of the first questions almost every stitcher asks is, “How long will it take to finish my Christmas stocking?” The answer depends on several factors, including the size of the design, the number of stitches, your stitching speed and how much time you can dedicate to the project each week.
The good news is that you don’t have to guess. With a little planning, you can estimate your completion date before you even make your first stitch.
What Affects Stitching Time?
Every cross stitch project is different. Some Christmas stockings contain fewer stitches and larger areas of the same color, while others include more detail and color changes.
The biggest factors that affect stitching time are:
- the total number of stitches;
- whether you’re stitching on stamped or counted fabric;
- your personal stitching speed;
- how many hours you stitch each week;
- your level of experience.
Many beginners are surprised to discover that consistency is far more important than speed. Stitching for just 30 minutes each day often leads to faster progress than stitching for several hours only once a week.
Stamped Cross Stitch Can Save Time
If you’re using a stamped Christmas stocking kit, the printed design on the fabric removes much of the counting required in traditional cross stitch.
Instead of constantly checking the chart, you simply follow the printed symbols while using the chart as a reference when needed.
For many beginners, this makes the stitching process feel easier, more relaxing and noticeably faster.
Every Stitcher Works at a Different Speed
There is no “correct” stitching speed.
Some stitchers complete several hundred stitches in an hour, while others prefer to work more slowly and simply enjoy the process.
Rather than comparing yourself to others, focus on building a routine that fits comfortably into your daily life. Even a small amount of progress each day adds up surprisingly quickly over time.
Remember, a handmade Christmas stocking is something you’ll treasure for years—not a race to the finish.
Plan Your Project Before You Begin
If you’re making a personalized Christmas stocking as a gift, planning ahead is especially important.
Knowing approximately how long your project will take helps you:
- choose the right design;
- avoid last-minute stress;
- stay motivated throughout the project;
- finish before Christmas or another special occasion.
Estimate Your Completion Date
Instead of guessing, use our free Cross Stitch Time Calculator.
Simply enter:
- the total stitch count from your pattern;
- your stitching speed (beginner, average or experienced);
- how many hours you can stitch each day;
- how many days each week you usually stitch;
- your desired completion date.
The calculator will estimate how long your project is likely to take and help you create a realistic stitching schedule.
Whether you’re planning months ahead or trying to finish before Christmas, it makes organizing your project much easier.
👉 Try the Cross Stitch Time Calculator →
⭐ CrossStitchStyleArte Tip
Many stitchers overestimate how much they can complete in a weekend and underestimate what they can achieve with just a little stitching every day. A consistent routine is the easiest way to finish a beautiful Christmas stocking without feeling rushed.
How Much Embroidery Floss Will You Need?
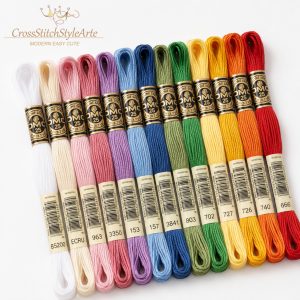
One of the most common questions stitchers ask before starting a Christmas stocking is, “Will I have enough embroidery floss?” Running out of thread halfway through a project can be frustrating, especially if you’re using a specific dye lot or stitching a personalized design.
Fortunately, estimating your thread requirements is much easier than many people think.
Whether you’re buying all of your embroidery floss for the first time or using threads from your existing stash, planning ahead can save both money and unnecessary trips to the craft store.
Physical Kits Already Include Enough Thread
If you’re stitching one of our CrossStitchStyleArte Christmas stocking kits, you don’t need to calculate thread quantities yourself.
Every kit includes:
- all required embroidery floss;
- an organized thread organizer;
- approximately 30% extra thread beyond the amount required by the pattern.
The additional thread provides a comfortable safety margin for different stitching styles, thread tension and the occasional mistake.
Simply enjoy stitching—we’ve already done the calculations for you.
Digital Patterns Require Thread Planning
If you’re stitching from one of our digital Christmas stocking patterns, you’ll be purchasing your own embroidery floss.
Each PDF pattern includes:
- a complete DMC thread list;
- the stitch count for every color;
- the finished design size;
- color and black-and-white charts.
This information makes it easy to calculate exactly how much floss you’ll need before you begin.
Buying All Your Embroidery Floss?
If you’re starting from scratch and need to purchase every color, our Floss Usage Calculator will estimate approximately how many skeins you’ll need for each thread color.
Simply enter:
- the stitch count;
- your fabric count;
- your preferred embroidery floss brand.
The calculator supports several popular brands, including DMC, Anchor, Madeira, Cosmo and Sullivan’s.
Instead of guessing, you’ll know approximately how much thread to buy before placing your order.
👉 Use the Floss Usage Calculator →
Already Have Thread at Home?
Many stitchers already have a large collection of embroidery floss.
Instead of buying every color again, you can use our Thread Stash Calculator.
Simply enter:
- the number of stitches for a specific thread color;
- the length of embroidery floss you already have available.
The calculator will instantly estimate whether your current thread is sufficient or whether you’ll need to purchase additional floss before starting your project.
This is an excellent way to reduce waste, save money and make better use of your existing embroidery supplies.
Why Thread Usage Can Vary
No two stitchers use exactly the same amount of embroidery floss.
Thread consumption depends on several factors, including:
- your stitching tension;
- how you start and finish each thread;
- whether you use the English or Danish stitching method;
- how neatly you carry thread across the back of the fabric.
For this reason, every calculation is an estimate rather than an exact measurement. Our calculators are designed to provide practical, reliable guidance for real stitching projects.
⭐ CrossStitchStyleArte Tip
Whether you’re buying embroidery floss for the first time or making use of your existing thread collection, taking a minute to calculate your requirements before you begin can save both time and money.
Use the Floss Usage Calculator if you’re purchasing new thread, or the Thread Stash Calculator if you already have embroidery floss at home. Both tools help you start your Christmas stocking project with confidence.
How to Personalize and Center a Name
Whether you’re stitching a stocking for your child, grandchild, spouse or a special friend, a personalized name makes the gift unique and instantly recognizable.
All CrossStitchStyleArte Christmas stocking kits and digital patterns include an alphabet chart, allowing you to customize every stocking with the name of your choice.
Why Personalization Matters
A personalized Christmas stocking becomes more than a holiday decoration—it becomes part of your family’s Christmas traditions.
Many families create a matching collection, with one stocking for each family member. Seeing every personalized stocking hanging together above the fireplace creates a warm, coordinated holiday display that can be enjoyed for many years.
Adding a name also makes your handmade gift feel thoughtful and truly one of a kind.
How to Choose the Right Name
Before you begin stitching, decide exactly how you want the name to appear.
Think about:
- the spelling;
- uppercase or lowercase letters;
- nicknames or full names;
- whether you want to include a year or special date.
Double-check the spelling before stitching. Correcting embroidered lettering after several rows have been completed can be time-consuming.
Centering the Name
One of the biggest challenges for beginners is placing the name exactly in the center of the stocking cuff.
Trying to count the letters manually often leads to names that appear slightly off-center.
To make this process simple, we’ve created a free Name Centering Calculator.
Simply enter the name you’d like to stitch, and the calculator automatically shows the correct starting position so your lettering will be perfectly centered.
Instead of spending time counting squares yourself, you can begin stitching with confidence.
👉 Use the Name Centering Calculator →
Can You Personalize Digital Patterns?
Yes.
Every CrossStitchStyleArte digital Christmas stocking pattern includes the same alphabet chart found in our physical kits.
This allows you to personalize the design before stitching, regardless of whether you’re using stamped fabric or counted cross stitch.
You have complete freedom to create a stocking that is truly unique.
Tips for Beautiful Lettering
For the best results:
- stitch the name before sewing the stocking together;
- check the spacing before making your first stitch;
- use the alphabet chart included with your pattern;
- allow enough space on both sides of the name;
- keep the lettering level by following the fabric grid carefully.
Taking a few extra minutes to plan the lettering will give your finished stocking a polished, professional appearance.
⭐ CrossStitchStyleArte Tip
Never guess where a name should begin. Even being just a few stitches off can make the personalization look uneven. Our free Name Centering Calculator automatically calculates the correct starting point, saving time and helping every personalized stocking look perfectly balanced.
How to Wash a Stamped Cross Stitch Stocking
One of the final and most satisfying steps is washing away the printed pattern from the fabric. Although this process is simple, it’s important to follow the correct method to protect your embroidery and achieve the best possible result.
The printed design on stamped Aida fabric is water-soluble and is intended to disappear only after all stitching has been completed.
If washed too early, the printed guide may disappear before you’ve finished your project, making it much more difficult to continue stitching.
Finish All Stitching First
Before washing your Christmas stocking, carefully check that:
- all cross stitches have been completed;
- any backstitch has been finished;
- personalization has been added;
- all loose threads have been secured.
Once the printed pattern has been removed, it cannot be restored, so take a few extra minutes to inspect your work before moving on to the washing stage.
Use Cool Water
Fill a clean basin with cool water.
Do not use hot water, as it may affect both the printed design and the embroidery threads.
Allow the fabric to soak gently while the printed pattern begins to dissolve.
If necessary, gently move the fabric through the water with your hands. Avoid rubbing, scrubbing or twisting the embroidery.
Use a Mild Soap if Needed
If a small amount of printed ink remains after soaking, you may use a mild soap to help remove the remaining pattern.
Avoid harsh detergents, bleach or strong cleaning products, as these may damage the embroidery floss or fabric.
Sometimes the printed ink is released gradually, so changing the water once or twice during the process helps achieve the best results.
Color Catcher Sheets Can Be Helpful
During the first wash, some excess dye from the printed pattern may be released into the water.
Many stitchers like to use Color Catcher Sheets, which help absorb loose dye and reduce the chance of color transfer while washing.
Although they are optional, they can provide extra peace of mind, especially for larger or more colorful projects.
Rinse Until the Water Is Clear
After the printed design has dissolved, rinse the fabric several times using fresh cool water.
Continue changing the water until it remains clear.
This ensures that any remaining ink or soap has been completely removed before drying.
⭐ CrossStitchStyleArte Tip
Never wash stamped fabric before your embroidery is completely finished. The printed design is your stitching guide, and once it has been removed, it cannot be recovered. Taking a little extra time to check your work before washing can save hours of frustration later.
How to Dry and Press the Finished Embroidery
After washing away the stamped design, the embroidery must be dried and pressed carefully before cutting or sewing the stocking. Proper drying helps the fabric keep its shape, while gentle pressing removes wrinkles without flattening or damaging the stitches.
Remove Excess Water Gently
Do not twist, wring or strongly squeeze the embroidered fabric. This can distort the Aida, loosen the stitches and change the shape of the design.
Instead:
- Lift the embroidery carefully from the water.
- Allow excess water to drain naturally.
- Place it flat on a clean, light-colored towel.
- Roll the towel gently with the embroidery inside.
- Press lightly to absorb moisture.
If the towel becomes very wet, repeat the process with a clean, dry towel.
Dry the Embroidery Flat
Place the damp embroidery on a clean, dry towel and smooth it gently into its natural shape.
Allow it to dry flat in a horizontal position.
Do not:
- hang the wet fabric from one corner;
- use clothespins on the embroidered area;
- place it directly on a radiator;
- use a tumble dryer;
- dry it in strong direct sunlight.
Hanging wet Aida may stretch the fabric, while excessive heat can affect the threads and distort the embroidery.
Make sure the fabric is completely dry before ironing, cutting or sewing the stocking.
Reshape the Fabric While It Is Damp
While the embroidery is still slightly damp, gently straighten the edges and check that the fabric grid remains square.
Do not pull aggressively. Lightly smooth the fabric with your hands and return it to its natural shape.
This small step can make cutting and sewing much easier later.
How to Press the Finished Embroidery
Always press cross stitch from the reverse side.
Place the embroidery face down on a clean, soft towel. The towel cushions the stitches and prevents them from being flattened.
Then:
- Cover the reverse side with a clean pressing cloth.
- Use a low or moderate iron temperature suitable for the fabric and threads.
- Press gently without applying excessive pressure.
- Lift and reposition the iron instead of rubbing it back and forth.
- Allow the embroidery to cool completely while lying flat.
Avoid placing the hot iron directly on the front of the stitches.
Should You Use Steam?
A small amount of steam may help remove stubborn wrinkles, but use it cautiously and follow the care instructions included with the pattern or kit.
Never soak the fabric with steam or press aggressively. Gentle heat and patience are safer than trying to remove every wrinkle at once.
Check the Embroidery Before Cutting
Before moving to the sewing stage, make sure:
- the fabric is completely dry;
- the stamped design has disappeared;
- no soap remains;
- the fabric lies flat;
- the stitches are clean and undamaged;
- the personalized name is complete;
- all loose threads are secured.
Only after this final check should you begin cutting the stocking shape.
⭐ CrossStitchStyleArte Tip
Dry the embroidery flat and press it from the reverse side on a soft towel. Never wring the fabric or iron directly over the front of the stitches. Gentle handling preserves the texture and keeps the finished embroidery looking neat and professional.
How to Cut and Sew a Cross Stitch Christmas Stocking
Completing the embroidery is one of the most rewarding moments of your project, but transforming it into a finished Christmas stocking is what truly brings your work to life.
Even if you’ve never sewn a stocking before, don’t worry. The finishing process is much easier than it looks. Every CrossStitchStyleArte kit and digital pattern includes detailed step-by-step finishing instructions, allowing you to complete your stocking with confidence.
Prepare Your Embroidery
Before cutting the fabric, make sure your embroidery is completely finished.
Check that:
- all cross stitches and backstitch have been completed;
- the stamped pattern has been completely washed away (if applicable);
- the fabric is clean and completely dry;
- the embroidery has been pressed from the reverse side.
Taking time to prepare your embroidery before sewing will help your finished stocking look smooth and professional.
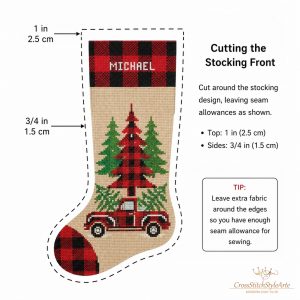
Follow the Cutting Line Carefully
Before cutting, read the finishing instructions included with your kit or digital pattern.
Your pattern already includes the correct cutting line and seam allowances. Following these guidelines ensures there is enough fabric for sewing while maintaining the correct finished stocking shape.
Avoid trimming the fabric too closely around the embroidery. Leaving the recommended seam allowance makes sewing easier and produces cleaner curves around the toe and heel.
Do You Need a Lining?
A lining is completely optional.
Many stitchers are surprised to learn that a Christmas stocking does not require a lining to be beautiful, durable or functional.
You can simply sew the embroidered front to the backing fabric included in your kit, and your stocking is ready to use.
However, if you’d like a more finished interior or want to hide the back of the embroidery, you can add a lining before turning the stocking right side out.
A lightweight cotton fabric works best for most projects because it adds very little bulk while giving the inside of the stocking a neat appearance.
Adding a lining is a personal preference rather than a requirement.
Should You Use Batting or Interfacing?
Some stitchers like to add extra structure to their finished stockings.
The two most common options are:
Batting adds softness and a fuller, slightly padded appearance.
Lightweight fusible interfacing gives the stocking additional stability and helps it keep its shape.
Neither is required.
Most Christmas stockings look beautiful without either one, especially when stitched on quality Aida fabric and sewn with matching backing fabric.
If this is your first stocking, we recommend completing it without batting or interfacing. Once you’ve made one, you’ll have a better idea of whether you’d like to add extra structure to future projects.
Sew the Stocking Together
Place the embroidered front and the backing fabric with the right sides facing each other.
Secure the layers with pins or sewing clips before stitching around the edges.
You may use either:
- a sewing machine;
- or hand stitching if you prefer.
Leave the top opening unsewn so the stocking can be turned right side out after sewing.
Take your time around the curved toe and heel. Smooth, gradual curves will give the finished stocking a much more professional appearance.
Turn, Press and Shape
Carefully turn the stocking right side out through the top opening.
Use your fingers or a blunt turning tool to gently shape the toe and heel.
Once the stocking has been turned, press it from the reverse side using a warm iron and a pressing cloth if needed.
Pressing helps flatten the seams, sharpen the edges and give your finished stocking a crisp, polished appearance.
Add the Decorative Hanging Loop
Every CrossStitchStyleArte kit includes special threads provided specifically for creating the decorative braided hanging loop.
Following the included instructions, braid the threads together and securely attach the finished loop inside the upper corner of the stocking.
The braided loop is both decorative and functional, allowing your handmade stocking to hang beautifully from a fireplace mantel, staircase or Christmas display.
Enjoy Your Handmade Christmas Stocking
The final stitches are only the beginning of your stocking’s story.
Whether you fill it with small gifts, hang it above the fireplace or display it as part of your Christmas decorations, a handmade stocking quickly becomes a cherished family tradition.
Many families add one new personalized stocking each year, creating a collection that grows alongside their memories.
⭐ CrossStitchStyleArte Tip
If this is your first Christmas stocking, don’t feel pressured to make it perfect. Focus on neat stitching, careful sewing and enjoying the creative process. Every stocking teaches new skills, and each one becomes more special because it was made by hand.
How to Make and Attach the Hanging Loop
A strong hanging loop is the final step when finishing a cross stitch Christmas stocking. It allows the stocking to hang securely and gives the top edge a neat, professional appearance.
Braided Hanging Loop for CrossStitchStyleArte Kits
CrossStitchStyleArte stamped cross stitch kits include a separate bundle of threads for making the hanging loop.
Divide the threads into three equal sections. Secure one end with tape or a rubber band, then braid the sections evenly until the braid measures approximately 6 inches (15 cm).
Remove the tape and fold the braid in half to form the loop. Tie the loose ends together directly below the braided section. Trim the ends to approximately 1 inch (2.5 cm), leaving a small decorative tassel at the bottom.
Do not trim the threads too close to the knot. The short, even tassel is part of the finished design and gives the loop a traditional handmade appearance.
Where to Attach the Hanging Loop
Position the loop at the upper back corner of the stocking, opposite the toe.
Hand-sew it securely to the side seam using several small backstitches. Reinforce the attachment so the loop can support the weight of the finished stocking.
Keep the knot and attachment stitches inside the stocking whenever possible. Before closing the final opening, gently pull the loop to make sure it is secure.
Fabric Hanging Loop
If your kit or digital cross stitch pattern does not include threads for a braided loop, you can make one from fabric.
Cut a narrow strip of coordinating fabric. Fold the long raw edges toward the center, fold the strip in half again, and stitch along the edge. Fold the finished strip into a loop and sew both ends securely inside the upper corner of the stocking.
A fabric loop is strong and works especially well for stockings that will be filled with gifts.
Ribbon Hanging Loop
A ribbon loop is the quickest option. Choose a strong grosgrain or woven ribbon that coordinates with the colors of your cross stitch stocking.
Fold the ribbon in half and sew both ends firmly inside the upper corner. Avoid very thin or delicate ribbon because it may fray or tear under the weight of a filled stocking.
Decorative Cord or Twisted Thread Loop
You can also use decorative cord or make a twisted loop from embroidery floss. Combine several strands, twist them tightly, and fold them in half so they twist around each other.
Secure the ends with matching thread before attaching the loop to the stocking. This method is useful when finishing a stocking made from a digital cross stitch pattern and you want the loop to match the stitched design.
Which Hanging Loop Is Best?
A braided thread loop with a small tassel gives a cross stitch Christmas stocking the most traditional handmade finish. A fabric loop is usually the strongest option, while ribbon is the easiest and fastest to make.
Whichever method you choose, make sure the loop is securely attached and large enough to fit over your stocking holder.
⭐ CrossStitchStyleArte Tip
Before finishing the top edge, hang the empty stocking and check that it faces the correct direction. If you are making the braided loop included in a CrossStitchStyleArte kit, leave approximately 1 inch (2.5 cm) of loose threads below the knot to create a neat decorative tassel.
Common Beginner Mistakes and How to Avoid Them
Mistakes are a normal part of learning how to cross stitch a Christmas stocking. Most problems are easy to prevent if you work slowly, check your stitches regularly, and follow the instructions.
Here are the most common beginner cross stitch mistakes and simple ways to avoid them.
Using All Six Strands of Embroidery Floss
Most embroidery floss contains six separate strands, but cross stitch patterns usually require only two or three strands.
Check the pattern instructions before you begin. Cut a piece of floss, separate the required number of strands, and gently pull them apart one at a time.
Using too many strands can make the stitches thick, uneven, and difficult to pull through the fabric.
Cutting the Floss Too Long
Very long embroidery floss may look convenient, but it tangles easily and becomes worn as it repeatedly passes through the fabric.
A comfortable working length is approximately 18–24 inches, or 45–60 cm. If the thread twists or becomes difficult to control, let the needle hang freely for a few seconds. The floss will naturally untwist.
Making the Crosses in Different Directions
Each cross stitch is made from two diagonal stitches. For a smooth and professional result, every top stitch should cross in the same direction.
For example, make the bottom half of each cross from lower left to upper right. Then complete the top half from lower right to upper left.
The direction you choose is not important. Consistency is what makes the finished cross stitch stocking look neat.
Pulling the Stitches Too Tight
Cross stitches should lie gently on the fabric. If you pull the floss too tightly, the fabric may become distorted and small holes may appear around the stitches.
Use enough tension to keep the thread flat, but do not pull until the fabric bends. If you are using an embroidery hoop, keep the fabric firm without stretching it excessively.
Leaving the Stitches Too Loose
Loose stitches may form small loops or catch on other threads.
Pull each stitch until it rests smoothly against the fabric. The thread should not hang above the surface, but it should not squeeze the fabric either.
Finding the correct tension may take a little practice. After several rows, it will begin to feel natural.
Starting in the Wrong Place
For counted cross stitch, beginners usually start near the center of the pattern and the center of the fabric. This helps keep the complete design properly positioned.
For stamped cross stitch, follow the printed symbols and the instructions included with the kit. Begin with a clearly marked area and regularly compare the fabric with the color key.
Before making your first stitch, check the direction of the stocking and confirm where the top, heel, and toe will be.
Miscounting the Squares
One incorrect stitch can move an entire section of the design out of position.
Count small groups of stitches instead of completing a very large area at once. Stop regularly and compare your work with the pattern.
If something does not line up, check the most recent stitches first. Correcting a mistake immediately is much easier than removing several completed rows later.
Confusing Similar Colors or Symbols
Christmas stocking patterns often include several shades of blue, red, gray, or white. Some pattern symbols may also look similar.
Keep your embroidery floss organized and check the color number before starting a new section. Do not rely only on the appearance of the color because two shades can look almost identical in poor lighting.
Work in a bright area and mark completed sections on a paper pattern or digital chart.
Carrying Floss Too Far Across the Back
It may be tempting to carry the thread across the back of the fabric to reach another section of the same color. However, long threads can become tangled, show through lighter areas, or make the back of the stocking bulky.
If the next group of stitches is far away, finish the thread and begin again in the new area.
As a simple rule, avoid carrying floss across large empty spaces or behind sections that will remain unstitched.
Making Knots on the Back
Large knots can create bumps and make the stocking difficult to finish neatly.
To begin stitching, secure the floss beneath several nearby stitches or use the loop-start method when appropriate. To finish, pass the needle under three or four completed stitches on the back and trim the remaining thread.
Keep the back as flat as possible, especially near the edges that will later be sewn.
Ignoring Knots and Tangles
A small knot can form on the back of the fabric without you noticing it.
Every few stitches, turn the work over and check the back. If you find a knot, stop and loosen it gently with the needle. Do not continue stitching over it.
Removing tangles immediately helps prevent wasted floss and keeps the finished fabric smooth.
Adding Backstitch Too Early
Backstitch creates outlines and small details, but it should normally be added after the surrounding cross stitches are complete.
If you add backstitch too early, later stitches may cover it or make the outlines uneven.
Complete the main areas of cross stitch first. Then follow the backstitch lines shown on the pattern. Use the number of strands listed in the instructions.
Removing Stamped Marks Before Finishing
The printed symbols on stamped cross stitch fabric are designed to guide your stitching. They are normally removed only after the complete design, including backstitch, is finished.
Do not wash stamped fabric while you are still working unless the kit instructions specifically allow it. Once the printed guide has disappeared, it may be very difficult to complete the remaining stitches correctly.
Always follow the washing instructions provided with your stamped cross stitch kit.
Forgetting the Seam Allowance
A finished Christmas stocking needs extra fabric around the stitched design for cutting and sewing.
Do not cut directly next to the cross stitches. Follow the cutting line or template included with the kit. If you are working from a digital cross stitch pattern, calculate the required fabric size before you begin and include enough extra fabric for the seam allowance.
It is always safer to leave slightly more fabric. Extra fabric can be trimmed later, but fabric that has already been cut cannot be replaced.
Cutting the Stocking Before Washing and Pressing
Do not cut the final stocking shape immediately after completing the stitching.
First, follow the correct washing and drying instructions. Allow the fabric to dry completely and press it carefully from the back using a pressing cloth.
After the fabric is clean, dry, and flat, mark the cutting line and check it twice before using scissors.
Rushing the Sewing Stage
Finishing the embroidery does not mean you should hurry through the final assembly.
Pin or baste the stitched front and backing fabric before sewing. Make sure the right sides face each other and check that the hanging loop is positioned at the upper back corner, opposite the toe.
Sew slowly around the curves. Clip the seam allowance carefully around the toe, heel, and foot so the stocking lies flat after it is turned right side out.
Comparing Your Work With Perfect Photographs
Handmade cross stitch does not need to look machine-made. Small differences in tension or stitch placement are normal, especially on your first project.
Step back and look at the whole design instead of examining every stitch from very close range. Most tiny imperfections will not be noticeable once the stocking is finished and displayed.
The goal is to create something meaningful, not something absolutely perfect.
⭐ CrossStitchStyleArte Tip
Check your work at the end of every stitching session. Look for missed stitches, incorrect colors, knots, and loose threads while the area is still easy to correct. Working slowly and checking regularly will save much more time than repairing a large mistake later.
Frequently Asked Questions
Can a Beginner Make a Cross Stitch Christmas Stocking?
Yes. Beginners can make a beautiful cross stitch Christmas stocking by working slowly and following the pattern one section at a time.
A stamped cross stitch kit is usually the easiest option because the symbols are printed directly on the fabric. Counted cross stitch patterns require more counting but can also be suitable for patient beginners.
Which Type of Christmas Stocking Is Easiest for Beginners?
A stamped cross stitch stocking kit is generally the simplest choice. The kit normally includes printed fabric, embroidery floss, needles, a color key, and finishing instructions.
A digital counted cross stitch pattern gives you more freedom to choose your own fabric and floss, but you must purchase the materials and count every stitch yourself.
How Long Does It Take to Cross Stitch a Christmas Stocking?
A full-size cross stitch Christmas stocking may take several weeks or several months. The total time depends on the number of stitches, your experience, your stitching speed, and how often you work on the project.
The Cross Stitch Time Calculator can estimate the total stitching time. Enter your number of stitches, select a beginner, average, or fast stitching speed, and add how many hours per day and days per week you can stitch. The calculator will show an estimated completion date and help you decide whether you can finish before Christmas.
What Size Will My Finished Cross Stitch Stocking Be?
The finished size depends on the number of stitches and the fabric count. The same digital pattern will be larger on 11-count Aida and smaller on 18-count Aida.
Use the Cross Stitch Fabric Size Calculator before buying or cutting your fabric. Enter the width and height of the design in stitches, choose your fabric count, and add the required margins. The calculator will show the finished design size and the total amount of fabric needed.
Can I Use a Different Fabric Count?
Yes, you can use a different fabric count with a counted cross stitch pattern. However, changing the fabric count changes the final size of the design.
A higher fabric count creates smaller stitches and a smaller finished stocking. A lower fabric count creates larger stitches and a larger finished stocking.
Always calculate the new measurements before purchasing the fabric.
Do I Need an Embroidery Hoop?
An embroidery hoop is helpful but not required. It holds the fabric firmly and can make it easier to create even stitches.
Choose a hoop that feels comfortable in your hand. Remove the fabric from the hoop during long breaks to prevent permanent marks.
How Many Strands of Embroidery Floss Should I Use?
Always follow the instructions included with your kit or digital pattern. Most cross stitch designs use two or three strands for full cross stitches and one or two strands for backstitch.
Do not use all six strands unless the instructions specifically tell you to do so. Separate only the number of strands required for that part of the design.
How Can I Center a Name on a Christmas Stocking?
First, count the width of the stocking cuff in stitches. Then calculate the total width of the name, including the spaces between the letters.
The Cross Stitch Name Centering Calculator makes this much easier. Enter the name, cuff width, letter widths, and spacing between the letters. The calculator will show the total name width and the exact stitch where the first letter should begin and the final letter should end.
Do Digital Cross Stitch Patterns Include an Alphabet?
Many personalized Christmas stocking patterns include a matching alphabet, but you should always check the product description before purchasing.
The alphabet allows you to add a name, date, or short word to the stocking cuff. If your pattern uses letters of different widths, enter those widths into the Name Centering Calculator for a more accurate result.
Can I Use Anchor, Madeira, or Cosmo Instead of DMC?
Yes. You can replace DMC floss with Anchor, Madeira, Cosmo, or another embroidery thread brand. However, the color numbers are different, and some shades may not have an exact match.
Use the Cross Stitch Floss Converter to find the closest equivalent between different brands. Enter the original brand and color number, then compare the suggested alternatives before purchasing your floss.
How Do I Calculate How Much Floss I Need?
If you are purchasing all your embroidery floss from the beginning, use the Cross Stitch Thread Calculator.
Enter the number of stitches, fabric count, number of strands, and the length of one skein. You can also add an extra allowance for starting and finishing threads, mistakes, tangles, or personal stitching habits. The calculator will estimate the required thread length and the number of skeins you should buy.
Can I Use Leftover Floss From Previous Projects?
Yes. Using leftover embroidery floss can save money and reduce waste, but you need to know whether you have enough to complete the required stitches.
The Floss Usage Calculator allows you to enter the amount of thread you already have, the number of stitches required, fabric count, number of strands, and an additional safety allowance. It will show whether your current floss is enough or how much more you need to purchase.
What Should I Do If I Run Out of Floss?
First, check that you are using the correct number of strands and have not confused two similar colors.
Purchase the same brand and color number whenever possible. If the exact thread is unavailable, use the Floss Converter to find the closest alternative from another brand.
Before beginning your next project, calculate the required amount and add a reasonable safety allowance.
Can Stamped Cross Stitch Fabric Be Washed?
Most stamped cross stitch fabric is washed after all cross stitches and backstitches are complete. Water removes the printed symbols from the fabric.
Always follow the instructions included with the kit. Use cool or lukewarm water and avoid bleach, hot water, aggressive rubbing, and strong detergents.
Do not wash stamped fabric before the stitching is finished because the printed guide may disappear.
What Should I Do If I Make a Stitching Mistake?
Stop when you notice the mistake and compare your work with the pattern.
If the incorrect stitches affect the surrounding design, carefully remove them with the needle or small embroidery scissors. If the mistake is very small and does not change the finished picture, you may choose to leave it.
Be careful not to cut the fabric while removing the floss.
Do I Need a Sewing Machine to Finish the Stocking?
No. You can assemble a cross stitch Christmas stocking by hand using small, strong backstitches.
A sewing machine makes the process faster and creates an even seam, but it is optional. Choose the sewing method you can control most comfortably.
Can I Add Beads, Metallic Thread, or Crystals?
Yes. Beads, metallic floss, crystals, and small charms can make a Christmas stocking more decorative.
Add these details after washing the embroidery so they are not damaged or loosened by water. Attach every decoration securely, especially if children will use the stocking.
Can Children Cross Stitch a Christmas Stocking?
Older children can learn cross stitch with adult supervision. A stamped kit with large, clearly printed symbols is usually the easiest place to begin.
Start with a small section and show the child how to bring the needle through the correct fabric hole. An adult should supervise the use of needles and scissors.
Can I Make More Than One Stocking From a Digital Pattern?
You can usually stitch the same purchased pattern more than once for personal or family use, but always check the designer’s terms.
You may not copy, share, upload, or resell the digital pattern. The chart and pattern file remain the intellectual property of the designer.
How Much Does It Cost to Make a Cross Stitch Stocking?
The cost depends on the pattern, fabric, embroidery floss, needles, backing fabric, lining, decorations, and finishing materials.
The Cross Stitch Price Calculator can help you calculate the complete project cost. You can include the cost of materials, working time, packaging, marketplace fees, and other expenses. This tool is especially helpful if you plan to sell finished cross stitch stockings.
Can I Sell a Finished Cross Stitch Stocking?
This depends on the pattern designer’s terms of use. Some designers allow the sale of a limited number of finished handmade items, while others permit personal use only.
Buying a pattern does not give you permission to copy, share, or sell the chart itself.
If selling finished stockings is allowed, use the Cross Stitch Price Calculator to include your materials, stitching time, finishing costs, fees, and profit when setting the price.
How Should I Store a Finished Cross Stitch Stocking?
Make sure the stocking is clean and completely dry before storing it.
Place it flat in acid-free tissue paper or a breathable cotton bag. Avoid folding directly across beads, metallic stitches, or decorated areas. Store it away from moisture, direct sunlight, and heavy objects.
⭐ CrossStitchStyleArte Tip
Before beginning a new cross stitch Christmas stocking, calculate the fabric size, floss quantity, project cost, and estimated stitching time. If the stocking includes a name, center it before making the first letter. A few minutes of planning can prevent mistakes, reduce unnecessary spending, and make the entire project much easier.
Helpful Cross Stitch Calculators and Tools
Planning a cross stitch project often requires more calculations than beginners expect. You may need to calculate the fabric size, estimate embroidery floss, center a name, convert thread colors, or decide whether you can finish the project before Christmas.
Our free cross stitch calculators do the difficult calculations for you. Enter the information from your pattern, and the tool will give you a clear result.
These calculators are useful for beginners, experienced stitchers, and anyone working from a digital cross stitch pattern.
Cross Stitch Name Centering Calculator
Centering a name manually can be confusing because letters may have different widths. You must also include the spaces between the letters and the total width of the stocking cuff.
The Cross Stitch Name Centering Calculator does this automatically.
Enter:
The name you want to stitch.
The width of the cuff in stitches.
The width of each letter.
The number of stitches between the letters.
The calculator will show the total width of the name, the stitch where the first letter should begin, and where the final letter will end.
This tool is especially helpful for personalized Christmas stockings because it prevents the name from appearing too far to the left or right.
Cross Stitch Fabric Size Calculator
When you purchase a digital cross stitch pattern, the finished size depends on the number of stitches and the fabric count.
The same design will be larger on 11-count Aida and smaller on 18-count Aida. You must also leave enough extra fabric around the design for sewing, framing, or finishing.
Enter:
The design width in stitches.
The design height in stitches.
The fabric count.
The margin required on each side.
The Cross Stitch Fabric Size Calculator will show the finished design measurements and the total fabric size you should purchase.
Use this tool before cutting fabric. Extra fabric can be trimmed later, but fabric that is too small cannot be repaired.
Cross Stitch Thread Calculator
Use the Cross Stitch Thread Calculator when you are buying all the embroidery floss for a project from the beginning.
Enter:
The total number of cross stitches.
The fabric count.
The number of strands you will use.
The length of one skein.
Your preferred extra allowance.
You can add a safety allowance of 10%, 20%, 30%, or more. This extra floss covers starting and finishing threads, mistakes, tangles, different stitching tension, and small amounts of wasted thread.
The calculator will estimate the total amount of floss in meters or yards and show how many complete skeins you should purchase.
This is particularly useful when preparing materials for a digital cross stitch pattern.
Floss Usage Calculator for Thread You Already Own
Many stitchers have leftover embroidery floss from previous projects. Before buying more, check whether the thread you already own is enough.
Enter:
The amount of floss you have in meters or yards.
The number of stitches required for that color.
The fabric count.
The number of strands.
Your preferred safety allowance.
The Floss Usage Calculator will estimate how many stitches your remaining floss can cover. It will tell you whether you have enough or how much additional thread you need to purchase.
This helps you use your existing floss collection, avoid unnecessary purchases, and reduce waste.
Check each color separately and add a safety allowance, especially when working on a large Christmas stocking.
Cross Stitch Floss Converter
A pattern may list DMC colors even though you already own Anchor, Madeira, Cosmo, or another brand.
The Cross Stitch Floss Converter helps you find a matching or similar color from another embroidery floss brand.
Select the original brand, enter the color number, and review the suggested alternatives. If possible, compare the actual floss colors in natural light before beginning a large section.
Colors shown on screens may look different from real embroidery floss, and not every shade has a completely identical match in another brand.
Cross Stitch Time Calculator
A full-size cross stitch Christmas stocking can take many hours to complete. Starting without a plan may leave you rushing just before Christmas.
The Cross Stitch Time Calculator estimates how long your project may take.
Enter:
The total number of stitches.
Your stitching speed.
How many hours you can stitch per day.
How many days per week you plan to stitch.
Your starting date or desired completion date.
You can choose a beginner, average, or fast stitching speed. If you know how many stitches you complete in one hour, enter your own speed for a more personal estimate.
The calculator will estimate the total stitching time and your expected completion date. It can also show how much you need to stitch each day or week to meet your deadline.
Remember to allow additional time for backstitching, washing, drying, pressing, cutting, sewing, and attaching the hanging loop.
Cross Stitch Price Calculator
The Cross Stitch Price Calculator is useful for handmade sellers, but it can also help hobby stitchers understand the real cost of a project.
You can include:
The cost of the pattern.
Fabric and embroidery floss.
Needles and other materials.
Backing fabric and lining.
Beads, metallic thread, or decorations.
Finishing and packaging materials.
The number of working hours.
If you plan to sell the finished stocking, you can also include your hourly rate, selling fees, packaging, shipping, taxes, and desired profit.
The calculator will give you a clearer estimate of the project cost or a possible selling price. This helps handmade sellers avoid charging only for materials while forgetting the value of their time.
Which Cross Stitch Calculator Should You Use First?
If you are starting a project from a digital pattern, use the calculators in this order:
First, use the Fabric Size Calculator to choose the correct fabric and determine the finished size.
Next, use the Floss Converter if you want to replace the recommended embroidery floss brand.
Use the Thread Calculator if you are purchasing new floss.
Use the Floss Usage Calculator if you want to work with thread you already have at home.
Use the Name Centering Calculator before adding a personalized name.
Use the Time Calculator to create a realistic stitching schedule.
Finally, use the Price Calculator if you want to understand the total cost or sell the completed project.
You can also find all our free cross stitch calculators and tools in one place.
⭐ CrossStitchStyleArte Tip
Calculate your fabric, floss, name position, and estimated stitching time before making the first stitch. A few minutes of planning can prevent wasted materials, off-center names, unexpected costs, and unfinished Christmas projects.
Final Thoughts
Making a cross stitch Christmas stocking is a large project, but it does not need to be difficult. When you divide the work into small steps, even a complete beginner can create a beautiful personalized stocking.
You do not need to stitch quickly or make every cross perfect. What matters is following the pattern carefully, checking your work regularly, and enjoying the process.
Start With the Right Project
Choose a Christmas stocking that matches your experience and the time you have available.
A stamped cross stitch kit is a good choice for beginners because the symbols are printed directly on the fabric and the main materials are included. You can concentrate on learning how to make the stitches without counting every square.
A digital counted cross stitch pattern gives you more freedom to choose your own fabric, embroidery floss, colors, and finishing materials. It is a good option for stitchers who already have supplies or want to customize the finished size.
Whichever method you choose, read the instructions before beginning and keep all your materials organized.
Take One Step at a Time
A full-size cross stitch Christmas stocking may contain thousands of stitches. Looking at the complete design can feel overwhelming, especially if this is your first large project.
Instead of thinking about the entire stocking, concentrate on one small section or one color at a time. Set a comfortable weekly goal and allow additional time for backstitching, washing, drying, pressing, cutting, and sewing.
If you make a mistake, do not panic. Most stitching mistakes can be corrected. Stop, compare your work with the pattern, and decide whether the stitch needs to be removed.
Cross stitch should be relaxing. It is not a race.
Create Something Personal
Adding a name makes a handmade Christmas stocking even more meaningful. It transforms a craft project into something created especially for one person.
You can also personalize the stocking with a year, beads, metallic floss, crystals, charms, or a special fabric for the backing and lining.
Plan these details before finishing the stocking. Make sure the name is centered, decorations are securely attached, and the hanging loop is strong enough to support the completed stocking.
Every handmade detail makes the finished project unique.
More Than a Christmas Decoration
A cross stitch Christmas stocking is not only holiday décor. It can become part of a family tradition.
Each year, the stocking returns with the Christmas decorations and brings back memories of the person who made it, the child who received it, or the Christmas when it was first used.
A personalized stocking can be created for a baby’s first Christmas, a child, a partner, a parent, a grandchild, or a close friend. It can also become a thoughtful handmade wedding or housewarming gift.
Unlike mass-produced decorations, a hand-stitched stocking carries your time, attention, and care. That is what gives it lasting emotional value.
Enjoy the Process
It is easy to focus only on finishing the project, especially when you are working toward a Christmas deadline. However, the hours spent stitching are also an important part of the experience.
Choose a comfortable place, use good lighting, take regular breaks, and enjoy watching the design appear one stitch at a time.
Your first stocking may not be completely perfect. That does not make it less valuable. Small differences are part of handmade work and show that the stocking was created by a real person.
The goal is not to produce a machine-perfect item. The goal is to create something beautiful, personal, and meaningful.
Begin Your Christmas Stocking Project
When you are ready to begin, choose the option that works best for you.
Explore our Cross Stitch Christmas Stocking Kits if you want a complete project with prepared materials and clear instructions.
Browse our Digital Cross Stitch Patterns if you prefer to select your own fabric, floss, and finishing materials.
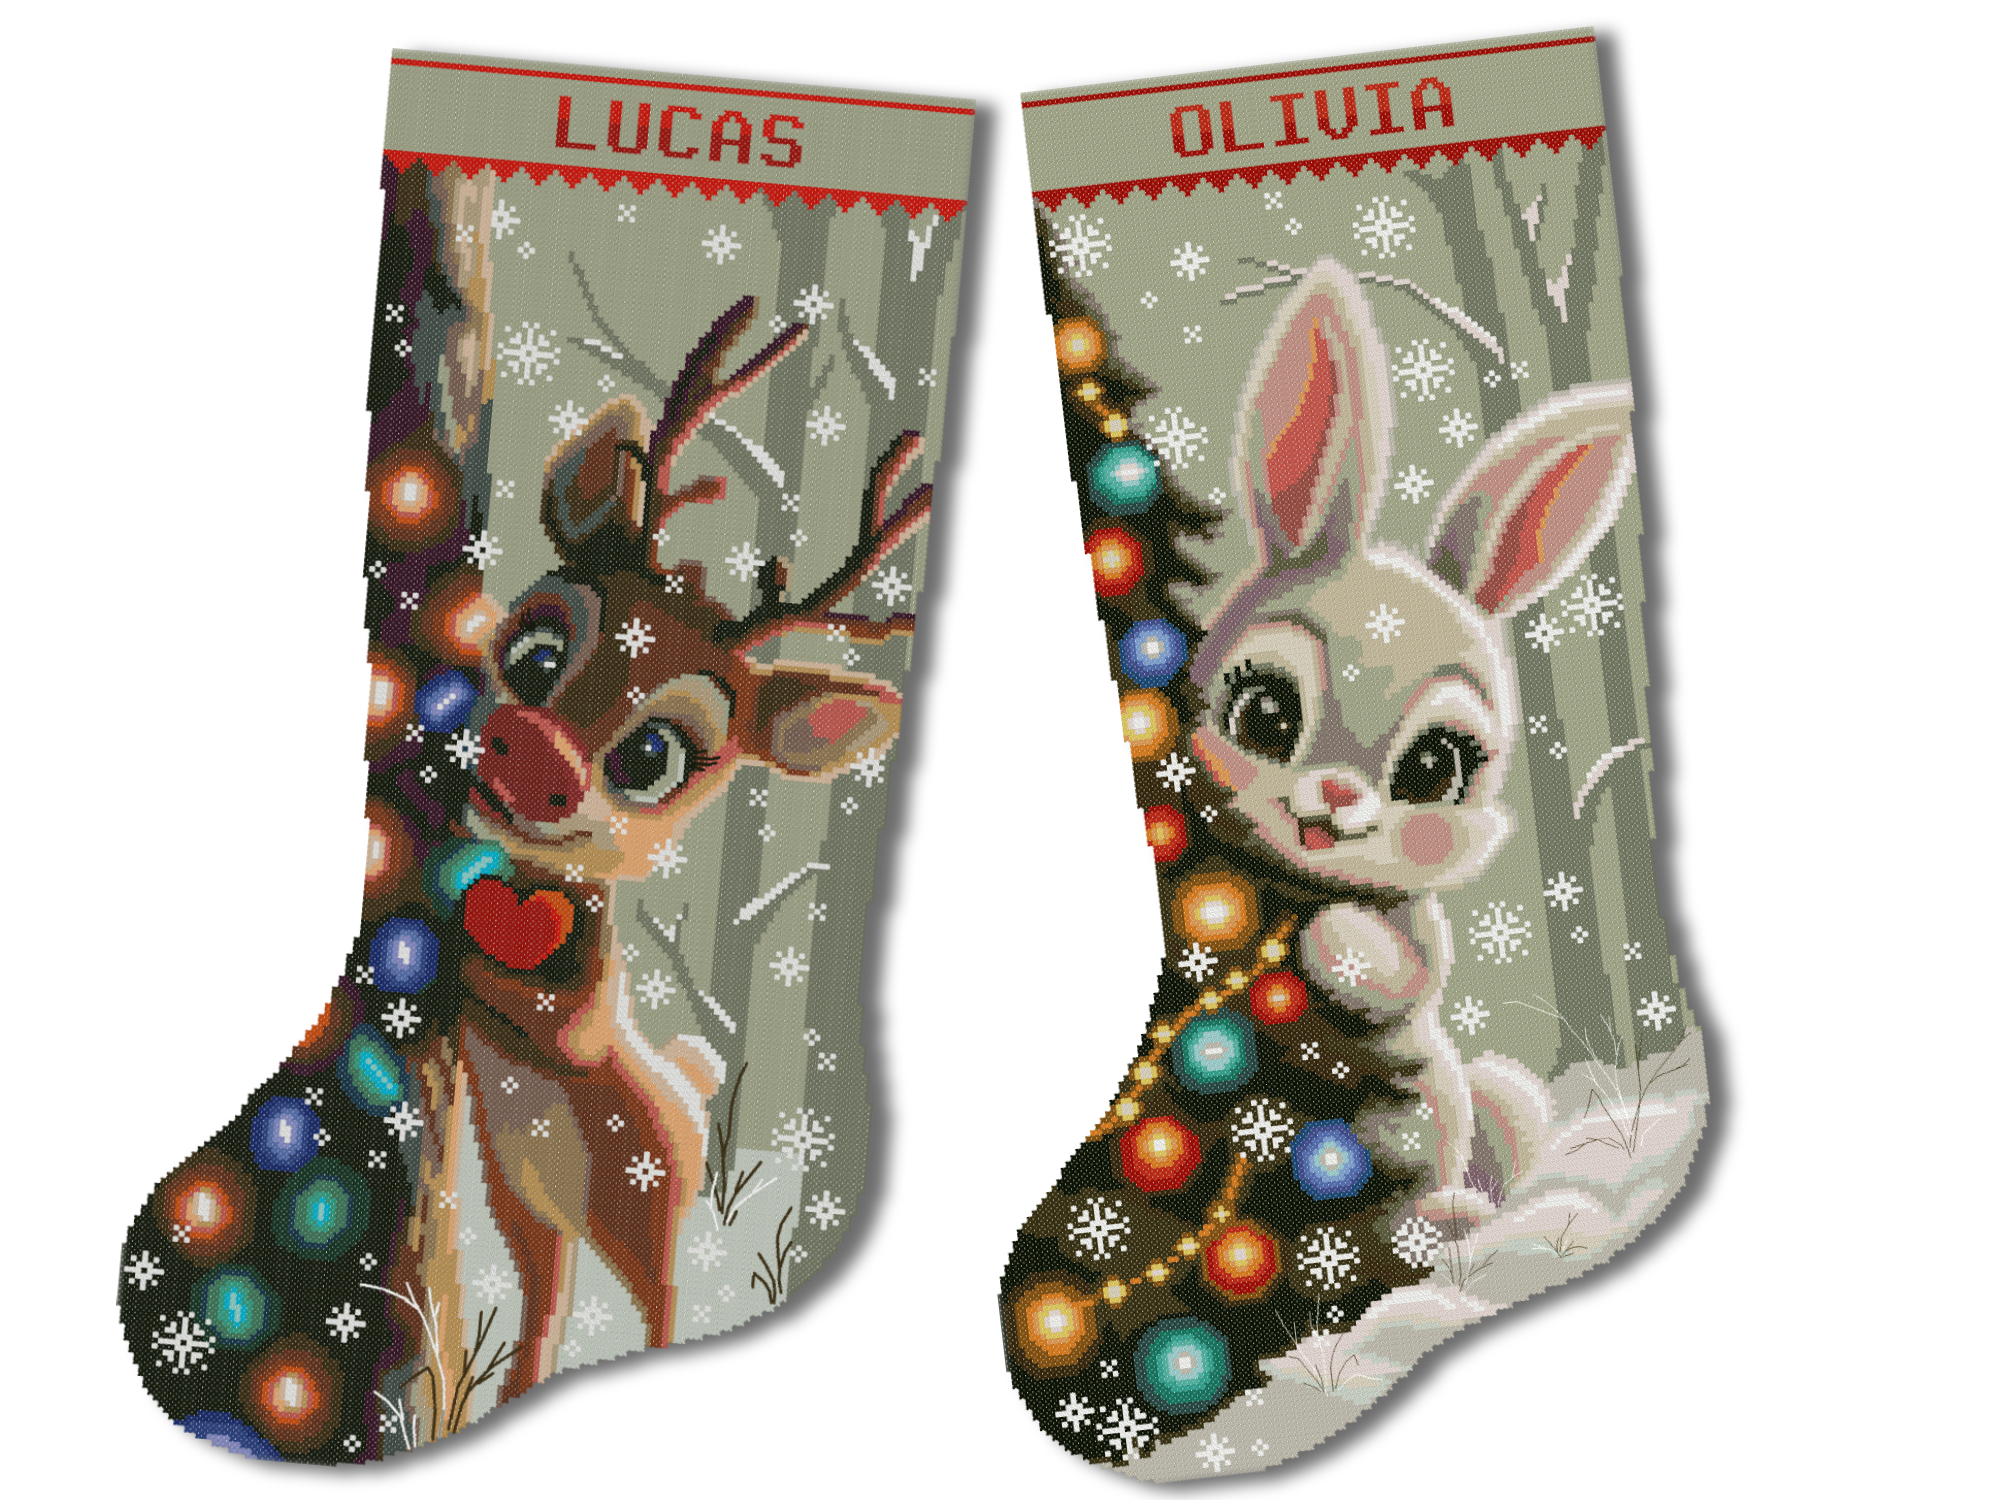
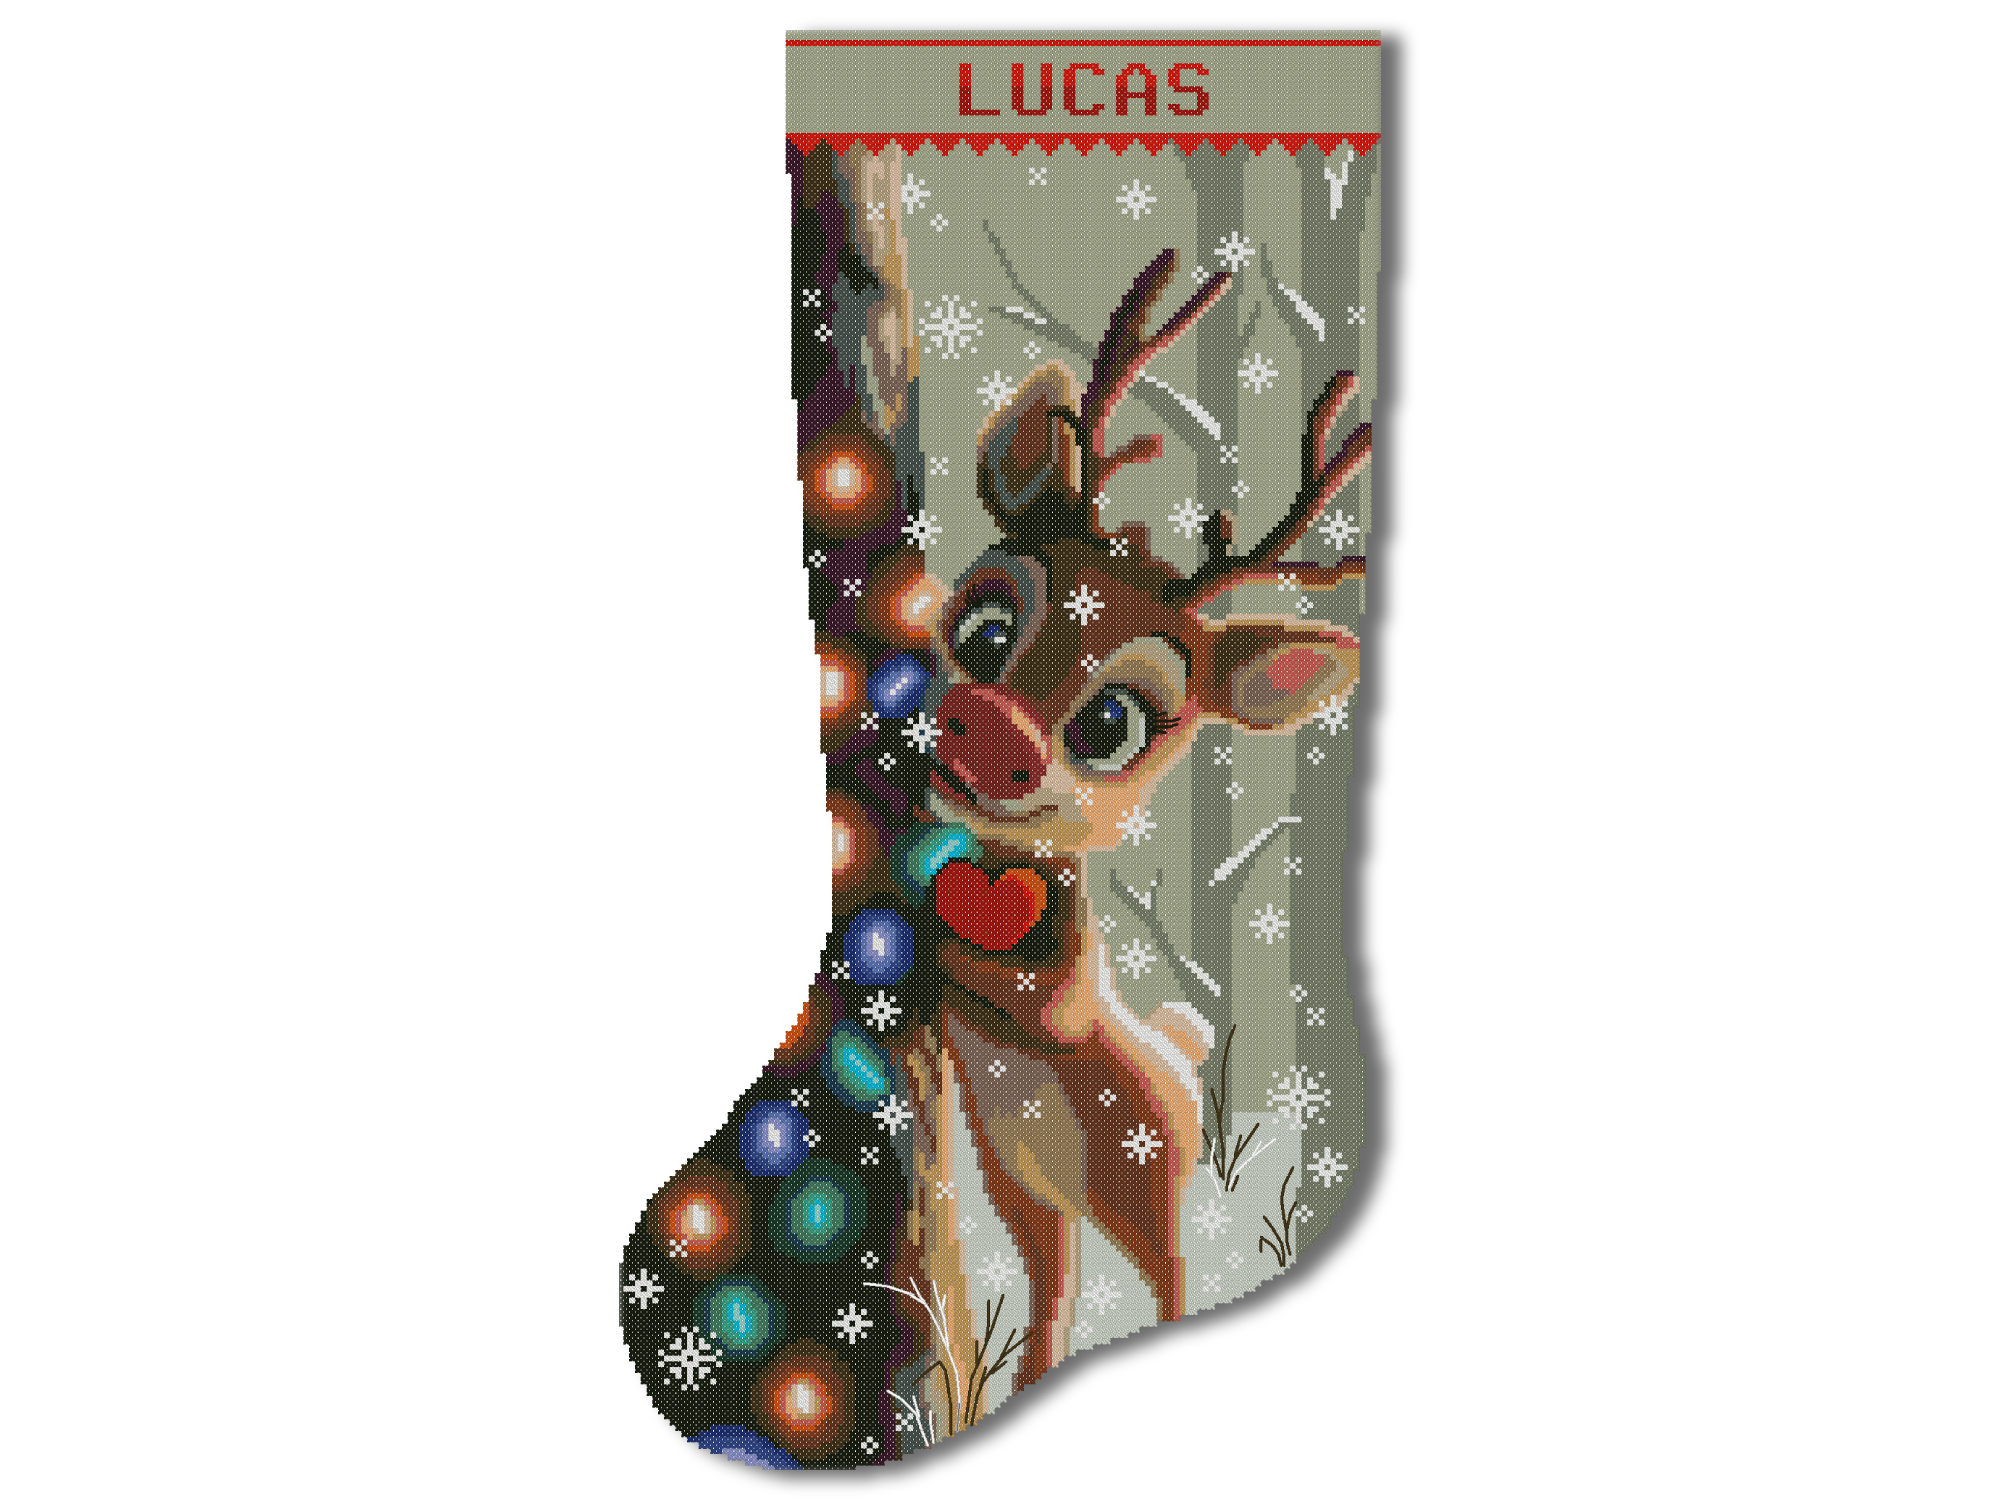

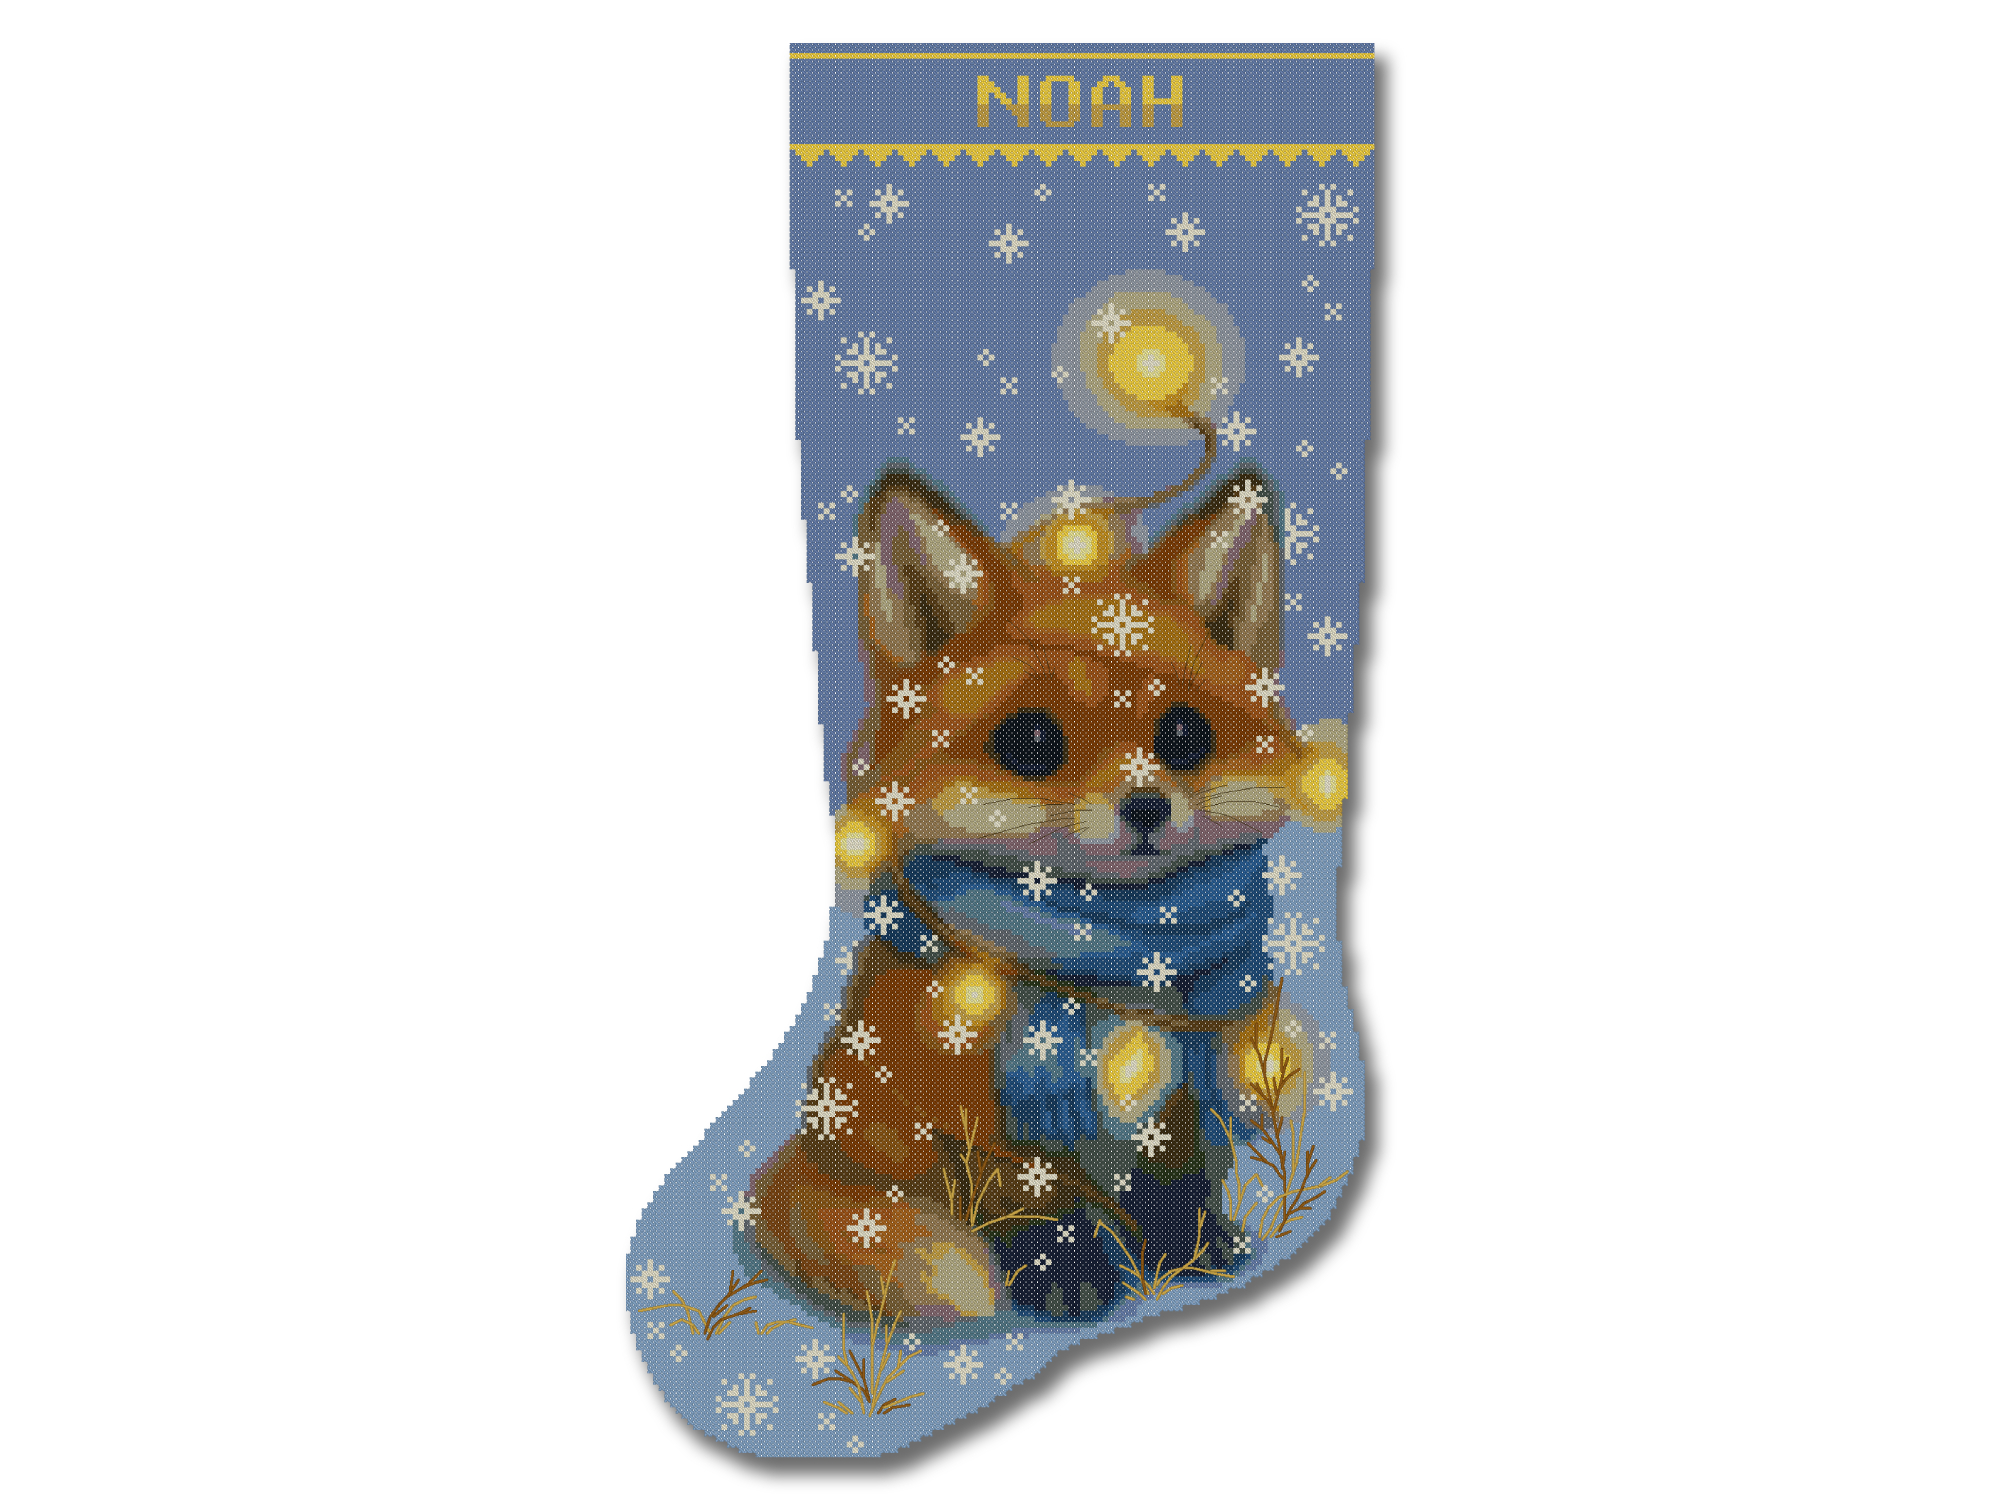

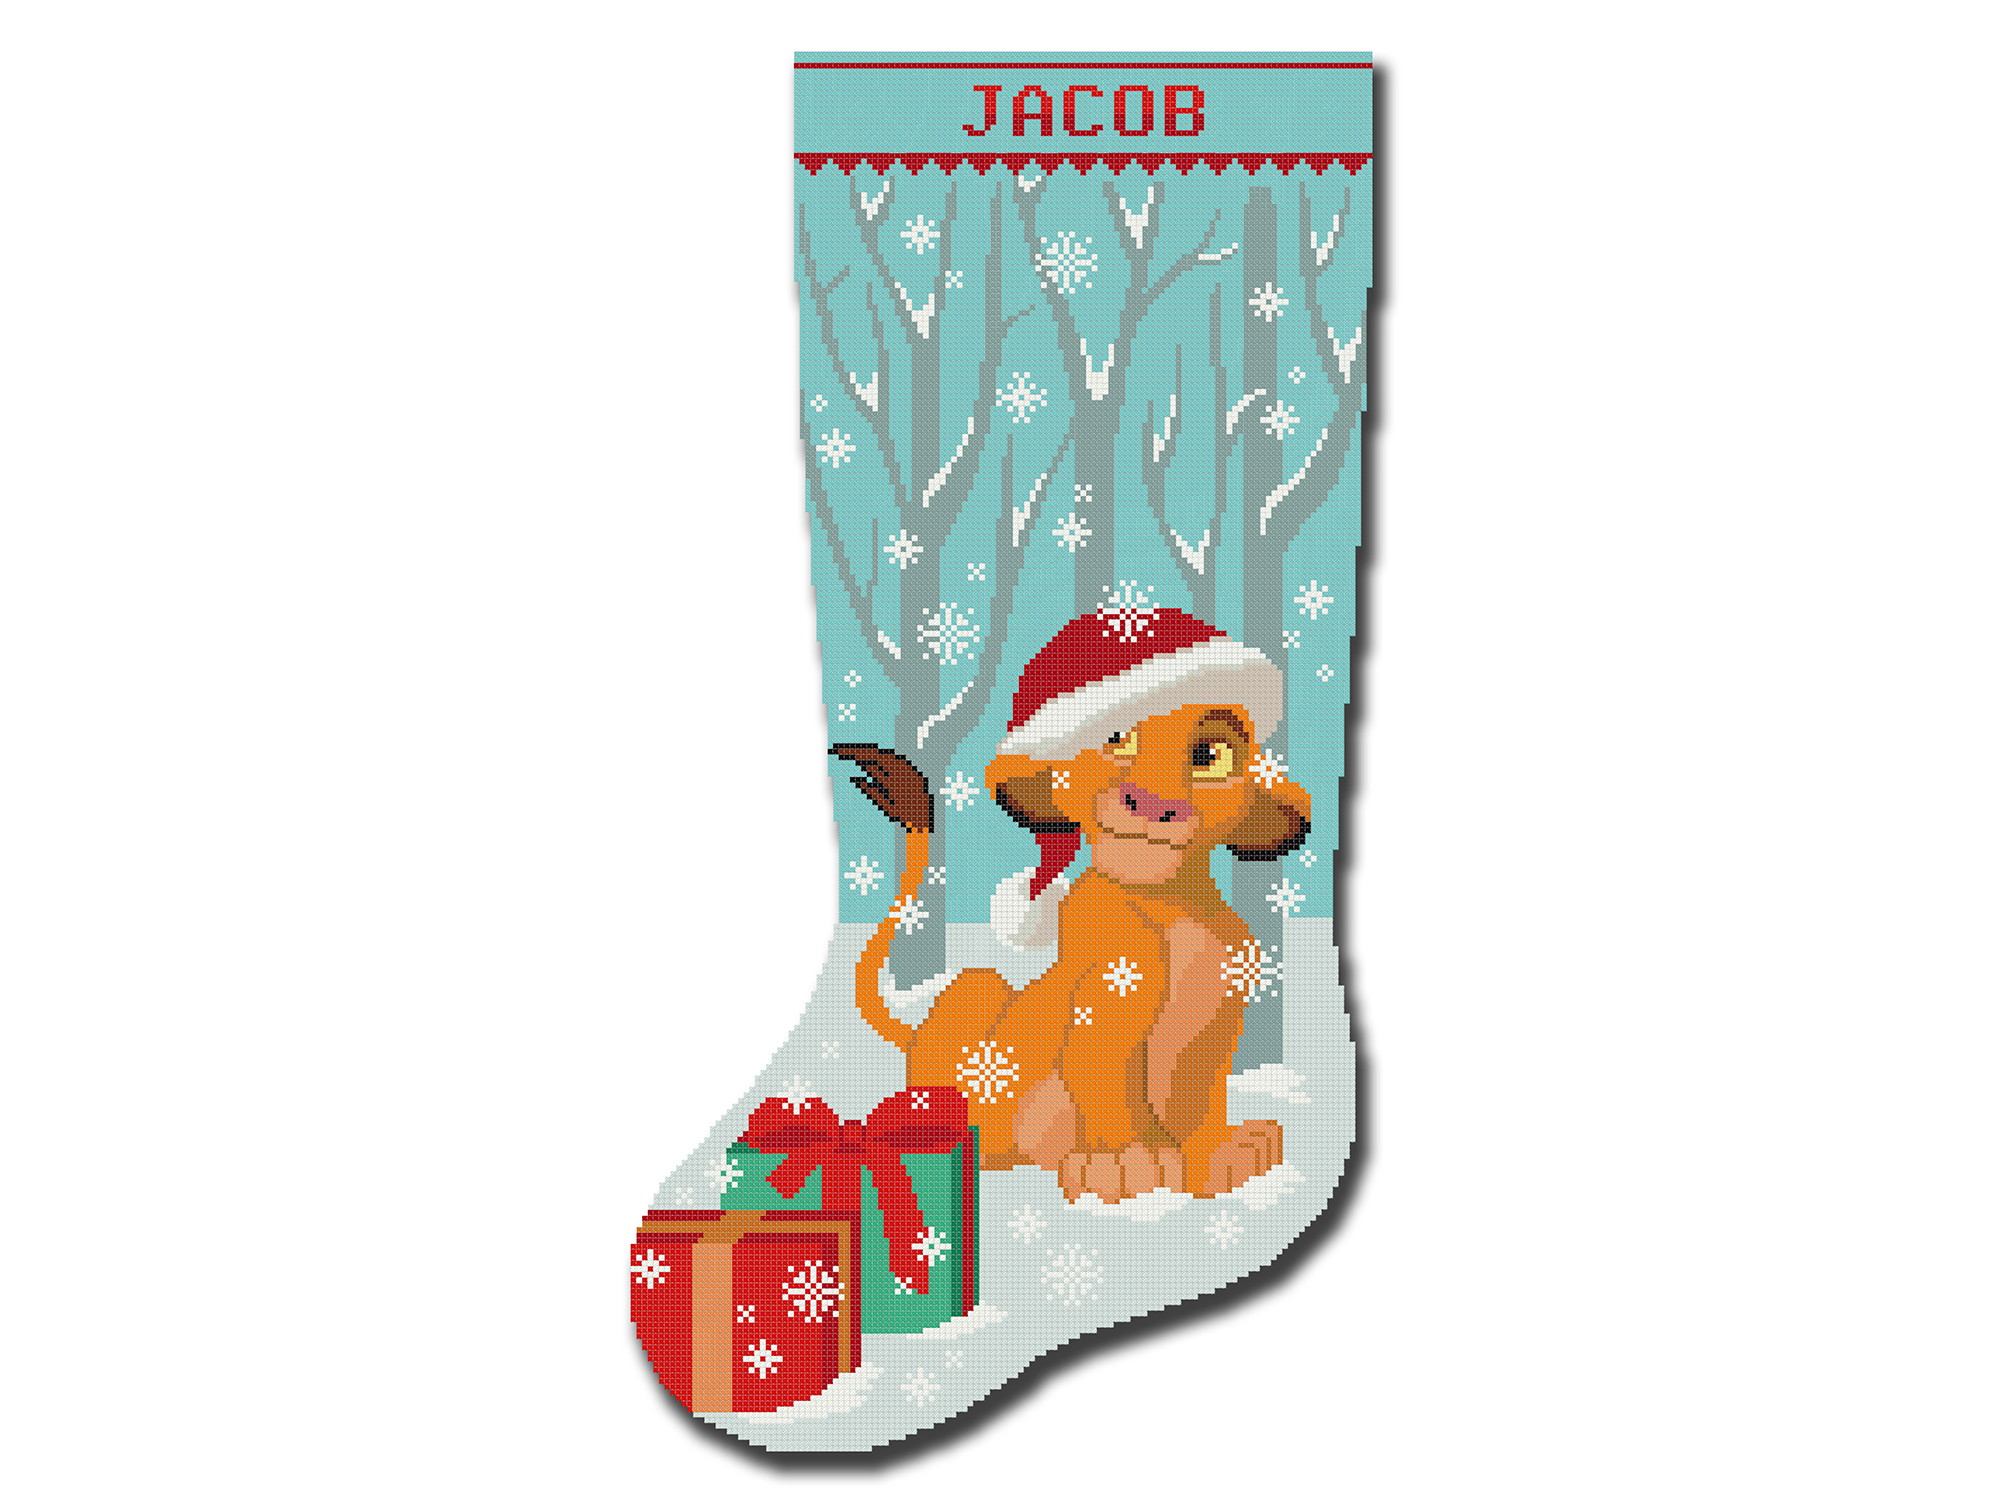

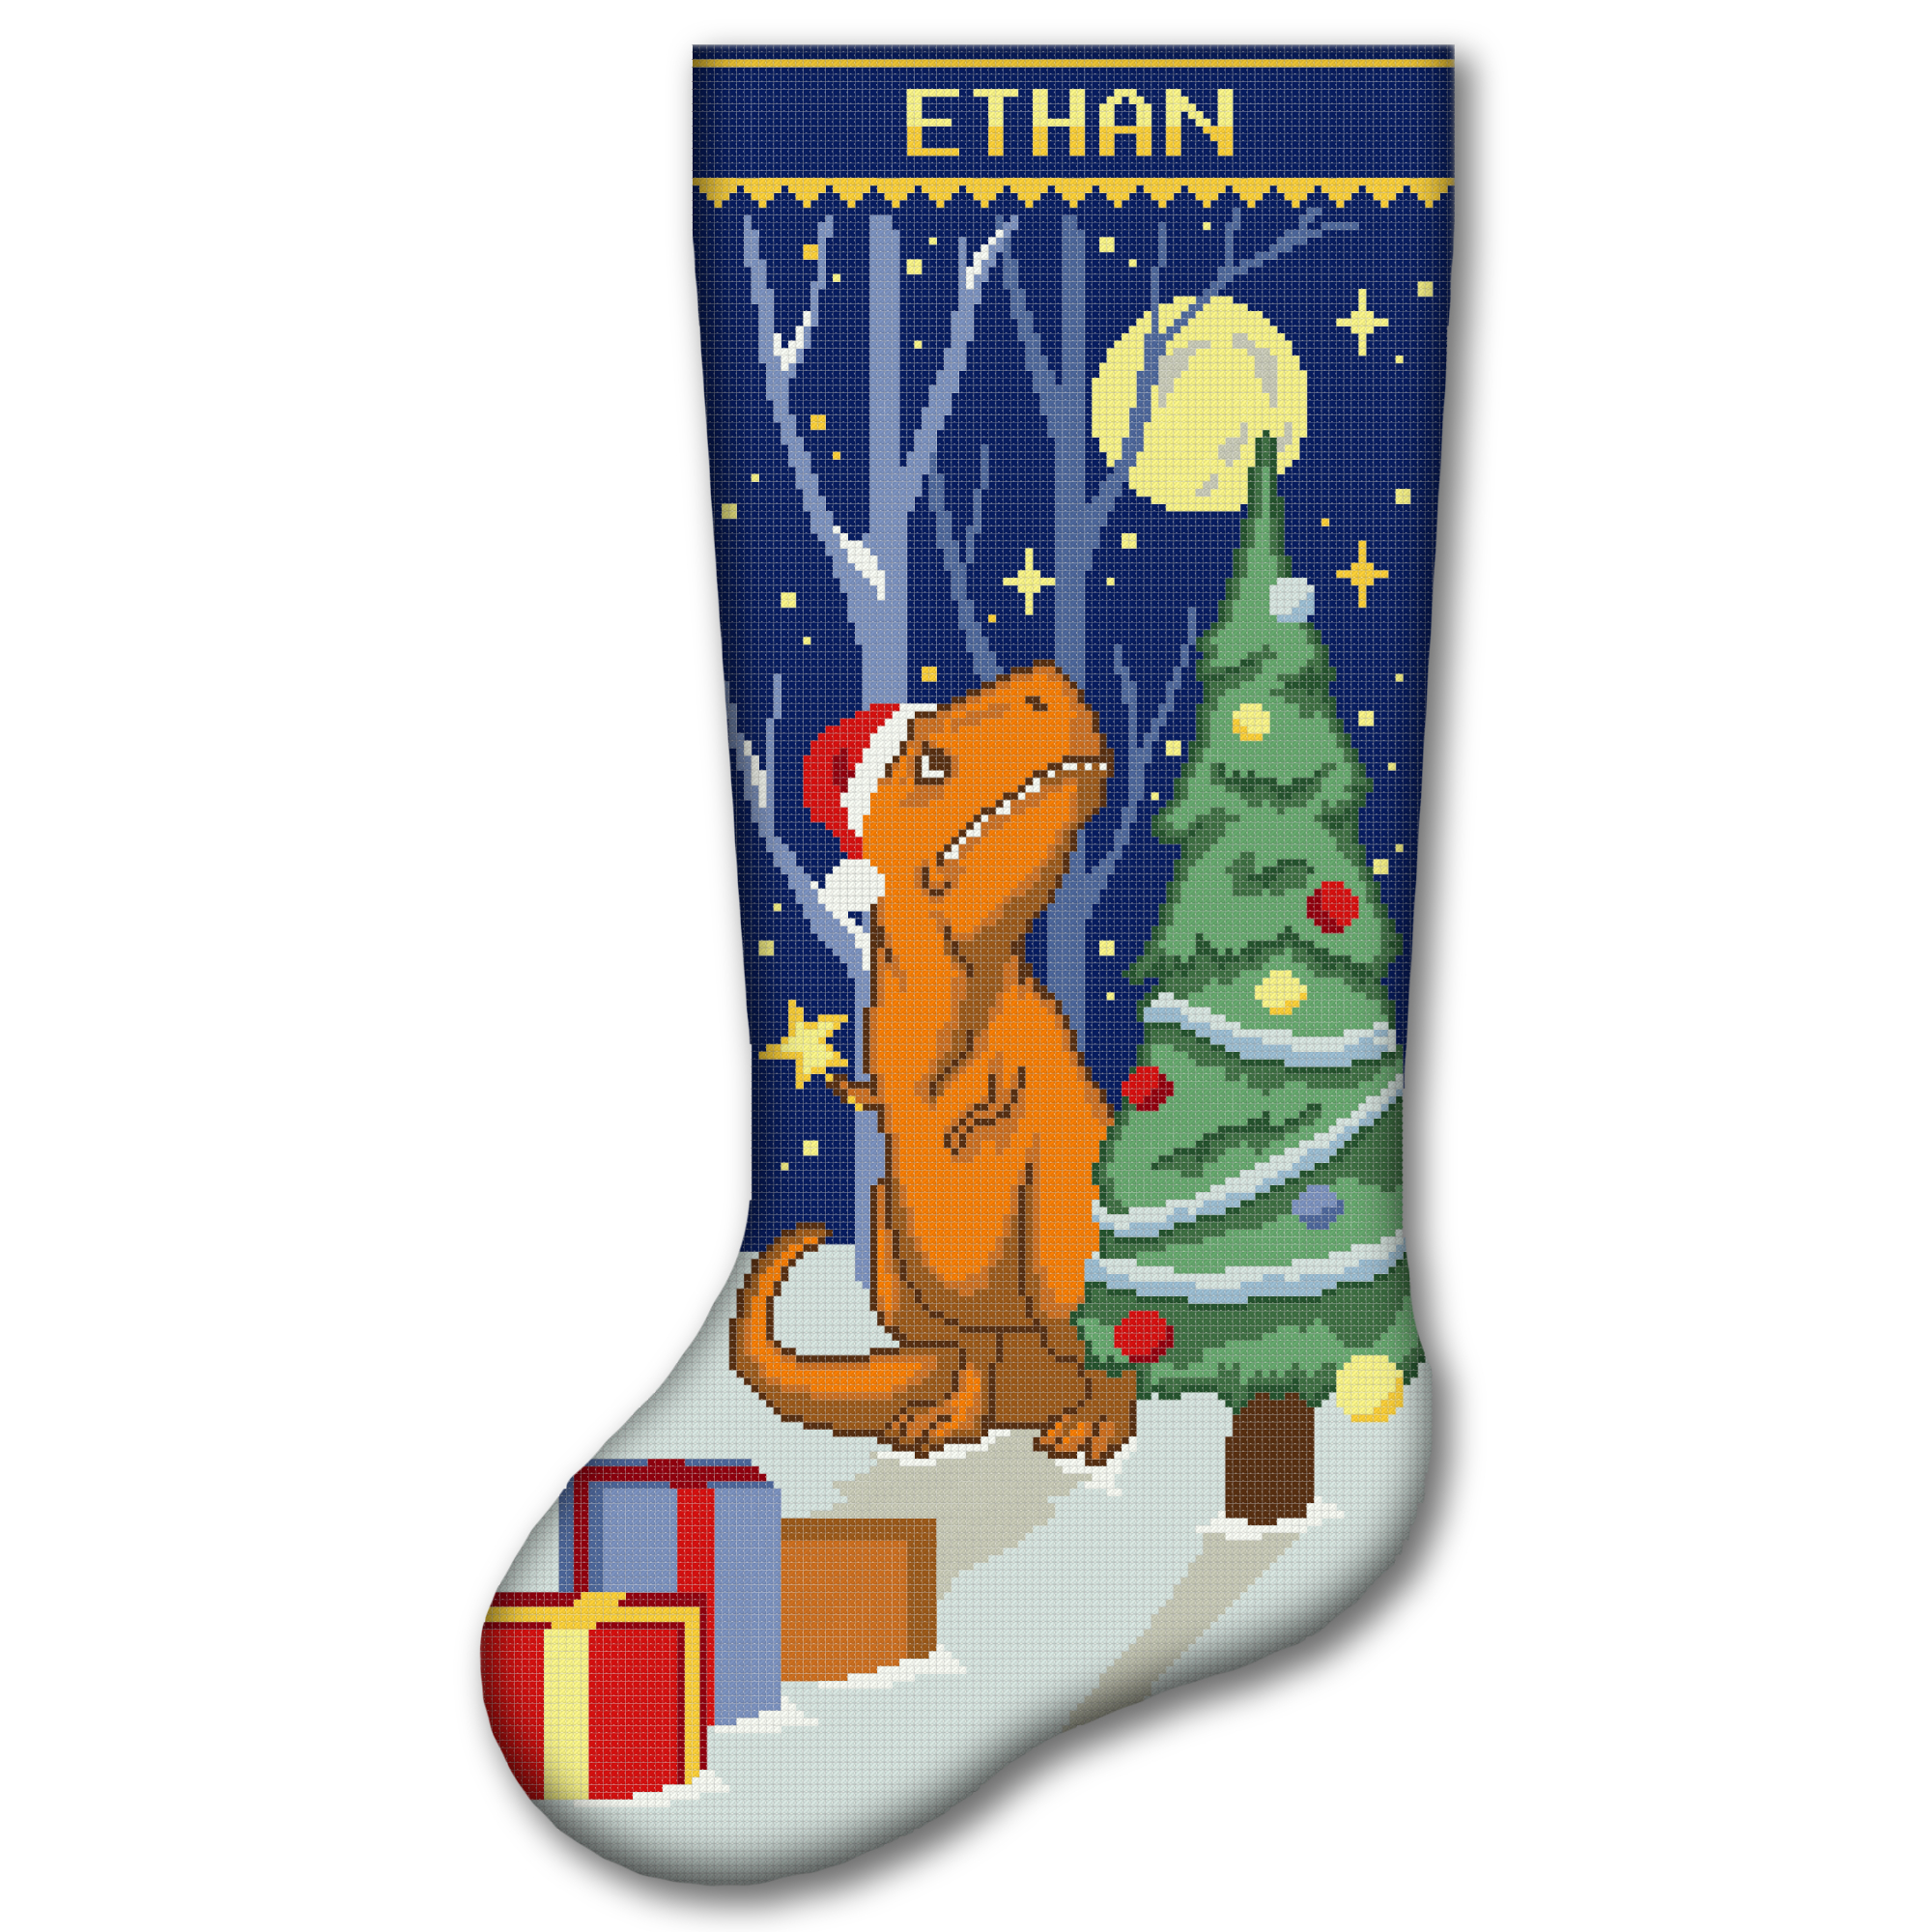
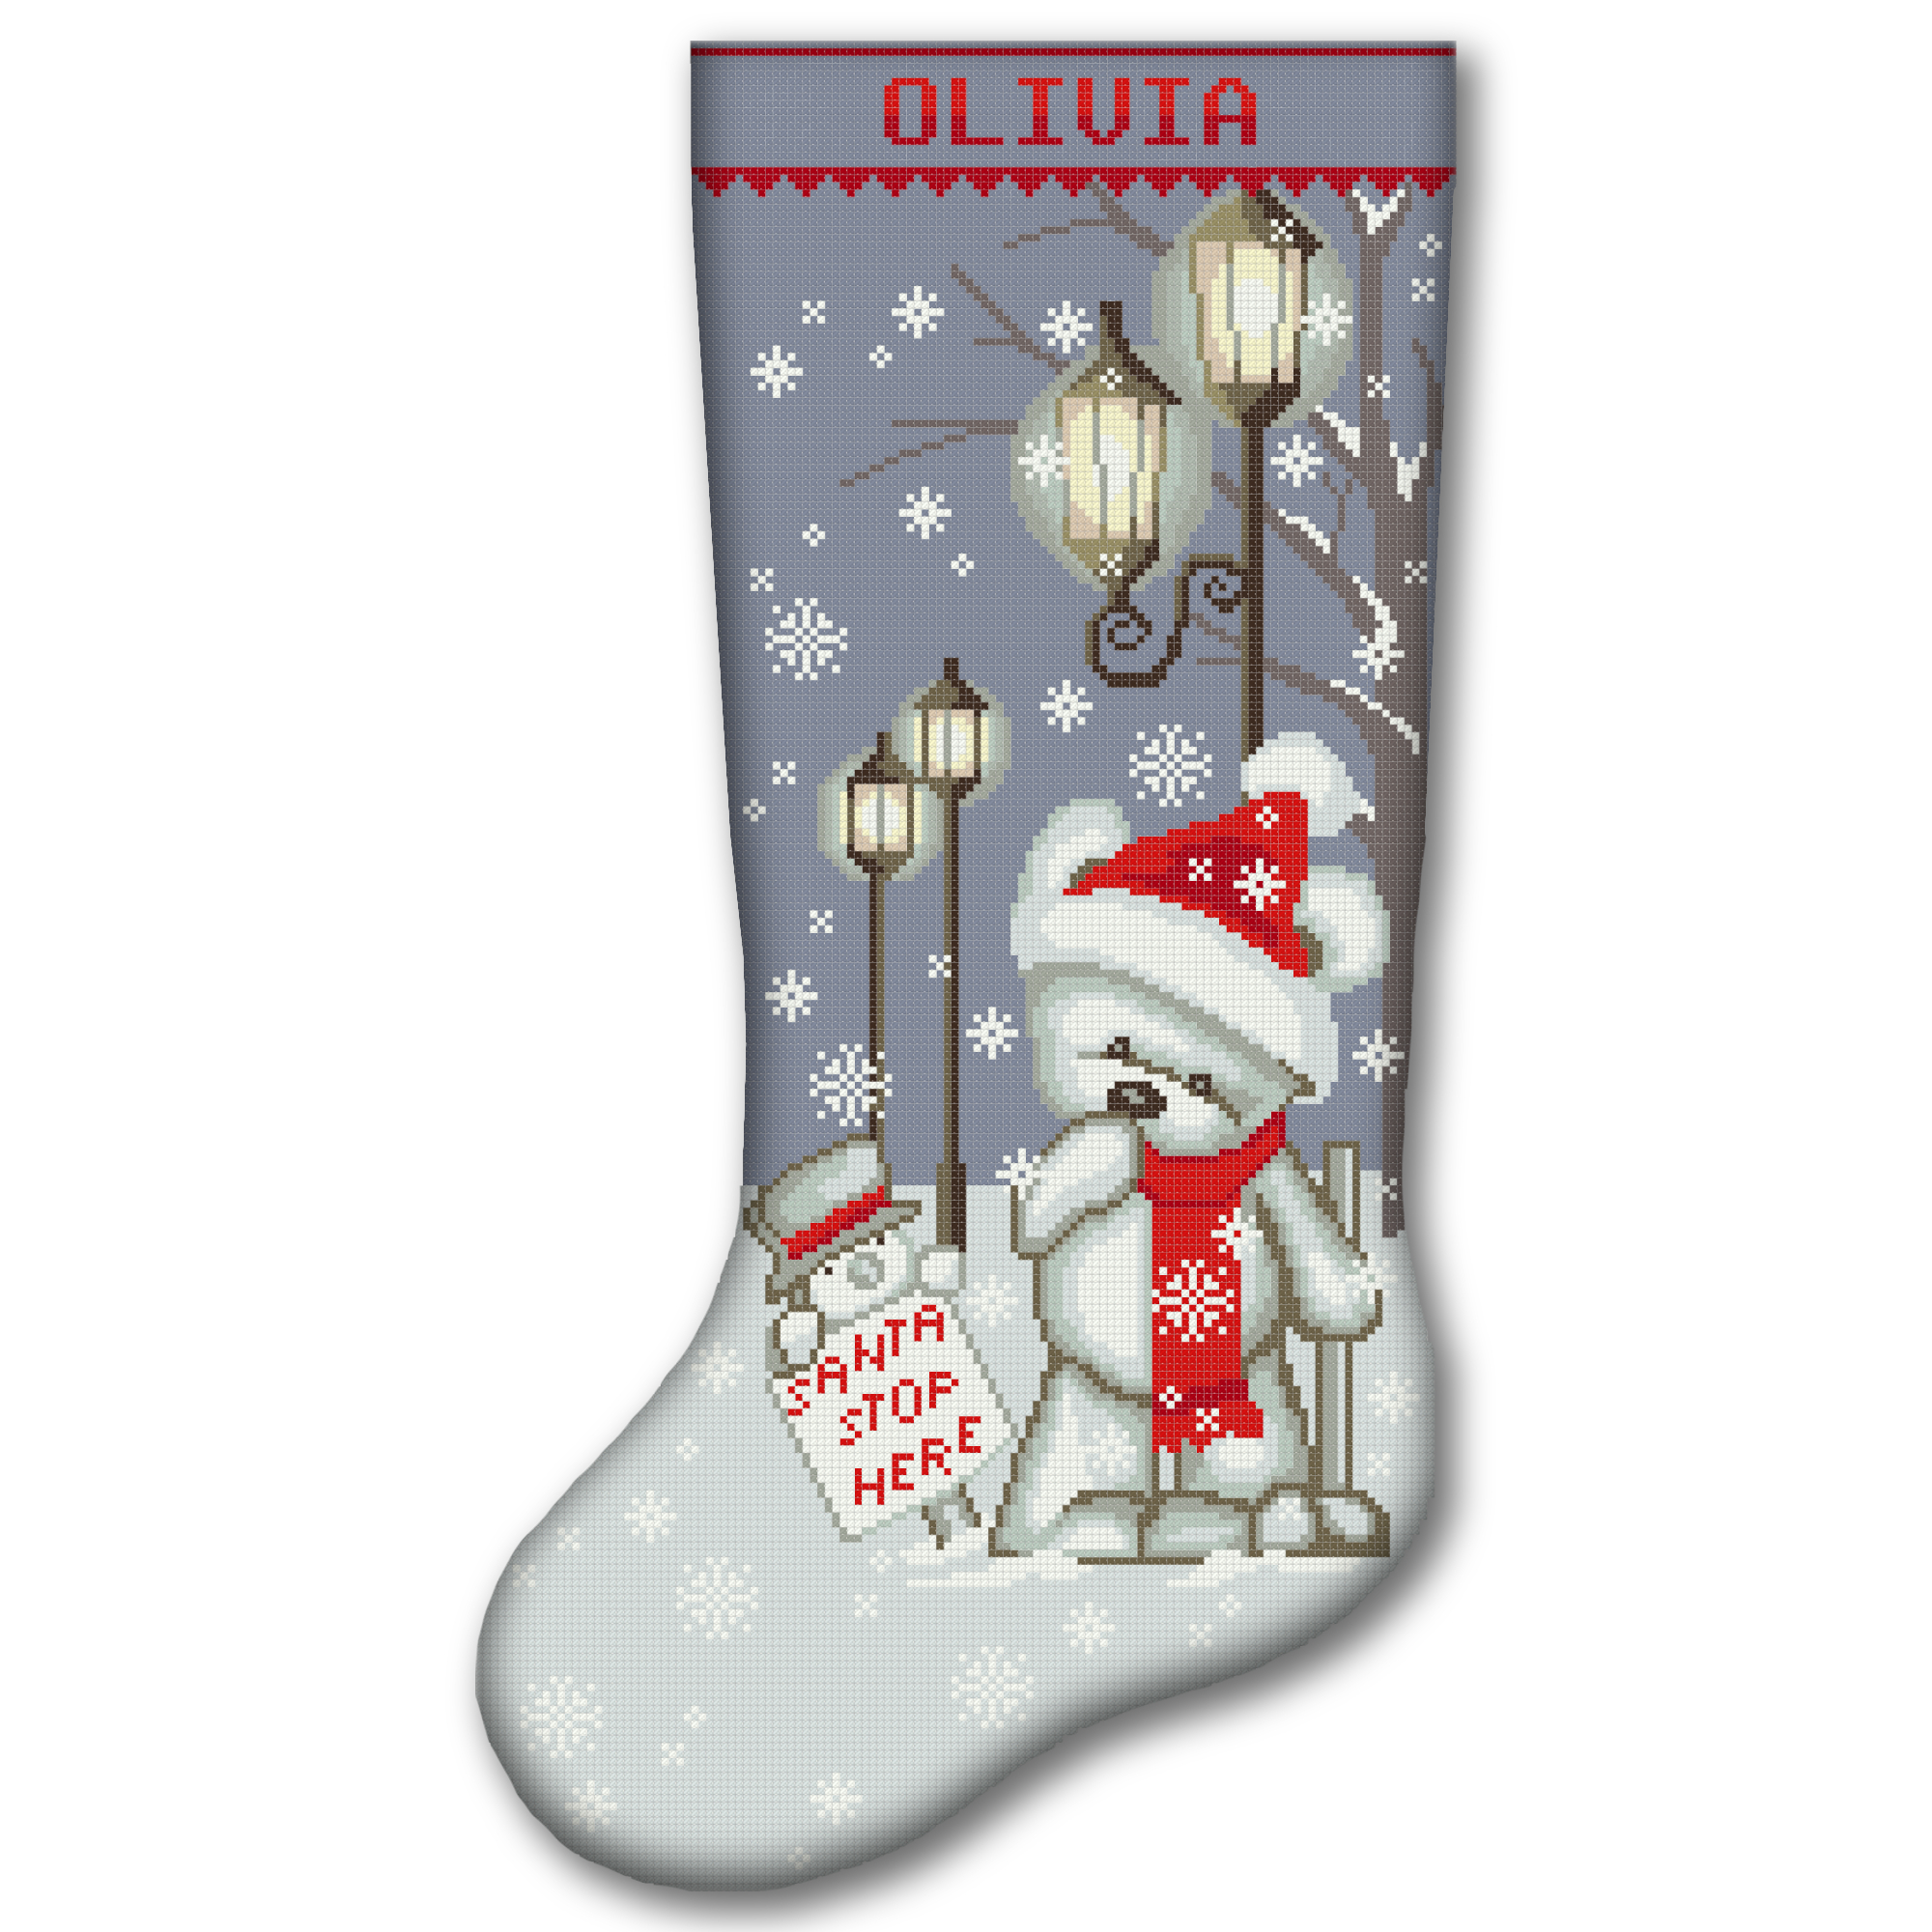
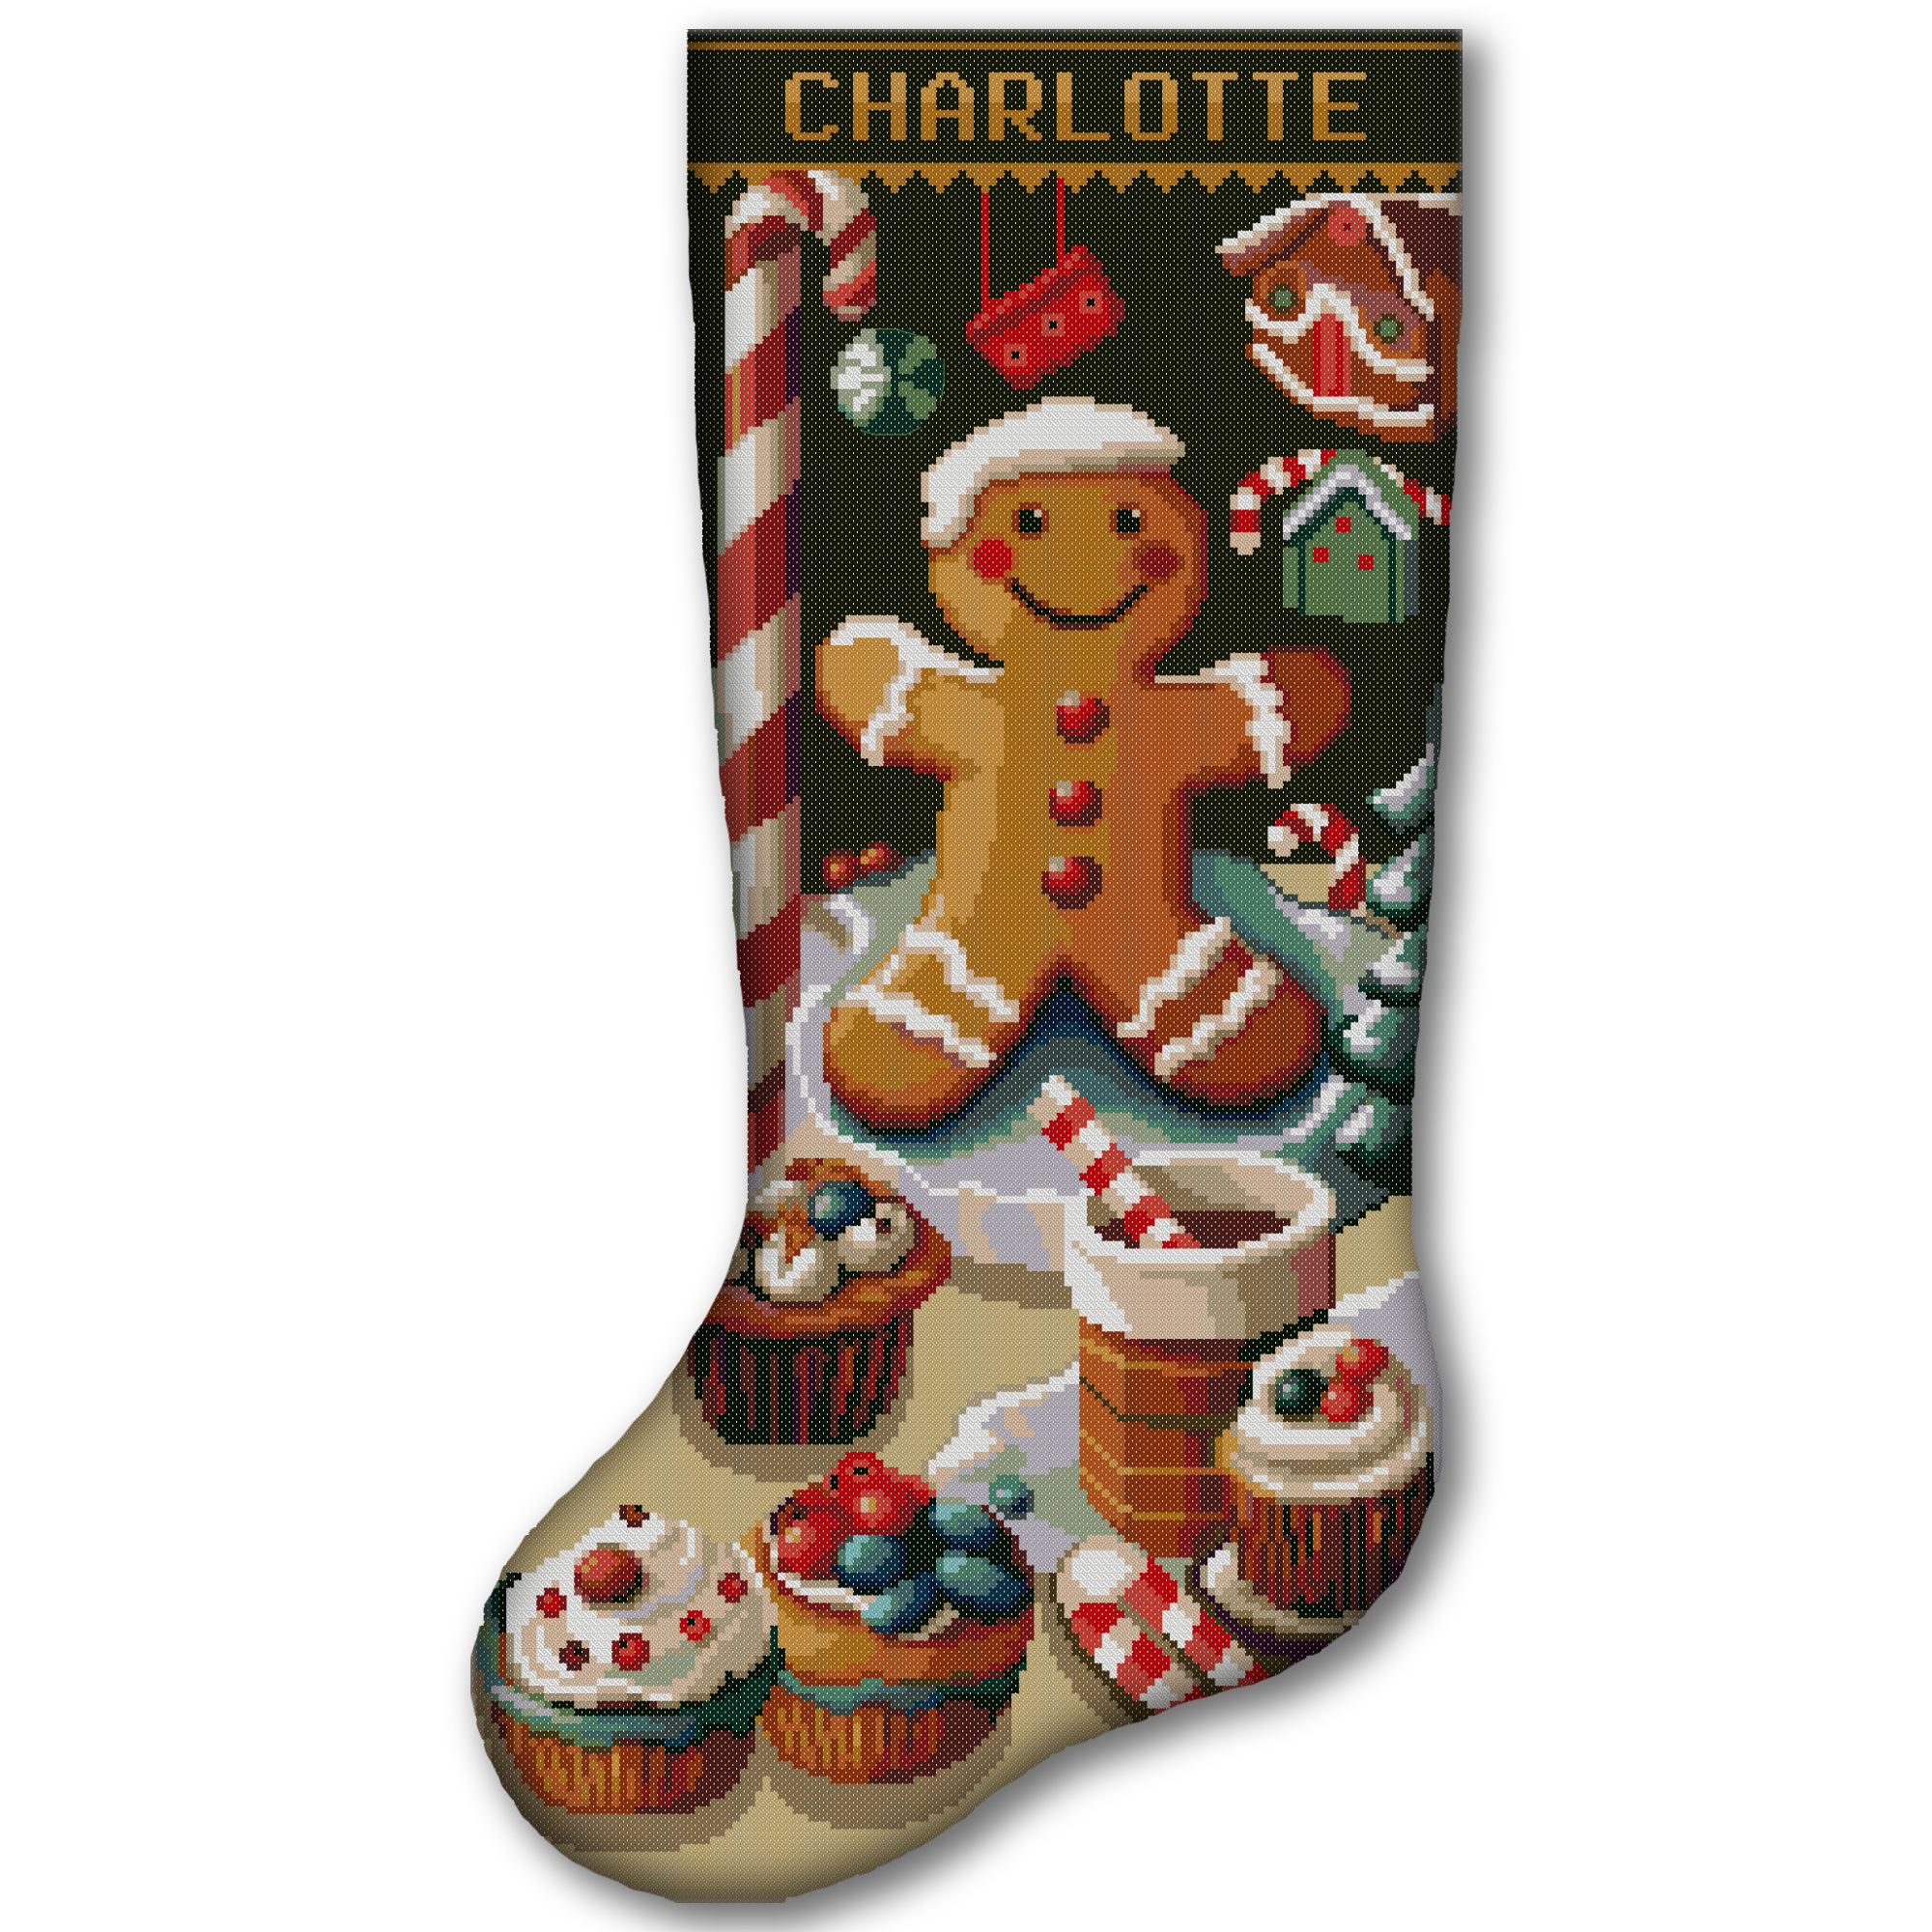
Try our Free Cross Stitch Calculators to estimate fabric size, thread quantity, stitching time, project cost, and the correct position for a personalized name.
Read more Christmas Stocking Cross Stitch Guides for additional help with stitching, personalization, washing, sewing, and finishing.
⭐ CrossStitchStyleArte Tip
Begin earlier than you think you need to, especially if this is your first full-size Christmas stocking. Work in small, regular sessions and celebrate each completed section. The most important part is not how quickly you finish, but the love, patience, and memories stitched into the final stocking.