Your final cross stitch is complete—but the project is not quite finished.
Before displaying your embroidery, you may need to clean it, remove wrinkles, straighten the fabric and mount it inside a suitable frame. These finishing steps protect your work and help it look neat and professional.
This beginner-friendly guide explains how to frame cross stitch without glue, how to wash and press it safely, how to keep the fabric straight and how to protect the finished embroidery from dust, moisture and light.
How to Frame Cross Stitch: The Quick Answer
To finish and frame cross stitch:
- Complete all stitching and secure the thread ends.
- Check whether the fabric and floss can be safely washed.
- Wash the embroidery only when necessary.
- Dry it flat without wringing or twisting.
- Press it gently from the reverse side.
- Square the fabric if it has become distorted.
- Choose a suitable frame, mount and optional mat.
- Centre the embroidery on an archival-quality mounting board.
- Secure it with the reversible lacing method.
- Add glass or acrylic without allowing it to touch the stitches.
- Close the back of the frame and attach hanging hardware.
- Display the finished embroidery away from direct sunlight and moisture.
Never cut away the extra fabric until you know the exact dimensions of your frame and mounting board.
Before You Finish Your Cross Stitch
Do not begin washing or cutting as soon as you make the final cross.
First, inspect the entire project carefully.
Check that you have completed:
- all full cross stitches;
- all half and fractional stitches;
- all backstitch;
- French knots, beads or other details;
- names, dates or personalisation;
- every colour shown in the pattern.
Look at the embroidery in good light and compare it with the chart. It is much easier to correct a missing stitch before the fabric is mounted.
If your design contains outlines, read our beginner-friendly guide to backstitch in cross stitch.
Check the Back of the Embroidery
Turn the project over and look for:
- loose thread ends;
- knots or tangles;
- long thread tails;
- threads that have not been secured;
- dirt or marks;
- damaged or pulled fabric threads.
Secure loose ends by passing them beneath several completed stitches on the reverse side. Trim only the excess thread. Do not cut extremely close to the stitches.
A neat, reasonably flat back makes the project easier to mount.
Decide How You Want to Display It
Choose the finishing method before cutting the fabric.
A completed cross stitch can become:
- framed wall art;
- a hoop display;
- a Christmas ornament;
- a greeting card;
- a cushion or pillow;
- a wall hanging;
- a Christmas stocking;
- part of a quilt or fabric decoration.
This article focuses mainly on framing flat cross stitch.
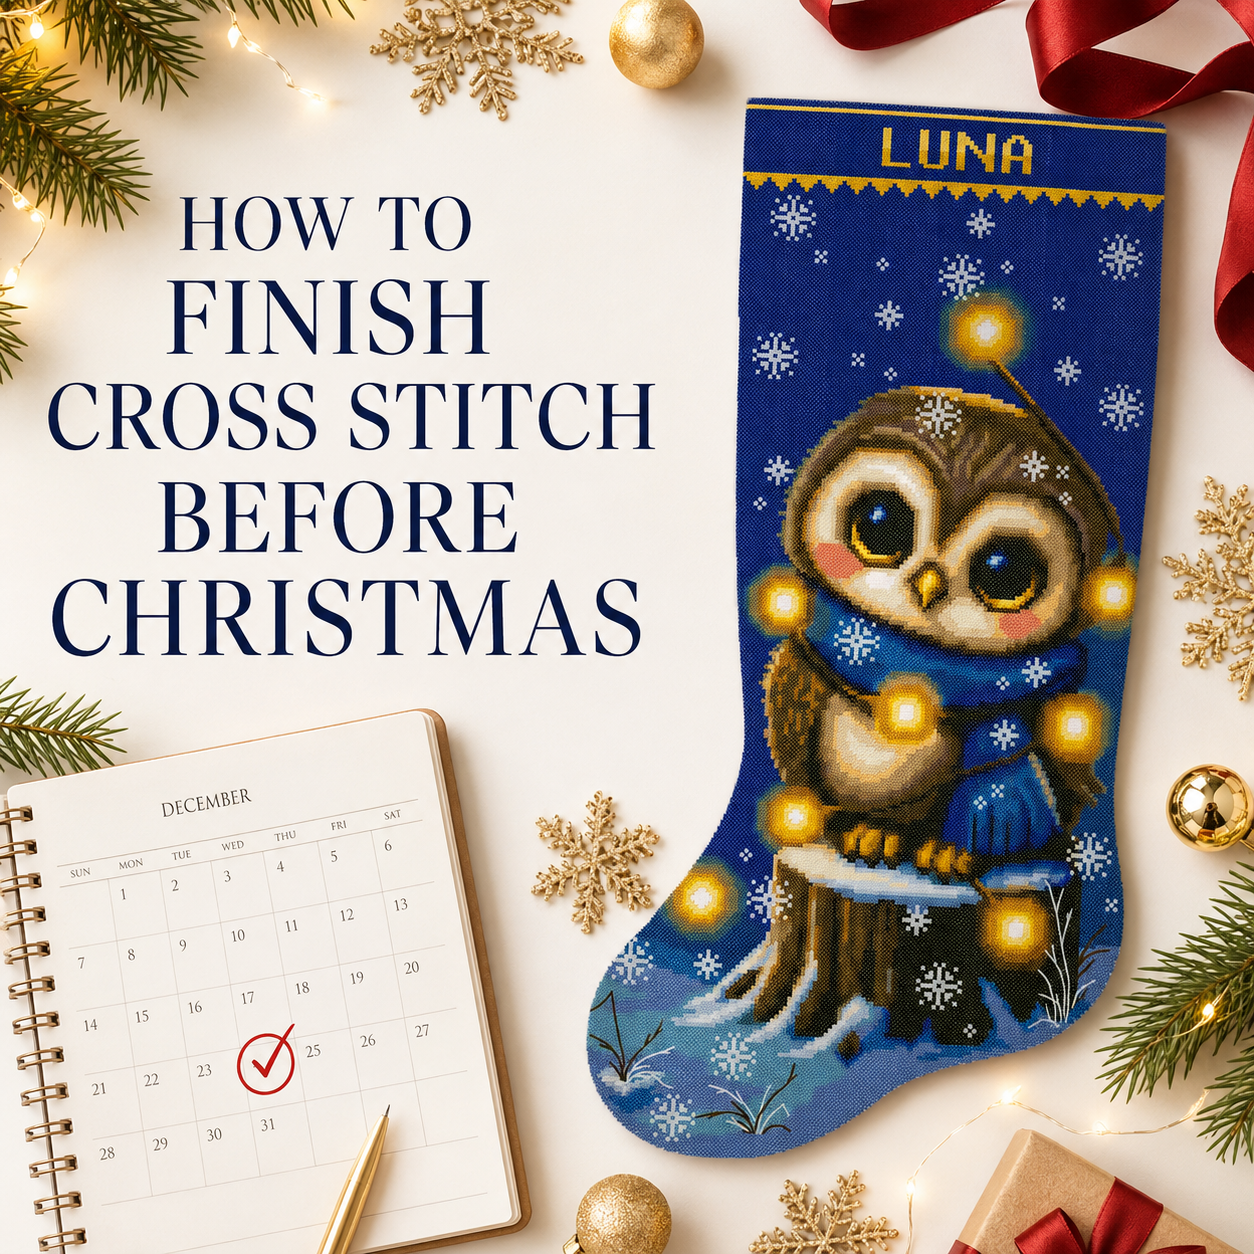
If you are making a stocking, do not cut and frame it. Follow our separate tutorial explaining how to finish a cross stitch Christmas stocking.
Supplies Needed for Framing Cross Stitch
You may not need every item on this list. The exact supplies depend on your chosen frame and mounting method.
| Supply | Purpose |
|---|---|
| Completed cross stitch | The embroidery you want to display |
| Clean white towels | Washing and drying |
| Mild textile detergent | Cleaning washable embroidery |
| Iron and pressing cloth | Removing wrinkles |
| Ruler or measuring tape | Checking size and alignment |
| Archival mounting board | Supporting the embroidery |
| Strong cotton or linen thread | Lacing the fabric |
| Sewing needle | Passing the lacing thread |
| Frame | Holding and displaying the project |
| Acid-free mat or spacers | Keeping stitches away from the glazing |
| Glass or acrylic | Protecting against dust and handling |
| Archival backing board | Protecting the back |
| Suitable hanging hardware | Hanging the completed frame |
If you are still preparing your first project, see our guide to the best cross stitch supplies for beginners.
Should You Wash Cross Stitch Before Framing?
Not every cross stitch project needs to be washed.
A project stitched with colourfast cotton floss on standard cotton Aida can often be washed safely. Washing may remove:
- natural oils from your hands;
- dust;
- washable fabric markings;
- small surface stains;
- water-soluble printed symbols.
However, washing is not automatically safe for every material.
Do Not Wash Without Checking If Your Project Contains:
- hand-dyed fabric or floss;
- silk or wool thread;
- non-colourfast floss;
- metallic threads;
- beads, sequins or glued decorations;
- painted fabric;
- vintage or fragile textile;
- unknown fibres;
- permanent or uncertain marking pens.
Read the pattern, kit and floss care instructions first.
If the project is old, valuable, badly stained or made with unknown materials, ask a professional textile conservator or experienced framer for advice.
What About Stamped Cross Stitch?
Stamped fabric normally contains a water-soluble design that is removed only after all stitching is complete.
Do not wash stamped Aida while you are still stitching. Once the printed symbols disappear, they cannot be restored.
Always follow the washing instructions supplied with the kit. For more help, read our complete guide explaining how to use a stamped cross stitch kit.
How to Test Cross Stitch Colours Before Washing
When you are uncertain whether a floss colour may bleed, test it before placing the complete project in water.
If you have leftover floss:
- Place a small piece of each uncertain colour on a clean white cloth.
- Wet it with cool water.
- Press it gently between two sections of the white cloth.
- Check whether any colour transfers.
A test cannot guarantee that every material is completely safe, but visible colour transfer is a clear warning not to wash the project normally.
A colour-catcher sheet may collect some loose dye, but it does not make non-colourfast thread safe.
How to Wash Finished Cross Stitch Safely
Wash the project only after confirming that the materials are washable.
Step 1: Prepare a Clean Basin
Clean the basin thoroughly before adding the embroidery. Soap, cosmetics, cleaning products and metal marks can transfer to wet fabric.
Fill it with cool or lukewarm water. Do not use hot water.
Step 2: Add a Small Amount of Mild Detergent
Use a small amount of mild, fragrance-free liquid detergent suitable for delicate washable textiles.
Do not use:
- bleach;
- fabric softener;
- aggressive stain remover;
- strong laundry powder;
- dishwasher detergent;
- products containing whitening agents.
Do not automatically use baby shampoo. It is made for hair and skin, not for conserving embroidery, and its ingredients vary between brands.
Step 3: Lower the Embroidery into the Water
Place the project flat in the water and move it gently with your hands.
Do not:
- scrub the stitches;
- use a brush;
- rub one section against another;
- twist the fabric;
- pull on beads or decorative threads.
Allow the water to move through the fabric.
Step 4: Rinse Thoroughly
Drain the washing water and rinse the embroidery in fresh cool water.
Repeat until:
- the water remains clear;
- no soap is visible;
- the fabric does not feel slippery.
Support the wet fabric with both hands when lifting it. Wet textiles can stretch more easily than dry textiles.
How to Dry Cross Stitch
Never wring or twist wet cross stitch.
Instead:
- Place a clean white towel on a flat surface.
- Lay the embroidery flat on the towel.
- Cover it with a second clean towel.
- Roll the towels gently with the embroidery inside.
- Press lightly to absorb water.
- Unroll the towels without pulling the fabric.
- Place the embroidery flat on another dry towel.
Smooth the project gently into its natural shape.
Do not hang wet cross stitch from one corner. The weight of the water may stretch the fabric.
Keep it away from:
- direct sunlight;
- radiators;
- hair dryers;
- tumble dryers;
- strong heat;
- pets and food.
Allow the project to dry flat.
How to Press Cross Stitch Without Flattening the Stitches
Pressing removes wrinkles and makes mounting easier.
Step 1: Prepare a Soft Surface
Place a clean, thick white towel on the ironing surface.
Lay the embroidery face down. The stitches should rest against the soft towel rather than a hard ironing board.
Step 2: Protect the Back
Place a clean pressing cloth over the reverse side of the embroidery.
Step 3: Choose a Safe Temperature
Use the lowest temperature suitable for the fabric and thread.
Standard cotton Aida and cotton floss may tolerate moderate heat, but special threads and decorations may not.
If you are unsure, begin with a low temperature and test a corner or spare piece of fabric.
Step 4: Press Gently
Lower and lift the iron instead of sliding it back and forth.
Do not:
- press directly on the front of the stitches;
- use heavy pressure;
- iron over beads or French knots;
- apply strong steam without checking the materials;
- leave the iron in one place.
Allow the embroidery to cool completely while lying flat.
⭐ CrossStitchStyleArte Tip: The soft towel supports the stitches from underneath and helps prevent them from becoming flat.
How to Square and Block Cross Stitch
Cross stitch fabric may become slightly crooked because of uneven tension, hoop pressure or washing.
A square design should remain square after finishing.
Check the Shape
Use the fabric holes as a grid.
Place a ruler along the top and side of the stitched area. Check that:
- horizontal rows remain horizontal;
- vertical rows remain vertical;
- rectangular areas have straight corners;
- circles and faces are not pulled to one side.
Gently Reshape the Fabric
If the project is only slightly distorted, smooth it with your hands while it is damp.
For more control:
- Place the embroidery on a clean blocking mat.
- Use the Aida holes or woven threads as alignment guides.
- Measure from the design to the fabric edges.
- Insert clean, rust-resistant pins around the outer fabric margin.
- Adjust the pins gradually until the design is straight.
- Allow the embroidery to dry completely.
- Remove the pins only after the fabric is dry.
Do not pull one side aggressively. Stretching too hard may distort the stitches or damage the fabric.
Severely distorted, vintage or valuable embroidery should be handled by a professional.
How Much Fabric Should You Leave Around Cross Stitch?
For most framed projects, leave at least 2–3 inches or approximately 5–7.5 cm of fabric around every side of the stitched area.
This extra fabric is needed for:
- centring the design;
- wrapping the fabric around the mounting board;
- lacing;
- adjusting the alignment;
- fitting the mat and frame.
Do not cut first and search for a frame later.
It is safer to keep extra fabric until you have:
- selected the frame;
- measured the mat opening;
- cut the mounting board;
- tested the design position.
Extra fabric can be trimmed later. Fabric that has already been removed cannot be replaced.
How to Choose a Frame for Cross Stitch
The frame should support the embroidery without overpowering it.
Consider:
- the finished design size;
- fabric colour;
- main floss colours;
- style of the design;
- room where it will be displayed;
- whether you want a mat;
- whether the project contains beads or raised stitches.
A simple frame often works best for detailed embroidery.
Frame Colour
Choose a frame colour that repeats or complements one of the colours in the design.
Common choices include:
- natural wood for traditional or nature designs;
- white for light modern designs;
- black for strong contrast;
- gold for elegant or festive embroidery;
- navy or dark brown for classic Christmas designs.
Avoid choosing a frame only because it looks beautiful by itself. It should help the embroidery remain the main focus.
Frame Depth
The frame must be deep enough to hold:
- glazing;
- mat or spacers;
- mounted embroidery;
- backing board;
- securing hardware.
A shallow photo frame may not have enough internal depth for mounted textile.
Do You Need a Mat Around Cross Stitch?
A mat is optional, but it can perform two important jobs:
- It creates visual space around the design.
- It keeps the stitches away from the glass or acrylic.
Choose an acid-free and lignin-free mat.
The mat opening should overlap the unstitched fabric slightly, but it should not cover important stitches, names or decorative borders.
Before ordering a mat, measure:
- stitched width;
- stitched height;
- desired visible fabric border;
- frame opening.
A professional framer can cut the opening accurately.
Framing Without a Mat
You can frame cross stitch without a visible mat, but you still need a safe space between the stitches and the glazing.
Use archival frame spacers around the inside edge.
Do not place glass directly against the embroidery.
Best Mounting Board for Cross Stitch
Choose a rigid mounting board clearly described as:
- acid-free;
- lignin-free;
- archival or conservation quality;
- suitable for textile mounting.
The words “acid-free” alone do not always guarantee long-term stability. Cheap cardboard and ordinary packaging board may contain materials that discolour fabric over time.
Avoid mounting cross stitch on:
- shipping cardboard;
- wood or plywood;
- ordinary chipboard;
- coloured craft cardboard;
- sticky mounting board;
- self-adhesive foam;
- unknown recycled board.
For a valuable heirloom, ask a conservation framer for a cotton-rag or conservation-grade textile mount.
How to Mount Cross Stitch Using the Lacing Method
Lacing is one of the best DIY methods because it does not require glue and can be removed later.
You will need:
- mounting board;
- strong cotton or linen sewing thread;
- sewing needle;
- ruler;
- clean work surface.
Step 1: Cut the Mounting Board
Cut the board to fit the inside of the frame.
Check the fit before adding the embroidery. The board should sit flat without being forced.
Step 2: Centre the Design
Place the embroidery face up over the board.
Measure from the outermost stitches to each board edge.
Adjust the position until:
- left and right borders match;
- top and bottom borders match;
- the design is straight;
- any name or wording is level.
Do not judge only by eye. Measure several points.
Step 3: Fold the Fabric Over the Board
Turn the board over while holding the embroidery in position.
Fold the top and bottom fabric edges toward the back.
Make sure the design has not moved.
Step 4: Lace the First Two Sides
Thread a needle with a long piece of strong sewing thread.
Make large zigzag stitches between the top and bottom fabric edges. Work from one side to the other.
Pull the thread gradually and evenly.
The fabric should be smooth, but not stretched so tightly that the stitches or holes become distorted.
Secure the thread firmly.
Step 5: Lace the Remaining Sides
Fold the left and right edges toward the back.
Lace these two sides in the same way.
Keep checking the front as you work.
Step 6: Fold the Corners
Fold the extra fabric neatly at each corner.
Do not cut the corners away unless there is so much fabric that the mount cannot fit inside the frame. Keeping the fabric makes the mounting method easier to reverse later.
Step 7: Check the Front
Turn the mounted embroidery face up.
Confirm that:
- the design is centred;
- the fabric grid is straight;
- the tension is even;
- there are no wrinkles;
- the corners remain flat;
- no thread is visible from the front.
If the design has moved, loosen the lacing and correct it. Do not try to hide a crooked design with the mat.
Should You Use Pins to Mount Cross Stitch?
Pins can be used around the sides of certain conservation-quality foam boards, but the lacing method is usually safer for a beginner and easier to reverse.
Ordinary sewing pins may eventually rust or leave marks.
If you choose pin mounting:
- use appropriate rust-resistant pins;
- place them into the side of the board, not through the visible design;
- space them evenly;
- keep them away from the glazing;
- confirm that the complete mount fits inside the frame.
For valuable work, use lacing or professional conservation mounting.
Should Cross Stitch Be Framed Behind Glass?
Glass or acrylic helps protect cross stitch from:
- dust;
- fingerprints;
- moisture splashes;
- insects;
- accidental touching;
- airborne dirt.
However, the glazing must not touch the stitches.
Use a mat or frame spacers to create a gap.
Glass vs. Acrylic
| Glass | Acrylic |
|---|---|
| More resistant to scratching | Lighter than glass |
| Easy to clean | Less likely to break |
| Heavier | Useful for larger frames |
| Can shatter | Can develop static |
| Available with UV and anti-reflective options | Available with UV and anti-static options |
“Non-glare” and “UV-filtering” describe different features. A glazing product may have one, both or neither.
UV-filtering glazing can reduce some light damage, but it does not make direct sunlight safe. All strong light can eventually fade textiles.
Raised beads, loose metallic fibres and delicate embellishments may need additional space and specialised anti-static glazing.
How to Assemble the Frame
After the embroidery has been mounted:
- Clean both sides of the glass or acrylic.
- Allow all cleaning moisture to disappear.
- Place the glazing into the frame.
- Add the mat or spacers.
- Insert the mounted embroidery.
- Check the front for dust, hairs and loose fibres.
- Add the archival backing board.
- Secure the frame package with suitable frame hardware.
- Seal the back using framing materials designed for this purpose.
- Attach hanging wire or another suitable hanger.
- Add small protective bumpers to the lower frame corners.
Do not spray glass cleaner directly onto an assembled frame. Liquid may run behind the glazing and reach the embroidery. Spray the cleaning cloth away from the frame instead.
How to Finish Cross Stitch in a Hoop
A hoop finish is a simple alternative to a traditional frame.
Step 1: Prepare the Embroidery
Wash and press the project if the materials allow it.
Step 2: Centre the Design
Place the fabric in the hoop and measure around the stitched area.
Check that the design is straight before tightening the hoop.
Step 3: Tighten Gradually
Pull the fabric gently and evenly.
The fabric should be smooth, but the holes should not be stretched.
Step 4: Trim the Excess Carefully
Leave approximately 1–1½ inches or 2.5–4 cm of fabric behind the hoop.
Do not trim directly beside the hoop.
Step 5: Gather the Fabric
Sew a loose running stitch around the remaining fabric edge.
Pull the thread gently so the fabric gathers toward the centre of the hoop back. Secure the thread.
Step 6: Cover the Back
Cut a circle of clean felt or fabric slightly smaller than the outer hoop.
Hand-sew it over the gathered fabric to create a neat back.
Add a ribbon or hanging cord if desired.
Other Cross Stitch Finishing Ideas
Framing is not the only option.
Christmas Stocking
Turn a large personalised Christmas design into a lined or unlined stocking. Follow the dedicated Christmas stocking finishing tutorial.
Ornament
Small designs can be mounted over padded board and finished with backing fabric, ribbon and a hanging loop.
Pillow
A square or rectangular embroidery can become the front panel of a decorative cushion. Add suitable seam allowance before cutting.
Greeting Card
A small design can be placed behind a window cut into folded card. Make sure the adhesive touches only the hidden fabric margin, not the stitched area.
Wall Hanging
Attach the embroidery to clean backing fabric and add a wooden dowel or fabric hanging sleeve.
Common Cross Stitch Framing Mistakes
Washing Without Checking the Materials
Not all floss, fabric and embellishments are washable. Check first.
Cutting the Fabric Too Early
Keep the full fabric margin until the frame, mat and mounting board have been measured.
Ironing Directly on the Stitches
Press from the reverse side with the stitches resting on a clean towel.
Using Glue or Sticky Mounting Board
Adhesive can soak into the fabric, collect dirt and become difficult to remove.
Using Ordinary Cardboard
Household cardboard may discolour the fabric or become unstable over time.
Pulling the Fabric Too Tight
The fabric should be smooth, not distorted. Over-tightening can stretch the holes and change the design shape.
Mounting the Design Crooked
Measure from the stitched area to the board edges. Do not rely only on the cut fabric edges because they may not be straight.
Allowing the Glass to Touch the Stitches
Use a mat or spacers to create a safe gap.
Displaying the Frame in Direct Sunlight
UV-filtering glazing reduces risk but does not prevent all fading.
Hanging Embroidery in a Damp Room
Bathrooms, kitchens, unheated exterior walls and damp basements are poor locations for framed textiles.
How to Display and Care for Framed Cross Stitch
Choose a stable indoor location away from:
- direct sunlight;
- fireplaces;
- radiators;
- heating and cooling vents;
- bathrooms;
- cooking steam;
- damp exterior walls;
- strong spotlights.
Dust the frame regularly with a soft dry cloth.
When cleaning the glazing, apply cleaner to the cloth—not to the frame.
Inspect the embroidery occasionally for:
- moisture;
- insects;
- mould;
- fading;
- loose backing;
- rusting hardware;
- movement inside the frame.
If moisture appears inside the glazing, remove the frame from the wall and investigate immediately.
When Should You Use a Professional Framer?
Professional framing is worth considering when:
- the embroidery has strong sentimental value;
- the design is very large;
- the fabric is badly distorted;
- the project contains beads or raised details;
- the materials are vintage or fragile;
- you want museum-quality preservation;
- you are uncertain about mounting it safely;
- a custom mat or deep frame is required.
Tell the framer that you want reversible, conservation-quality textile mounting.
Ask whether they use:
- acid-free and lignin-free materials;
- lacing rather than adhesive;
- a mat or spacers;
- UV-filtering glazing;
- archival backing;
- materials suitable for textiles.
Do not assume that every general picture framer has experience with embroidery.
Choose Your Next Cross Stitch Project
After framing one handmade project, you may be ready to begin another.
Choose a complete cross stitch kit when you want the main project materials prepared together.
A 2-in-1 cross stitch kit lets you choose between stamped and counted stitching with 14-count Aida.
If you already own fabric, floss and needles, explore our collection of downloadable cross stitch patterns.
Complete beginners can start with our detailed how to cross stitch guide.
Frequently Asked Questions
Should I wash cross stitch before framing?
Wash it only when necessary and when the fabric, floss and decorations are washable. Standard cotton Aida and colourfast cotton floss can often be washed safely, but hand-dyed, silk, wool, metallic, beaded and vintage projects require more caution.
What soap should I use to wash cross stitch?
Use a very small amount of mild, fragrance-free detergent intended for delicate washable textiles. Avoid bleach, fabric softener, strong stain remover and aggressive laundry products.
Can I iron cross stitch?
Yes, if the materials tolerate heat. Place the embroidery face down on a clean white towel and press gently from the reverse side through a pressing cloth. Do not slide the iron across the fabric or press directly on the stitches.
How much extra fabric do I need for framing?
Leave at least 2–3 inches or approximately 5–7.5 cm on every side of the stitched area. Do not trim it until you have measured the mounting board and frame.
How do you mount cross stitch without glue?
Use the lacing method. Centre the fabric over an archival mounting board, fold the edges around the back and lace opposite sides together with strong thread.
Can cross stitch touch the glass?
No. Use a mat or frame spacers so the glazing does not touch the stitches.
Is UV glass necessary for cross stitch?
UV-filtering glazing is useful for reducing light damage, but it cannot make direct sunlight safe. Keep the frame away from bright windows even when UV glass or acrylic is used.
Can I use sticky board for cross stitch?
Sticky board is easy to use, but the adhesive is not ideal for valuable or heirloom embroidery. Lacing is more reversible and does not place glue against the fabric.
Can I frame cross stitch myself?
Yes. A beginner can frame a small or medium project by following careful measuring, pressing and lacing steps. Use a professional framer for valuable, fragile, heavily embellished or very large embroidery.
Can a child frame cross stitch?
A child can help with measuring, centring and choosing a frame, but an adult should supervise needles, scissors, irons, glass and frame hardware.
Give Your Finished Cross Stitch the Care It Deserves
Framing is not simply about placing embroidery inside a decorative frame.
The goal is to keep the fabric clean, straight, supported and protected without using methods that may damage it later.
Take your time, measure carefully and choose reversible materials whenever possible. A thoughtfully finished cross stitch can remain a meaningful part of your home and family for many years.