How to Cross Stitch for Beginners: Complete Step-by-Step Guide
Cross stitch may look complicated when you see a finished design filled with colors and tiny details. But the basic idea is surprisingly simple: you follow a chart, count squares, and make small X-shaped stitches on fabric.
If you can count and make an X, you can learn how to cross stitch.
This complete beginner’s guide will take you through the entire process, one clear step at a time. You will learn how to choose fabric and thread, read a cross-stitch pattern, start and finish your thread, make the most common stitches, correct mistakes, and care for your finished work.
No previous embroidery experience is required.
Take your time, follow each step, and remember: every experienced stitcher once made their very first cross.
How to Cross Stitch: The Quick Answer
To start cross stitching:
- Choose a beginner-friendly cross-stitch pattern or kit.
- Prepare your Aida fabric.
- Find the center of the fabric and the pattern.
- Choose the correct embroidery floss.
- Separate the required number of strands.
- Thread a blunt tapestry needle.
- Secure the thread on the back without making a knot.
- Follow the chart and make X-shaped stitches.
- Add backstitch or French knots if the pattern requires them.
- Secure the final thread and finish your project.
That is the basic process. Now let us look at every step in detail.
What Is Cross Stitch?
Cross stitch is a type of counted-thread embroidery. Small X-shaped stitches are placed on evenly woven fabric to create a picture, ornament, name, or decorative pattern.
Most cross-stitch designs are made on fabric with clearly visible holes. The holes form a grid, which makes it easy to decide where every stitch belongs.
A cross-stitch pattern also uses a grid. Usually, one square on the pattern represents one full cross stitch on the fabric.
You do not need to draw the picture yourself. You simply follow the chart, one square and one color at a time.
How Do Small Crosses Create a Picture?
Think of a cross-stitch design as a picture made from tiny colored squares.
A digital photograph is made from pixels. A cross-stitch design works in a similar way, but each “pixel” is usually an X made from embroidery thread.
When many colored crosses are placed next to one another, they form:
- shapes;
- shadows;
- faces;
- animals;
- flowers;
- letters;
- backgrounds;
- complete scenes.
You do not need to see the entire picture while you stitch. You only need to concentrate on the next symbol and the next square.
Is Cross Stitch the Same as Embroidery?
Cross stitch is one type of embroidery, but not all embroidery is cross stitch.
Traditional surface embroidery may use many decorative stitches on fabric without a visible grid. Cross stitch is usually worked on evenly woven fabric and follows a counted chart.
A cross-stitch project may also include several additional embroidery stitches, such as:
- half cross stitch;
- quarter stitch;
- three-quarter stitch;
- backstitch;
- French knots.
You will learn how to make each of these basic stitches later in this guide.
⭐ CrossStitchStyleArte Tip: Do not try to learn every embroidery stitch before starting. A beginner can complete many beautiful patterns using only full cross stitches and backstitch.
Counted Cross Stitch vs. Stamped Cross Stitch
Before choosing a project, it is important to understand the difference between counted and stamped cross stitch.
Both techniques use X-shaped stitches, but the way you find the correct place for each stitch is different.
| Counted cross stitch | Stamped cross stitch |
|---|---|
| The fabric is usually blank. | The design is printed on the fabric. |
| You count squares by following a separate chart. | You follow the symbols or colors printed directly on the fabric. |
| Each symbol on the chart shows where to stitch. | Each printed symbol shows where to stitch. |
| It requires more counting and concentration. | It can be easier for a complete beginner to follow. |
| Digital PDF patterns are usually counted cross stitch. | Physical kits may include pre-printed stamped fabric. |
What Is Counted Cross Stitch?
In counted cross stitch, you work on blank fabric and use a separate pattern.
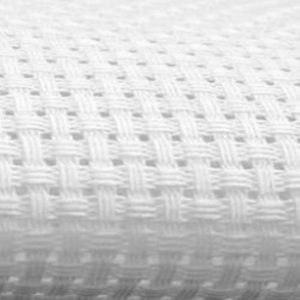
You find your starting point, count the squares on the pattern, and place the same stitches on the fabric. You must check your position regularly because the complete picture is not printed on the fabric.
Counted cross stitch gives you a wide choice of patterns and allows you to select your own:
- fabric;
- fabric count;
- thread brand;
- thread colors;
- project size;
- finishing method.
Digital cross-stitch patterns are usually provided as downloadable PDF files. The PDF normally includes a chart, symbol key, color list, finished size, and stitching instructions.
What Is Stamped Cross Stitch?
In stamped cross stitch, the symbols or colors are printed directly on the fabric.
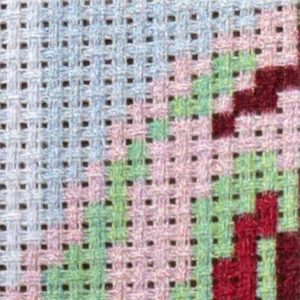
Instead of transferring every square from a separate chart, you stitch over the printed symbols. A stamped kit often includes the fabric, threads, needles, instructions, and other materials required for the project.
The printed markings may be washable, but this depends on the kit. Always read the manufacturer’s instructions before washing stamped fabric.
Do not wash pre-printed fabric before completing the stitching unless the instructions specifically tell you to do so. Water may remove the symbols you still need.
Which Type Is Better for a Beginner?
Neither type is automatically better for everyone.
Choose counted cross stitch if you:
- enjoy following charts;
- are comfortable counting squares;
- want to download a pattern instantly;
- want to choose your own materials;
- prefer a blank fabric surface.
Choose stamped cross stitch if you:
- want the design shown directly on the fabric;
- are worried about losing your place on a chart;
- prefer to receive the main materials together;
- want a more guided first project.
A carefully prepared counted pattern or a complete stamped kit can both be suitable for beginners.
⭐ CrossStitchStyleArte Tip: Before buying a project, check whether it is a digital pattern or a physical kit. A digital PDF pattern does not normally include fabric, thread, or needles.
Is Cross Stitch Easy to Learn?
Yes. The basic cross stitch is easy to learn, even if you have never embroidered before.
The most important beginner skills are:
- reading simple symbols;
- counting fabric squares;
- keeping the crosses in the same direction;
- checking your position;
- securing the thread neatly;
- being patient.
You do not need to make every stitch perfectly. Small differences in tension are normal when you are learning.
The first few stitches may feel slow. After you understand how the chart and fabric connect, the process becomes much easier.
How Long Does It Take to Learn Cross Stitch?
Most beginners can understand the basic full cross stitch in one short practice session.
However, speed and confidence develop gradually. Your first project may take longer because you are learning how to:
- separate embroidery floss;
- thread the needle;
- find your place on the chart;
- count correctly;
- control thread tension;
- correct small mistakes.
Do not compare your first hour of stitching with someone else’s tenth year.
Can Children Learn Cross Stitch?
Many children can learn basic cross stitch with adult supervision. A simple project on fabric with large, visible holes is the best place to begin.
For a child or young beginner, choose:
- 11-count or 14-count Aida;
- a blunt tapestry needle;
- a small design;
- clear symbols;
- only a few colors;
- large areas of full cross stitch;
- short stitching sessions.
Needles and scissors should always be used safely and with appropriate supervision.
How to Choose Your First Cross-Stitch Project
The easiest first project is not always the smallest picture. A tiny design can still be difficult if it contains many colors, isolated stitches, fractional stitches, or complicated backstitch.
Look at the pattern details, not only the finished image.
A Good Beginner Pattern Usually Has:
- a clear, readable chart;
- a complete color and symbol key;
- mostly full cross stitches;
- a limited number of colors;
- larger blocks of the same color;
- few isolated stitches;
- little or no complicated fractional stitching;
- clear instructions;
- a manageable finished size.
A small ornament, simple animal, name, bookmark, or holiday motif can be an excellent first project.
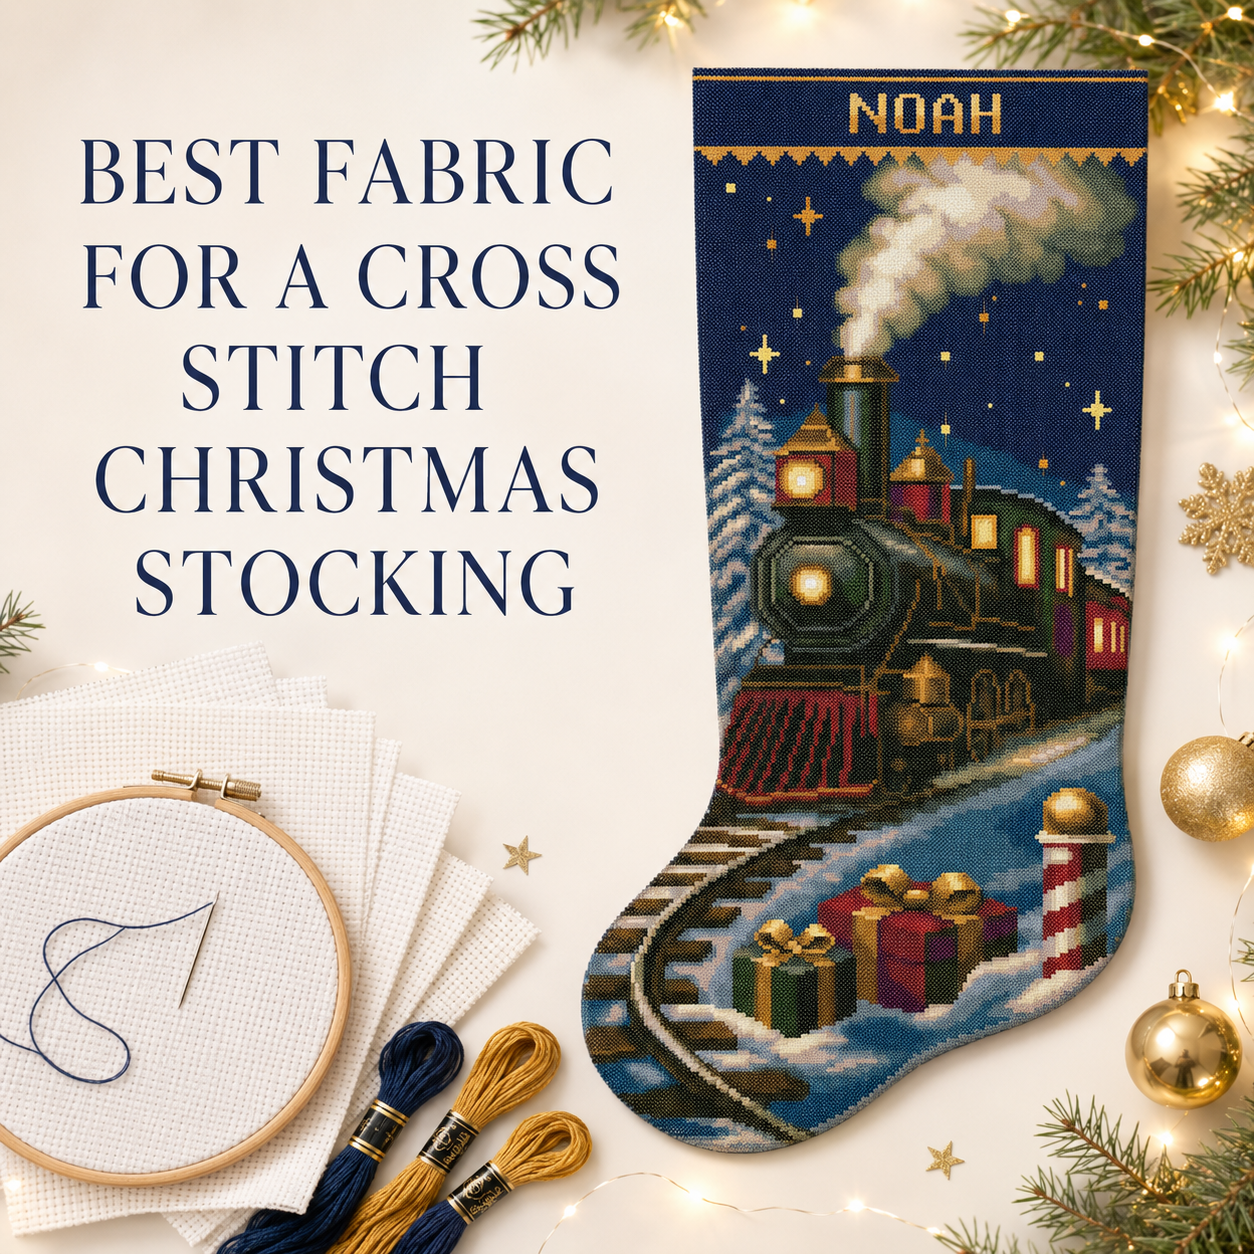
A larger project, such as a Christmas stocking, can also work for a motivated beginner if the pattern is clear and the stitch types are not too complicated. It will simply require more time.
Check What Is Included Before You Begin
If you buy a cross-stitch kit, check that it contains everything listed in the product description.
If you buy a digital pattern, you will usually need to purchase the following materials separately:
- fabric;
- embroidery floss;
- tapestry needle;
- hoop or frame;
- scissors;
- finishing materials.
Read the entire pattern information before buying supplies. It should tell you the recommended fabric count, thread colors, number of strands, stitch types, and finished design size.
Cross-Stitch Supplies for Beginners
You do not need a room full of expensive tools to begin cross stitching.
The essential supplies are:
- A cross-stitch pattern or kit
- Evenly woven fabric
- Embroidery floss
- A tapestry needle
- Embroidery scissors
A hoop or frame is helpful for many stitchers, although some people prefer to hold the fabric in their hands.
Let us look at each item more closely.
1. Cross-Stitch Pattern
A cross-stitch pattern is your map. It tells you where to place every color and every type of stitch.
A complete beginner-friendly pattern should include:
- the finished design image;
- one or more charts;
- a symbol key or legend;
- thread color numbers;
- the number of thread strands to use;
- fabric recommendations;
- stitch dimensions;
- finished size;
- instructions for special stitches.
Some patterns include both a color chart and a black-and-white symbol chart. You can use whichever version is easier for you to read.
Never rely only on the picture of the finished design. Always follow the chart and its symbol key.
2. Cross-Stitch Fabric
Cross stitch is usually worked on an evenweave fabric. This means the threads or holes are spaced evenly so that the stitches remain the same size.
The most common beginner fabric is Aida.
What Is Aida Fabric?
Aida is a firm fabric with clearly visible holes arranged in a regular grid.
Each group of woven threads forms a small square. The four holes around that square are used to make one full cross stitch.
Aida is popular with beginners because:
- the holes are easy to see;
- the squares are easy to count;
- the fabric holds its shape;
- the stitches remain evenly spaced;
- it is available in many colors and counts.
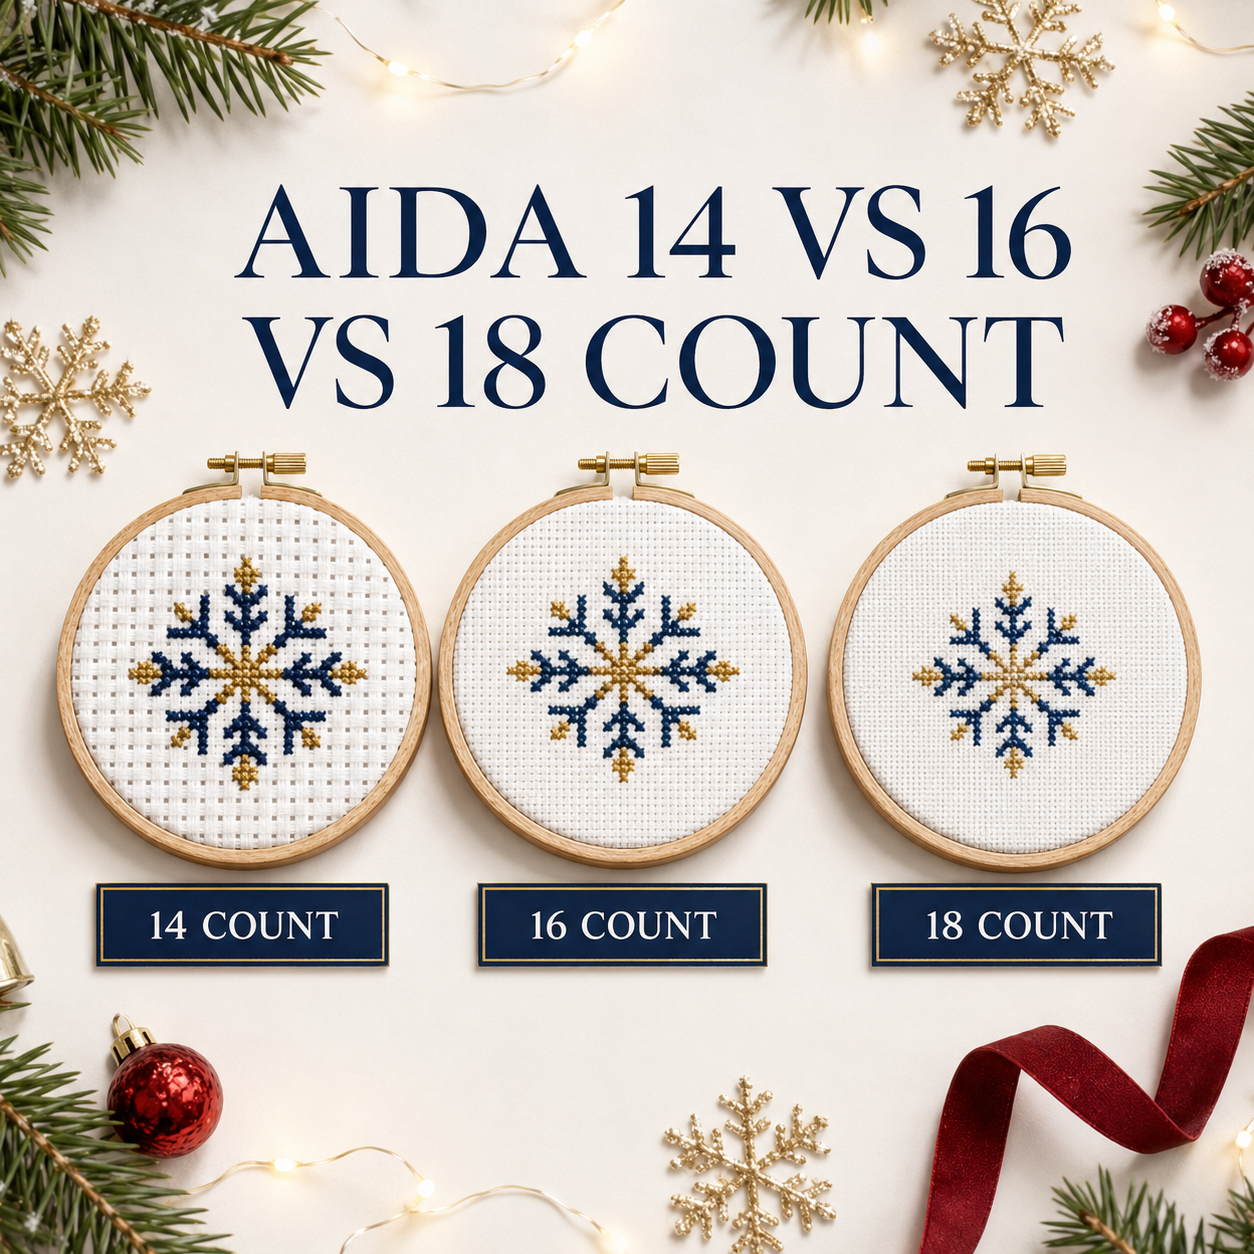
What Does Aida Count Mean?
The fabric count tells you how many cross stitches fit into one inch of fabric.
For example:
- 11-count Aida has 11 squares per inch;
- 14-count Aida has 14 squares per inch;
- 16-count Aida has 16 squares per inch;
- 18-count Aida has 18 squares per inch.
A higher fabric count means smaller holes and smaller finished stitches.
| Aida count | Stitch size | Common use |
|---|---|---|
| 11 count | Large | Children, beginners, easy-to-see stitches |
| 14 count | Medium | Most common beginner and general-use option |
| 16 count | Smaller | More detailed designs |
| 18 count | Fine | Detailed work and experienced stitchers |
The same pattern will be larger on 11-count Aida and smaller on 18-count Aida.
Which Aida Count Is Best for Beginners?
For most adult beginners, 14-count Aida is a practical first choice. The holes are usually easy to see, and the finished stitches are neither extremely large nor extremely small.
If you have difficulty seeing small holes, 11-count Aida may be more comfortable.
Always check the pattern recommendation before changing the fabric count. Changing the count changes the finished size and may also affect thread coverage.
How Much Fabric Do You Need?
First calculate the stitched area:
Design width in inches = number of stitches wide ÷ fabric count
Design height in inches = number of stitches high ÷ fabric count
For centimeters:
Design size in centimeters = number of stitches ÷ fabric count × 2.54
Then add extra fabric around the complete design for holding, framing, or sewing.
For many framed projects, allow approximately 2–3 inches, or 5–7.5 cm, on every side. Projects that will be sewn into stockings, cushions, ornaments, or other objects may require a different allowance.
Always check the finishing instructions before cutting the fabric.
Example:
A design is 140 stitches wide and 196 stitches high. It will be stitched on 14-count Aida.
- Width: 140 ÷ 14 = 10 inches
- Height: 196 ÷ 14 = 14 inches
The stitched design will measure 10 × 14 inches. If you add 3 inches on every side, the fabric should measure approximately 16 × 20 inches.
Cross Stitch Fabric Size Calculator
⭐ CrossStitchStyleArte Tip: Never cut the fabric to the exact size of the stitched picture. You need extra fabric around every side for stitching and finishing.
3. Embroidery Floss
Embroidery floss is the colored thread used to create the stitches.
The most common cotton embroidery floss is made from six thin strands twisted together. You usually separate those strands before stitching.
A pattern may ask you to use:
- one strand;
- two strands;
- three strands;
- another specific number.
The correct number depends on the fabric count, stitch type, desired coverage, and pattern instructions.
What Do Floss Numbers Mean?
Major embroidery-floss brands assign a number to each color.
For example, a pattern may list:
- DMC 310 — Black
- DMC 666 — Bright Red
- DMC 699 — Green
- DMC B5200 — Snow White
Use the number, not only the color name, when choosing thread. Two colors called “red” may look very different.
If you want to replace one thread brand with another, use a floss conversion chart. Remember that converted colors may be close rather than perfectly identical.
How Much Floss Will You Need?
The amount depends on:
- the number of stitches;
- the fabric count;
- the number of strands;
- the stitch type;
- your thread tension;
- the length of thread tails and thread travel.
A detailed pattern or kit may already estimate the required amount.
For a separate calculation, use the floss calculator rather than guessing.
4. Cross-Stitch Needle
Cross stitch is normally worked with a tapestry needle.
A tapestry needle has:
- a blunt tip;
- a large eye;
- a smooth surface.
The blunt tip helps the needle pass through the existing holes instead of splitting the fabric threads.
What Needle Size Should You Use?
Needle sizes work in the opposite way you might expect: a higher needle number means a smaller needle.
A practical starting guide is:
| Fabric | Suggested tapestry needle |
|---|---|
| 11-count Aida | Size 22 |
| 14-count Aida | Size 24 |
| 16-count Aida | Size 26 |
| 18-count Aida | Size 26 or 28 |
These are general recommendations. You may prefer a slightly different size depending on the thread thickness and how the needle feels in your hand.
The needle should pass comfortably through the holes without stretching them.
Replace a needle if it becomes:
- bent;
- rough;
- rusty;
- difficult to pull through the fabric;
- uncomfortable to use.
5. Embroidery Hoop or Frame
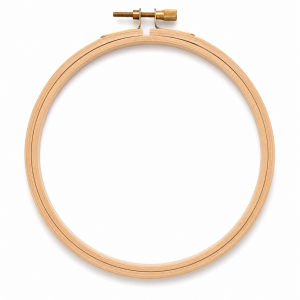
A hoop or frame holds the fabric and helps maintain even tension.
The most common options include:
- round embroidery hoops;
- square snap frames;
- scroll frames;
- larger floor or lap stands.
A simple embroidery hoop is usually enough for a first project.
Do You Have to Use a Hoop?
No. Some stitchers prefer to hold Aida in their hands, especially when the fabric is firm.
However, a hoop can help a beginner:
- see the fabric holes clearly;
- keep the fabric steady;
- control stitch tension;
- avoid holding the stitched area too tightly.
The fabric should feel smooth and firm in the hoop, but it should not be stretched so tightly that the grid becomes distorted.
6. Embroidery Scissors
Use small, sharp scissors to cut embroidery floss.
Good embroidery scissors allow you to trim thread close to the back of the work without pulling or damaging nearby stitches.
Do not use the same scissors for paper, cardboard, or household materials. Cutting paper can make fine fabric scissors dull.
Keep sharp scissors safely away from young children.
Optional Tools That Make Cross Stitch Easier
You can begin without these tools, but they may make the project more comfortable.
Needle Threader
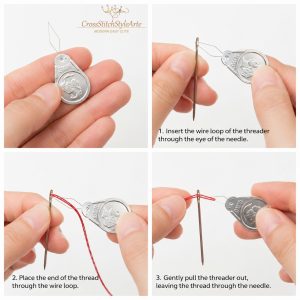
A needle threader helps pull floss through the needle’s eye. It is useful if the eye is difficult to see or the thread ends begin to separate.
Thread Organizer
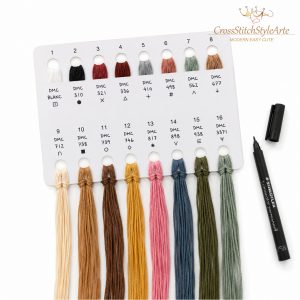
A thread organizer keeps colors separated and labeled. This is especially helpful when several shades look similar.
Write the color number and chart symbol next to every thread.
Washable Fabric Marker
A fabric marker can be used to mark the center or create a temporary grid.
Only use a marker designed specifically for fabric and test it on a separate piece first. Follow the removal instructions exactly.
Do not use an ordinary pen, pencil, or permanent marker.
Magnetic Needle Minder
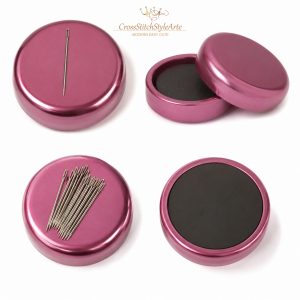
A needle minder holds your needle when you pause. It helps prevent the needle from becoming lost in the fabric, chair, carpet, or clothing.
Good Lighting and Magnification
Bright, even lighting reduces eye strain and makes it easier to distinguish fabric holes and similar thread colors.
A magnifying lamp can help with higher-count fabric, but it is not required for most beginner projects.
How to Read a Cross-Stitch Pattern
A cross-stitch pattern may look confusing at first. It is simply a grid that shows where each stitch belongs.
You do not need to memorize the whole chart. Learn how to read one square, one symbol, and one row at a time.
Understanding the Chart Grid
The chart is divided into small squares.
In most patterns:
One chart square represents one full cross stitch on the fabric.
The chart usually includes darker grid lines every 10 squares. These lines help you count and check your position.
The darker lines are guides only. They are not extra stitches.
The Chart and Fabric Must Match
If a symbol is five squares to the right and three squares down from your starting point on the chart, the stitch must be placed five fabric squares to the right and three fabric squares down.
Always count fabric squares, not individual woven threads, when stitching on Aida.
Understanding the Symbol Key
Every symbol represents a particular thread color.
For example:
| Chart symbol | Thread color | Color name | Stitch type |
|---|---|---|---|
| ● | DMC 310 | Black | Full cross stitch |
| ▲ | DMC 666 | Bright Red | Full cross stitch |
| + | DMC 699 | Green | Full cross stitch |
| — | DMC 310 | Black | Backstitch |
The actual symbols and colors will be different in every pattern.
Before stitching, find the symbol on the chart and then locate the same symbol in the key. The key will tell you which thread to use.
Do not assume that a red square always requires red thread. Follow the symbol key.
Color Charts vs. Black-and-White Charts
A color chart uses background colors, symbols, or both.
A black-and-white chart uses symbols without colored backgrounds.
Color charts can make the picture easier to recognize. Black-and-white charts can be easier to print and may help distinguish similar shades.
If your pattern includes both versions, choose the one you find easiest to follow.
How to Find the Center of a Pattern
Most cross-stitch charts include arrows or marks along the top and side edges.
Follow the top center mark downward and the side center mark across. The point where those lines meet is the center of the design.
This point corresponds to the center of your fabric if you use the center-start method.
The exact center may fall:
- inside a full square;
- between two squares;
- at the meeting point of four squares.
Check carefully before making your first stitch.
How Different Stitches Appear on a Pattern
Patterns use different marks for different stitch types.
Common examples include:
- a complete symbol inside a square for a full cross stitch;
- a diagonal line or partial symbol for a half stitch;
- a small symbol in one corner for a quarter stitch;
- a combination of partial symbols for a three-quarter stitch;
- a line drawn across the chart for backstitch;
- a dot for a French knot.
Always check the pattern legend. Designers may use different ways to show special stitches.
Multi-Page Cross-Stitch Charts
Large patterns may be divided across several pages.
The pages may contain:
- page numbers;
- overlap areas;
- arrows showing the next page;
- shaded sections that repeat part of the previous page;
- row and column numbers.
Read the instructions before stitching an overlap area. Repeated overlap sections are usually included only to help you align the pages. They should not be stitched twice.
You can arrange printed pages in order before starting, or view the complete PDF on a tablet or computer.
⭐ CrossStitchStyleArte Tip: Mark completed stitches on a working copy of the chart. Do not mark the only original copy unless you can print or download it again.
How to Prepare Aida Fabric for Cross Stitch
A few minutes of preparation can prevent hours of frustration later.
Before making the first stitch:
- Check the fabric size.
- Identify the top and bottom.
- Secure the edges if necessary.
- Find the starting point.
- Place the fabric in a hoop or frame if you use one.
- Wash and dry your hands.
Check the Fabric Size Before Cutting
Compare the fabric with the dimensions in the pattern.
Make sure you have enough space for:
- the complete stitched design;
- an extra border;
- framing or sewing;
- seam allowance if the project will be assembled.
Check twice before cutting. Fabric cannot be added back easily once it has been cut too small.
For a pre-cut kit, do not trim the fabric before finishing the embroidery unless the instructions specifically require it.
Identify the Fabric Orientation
Some designs are much taller than they are wide. Before beginning, check which side of the fabric should be at the top.
Compare:
- the number of stitches in the pattern;
- the fabric width;
- the fabric height;
- any printed markings;
- the product instructions.
This is especially important for stockings, banners, and other shaped projects.
How to Stop Aida Fabric From Fraying
The cut edges of Aida can fray while you stitch.
You can protect the edges by:
- using a zigzag stitch on a sewing machine;
- using an overlock or serger;
- hand-sewing a simple overcast stitch;
- applying a small amount of suitable fabric edge sealant;
- temporarily covering the edges with low-residue tape.
If you use tape, do not place it over the area that will become part of the finished project. Remove it carefully after stitching.
Pre-finished fabric or fabric included in a kit may not require additional edge protection.
Wash Your Hands Before Stitching
Clean, dry hands help protect light-colored fabric and thread from:
- skin oils;
- makeup;
- hand cream;
- food;
- dirt;
- ink.
Avoid applying hand cream immediately before stitching. Even clean-looking hands can transfer oils to the fabric over time.
Keep drinks and food away from the project.
How to Find the Center of the Fabric
To find the center:
- Fold the fabric gently in half from left to right.
- Make a light crease or place a temporary marker at the midpoint.
- Fold it in half from top to bottom.
- Mark the point where the two center lines meet.
- Open the fabric and confirm the position.
Do not make a hard permanent crease, especially on fabric that will not be washed later.
You can mark the center with:
- a pin;
- a small piece of removable thread;
- a tested fabric-safe marker;
- a gentle temporary crease.
Do You Always Have to Start in the Center?
No. Starting in the center is a safe and popular beginner method, but it is not the only method.
You can also begin:
- near the upper-left corner;
- near another clearly measured corner;
- from a gridded reference point;
- from a large, easy-to-find block of color.
Starting from a corner requires careful measurement. If the starting position is wrong, the design may not fit on the fabric.
For a first counted cross-stitch project, starting near the center is usually the simplest option.
For stamped cross stitch, follow the printed design and the kit instructions.
How to Put Aida in an Embroidery Hoop
A round hoop has two rings: a smaller inner ring and a larger outer ring with a screw.
To place the fabric in the hoop:
- Loosen the screw and separate the two rings.
- Place the inner ring on a clean, flat surface.
- Lay the fabric over the inner ring.
- Center the area you want to stitch.
- Place the outer ring over the fabric.
- Press the outer ring gently into place.
- Tighten the screw gradually.
- Pull the fabric edges gently until the surface is smooth.
- Check that the Aida squares remain straight and even.
The fabric should be firm enough to stitch comfortably, but not stretched so tightly that the holes or squares change shape.
Avoid trapping beads, French knots, or thick stitched areas between the rings.
Many stitchers loosen or remove the hoop after each stitching session to reduce deep creases and pressure marks.
How to Prepare Embroidery Floss
Embroidery floss can tangle quickly if it is not prepared correctly.
The most important rule is simple:
Do not stitch with all six strands unless the pattern specifically tells you to do so.
Step 1: Find the Correct Color
Check the symbol on the chart, then find the matching color number in the pattern key.
If your threads are supplied in an organizer, confirm the number and symbol before removing them.
Similar colors can be difficult to identify after they have been mixed together.
Step 2: Cut a Comfortable Length
Cut approximately 18–20 inches, or 45–50 cm, of floss.
A simple beginner measurement is the distance from your fingertips to your elbow.
A very long thread may seem more convenient, but it is more likely to:
- knot;
- twist;
- fray;
- become thin;
- collect dirt;
- create uneven stitches.
Metallic and specialty threads may work better in shorter lengths.
Step 3: Separate the Required Strands
Standard cotton embroidery floss normally contains six strands.
If the pattern asks for two strands:
- Hold the cut length loosely.
- Find one individual strand at the end.
- Pull that single strand out slowly while holding the remaining bundle.
- Repeat to remove a second strand.
- Place the two separated strands together.
Pulling one strand at a time helps prevent tangles.
Do not divide the six-strand bundle into two thick groups of three unless the pattern asks for three strands.
What Does “Use Two Strands” Mean?
It means that two individual strands should pass through each stitch.
It does not mean two complete six-strand pieces of floss.
If you use the loop-start method, one long individual strand is folded in half. The two folded sides create the required two-strand coverage.
Step 4: Thread the Needle
Place the ends of the separated floss together and pass them through the needle’s eye.
Pull several inches of thread through the eye, but do not tie the thread to the needle.
One end or loop will be used to secure the thread at the back of the fabric. We will cover each secure starting method in the next section.
Your fabric, chart, needle, and thread are now ready. The next step is learning how to start the thread without a knot and make your first complete cross stitch.
How to Start Cross Stitch Without a Knot
The back of a cross-stitch project should be as flat as possible. Large knots can create bumps, catch on other threads, or become visible through light-colored fabric.
That is why cross stitch is usually started and finished without permanent knots.
The two easiest methods for beginners are:
- the loop start;
- securing the thread under the first stitches.
A temporary waste knot can also help when you are working an isolated stitch.
Method 1: The Loop Start
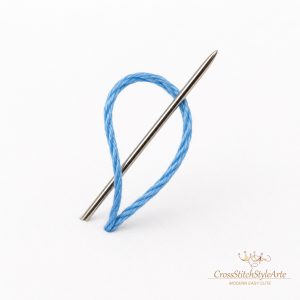
The loop start is one of the easiest and neatest ways to begin cross stitching.
It works when the pattern requires an even number of strands, such as two strands.
How to Make a Loop Start With Two Strands
- Cut one individual strand approximately twice your preferred working length.
- Fold the strand exactly in half.
- Place the two cut ends together.
- Thread both cut ends through the needle.
- Leave the folded loop at the opposite end.
- Bring the needle from the back of the fabric to the front through the first hole.
- Leave the loop hanging loosely at the back.
- Take the needle down through the diagonal hole to make the first half stitch.
- On the back, pass the needle through the loop.
- Pull gently until the loop lies flat against the fabric.
Your thread is now secured without a knot.
Do not pull so tightly that the fabric bends or the first stitch becomes smaller than the others.
When Can You Use a Loop Start?
A loop start works well when:
- you are stitching with two strands of one color;
- you are stitching with four strands arranged as two folded strands;
- the thread can be folded without changing the color effect.
A loop start is usually unsuitable when:
- the pattern requires an odd number of strands;
- you are combining two different colors;
- you are using some variegated threads;
- you need the color changes in the thread to appear in their original order.
When working with variegated or color-changing thread, folding the strand may cause two different parts of the color sequence to appear together. Check the thread instructions before using a loop start.
⭐ CrossStitchStyleArte Tip: For a comfortable loop start, cut one strand approximately 30–36 inches long and fold it in half. This gives you a working length of about 15–18 inches.
Method 2: Secure the Tail Under the First Stitches
This method works with any number of strands.
How to Secure the Starting Tail
- Separate the required number of strands.
- Thread the strands through the needle.
- Bring the needle from the back of the fabric to the front.
- Leave a tail approximately 1–1.5 inches long on the back.
- Hold the tail against the back of the fabric in the direction you plan to stitch.
- Make the first several stitches over the tail.
- Check that the stitches on the back have trapped the tail securely.
- Trim any loose end if necessary.
Cover the tail with at least three or four stitches. Slippery thread may require several more.
Make sure the tail lies flat. If it crosses an empty area or forms a lump, it may be visible from the front.
Method 3: Use a Temporary Waste Knot
A waste knot is helpful when there are no nearby stitches under which you can secure the thread.
The knot is only temporary. It will not remain inside the finished work.
How to Use a Waste Knot
- Tie a small temporary knot at the end of the thread.
- From the front, insert the needle several squares away from your starting point.
- Place the knot in the direction you plan to stitch.
- Bring the needle up at the correct starting hole.
- Stitch toward the temporary knot.
- Allow the stitches on the back to cover and secure the thread.
- When the tail is secure, cut off the knot from the front.
- Trim the remaining tail close to the fabric.
Do not place the waste knot where it may leave a mark on a delicate finished area.
For most first projects, the loop start and covered-tail method will be enough.
Why Cross-Stitch Knots Are Usually Avoided
A permanent knot can:
- create a bump;
- loosen over time;
- catch on other threads;
- make framing more difficult;
- show through light fabric;
- distort nearby stitches;
- trap dirt or moisture.
A small accidental knot in the thread is not a disaster. Remove it if you can, but do not damage the fabric while trying to make the back absolutely perfect.
The front of the project is the most important part.
How to Make a Full Cross Stitch
A full cross stitch is an X made from two diagonal stitches.
The first diagonal is called the bottom leg. The second diagonal crosses over it and becomes the top leg.
All top legs should face the same direction.
For example, you can make:
- every bottom leg from bottom left to top right:
/ - every top leg from bottom right to top left:
\
You may choose the opposite order, but once you begin, keep it consistent across the entire project.
Understanding One Fabric Square
Look at one square of Aida. It has four corner holes:
- top left;
- top right;
- bottom left;
- bottom right.
A full cross stitch uses all four corner holes.
Do not place the stitch around a group of several Aida squares. One chart square normally equals one Aida square and one full X.
How to Make One Full Cross Stitch
To create the first diagonal:
- Bring the needle from the back to the front through the bottom-left hole.
- Take the needle down through the top-right hole.
You have made the first half of the X: /
To complete the cross:
- Bring the needle up through the bottom-right hole.
- Take the needle down through the top-left hole.
You have now created the top leg: \
The finished stitch should look like an even X.
Important: Start From the Back
When an instruction says “bring the needle up,” it means:
Move the needle from the back of the fabric to the front.
When it says “take the needle down,” it means:
Move the needle from the front of the fabric to the back.
This simple rule helps you follow every stitch instruction correctly.
How to Stitch a Row of Crosses
When several stitches of the same color appear next to one another, you can stitch them as a row.
There are two common methods.
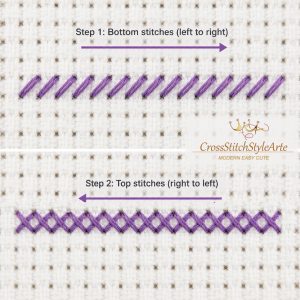
The Danish Method: Make a Row of Half Stitches First
With the Danish method, you make the bottom legs across the row and then return in the opposite direction to complete the crosses.
Step-by-Step Danish Method
- Bring the needle up through the bottom-left hole of the first square.
- Take it down through the top-right hole.
- Bring the needle up at the bottom-left hole of the next square.
- Take it down through the top-right hole.
- Continue until every bottom leg in the row is complete.
- At the final square, bring the needle up through the bottom-right hole.
- Take it down through the top-left hole.
- Continue back across the row, completing every X.
This method is fast and uses thread efficiently.
It also helps keep all top legs facing the same direction.
The English Method: Complete One X at a Time
With the English method, you complete each full cross before moving to the next square.
Step-by-Step English Method
- Make the first diagonal.
- Make the second diagonal to complete the X.
- Move to the next square.
- Complete the next X.
- Continue one full cross at a time.
This method can be helpful when:
- the color changes frequently;
- the stitches are scattered;
- you are using variegated thread;
- the shape does not form a straight row;
- you prefer to see each X completed immediately.
Both methods are correct. You can use different methods in different areas of the same project.
The important rule is that all top legs must cross in the same direction.
Why Must the Top Stitches Face the Same Direction?
Light reflects from thread differently depending on its direction.
If some top legs face one way and others face the opposite way, the stitched surface may look uneven even when you use the same color.
Consistent stitch direction creates:
- smoother color;
- more even texture;
- cleaner details;
- a professional finish.
Check the direction regularly, especially after turning the fabric or returning to the project after a break.
⭐ CrossStitchStyleArte Tip: Choose your top-stitch direction at the beginning and write it on a small note. For example: “Bottom /, top \.”
How Tight Should Cross Stitches Be?
The thread should lie smoothly on the fabric without pulling the holes out of shape.
A stitch is too tight if:
- the fabric puckers;
- the holes become larger;
- the X becomes very small;
- nearby squares look distorted;
- it is difficult to pass the needle through the fabric.
A stitch is too loose if:
- the thread forms loops;
- the stitch moves when touched;
- parts of the fabric show unevenly;
- the thread catches easily.
Aim for gentle, even tension.
Let the thread rest on the surface. Do not pull every stitch as tightly as possible.
How to Improve Uneven Tension
If your stitches are uneven:
- pull the thread with the same gentle pressure each time;
- use a hoop or frame;
- avoid very long thread;
- let the needle hang occasionally to untwist the floss;
- do not stitch when the thread is knotted or frayed;
- slow down until your hands develop a rhythm.
Perfect tension comes with practice.
Keep the Embroidery Floss Flat
Two or more strands can twist around each other while you stitch. Twisted strands create thinner, rougher-looking crosses.
To help the strands lie flat:
- Separate each strand individually.
- Place the strands together again.
- Thread the needle.
- Allow the needle to hang freely every few stitches.
- Let the thread untwist naturally.
- Smooth the strands gently before pulling a stitch completely through.
You can also use a laying tool, but beginners do not need one for most projects.
Do Not Split Existing Stitches
Try to pass the needle through the fabric holes without piercing the embroidery floss already there.
Splitting existing thread can:
- make stitches look uneven;
- damage the floss;
- make mistakes harder to remove;
- create knots on the back.
A blunt tapestry needle helps find the existing holes.
How to Make a Half Cross Stitch
A half cross stitch is one diagonal line instead of a complete X.
It may face either direction:
/\
Follow the pattern key to determine the correct direction.
Half stitches are often used for:
- backgrounds;
- sky;
- snow;
- shadows;
- soft texture;
- less densely covered areas.
How to Stitch a Half Cross
If the pattern requires a / half stitch:
- Bring the needle up through the bottom-left hole.
- Take it down through the top-right hole.
If the pattern requires a \ half stitch:
- Bring the needle up through the bottom-right hole.
- Take it down through the top-left hole.
That is the complete stitch. Do not add the second diagonal unless the chart calls for a full cross.
How Many Strands Should You Use for Half Stitch?
Do not automatically use the same number of strands as the full crosses.
A pattern may ask for:
- two strands for full cross stitch;
- three or four strands for half stitch;
- another specific combination.
Extra strands may be used to give the half-stitched area better coverage.
Always follow the pattern legend.
⭐ CrossStitchStyleArte Tip: A half stitch may look unfinished when viewed very closely. Step back from the project and look at the full design before deciding that it needs more coverage.
What Are Fractional Cross Stitches?
Fractional stitches cover only part of a fabric square.
The two most common fractional stitches are:
- quarter stitch;
- three-quarter stitch.
They help create:
- smoother curves;
- rounded faces;
- small details;
- diagonal edges;
- more natural shapes.
Fractional stitches may feel difficult at first because the center of an Aida square does not always have a ready-made hole.
Practice them on a spare piece of fabric before using them in an important area.
How to Make a Quarter Stitch
A quarter stitch is half of one diagonal leg. It travels from a corner of the square to the center.
Step-by-Step Quarter Stitch
- Identify which corner of the chart square contains the fractional symbol.
- Bring the needle up through that corner hole.
- Insert the needle into the exact center of the Aida square.
- Pull the thread gently to the back.
The stitch should cover one-quarter of the full X.
Depending on the design, you may also work from the center toward the corner.
How to Find the Center of an Aida Square
Aida usually has holes at the corners, but not in the center of each square.
To make a quarter stitch, gently pierce the center of the woven block.
A smaller needle may make this easier. Some stitchers use a sharper embroidery needle for fractional stitches, but it must be handled carefully.
Do not make the center hole unnecessarily large.
How to Make a Three-Quarter Stitch
A three-quarter stitch has three arms.
It combines:
- one complete diagonal line;
- one half-diagonal that travels between a corner and the center.
Step-by-Step Three-Quarter Stitch
- Make one complete diagonal across the square.
- Bring the needle up through the required remaining corner.
- Take the needle down through the center of the square.
The direction depends on where the symbol appears on the chart.
A three-quarter stitch covers more of the square than a quarter stitch but does not form a complete X.
Two Colors in One Chart Square
Sometimes one square contains two different symbols or two colored triangles. This means two colors share the same fabric square.
The square may contain:
- two quarter stitches;
- one quarter stitch and one three-quarter stitch;
- two fractional stitches arranged according to the pattern.
The designer usually uses the larger three-quarter stitch for the color that should be more visually dominant.
Check the symbol placement carefully. Do not automatically make two complete crosses in the same square.
If the pattern provides special stitch instructions, follow them instead of guessing.
How to Make Backstitch
Backstitch creates thin lines on top of the completed cross stitches.
It is often used to add:
- outlines;
- facial features;
- fingers;
- whiskers;
- branches;
- lettering;
- small decorative details.
A design may look soft or unclear before backstitch is added. The lines often make the image appear sharper and more detailed.
When Should You Add Backstitch?
Backstitch is normally added after the full crosses, half stitches, and fractional stitches in that area are complete.
This allows the outline to sit cleanly on top of the stitched surface.
For a large project, you can complete the backstitch section by section instead of waiting until every cross in the entire project is finished.
How Is Backstitch Shown on a Chart?
Backstitch usually appears as a solid or colored line drawn over the chart grid.
The line may:
- follow the edges of squares;
- cross one square diagonally;
- cross several squares;
- begin or end in the center of a square;
- use different colors.
Follow the exact start and end points of the line.
Do not assume that every backstitch segment must be one square long. The chart determines the correct length.
How Many Strands Are Used for Backstitch?
Backstitch is commonly worked with one strand, but this is not a universal rule.
The pattern may require:
- one strand for fine details;
- two strands for stronger outlines;
- different colors and strand counts in different areas.
Always check the stitch key.
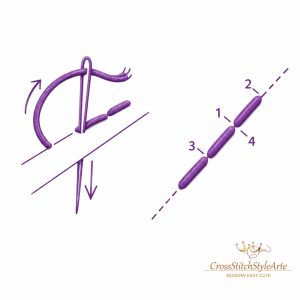
Step-by-Step Backstitch
Imagine that you are stitching a line from left to right.
- Secure the thread on the back.
- Bring the needle up at the beginning of the line.
- Take the needle down at the end of the first segment.
- Move one segment forward and bring the needle up again.
- Take the needle backward into the hole where the previous segment ended.
- Move one segment forward again.
- Bring the needle up.
- Take it backward to meet the previous stitch.
- Continue until the line is complete.
Each new stitch moves forward on the back and then returns to meet the previous stitch on the front. That backward movement gives backstitch its name.
How to Make Smooth Backstitched Curves
Use shorter segments around curves.
Long straight stitches create sharp angles and may not follow the shape correctly.
For a smooth curve:
- follow the chart carefully;
- use every indicated turning point;
- avoid pulling the line too tightly;
- keep the segments connected;
- pierce the center of an Aida square if the chart requires it.
Avoid Carrying Backstitch Too Far
Long threads stretched across the back can:
- show through the front;
- catch on other stitches;
- waste thread;
- create loose areas.
If the next line is far away, finish the thread and start again near the new area.
⭐ CrossStitchStyleArte Tip: Backstitch should rest on top of the crosses. Pull it only until the line lies flat—never so tightly that it cuts into the stitches underneath.
How to Make a French Knot
A French knot is a small raised knot made on the surface of the fabric.
It is often used for:
- eyes;
- snowflakes;
- flower centers;
- buttons;
- tiny decorative dots;
- animal noses.
On a chart, a French knot is usually shown as a dot.
French knots require a little practice, but the process becomes easier once you learn how to control the thread tension.
How Many Strands and Wraps Should You Use?
Check the pattern instructions.
A French knot may use:
- one or two strands;
- one wrap around the needle;
- two wraps around the needle;
- a different combination for a larger knot.
More wraps do not always create a better knot. Too many wraps may create a loose, uneven lump.
Step-by-Step French Knot
- Secure the thread on the back.
- Bring the needle from the back to the front at the position of the dot.
- Hold the working thread gently with your non-dominant hand.
- Place the needle close to the fabric.
- Wrap the thread around the needle the required number of times.
- Keep the wraps close together without pulling them extremely tight.
- Insert the needle back into the fabric very close to the starting point.
- Do not use exactly the same hole, or the knot may disappear through it.
- Continue holding the working thread gently so the wraps stay near the fabric.
- Pull the needle and thread slowly through to the back.
- Release the thread when the knot rests securely on the surface.
Common French Knot Problems
The Knot Pulls Through the Fabric
This usually happens when the needle returns through the same hole.
Insert the needle very close to the starting point, but not directly into it.
The Knot Is Loose
Keep gentle tension on the working thread while pulling the needle through the wraps.
Do not release the thread too early.
The Knot Is Too Large
Use fewer wraps or fewer strands.
Follow the pattern rather than adding extra wraps.
The Thread Forms a Messy Loop
The wraps may be too loose, or the needle may have been pulled too quickly.
Hold the working thread steadily and pull the needle through slowly.
The Knot Is Too Tight
Do not pull the wraps firmly around the needle. They must be secure but still loose enough for the needle and its eye to pass through.
⭐ CrossStitchStyleArte Tip: Practice five or six French knots on spare Aida before adding them to a face or another important part of the design.
What Is a Straight Stitch?
A straight stitch is a simple line made between two points.
Unlike backstitch, a straight stitch may stand alone instead of joining a continuous line.
It can be used for:
- whiskers;
- eyelashes;
- rays of light;
- stars;
- snowflakes;
- small decorative lines.
To make a straight stitch:
- Bring the needle up at the beginning of the line.
- Take it down at the end of the line.
- Pull gently until the thread lies flat.
Follow the chart exactly. Do not pull long straight stitches too tightly because they may distort the fabric or sink into the crosses below.
What Order Should You Stitch the Different Techniques?
A practical order is:
- Full cross stitches
- Half cross stitches
- Quarter and three-quarter stitches
- Backstitch
- Straight stitches
- French knots
- Beads or other embellishments, if required
This order allows the fine details to rest on top of the main embroidery.
Some patterns require a different sequence. Always follow special instructions provided by the designer.
How to Finish and Secure the Thread
Finish the thread before it becomes extremely short, thin, or damaged.
You need enough length to pass the needle safely under the stitches on the back.
Step-by-Step Thread Finish
- Take the needle to the back of the fabric.
- Find three to five nearby completed stitches of the same or a similar color.
- Slide the needle under the backs of those stitches.
- Pull the thread through gently.
- Check that the thread lies flat.
- Cut the remaining end close to the stitched area.
Do not push the needle through to the front while securing the tail.
For slippery thread, you can:
- pass under several additional stitches;
- change direction and pass under another stitch;
- follow the special instructions supplied with the thread.
How to Finish an Isolated Stitch
If there are no nearby stitches, you can use a temporary waste-knot method.
- Leave a longer tail.
- Complete the isolated stitch.
- Keep the tail away from the visible front.
- Stitch a nearby section that can secure the tail.
- Trim the temporary knot or loose end after it is trapped.
If no other stitches will ever be placed nearby, use the finishing method recommended by the pattern designer. Avoid leaving an unsecured tail.
When Can You Carry Thread Across the Back?
Carrying thread means moving to another stitch without ending the thread.
A short carry may be acceptable when:
- the gap is only a few squares;
- the thread will not be visible from the front;
- the carried thread lies flat;
- the area will be covered with stitches.
End the thread and restart when:
- the next stitch is far away;
- a dark thread would travel behind light fabric;
- the carried thread crosses an open area;
- the thread may catch or loosen;
- carrying uses more thread than restarting.
There is no single distance that works for every design. Before carrying a thread, turn the fabric over and consider whether the line could show from the front.
Keep the Back Neat—but Do Not Chase Perfection
A neat back helps the project lie flat and makes finishing easier.
Try to avoid:
- permanent knots;
- long loose threads;
- tangled tails;
- very long color jumps;
- thick piles of thread;
- thread ends hanging outside secured stitches.
However, the back does not need to look exactly like the front.
A handmade project may contain crossed threads and small irregularities. That is normal. Correct anything that affects the front, creates a bump, or leaves the thread unsecured. Do not remove good stitches only because the back is not perfectly photographic.
⭐ CrossStitchStyleArte Tip: Aim for a secure, reasonably flat back—not an impossible standard of perfection. The finished picture on the front is what people will see.
How to Change Thread Colors
Most cross-stitch designs use several thread colors. When you finish one color, secure it on the back before beginning the next one.
Step-by-Step Color Change
- Complete the final stitch in the current color.
- Take the needle to the back of the fabric.
- Pass the thread under three to five nearby stitches.
- Cut the remaining tail.
- Check the next symbol on the chart.
- Find the matching thread number in the color key.
- Separate the required number of strands.
- Thread the needle.
- Secure the new color using a loop start, covered tail, or temporary waste knot.
- Continue following the chart.
Never choose a thread only because it looks similar. Always compare the chart symbol with the color number in the key.
Can You Continue With the Same Color in Another Area?
You do not always need to end the thread immediately.
You may carry the thread to another area if:
- the gap is short;
- the thread will remain hidden;
- the carried thread lies flat;
- the color will not show through the fabric.
If the next group of stitches is far away, finish the thread and begin again.
This is especially important when using dark thread on light fabric. A dark line carried across an unstitched area may be visible from the front.
What Are Blended Thread Colors?
Some patterns ask you to combine two different colors in the same needle.
For example:
- one strand of DMC 310;
- one strand of DMC 3799.
Together, these two strands create a blended shade.
How to Prepare a Blended Color
- Cut one strand of the first color.
- Cut one strand of the second color.
- Separate each strand from its six-strand bundle.
- Place the two individual strands together.
- Thread both through the needle.
- Secure them using the covered-tail method.
A standard loop start is not the simplest method for two different colors because the two strands are not one folded piece.
Keep blended colors labeled carefully. They may look similar to neighboring solid colors after they have been removed from the organizer.
How to Work With Variegated Floss
Variegated floss changes color along its length.
To preserve the gradual color changes:
- complete one full X at a time;
- avoid using the Danish row method unless you want a mixed effect;
- keep the thread direction consistent;
- do not fold the strand for a standard loop start unless recommended;
- begin each new thread with a similar part of the color sequence if you want smooth transitions.
Variegated thread can create beautiful effects, but every finished project may look slightly different.
How to Keep Track of Your Cross-Stitch Progress
Losing your place on the chart is one of the most common beginner problems.
A simple tracking system can prevent many counting mistakes.
Mark Completed Stitches on a Paper Chart
Use a pencil, colored pencil, or highlighter to mark the stitches you have completed.
A light-colored highlighter is usually easier to read through than a dark marker.
Mark only the stitches that are completely finished.
If possible, use a working copy of the chart rather than the only original.
Track Progress on a Digital Pattern
If you are viewing a PDF on a phone or tablet, you can use an annotation tool to:
- highlight completed stitches;
- circle the current area;
- add notes;
- mark completed backstitch;
- save your progress.
Make sure the edited file is saved before closing it.
Work in Small Sections
Instead of following one color across the entire design, a beginner may find it easier to complete a small area before moving to the next section.
Working in sections helps you:
- stay close to a known reference point;
- reduce long thread carries;
- notice mistakes earlier;
- understand how the picture is developing.
You do not have to finish every stitch of one color across the entire pattern before changing colors.
Use the 10-by-10 Grid
Most charts have darker lines every ten squares.
Use these lines to count:
- horizontal distance;
- vertical distance;
- the position of separate color blocks;
- the distance from the center.
For a large counted cross-stitch project, you can also add a removable 10-by-10 grid to the fabric using a tested fabric-safe marker or suitable gridding thread.
Never use a permanent pen.
⭐ CrossStitchStyleArte Tip: Count from two different directions before stitching an isolated group. Confirm both its horizontal and vertical position.
What to Do When the Thread Twists
Embroidery floss naturally twists as the needle passes through the fabric.
Twisted thread may:
- form knots;
- look thin;
- create uneven coverage;
- sit roughly on the surface.
To untwist it:
- Stop stitching.
- Hold the fabric safely.
- Let the threaded needle hang freely.
- Allow the needle to spin.
- Wait until the thread becomes relaxed.
- Continue stitching.
Do this regularly instead of waiting for a knot to form.
How to Remove a Knot From the Thread
Do not pull a knot tighter.
Place the fabric on a clean surface and use the tip of your needle to loosen the loop gently.
Try to:
- Find the small loop forming the knot.
- Insert the needle into the loop.
- Pull one section of thread slowly.
- Continue until the knot opens.
If the knot cannot be removed, cut the thread, secure the usable end, and begin with a new piece.
Do not continue stitching with a large knot on the back.
How to Correct Cross-Stitch Mistakes
Every stitcher makes mistakes. Finding one does not mean the project is ruined.
The first rule is:
Stop stitching as soon as you notice the problem.
The more stitches you add after a mistake, the more work you may need to remove.
Step 1: Identify the Problem
Check whether you have:
- used the wrong color;
- stitched the wrong symbol;
- moved one square too far;
- missed a row;
- added an extra stitch;
- crossed the top leg in the wrong direction;
- started in the wrong position;
- followed the wrong chart page.
Compare your stitched area with nearby symbols, grid lines, and completed sections.
Step 2: Decide Whether It Must Be Corrected
Not every tiny difference needs to be removed.
You may leave the stitch if:
- the difference is almost invisible;
- it does not change an important detail;
- it will not affect surrounding stitches;
- the finished design still looks correct.
You should correct it if:
- the mistake moves an entire section;
- it changes a face, name, outline, or important shape;
- it prevents nearby stitches from fitting;
- the wrong color is clearly visible;
- the error will continue across the pattern.
A handmade project does not need to match every pixel perfectly, but structural mistakes should be corrected early.
How to Remove Incorrect Cross Stitches
Removing stitches is sometimes called “frogging” because stitchers say they must “rip it, rip it.”
To remove a stitch:
- Turn the project to the back.
- Find the thread belonging to the incorrect area.
- Carefully remove or cut the secured tail.
- Unthread the needle if necessary.
- Use the needle tip to lift each stitch gently.
- Pull out the thread one stitch at a time.
- Avoid pulling hard against the fabric.
- Remove loose thread fibers from the surface.
- Check that the fabric holes have not been damaged.
- Restitch the area with the correct color or position.
Small sharp scissors may help, but use them carefully. Never place the blade against the fabric if you cannot see exactly what you are cutting.
How to Remove Loose Floss Fibers
After removing stitches, small pieces of thread may remain on the fabric.
You can remove them with:
- clean tweezers;
- a soft lint roller;
- a small piece of low-tack tape;
- a clean, soft brush.
Test any adhesive away from the stitched area first.
Common Cross-Stitch Mistakes and How to Avoid Them
Mistake 1: Miscounting the Fabric Squares
This can move part of the design out of position.
To prevent it:
- count twice;
- use the 10-by-10 chart lines;
- count from a completed reference point;
- mark finished stitches;
- stop regularly to compare the fabric with the chart.
Mistake 2: Using the Wrong Number of Strands
Using all six strands when the pattern requests two can create bulky stitches and make the holes difficult to use.
Always check the pattern key before beginning a new stitch type or color.
Mistake 3: Crossing Stitches in Different Directions
Mixed top-stitch directions create an uneven surface.
Check your preferred direction after:
- rotating the hoop;
- taking a long break;
- changing colors;
- starting a new section.
Mistake 4: Pulling the Thread Too Tightly
Tight stitches can distort the fabric and create visible holes.
Pull only until the thread lies smoothly on the surface.
Mistake 5: Using Thread That Is Too Long
Very long thread twists, frays, and forms knots more easily.
Use approximately 18–20 inches of working thread. For a loop start, cut a longer single strand and fold it to create a comfortable working length.
Mistake 6: Carrying Dark Thread Behind Empty Fabric
Dark thread can show through light-colored Aida.
End the thread and restart closer to the next group of stitches.
Mistake 7: Ignoring a Small Counting Error
One misplaced stitch can affect many later sections.
When something does not fit, stop and check immediately.
Mistake 8: Stitching With Dirty Hands
Skin oils, food, ink, and makeup can stain fabric gradually.
Wash and dry your hands before every stitching session.
Mistake 9: Using an Ordinary Pen on Fabric
Permanent ink may remain visible forever.
Use only a tested removable fabric marker or temporary thread grid.
Mistake 10: Washing Stamped Fabric Too Early
Water may remove the printed symbols before you have finished stitching.
Do not wash stamped fabric until the embroidery is complete and only if the kit instructions confirm that the print is washable.
Mistake 11: Making Permanent Knots on the Back
Large knots create bumps and may become visible from the front.
Use a loop start, covered tail, or temporary waste knot instead.
Mistake 12: Pulling the Needle Through a Knot
Pulling harder usually makes the knot tighter.
Stop and loosen it with the needle tip.
⭐ CrossStitchStyleArte Tip: When a section suddenly stops matching the chart, do not try to “make it fit.” Return to the last position you know is correct and recount from there.
How to Pause and Store a Cross-Stitch Project
Do not leave the needle pushed into the fabric for a long time. It may create a mark or rust.
When you stop stitching:
- Finish or secure the current thread if possible.
- Place the needle on a magnetic needle minder or in a needle case.
- Mark your final position on the chart.
- Loosen or remove the hoop if it may leave deep creases.
- Fold or roll the fabric carefully.
- Place the project in a clean bag or storage box.
- Store the threads with their color numbers.
- Keep everything away from food, moisture, pets, and direct sunlight.
Do not store a damp project in a sealed plastic bag.
How to Know When the Stitching Is Finished
Before washing or framing the project, compare it carefully with the complete pattern.
Check that you have added:
- all full cross stitches;
- all half stitches;
- all fractional stitches;
- all backstitch lines;
- all straight stitches;
- all French knots;
- any beads or embellishments required by the instructions.
Then examine the back and make sure:
- every thread tail is secured;
- no needle remains inside the fabric;
- there are no loose loops;
- there are no large knots;
- no long thread tails hang outside the stitched area.
Look at the design from a short distance. Small missing stitches are often easier to notice when you are not looking at the fabric from very close range.
Should You Wash Finished Cross Stitch?
Many counted cross-stitch projects can be washed, but not every project should be treated in exactly the same way.
Before washing, check:
- the fabric instructions;
- the thread manufacturer’s recommendations;
- whether the floss is colorfast;
- whether the project contains hand-dyed thread;
- whether it contains metallic thread, beads, or special embellishments;
- whether the fabric has washable printed symbols;
- the instructions supplied with the pattern or kit.
If you are unsure, test a small piece of fabric and thread first.
How to Wash Counted Cross Stitch
If the materials are washable:
- Remove the project from the hoop or frame.
- Fill a clean container with cool or lukewarm water.
- Add a very small amount of mild, colorless soap if needed.
- Place the embroidery in the water.
- Move it gently with clean hands.
- Do not scrub the stitches.
- Do not twist or wring the fabric.
- Rinse thoroughly in clean water.
- Check that no soap remains.
Avoid strong detergents, bleach, stain removers, and hot water unless the manufacturer specifically approves them.
How to Wash Stamped Cross Stitch
Follow the kit instructions exactly.
Some stamped designs use water-soluble printing that disappears after washing. Other markings may require a particular water temperature or soaking time.
Important rules:
- finish all stitching before washing;
- do not iron over washable printed symbols;
- do not expose the print to heat before removal;
- do not guess the required washing method;
- make sure all printed marks have disappeared before drying or ironing.
If some symbols remain, repeat the approved rinsing process rather than applying strong chemicals.
What If the Thread Color Begins to Bleed?
Remove the project from the water and rinse it in clean, cool water.
Do not let the wet project remain folded or allow loose dark thread to rest against light fabric.
Hand-dyed and specialty threads may require special care. Follow their manufacturer’s instructions before washing.
How to Dry Finished Cross Stitch
After rinsing:
- Place the project flat on a clean white towel.
- Roll the towel gently with the embroidery inside.
- Press lightly to remove extra water.
- Do not twist or wring.
- Unroll the towel.
- Place the project flat on a second dry towel.
- Gently straighten the fabric.
- Allow it to dry naturally.
Do not hang a very wet project because the weight of the water may stretch the fabric.
Keep it away from direct sunlight, radiators, and strong heat.
How to Iron Cross Stitch Safely
Check the fabric and thread instructions before applying heat.
A safe general method is:
- Place a clean, thick white towel on the ironing surface.
- Put the embroidery face down on the towel.
- Cover the back with a clean pressing cloth if needed.
- Select a temperature suitable for the fabric and thread.
- Press gently from the back.
- Lift and reposition the iron instead of pushing it across the fabric.
- Avoid flattening French knots, beads, and raised stitches.
Do not place the hot iron directly on:
- the front of the crosses;
- metallic thread;
- beads;
- plastic embellishments;
- remaining printed markings.
The soft towel protects the raised texture of the stitches.
⭐ CrossStitchStyleArte Tip: Make sure all washable markings have completely disappeared before ironing. Heat can make some marks much more difficult to remove.
Ways to Finish and Display Cross Stitch
Once the embroidery is clean and dry, it can be finished in many ways.
You can turn it into:
- a framed picture;
- a hoop display;
- a Christmas ornament;
- a greeting card;
- a bookmark;
- a cushion;
- a wall hanging;
- a bag;
- a personalized Christmas stocking.
The correct finishing method depends on the project.
Do not cut away the extra fabric until you know exactly how the finished piece will be assembled.
Finishing a Cross-Stitch Christmas Stocking
A Christmas stocking requires additional steps, such as:
- trimming the stitched front;
- cutting the backing fabric;
- adding lining if desired;
- sewing the front and back together;
- clipping curved seam allowances;
- turning the stocking right side out;
- attaching the hanging loop.
Use the complete stocking-finishing tutorial rather than guessing where to cut or sew.
How to Finish a Cross-Stitch Christmas Stocking
Making an Entire Christmas Stocking From Start to Finish
If your project is a personalized Christmas stocking, our complete guide explains the entire process—from choosing a pattern and preparing the fabric to stitching the name and assembling the finished stocking.
How to Cross Stitch a Christmas Stocking
Helpful Cross-Stitch Calculators
Careful planning makes a new project much easier.
Cross-Stitch Fabric Size Calculator
Use this tool to calculate the finished design size and the amount of fabric required for your chosen fabric count.
Cross-Stitch Fabric Size Calculator
Floss Usage Calculator
Estimate how much embroidery floss you will need based on the number of stitches, fabric count, and number of strands.
Cross-Stitch Time Calculator
Estimate how many hours or days your project may take and create a realistic stitching schedule.
This can be especially useful when making a gift or Christmas stocking before a specific date.
Cross-Stitch Time Calculator and Planner
Cross-Stitch Floss Converter
Find a close alternative when your pattern lists a different thread brand.
Name-Centering Calculator
If you are personalizing a stocking, ornament, or other design, use the calculator to find the correct starting position for the name.
Cross-Stitch Name-Centering Calculator
Frequently Asked Questions About Cross Stitch
Is Cross Stitch Difficult for Beginners?
No. The basic full cross stitch is easy to learn.
The most challenging beginner skill is usually counting correctly, not making the X itself. Begin with a clear pattern and work in small sections.
What Is the Best Fabric for a Beginner?
Fourteen-count Aida is a practical choice for most adult beginners.
Its holes are usually easy to see, and it is available in many colors. Eleven-count Aida has larger holes and may be more comfortable for children or anyone who finds small fabric counts difficult to see.
How Many Strands of Floss Should a Beginner Use?
Use the number listed in the pattern.
Two strands are common for full cross stitch on 14-count Aida, but this is not a universal rule. Backstitch may use one strand, while half stitch may use more.
Do I Need an Embroidery Hoop?
No, but a hoop can help keep the fabric steady and improve tension.
Some stitchers prefer to hold stiff Aida in their hands. Try both methods and use the one that feels comfortable.
Do I Have to Start Cross Stitch in the Center?
No. Starting in the center is simply a safe method for beginners.
You can start from a measured corner or gridded reference point if you have calculated the fabric position correctly.
Should I Use Knots in Cross Stitch?
Permanent knots are usually avoided because they create bumps.
Use a loop start, secure the tail under nearby stitches, or use a temporary waste knot.
How Long Should Cross-Stitch Thread Be?
A comfortable working length is usually about 18–20 inches.
Shorter thread may be better for metallic, delicate, or easily tangled floss.
Why Can I See Fabric Between My Stitches?
Some visible fabric is normal.
Coverage depends on:
- fabric count;
- thread thickness;
- number of strands;
- stitch tension;
- thread color;
- fabric color.
Check the pattern before adding extra strands. Changing the number of strands in the middle of a project may create an uneven appearance.
Why Does My Thread Keep Knotting?
Common causes include:
- thread that is too long;
- twisted strands;
- pulling too quickly;
- damaged floss;
- uneven tension.
Use a shorter thread and let the needle hang regularly to untwist it.
Can I Use Sewing Thread for Cross Stitch?
Ordinary sewing thread is not the standard choice for most cross-stitch patterns.
Embroidery floss is designed to be separated into strands and is available in numbered colors. Use the thread type specified by the pattern.
Should I Stitch Light or Dark Colors First?
There is no strict rule.
Beginning with a clear, easy-to-find block of color can help establish your position. Some stitchers prefer lighter colors first to reduce the chance of dark fibers appearing in light sections.
Choose the method that helps you count accurately and keep the fabric clean.
Should I Complete One Color at a Time?
You can, but you do not have to complete one color across the entire pattern.
For beginners, working section by section is often easier and reduces counting mistakes.
Can I Turn the Fabric While Stitching?
You can reposition the hoop, but remember which side is the top of the design.
Rotating the fabric can make it easy to reverse the direction of the upper cross stitches. Mark the top edge temporarily if necessary.
Does the Back of Cross Stitch Have to Be Perfect?
No.
The back should be secure and reasonably flat, without large knots or loose threads. It does not need to look identical to the front.
Can Finished Cross Stitch Be Washed?
Many projects can be washed, but you must check the instructions for the fabric, floss, printed markings, and embellishments.
Stamped fabric should only be washed according to the kit instructions and after all stitching is complete.
How Long Does a Cross-Stitch Project Take?
The time depends on:
- the number of stitches;
- design size;
- color changes;
- backstitch;
- fractional stitches;
- stitching speed;
- time available each day.
A small beginner design may take a few hours. A large Christmas stocking may require many weeks or months.
What Should I Do If I Make a Mistake?
Stop, find the last correct reference point, and recount.
Remove the incorrect stitches if the mistake affects the surrounding design. A tiny difference that does not change the finished picture may be left as part of the handmade work.
Start Your First Cross-Stitch Project
Now you know the complete process:
- how to choose a pattern;
- how to prepare Aida fabric;
- how to read a chart;
- how to separate embroidery floss;
- how to start without a knot;
- how to make the basic stitches;
- how to change colors;
- how to correct mistakes;
- how to finish and care for the embroidery.
The next step is to choose a project you genuinely want to complete.
If you prefer to select your own materials and begin immediately, explore our downloadable counted cross-stitch patterns.
Shop Digital Cross-Stitch Patterns
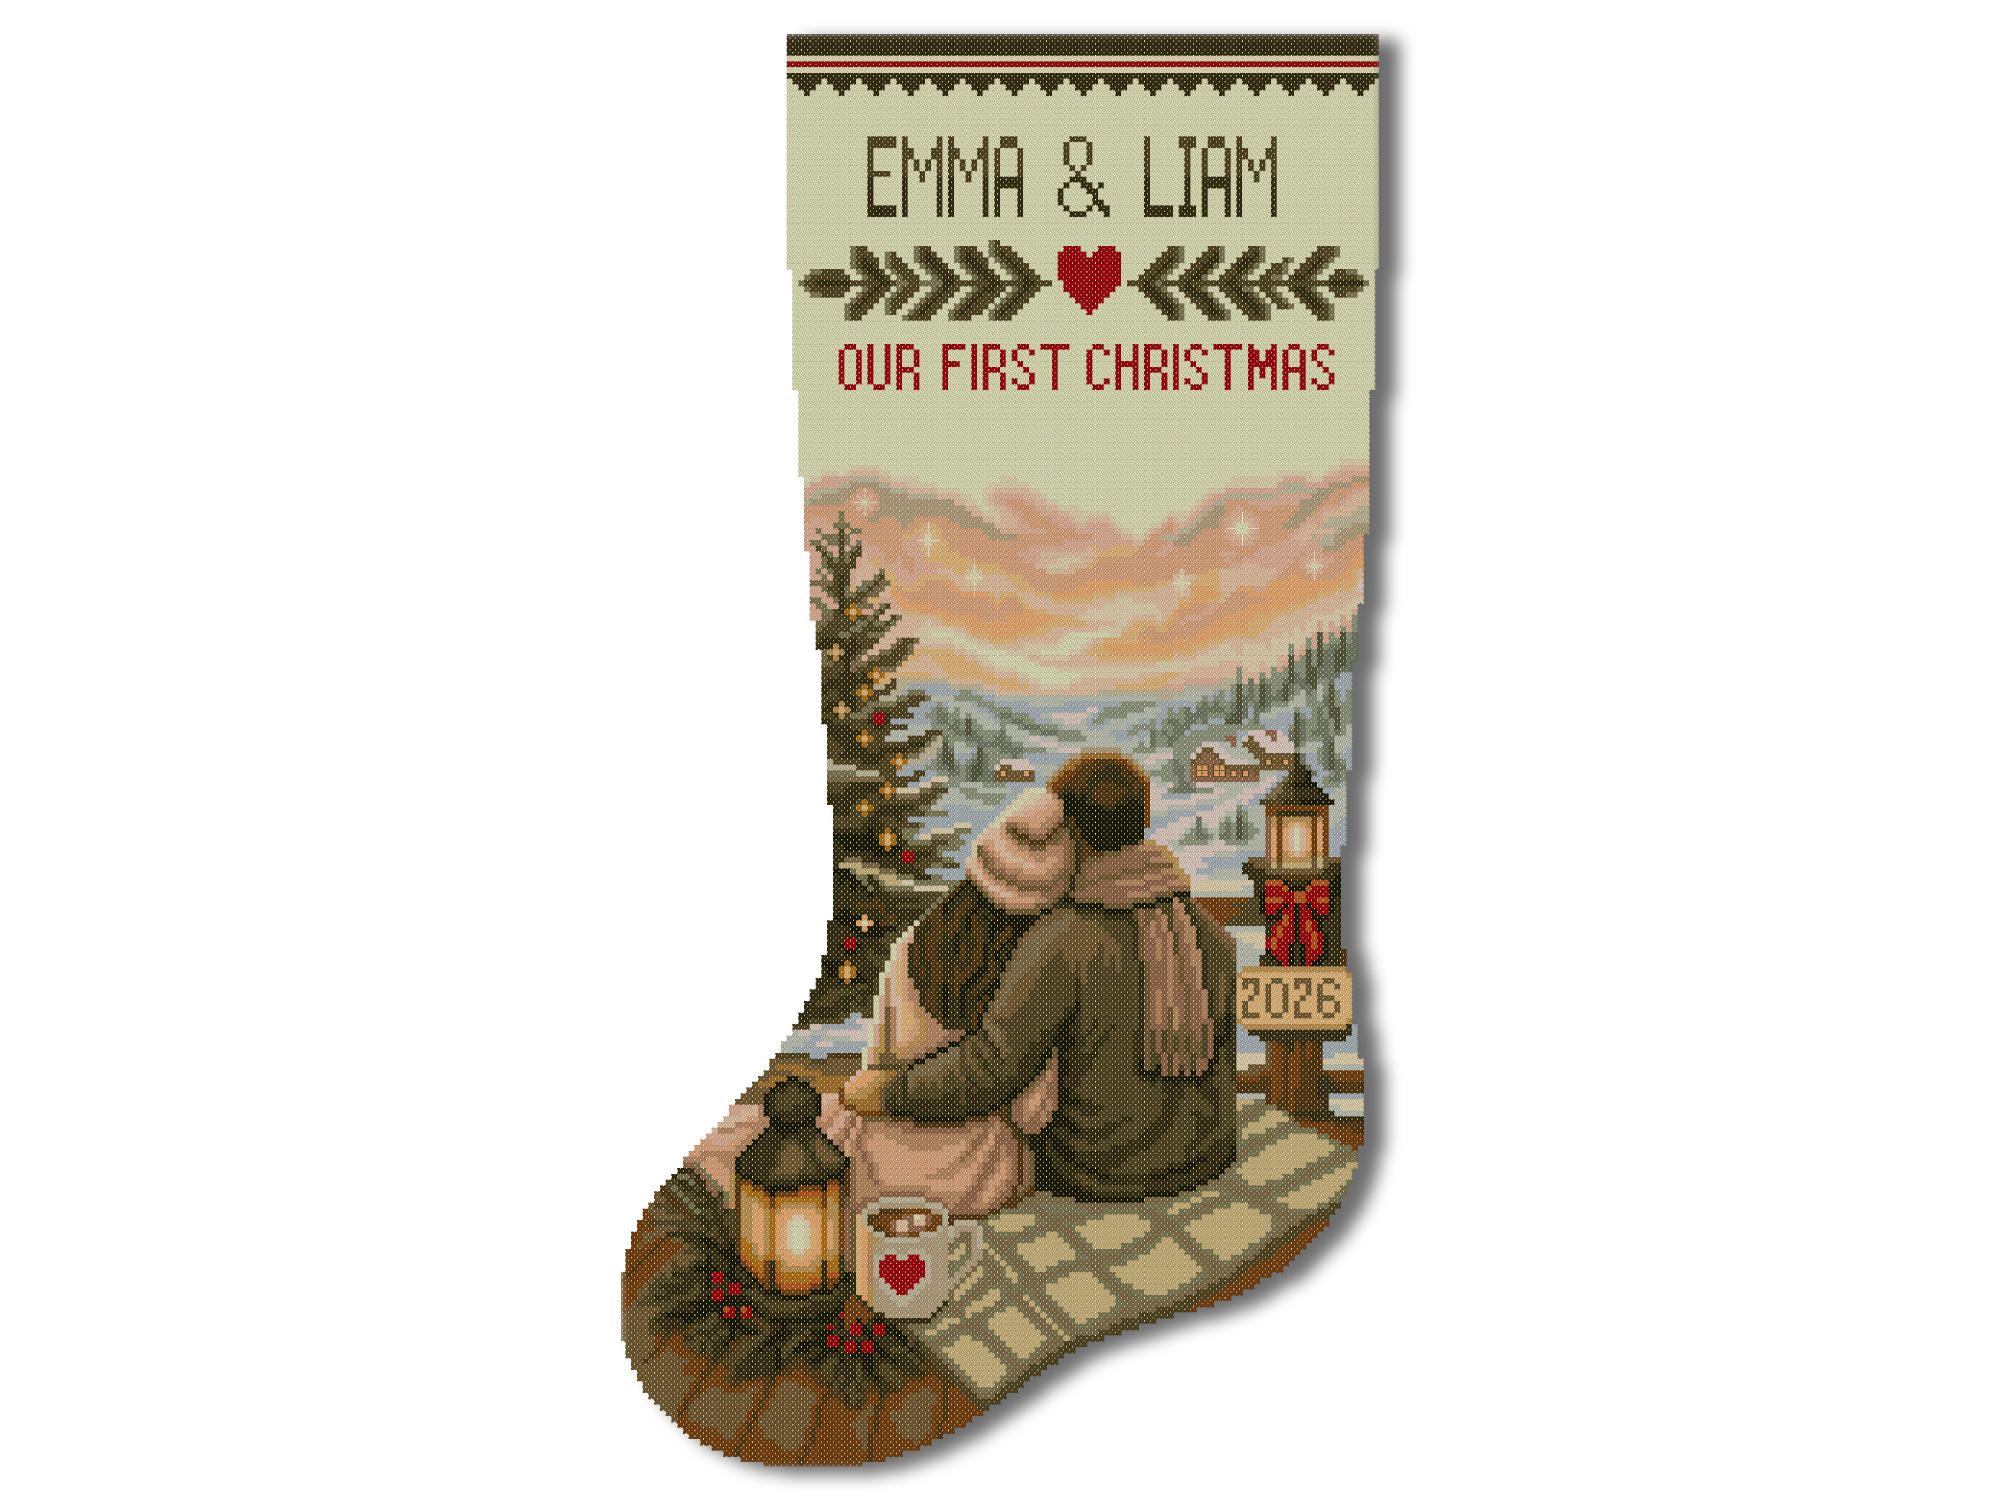
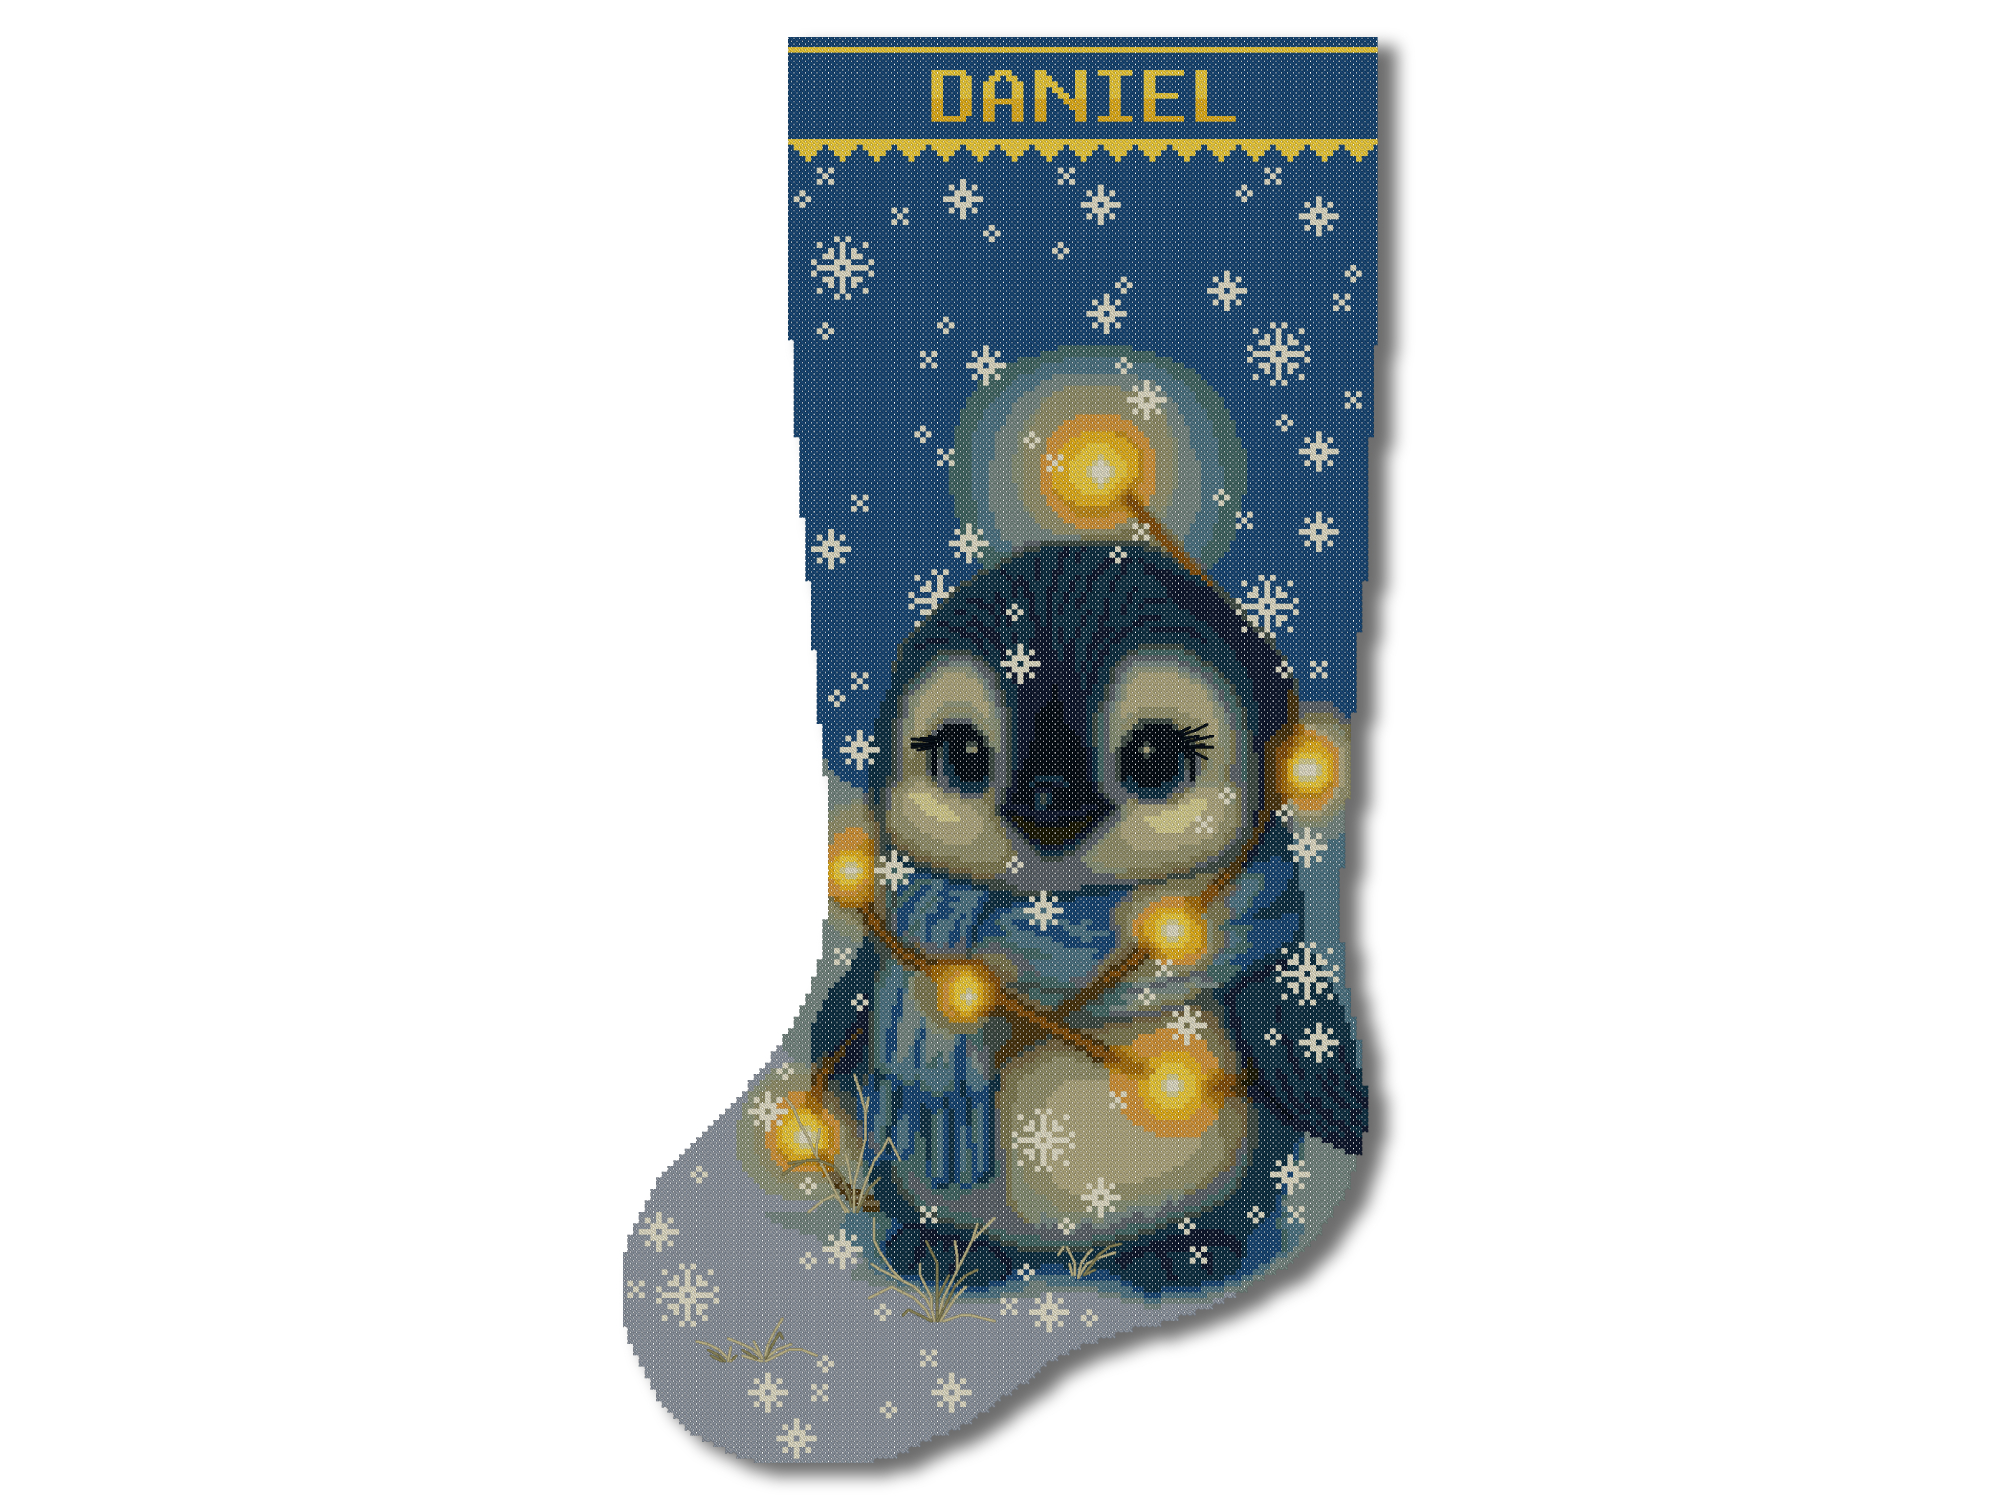


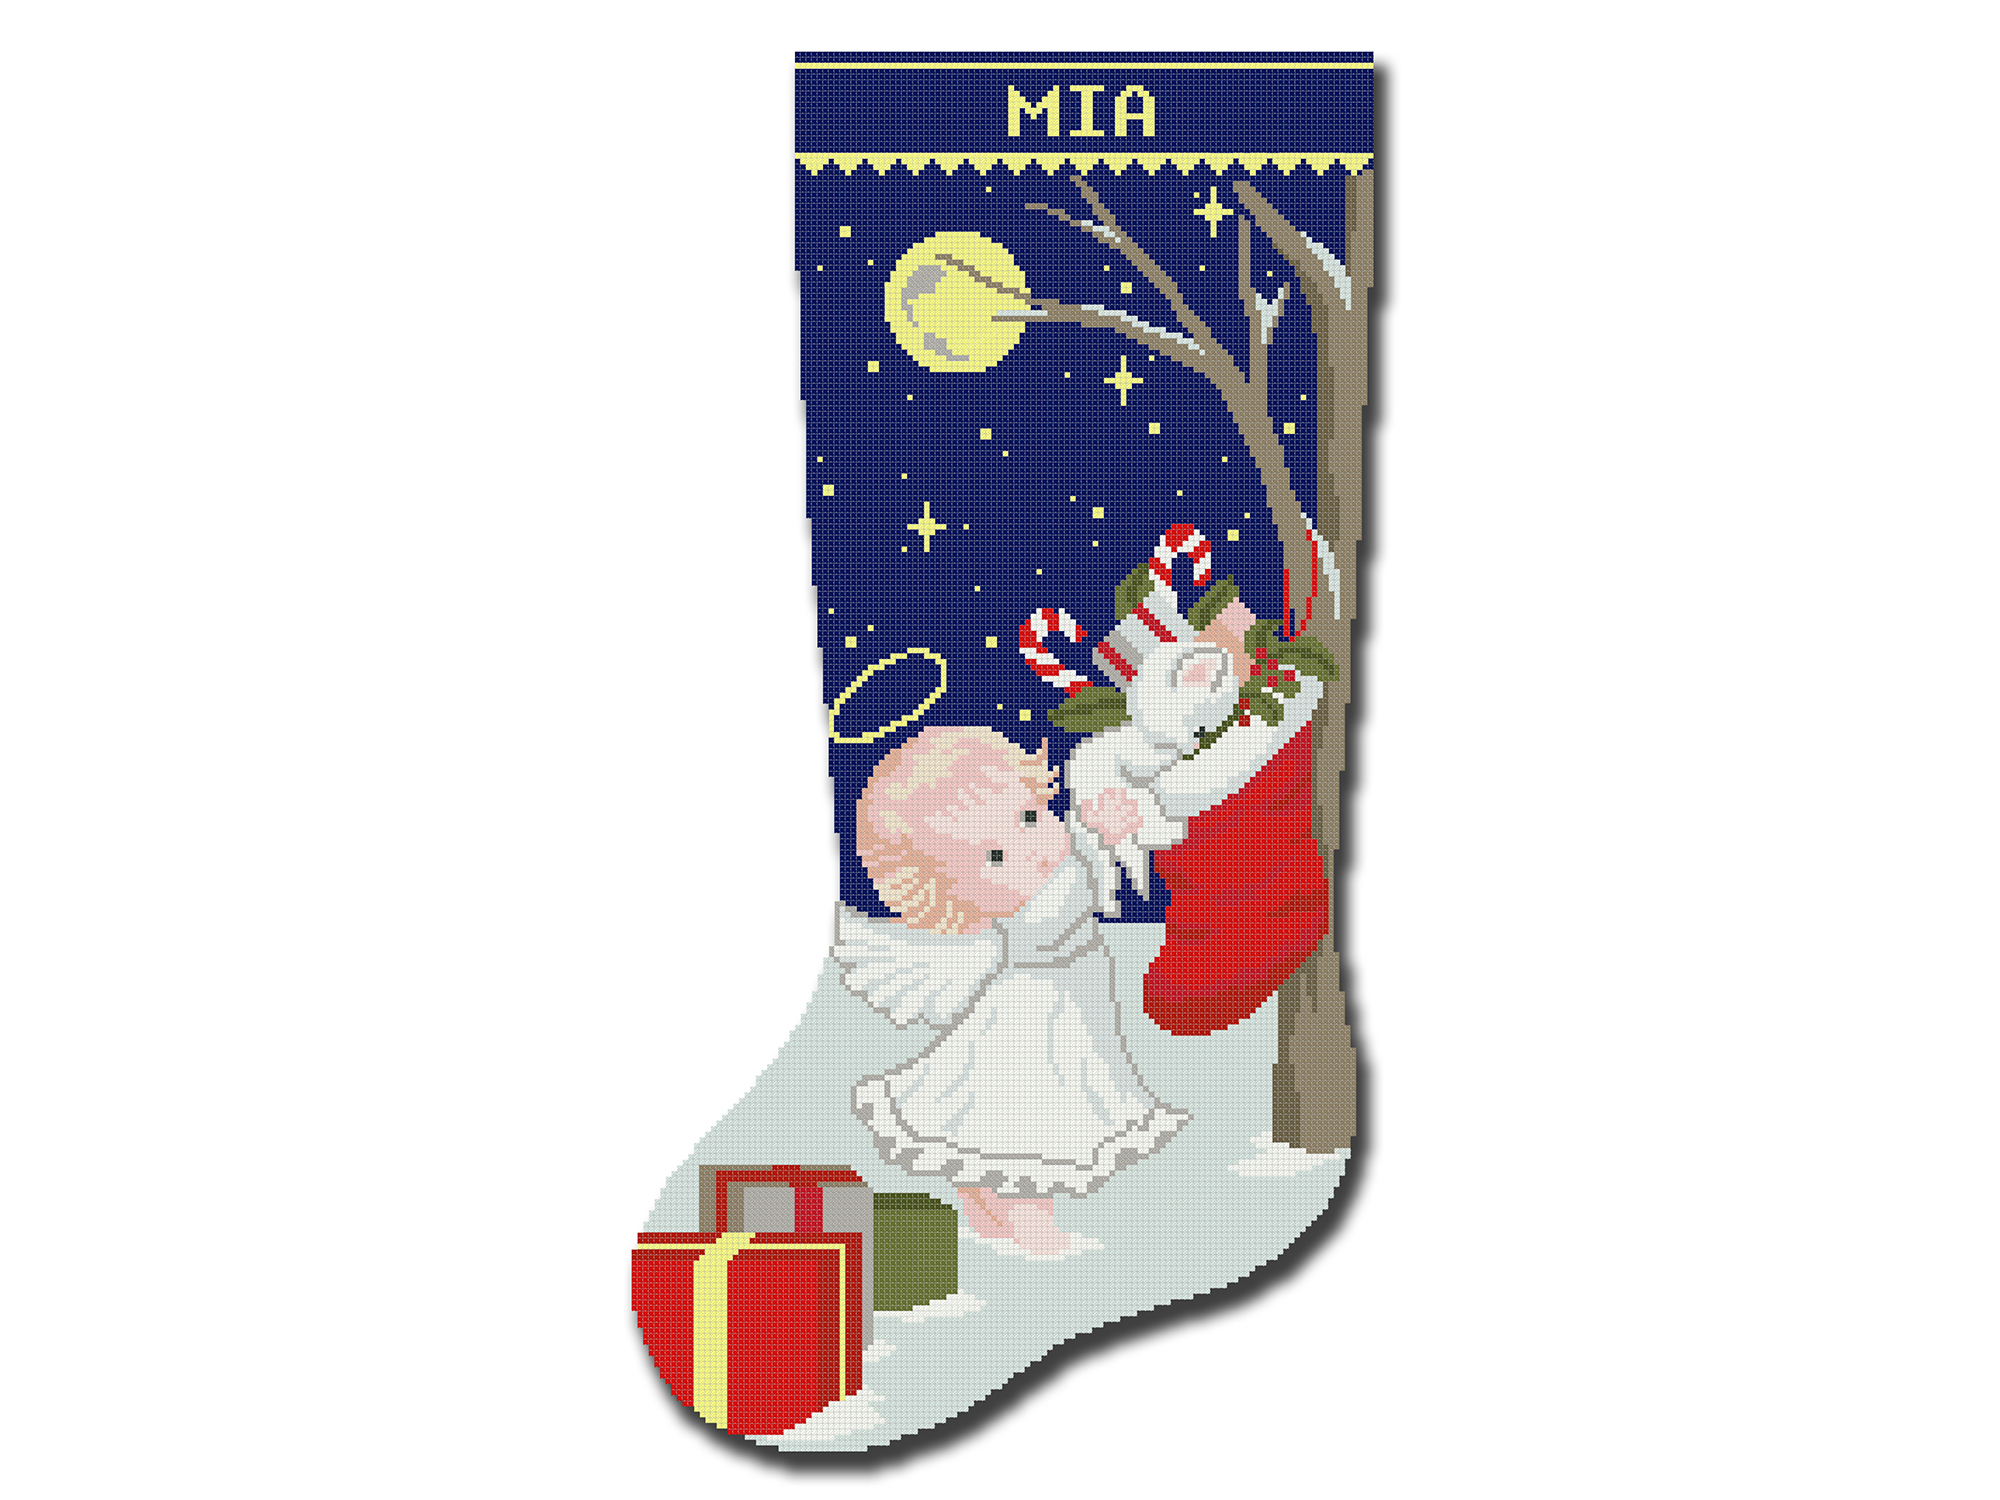
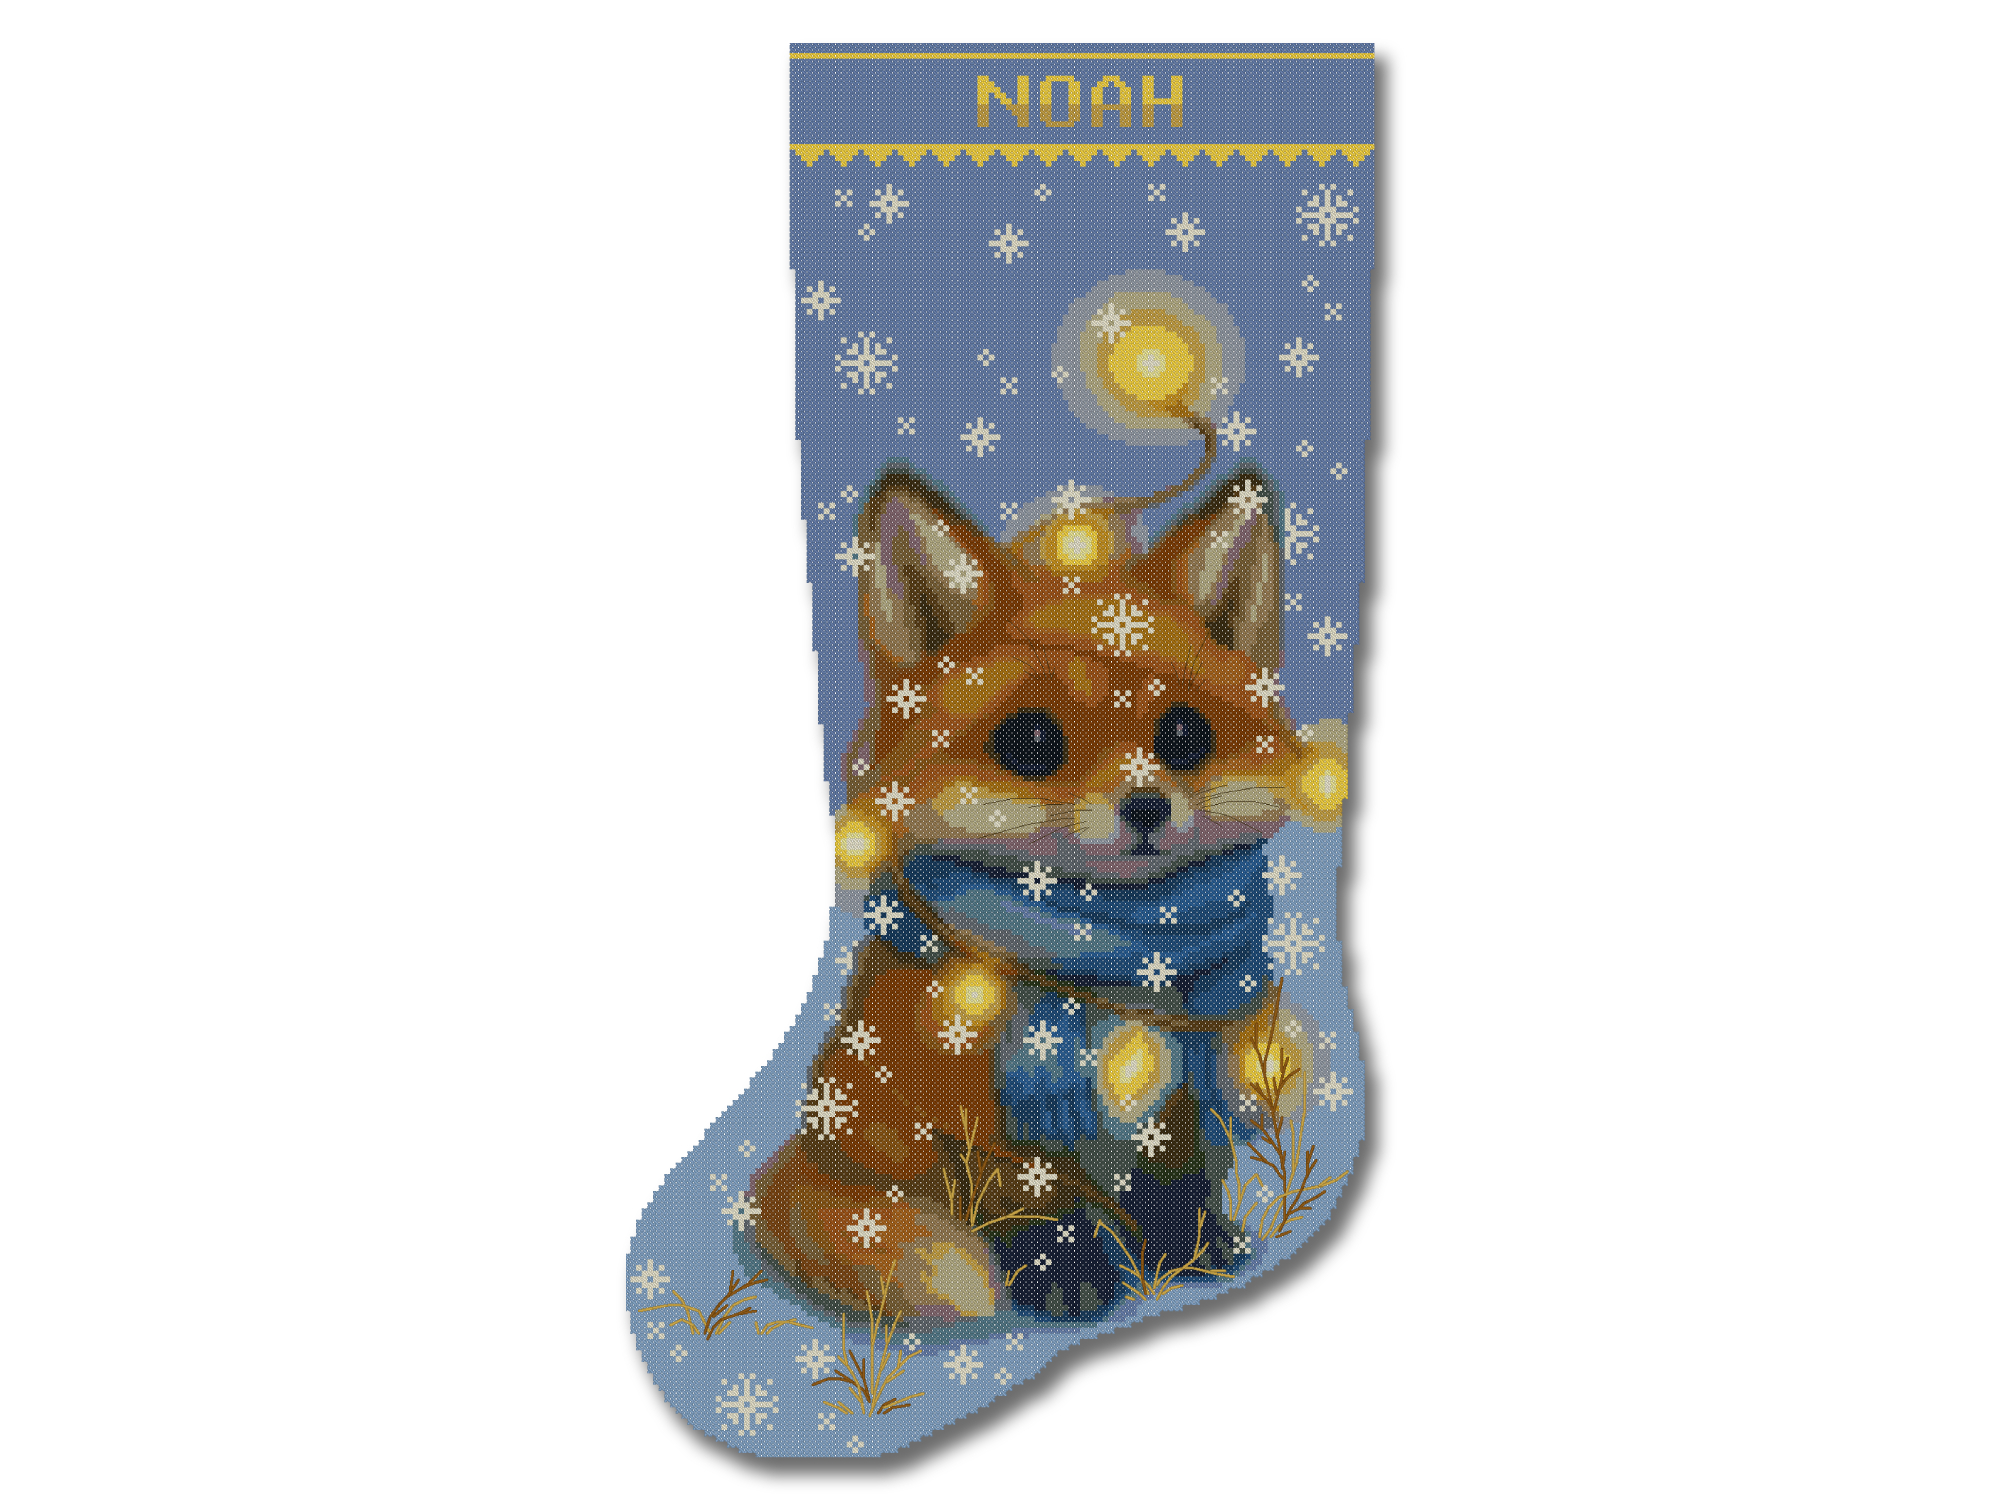
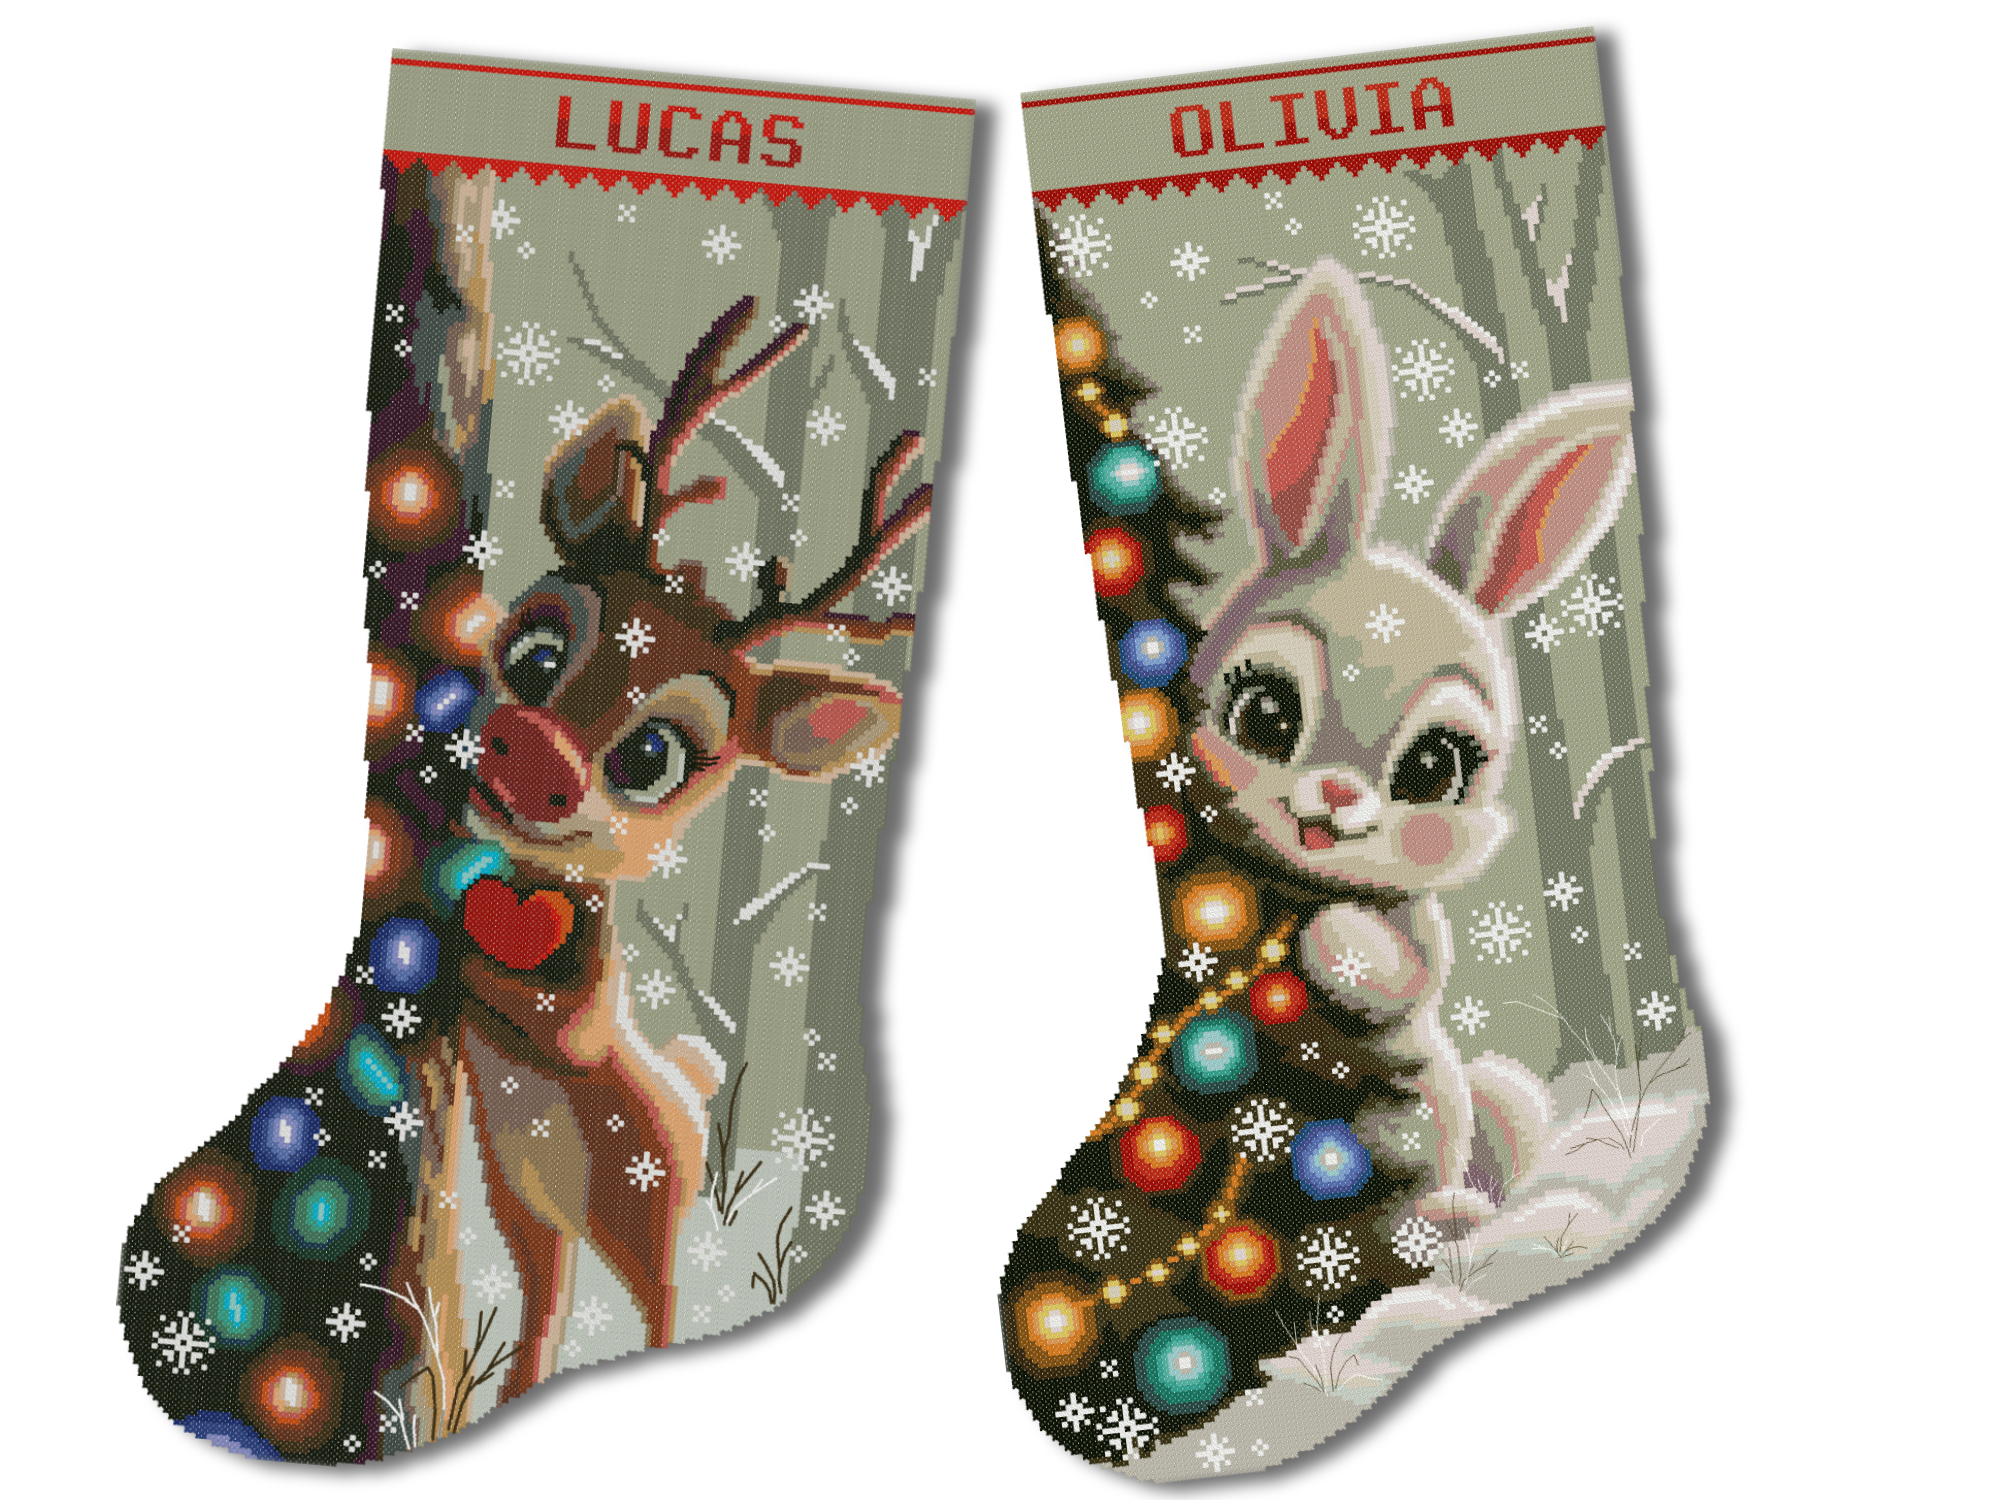


If you prefer to receive the fabric, threads, needles, and instructions together, explore our stamped cross-stitch kits.
Shop Stamped Cross-Stitch Kits
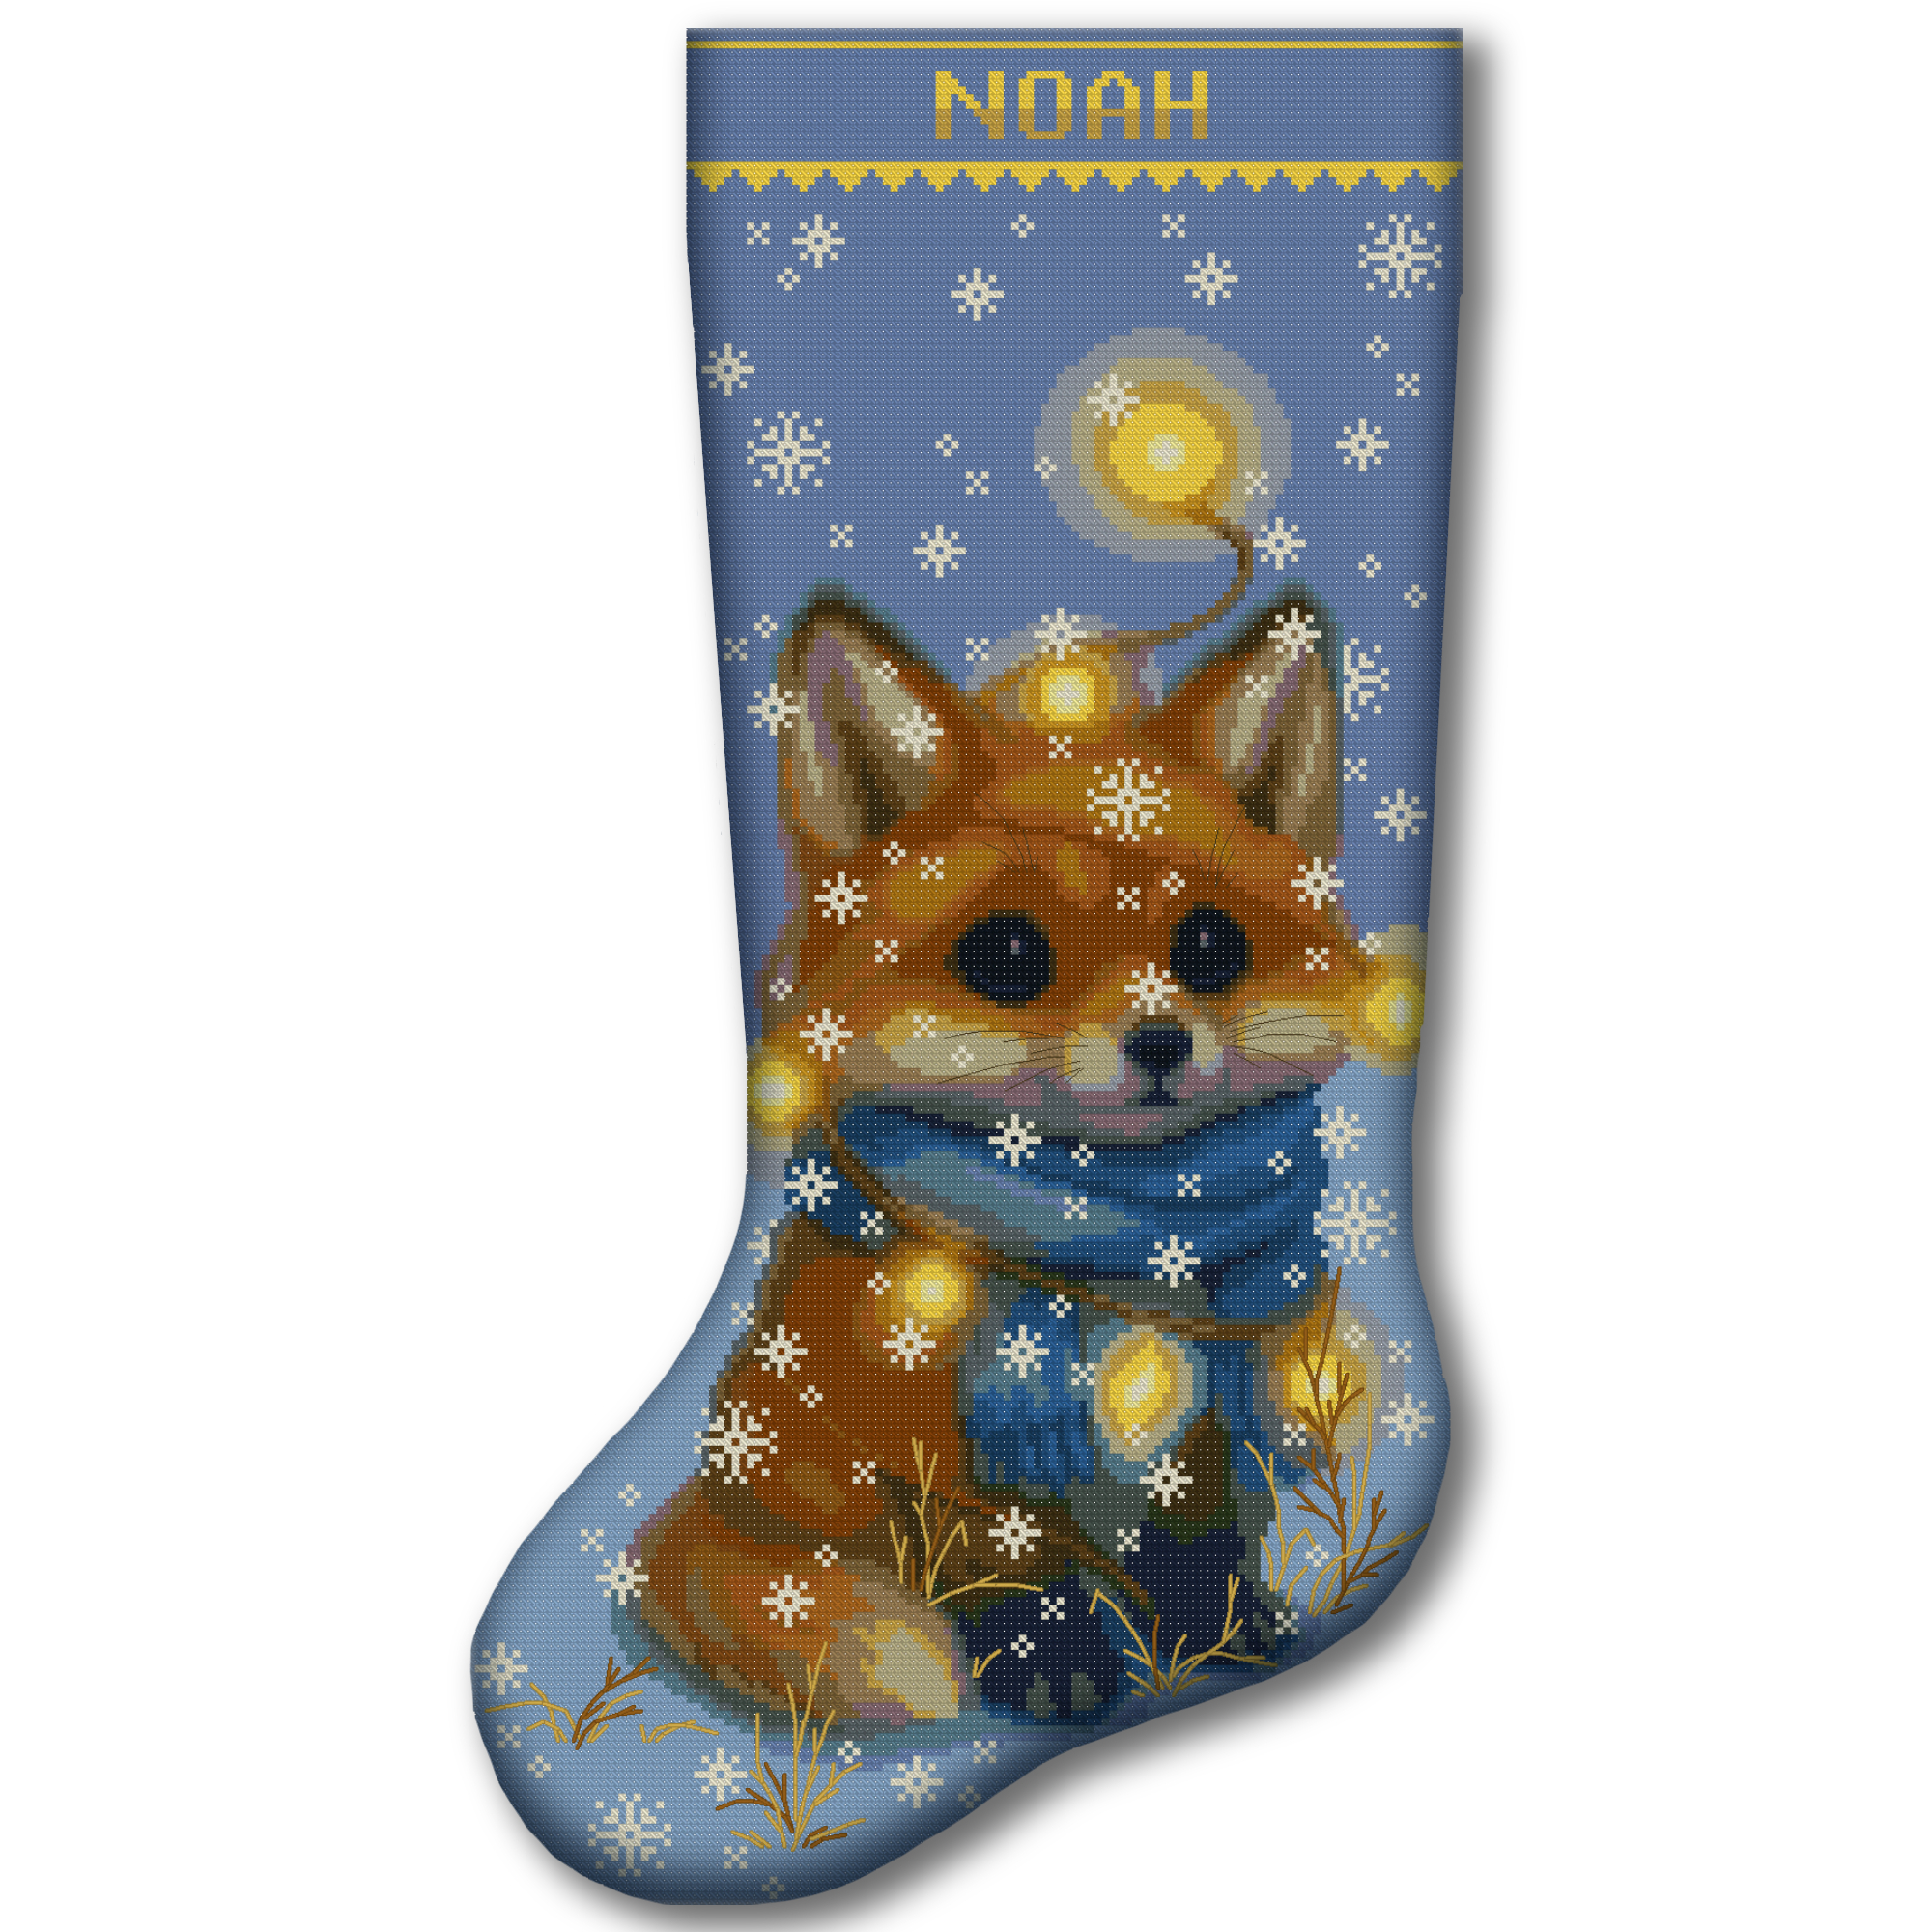
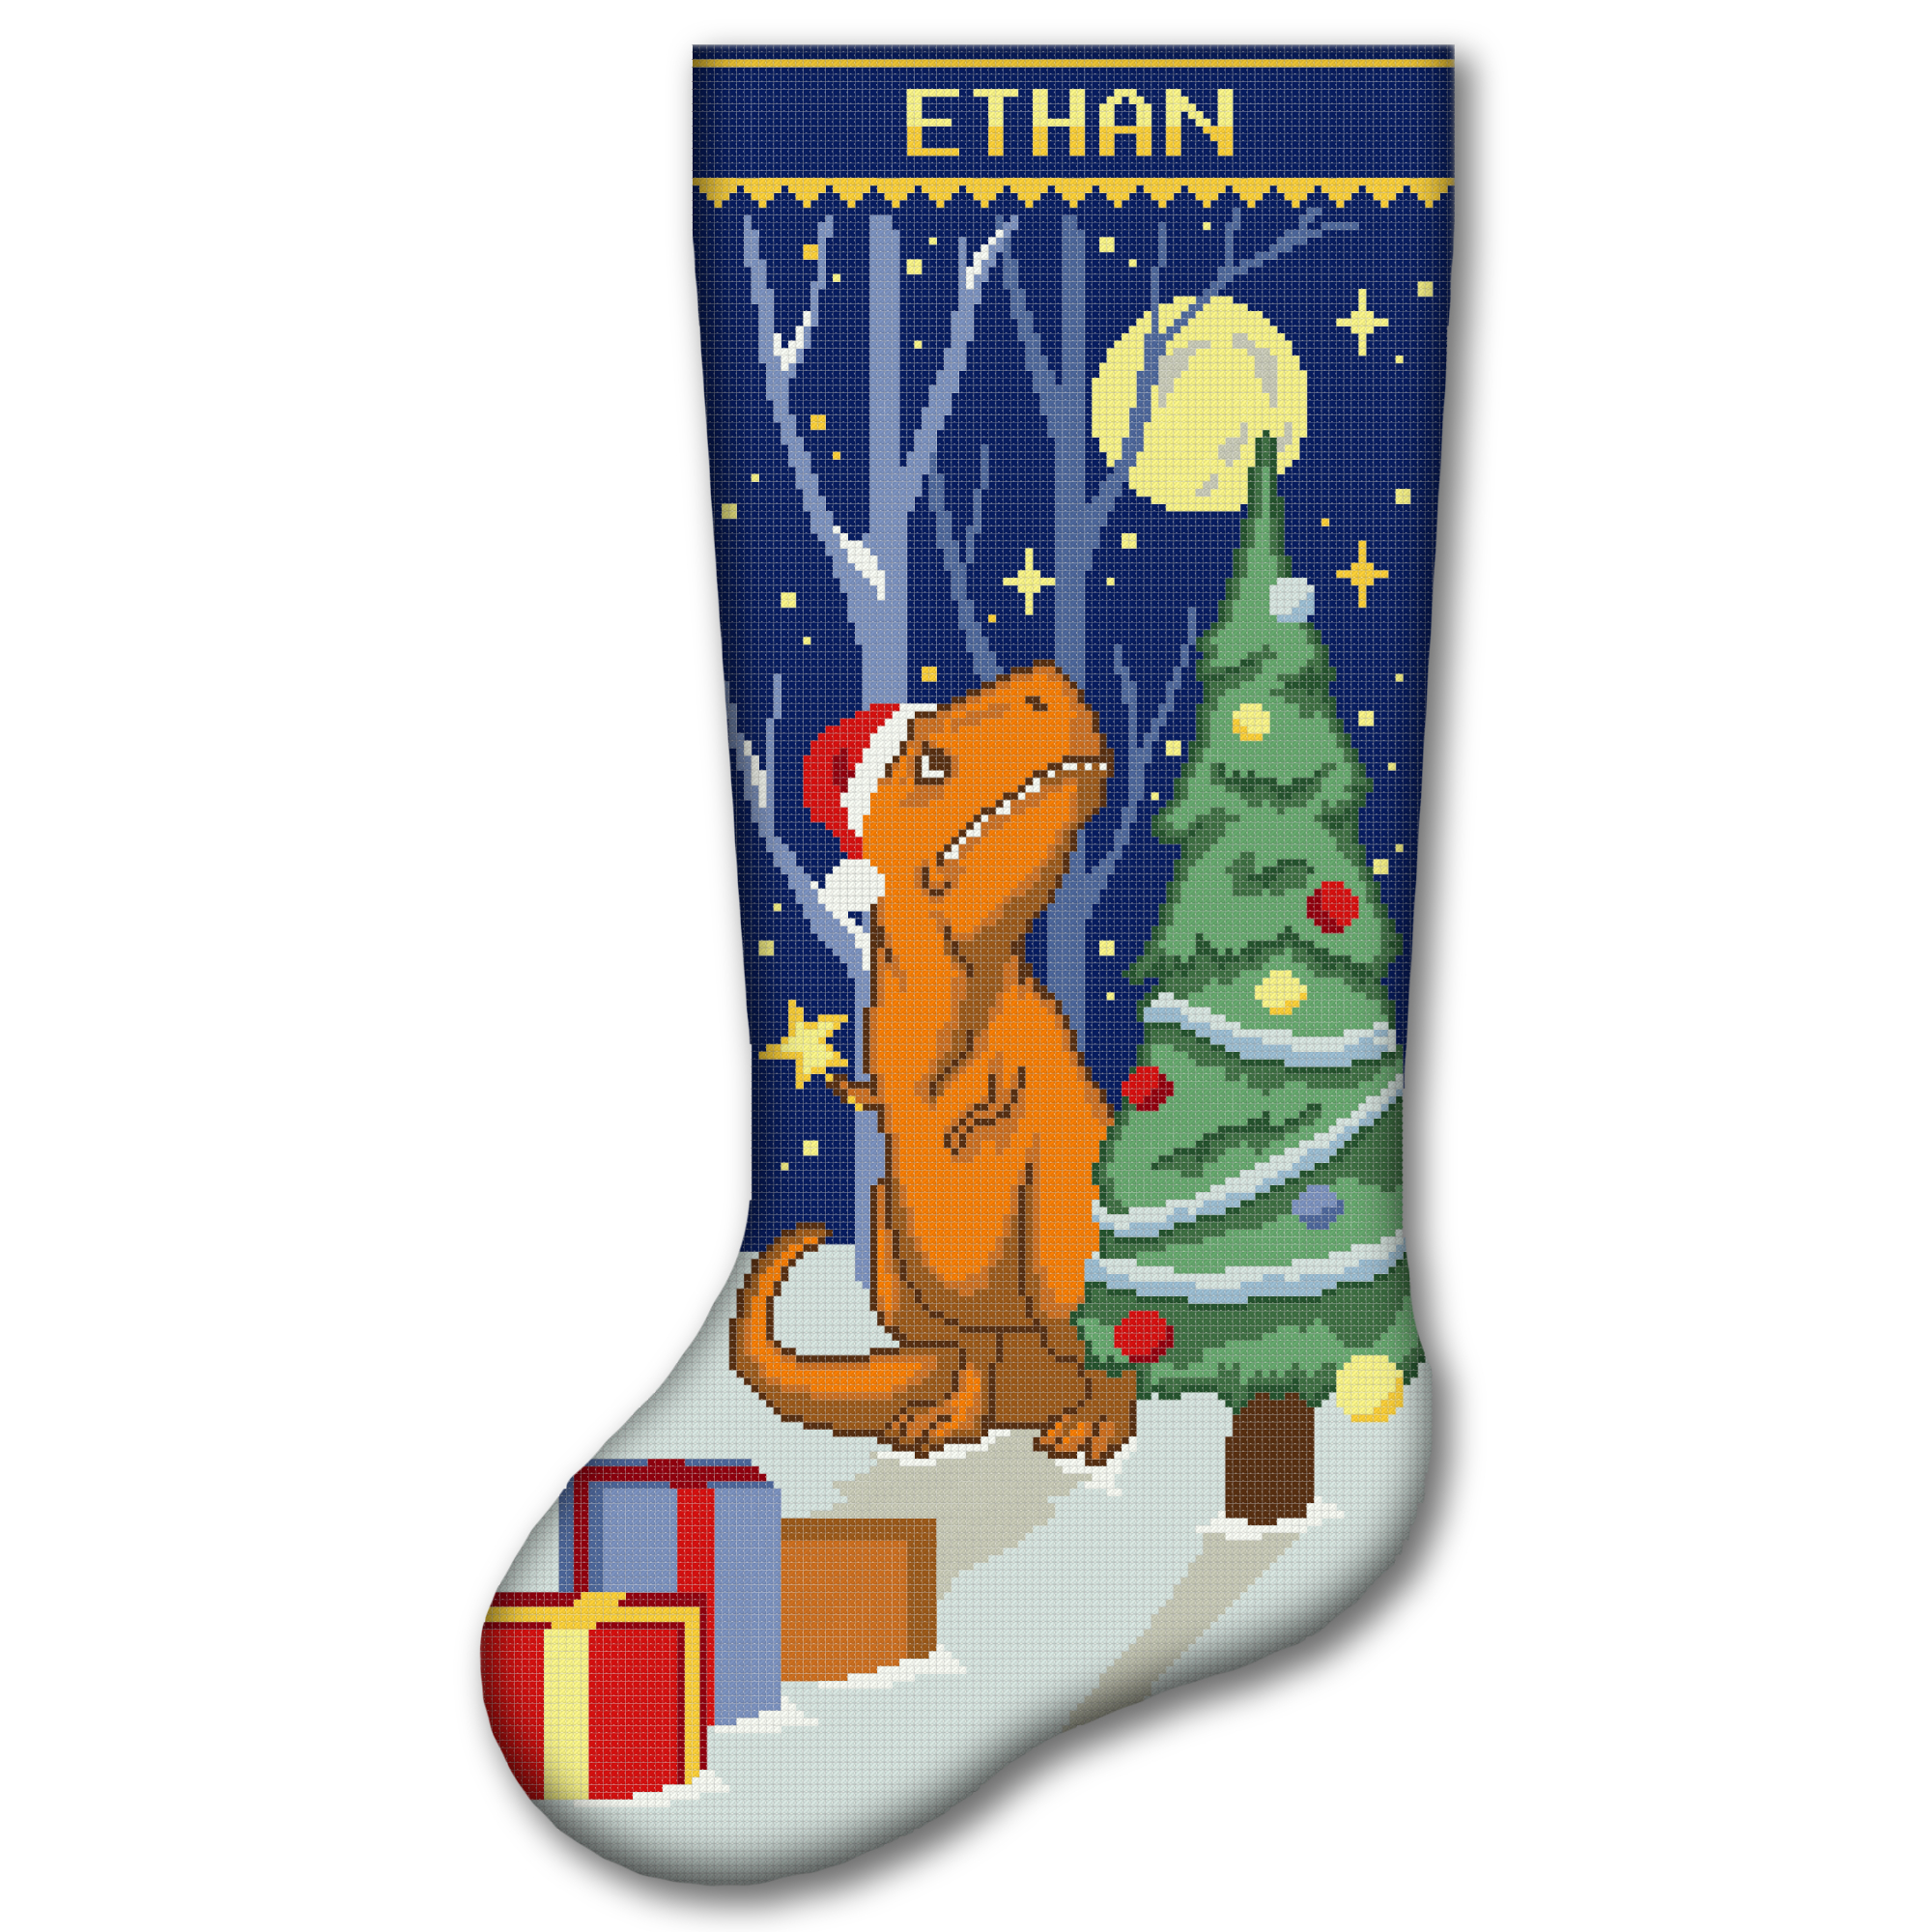
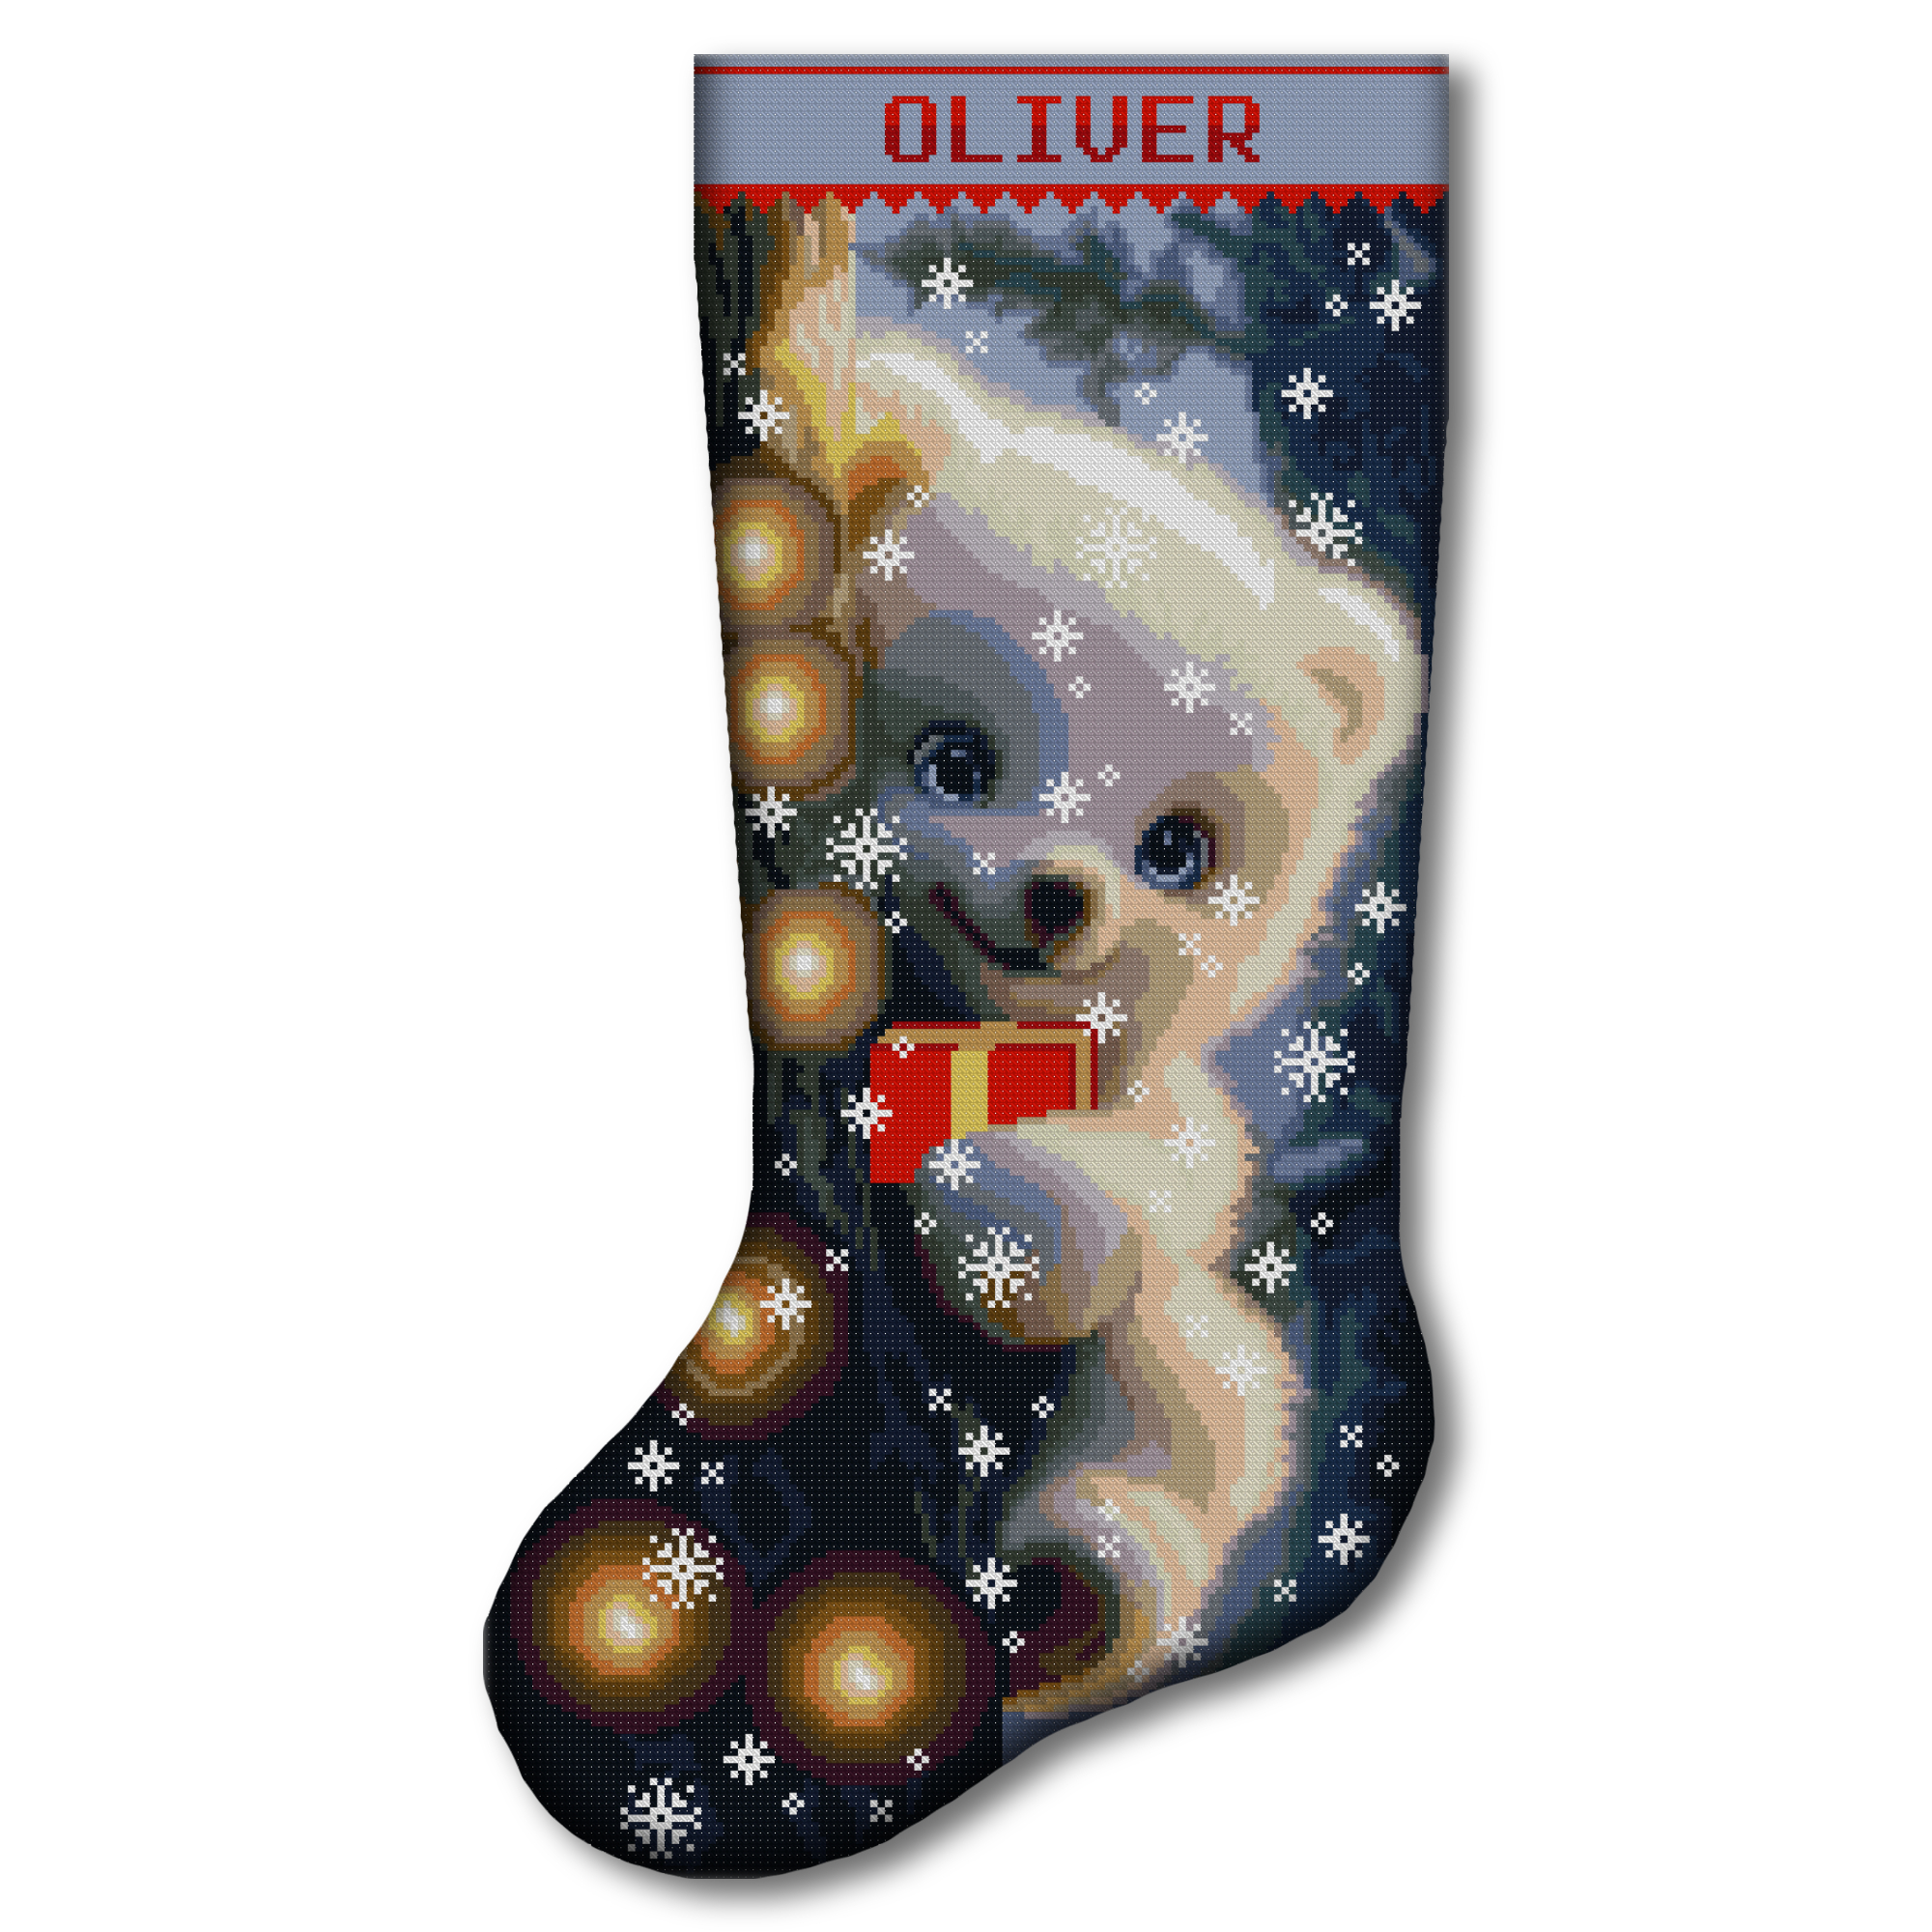
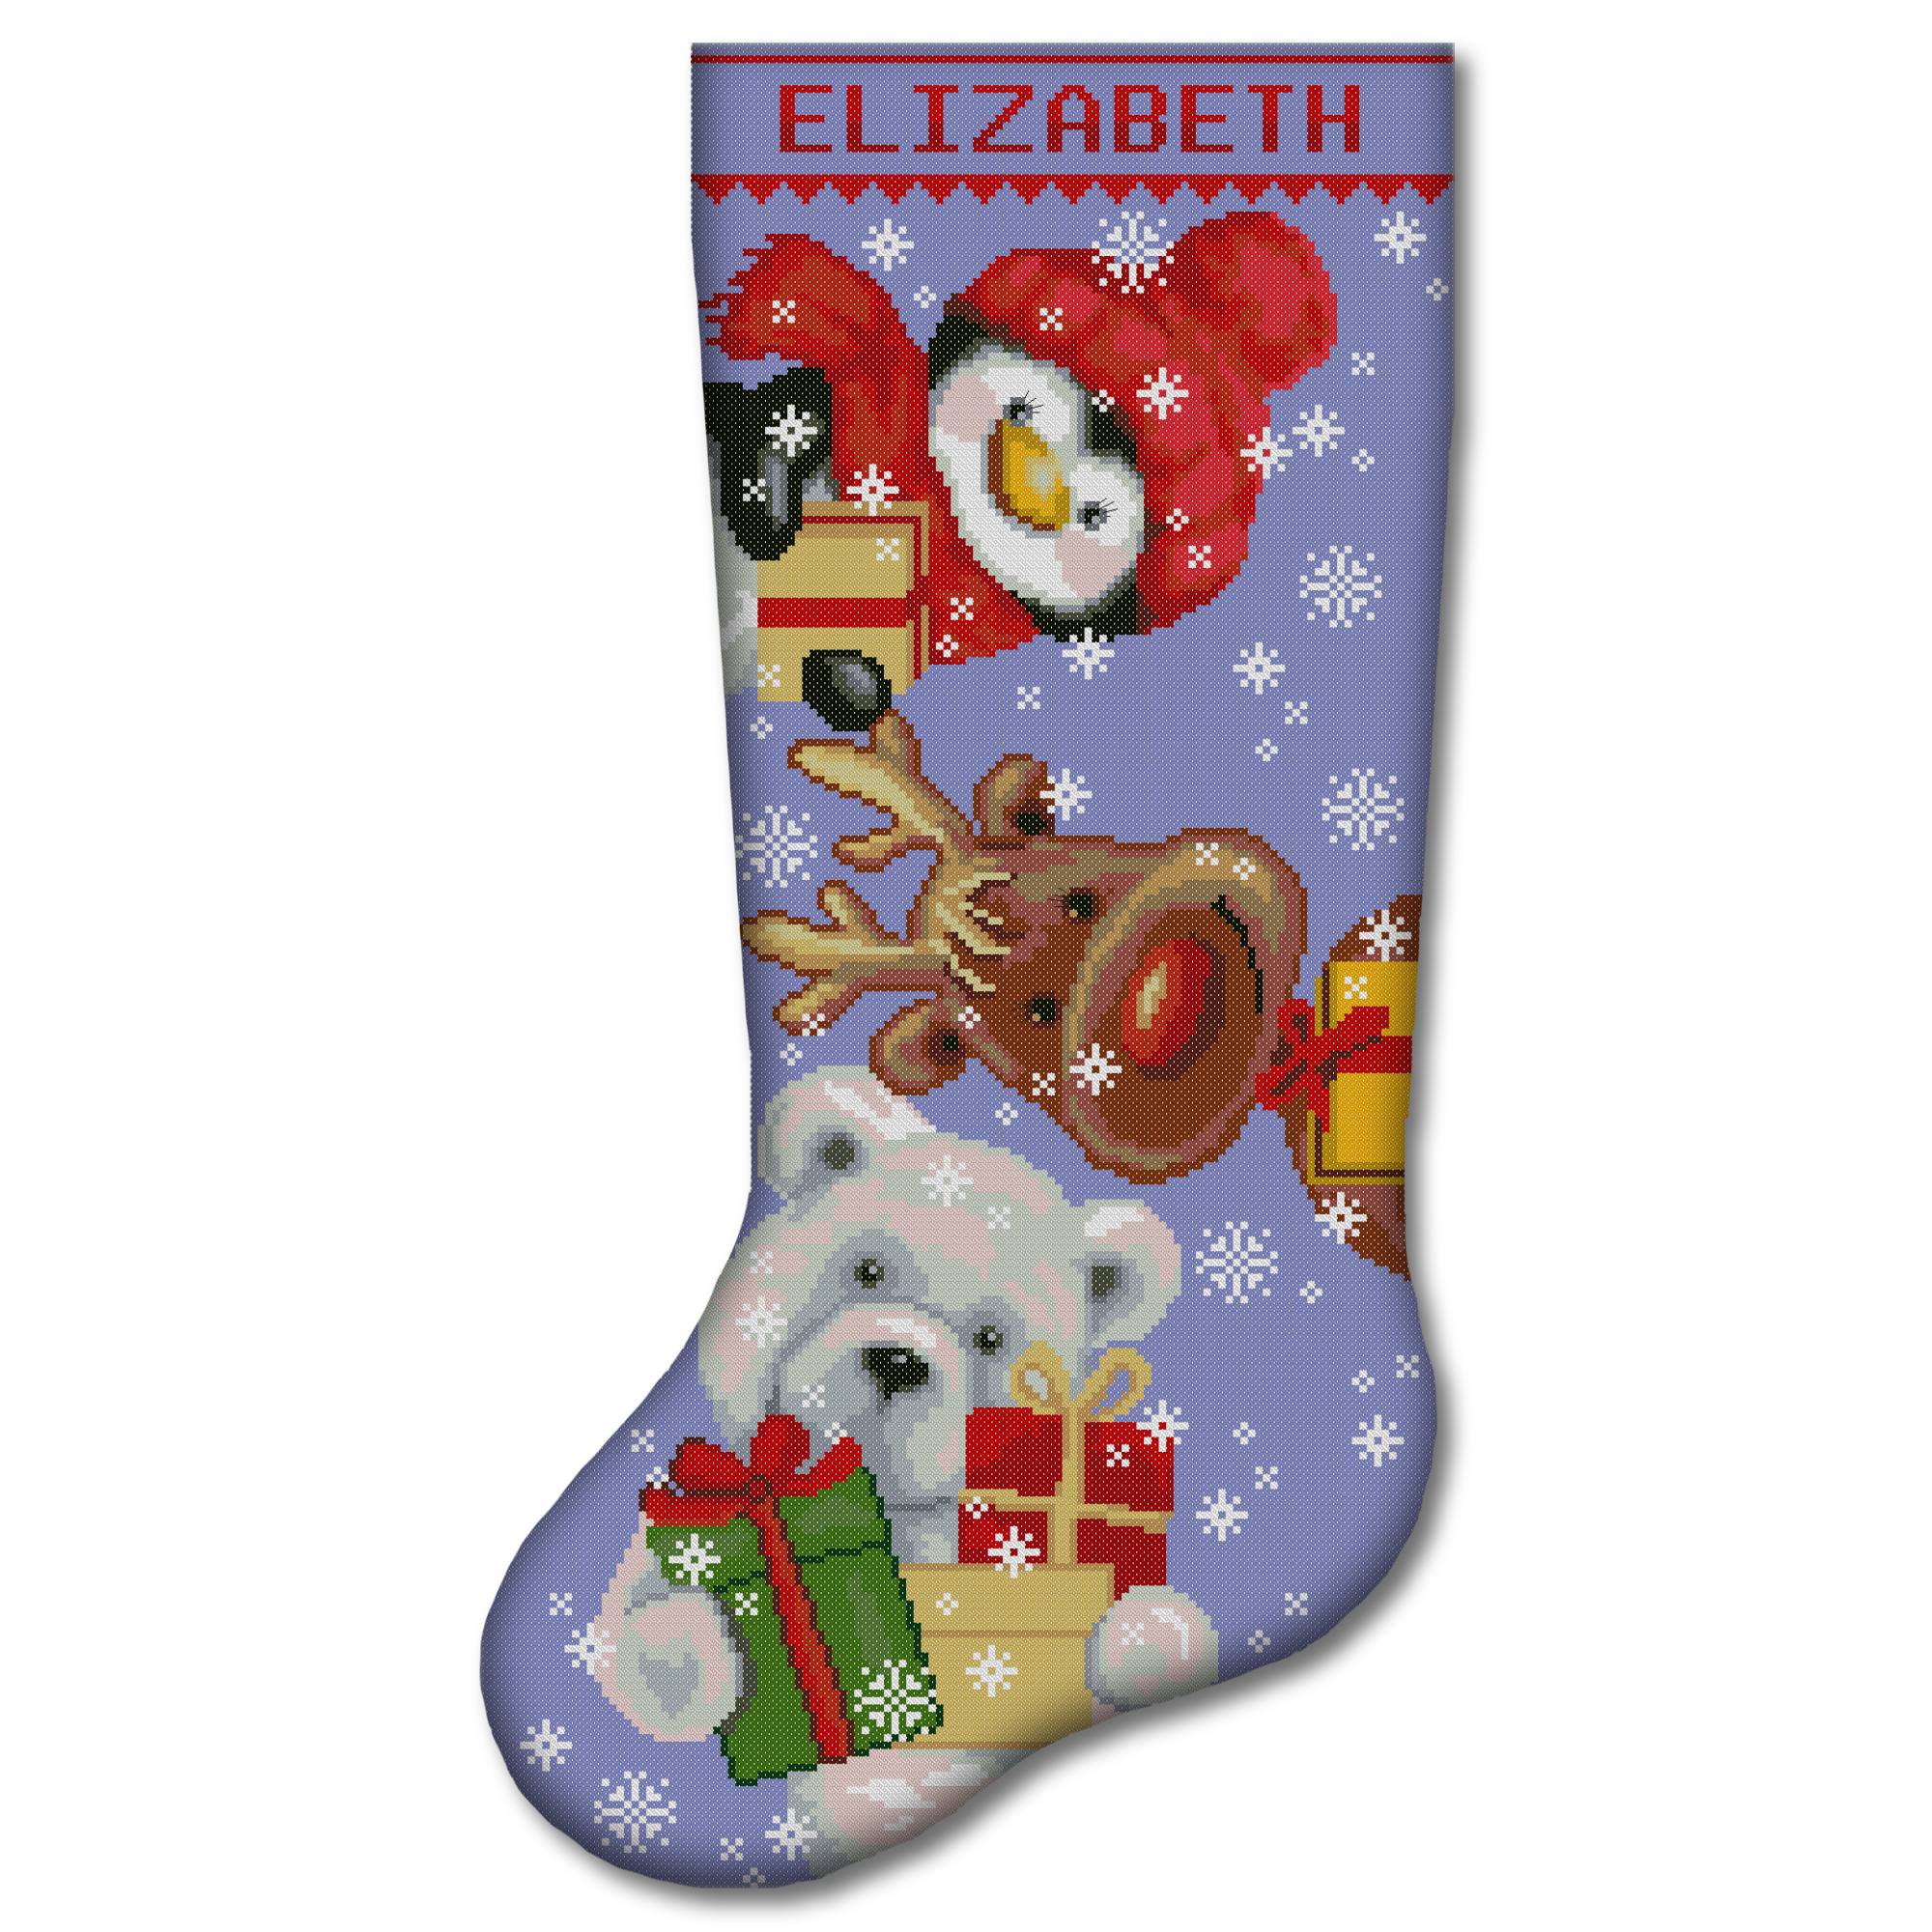
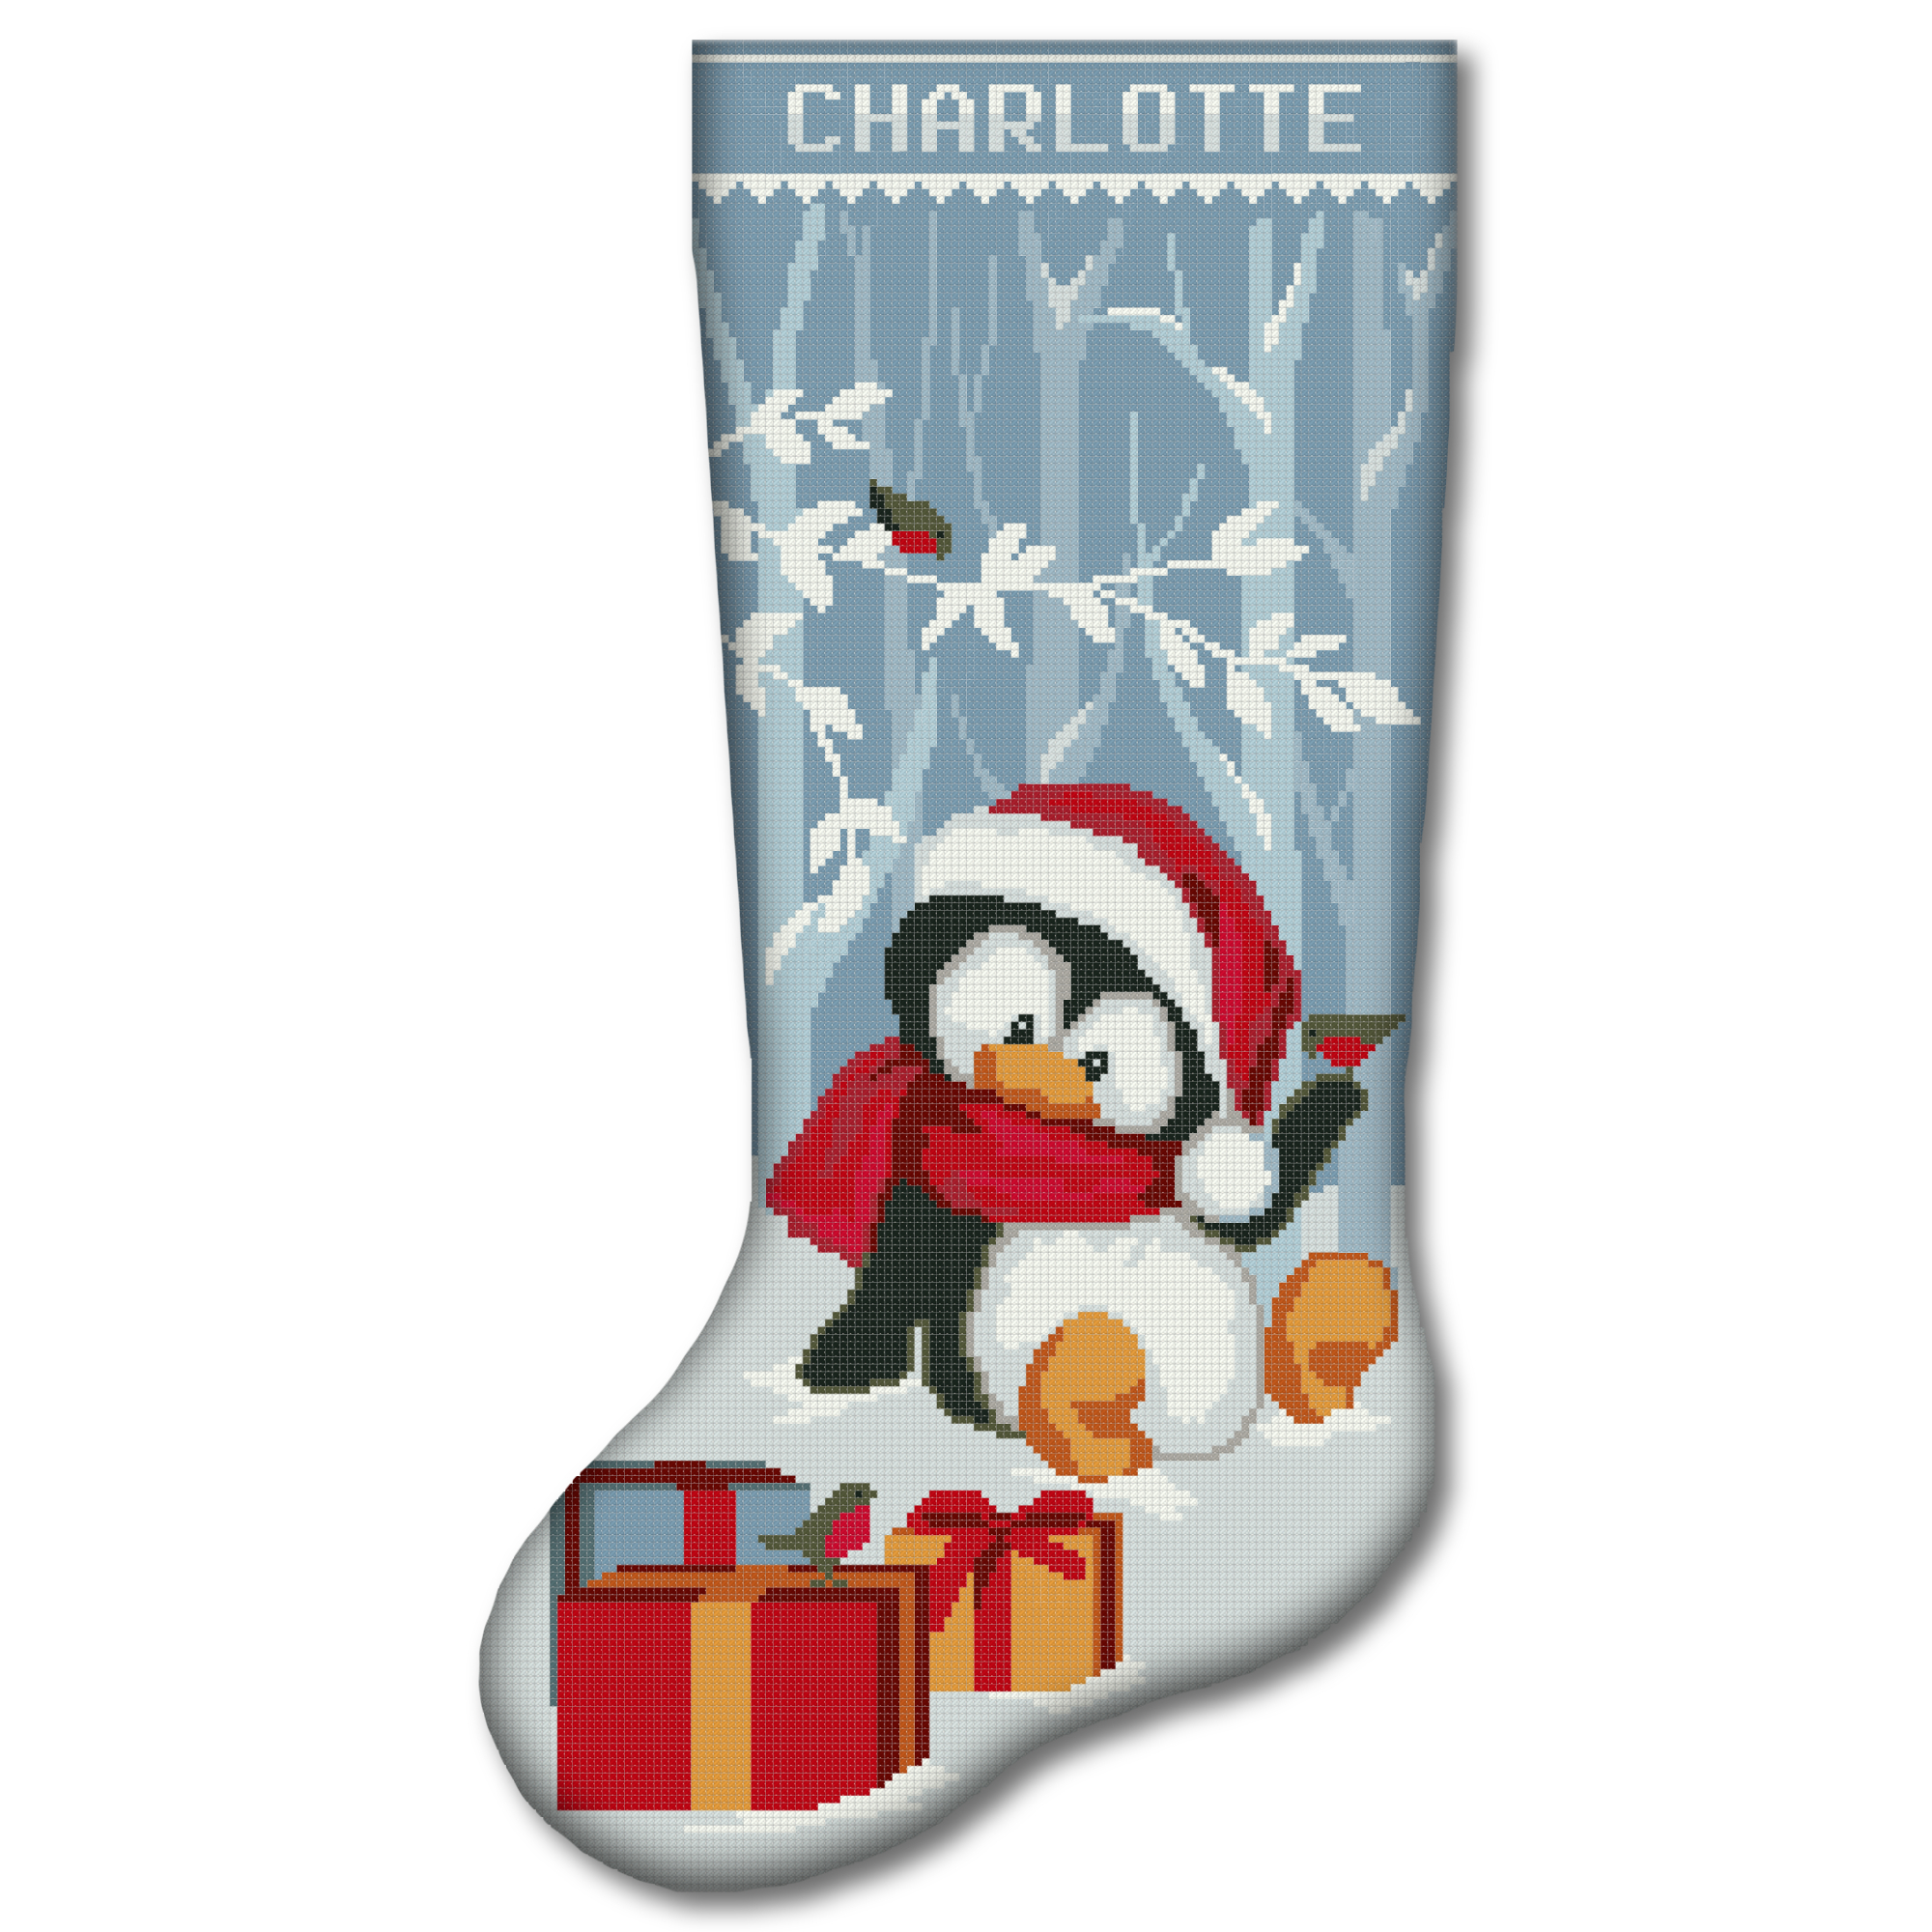
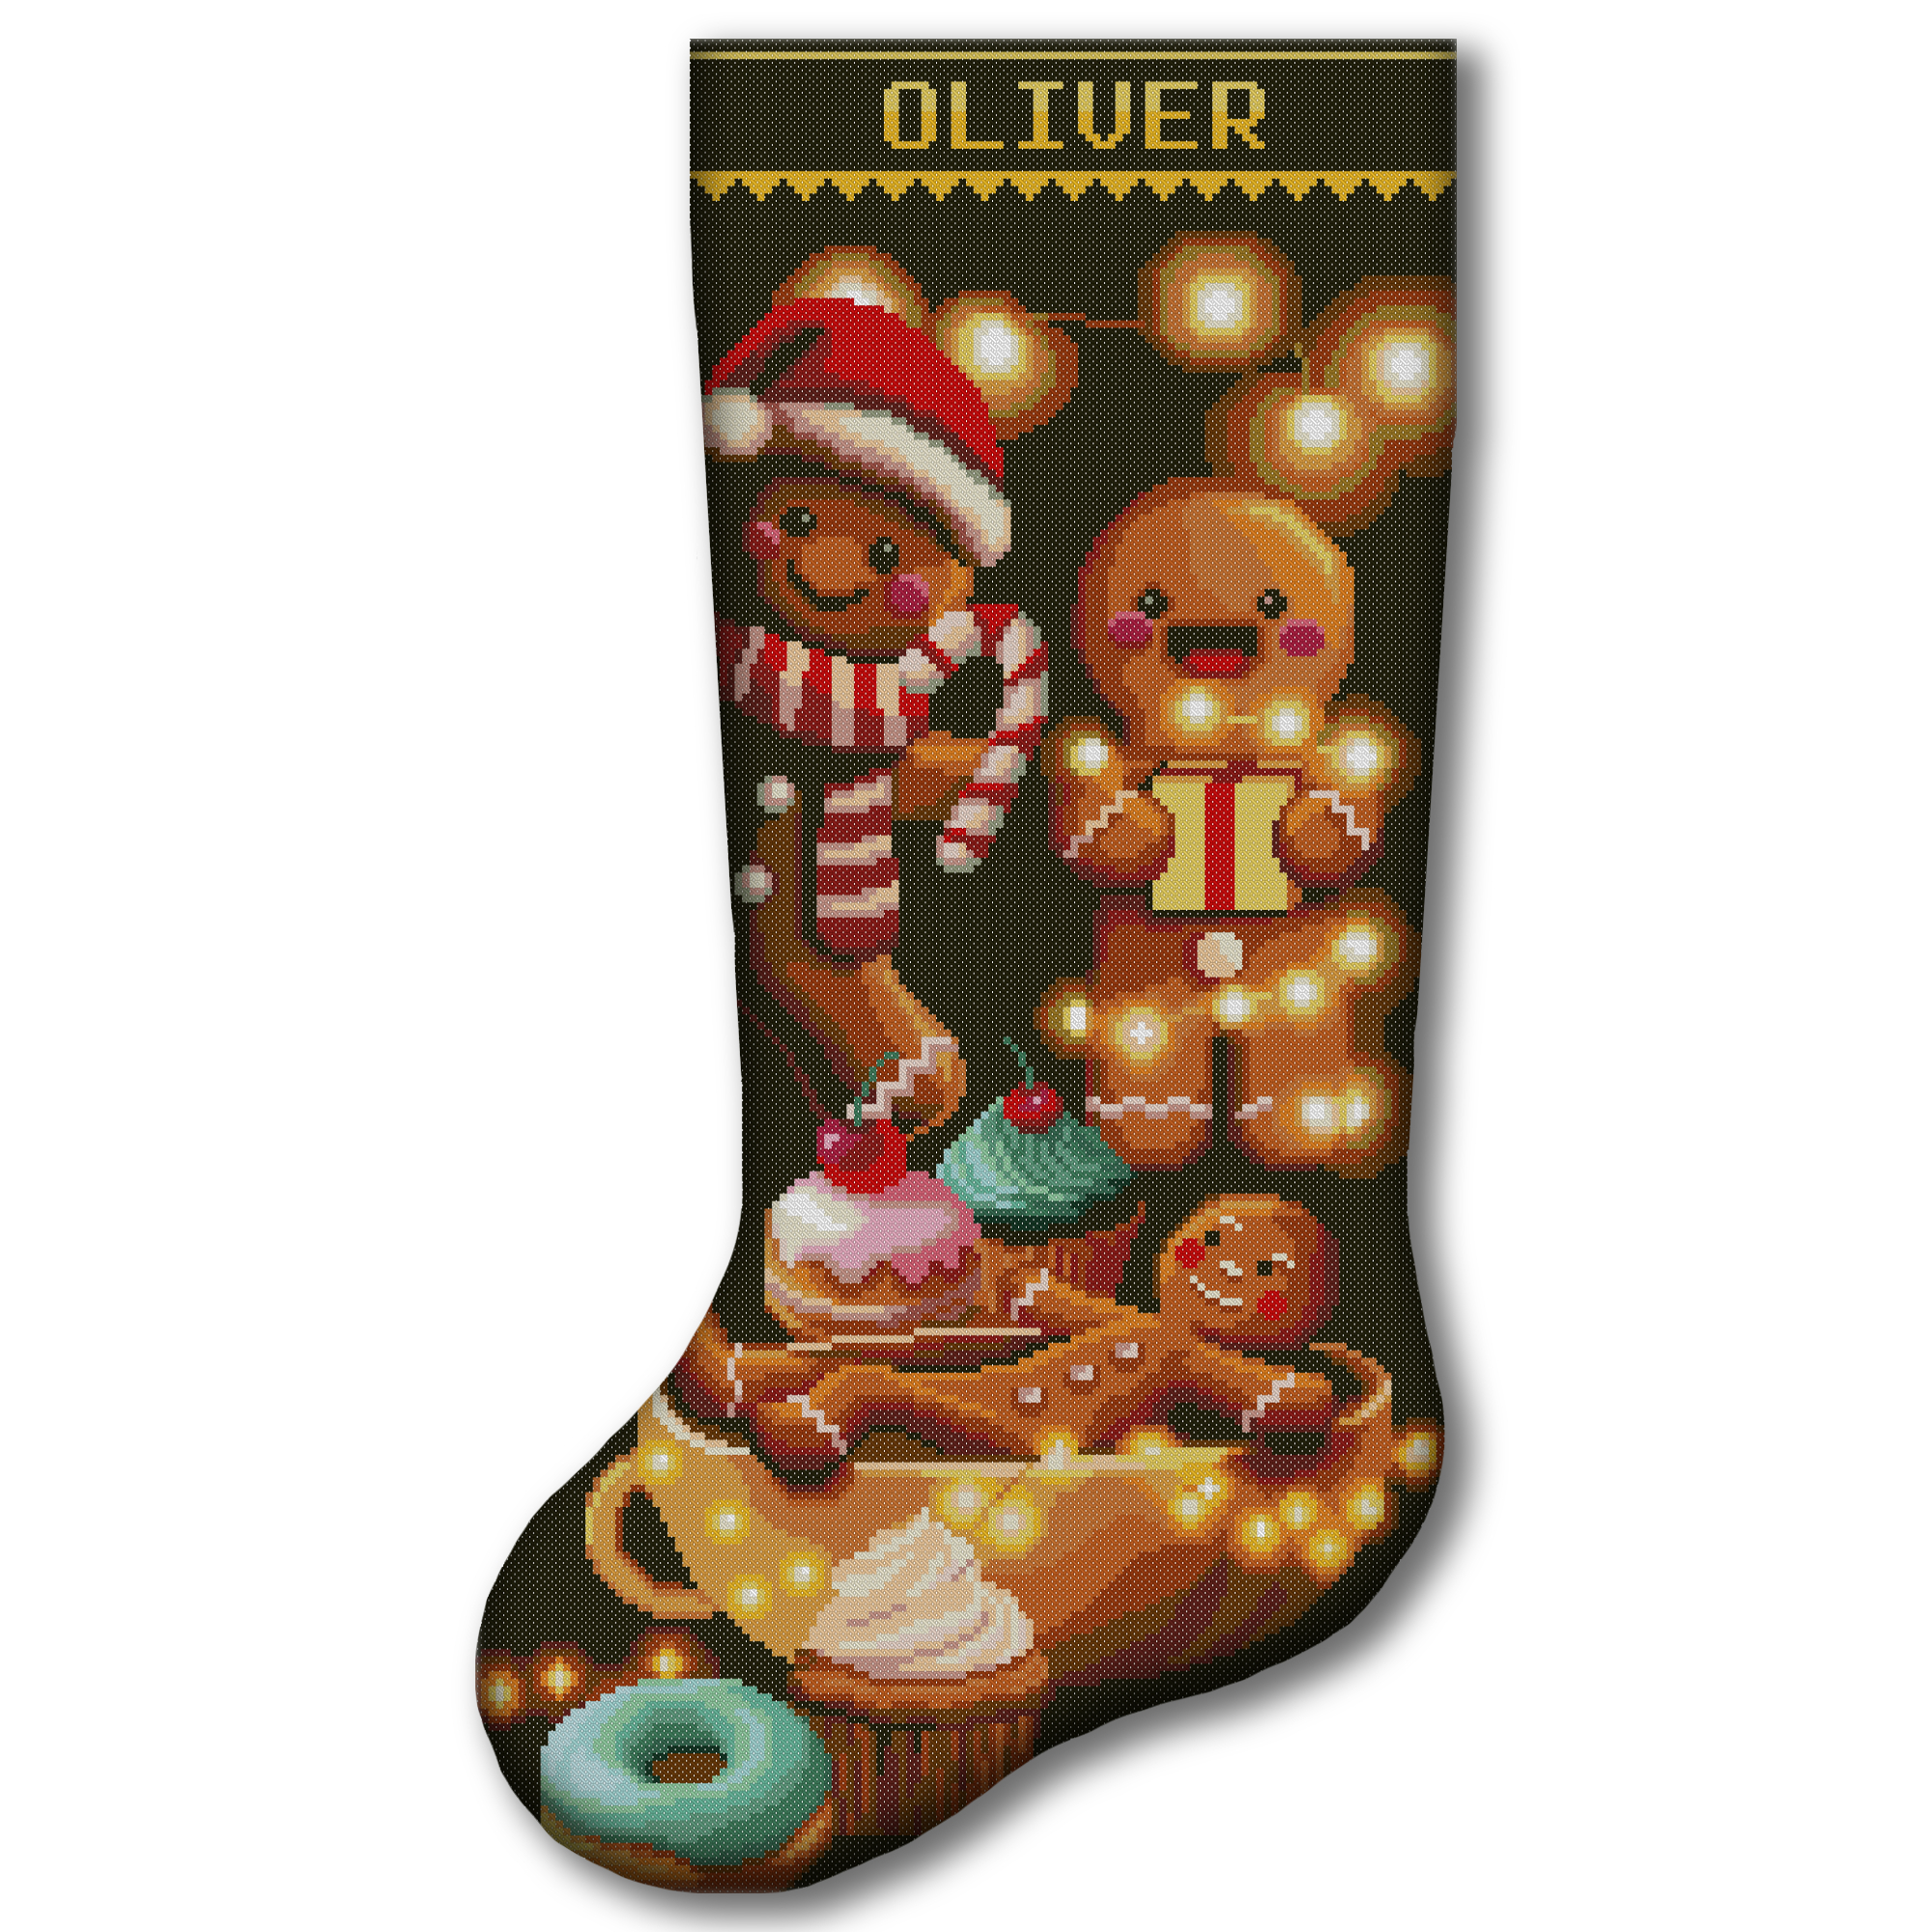
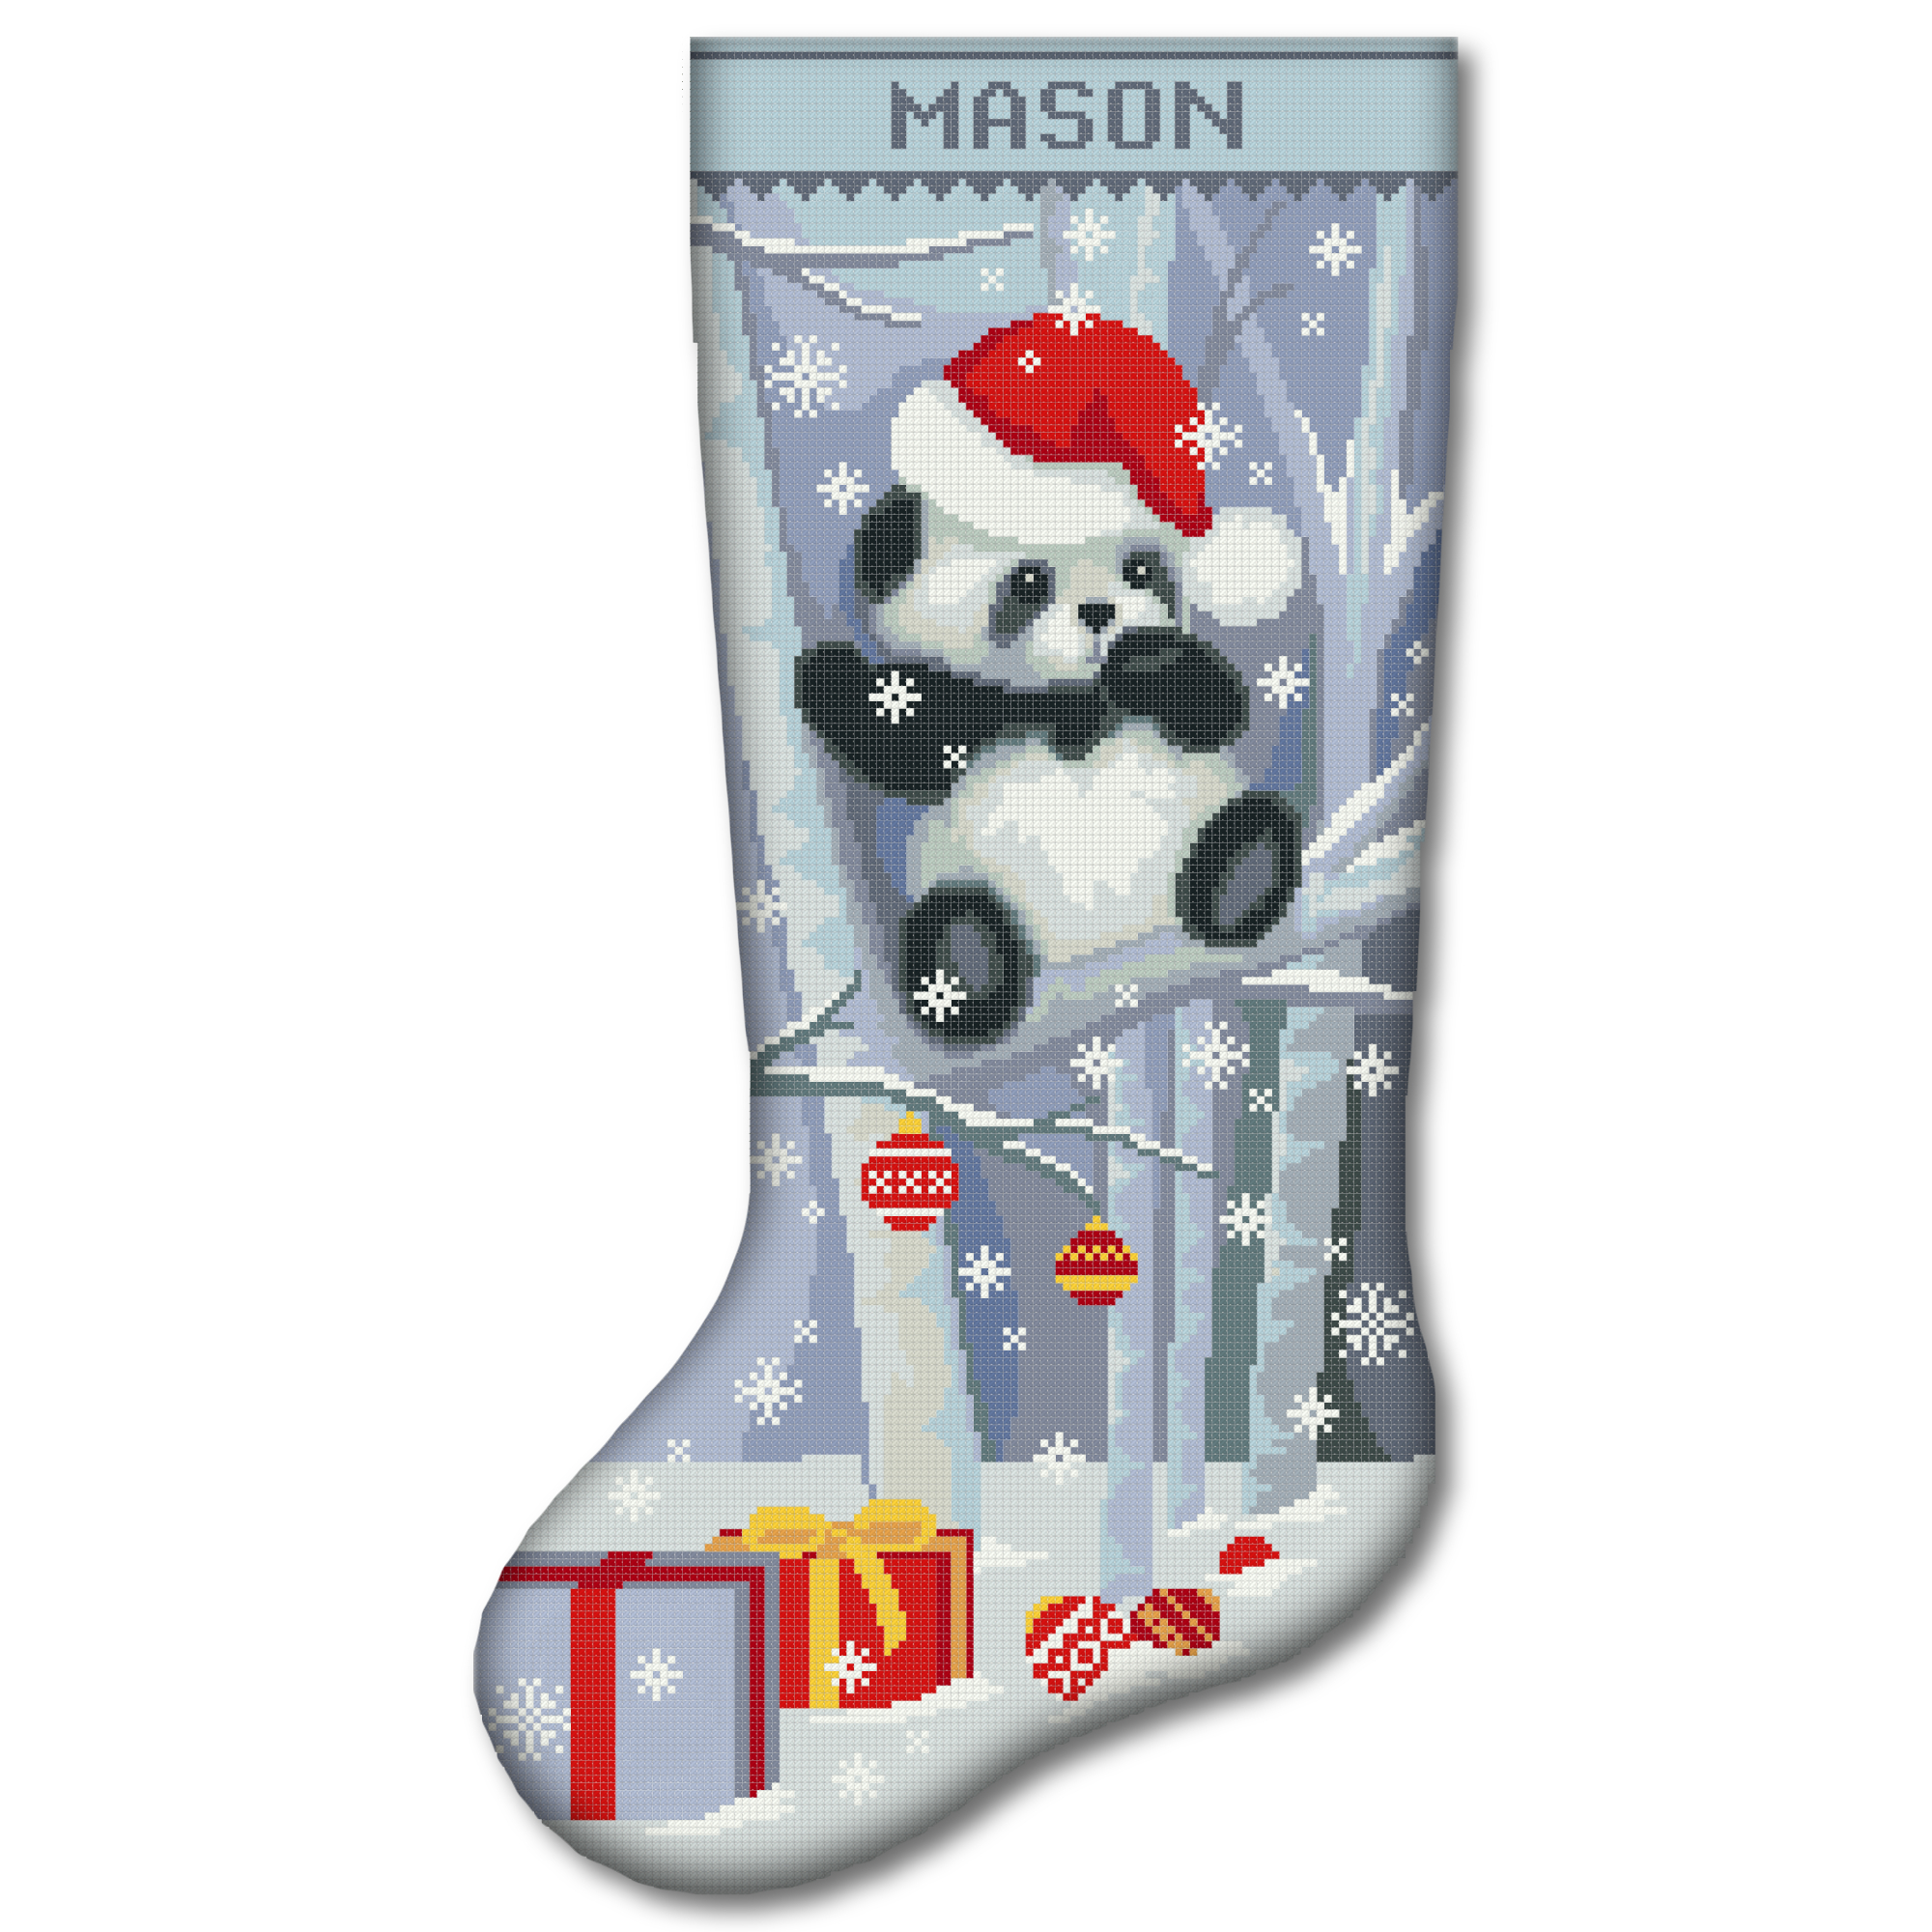
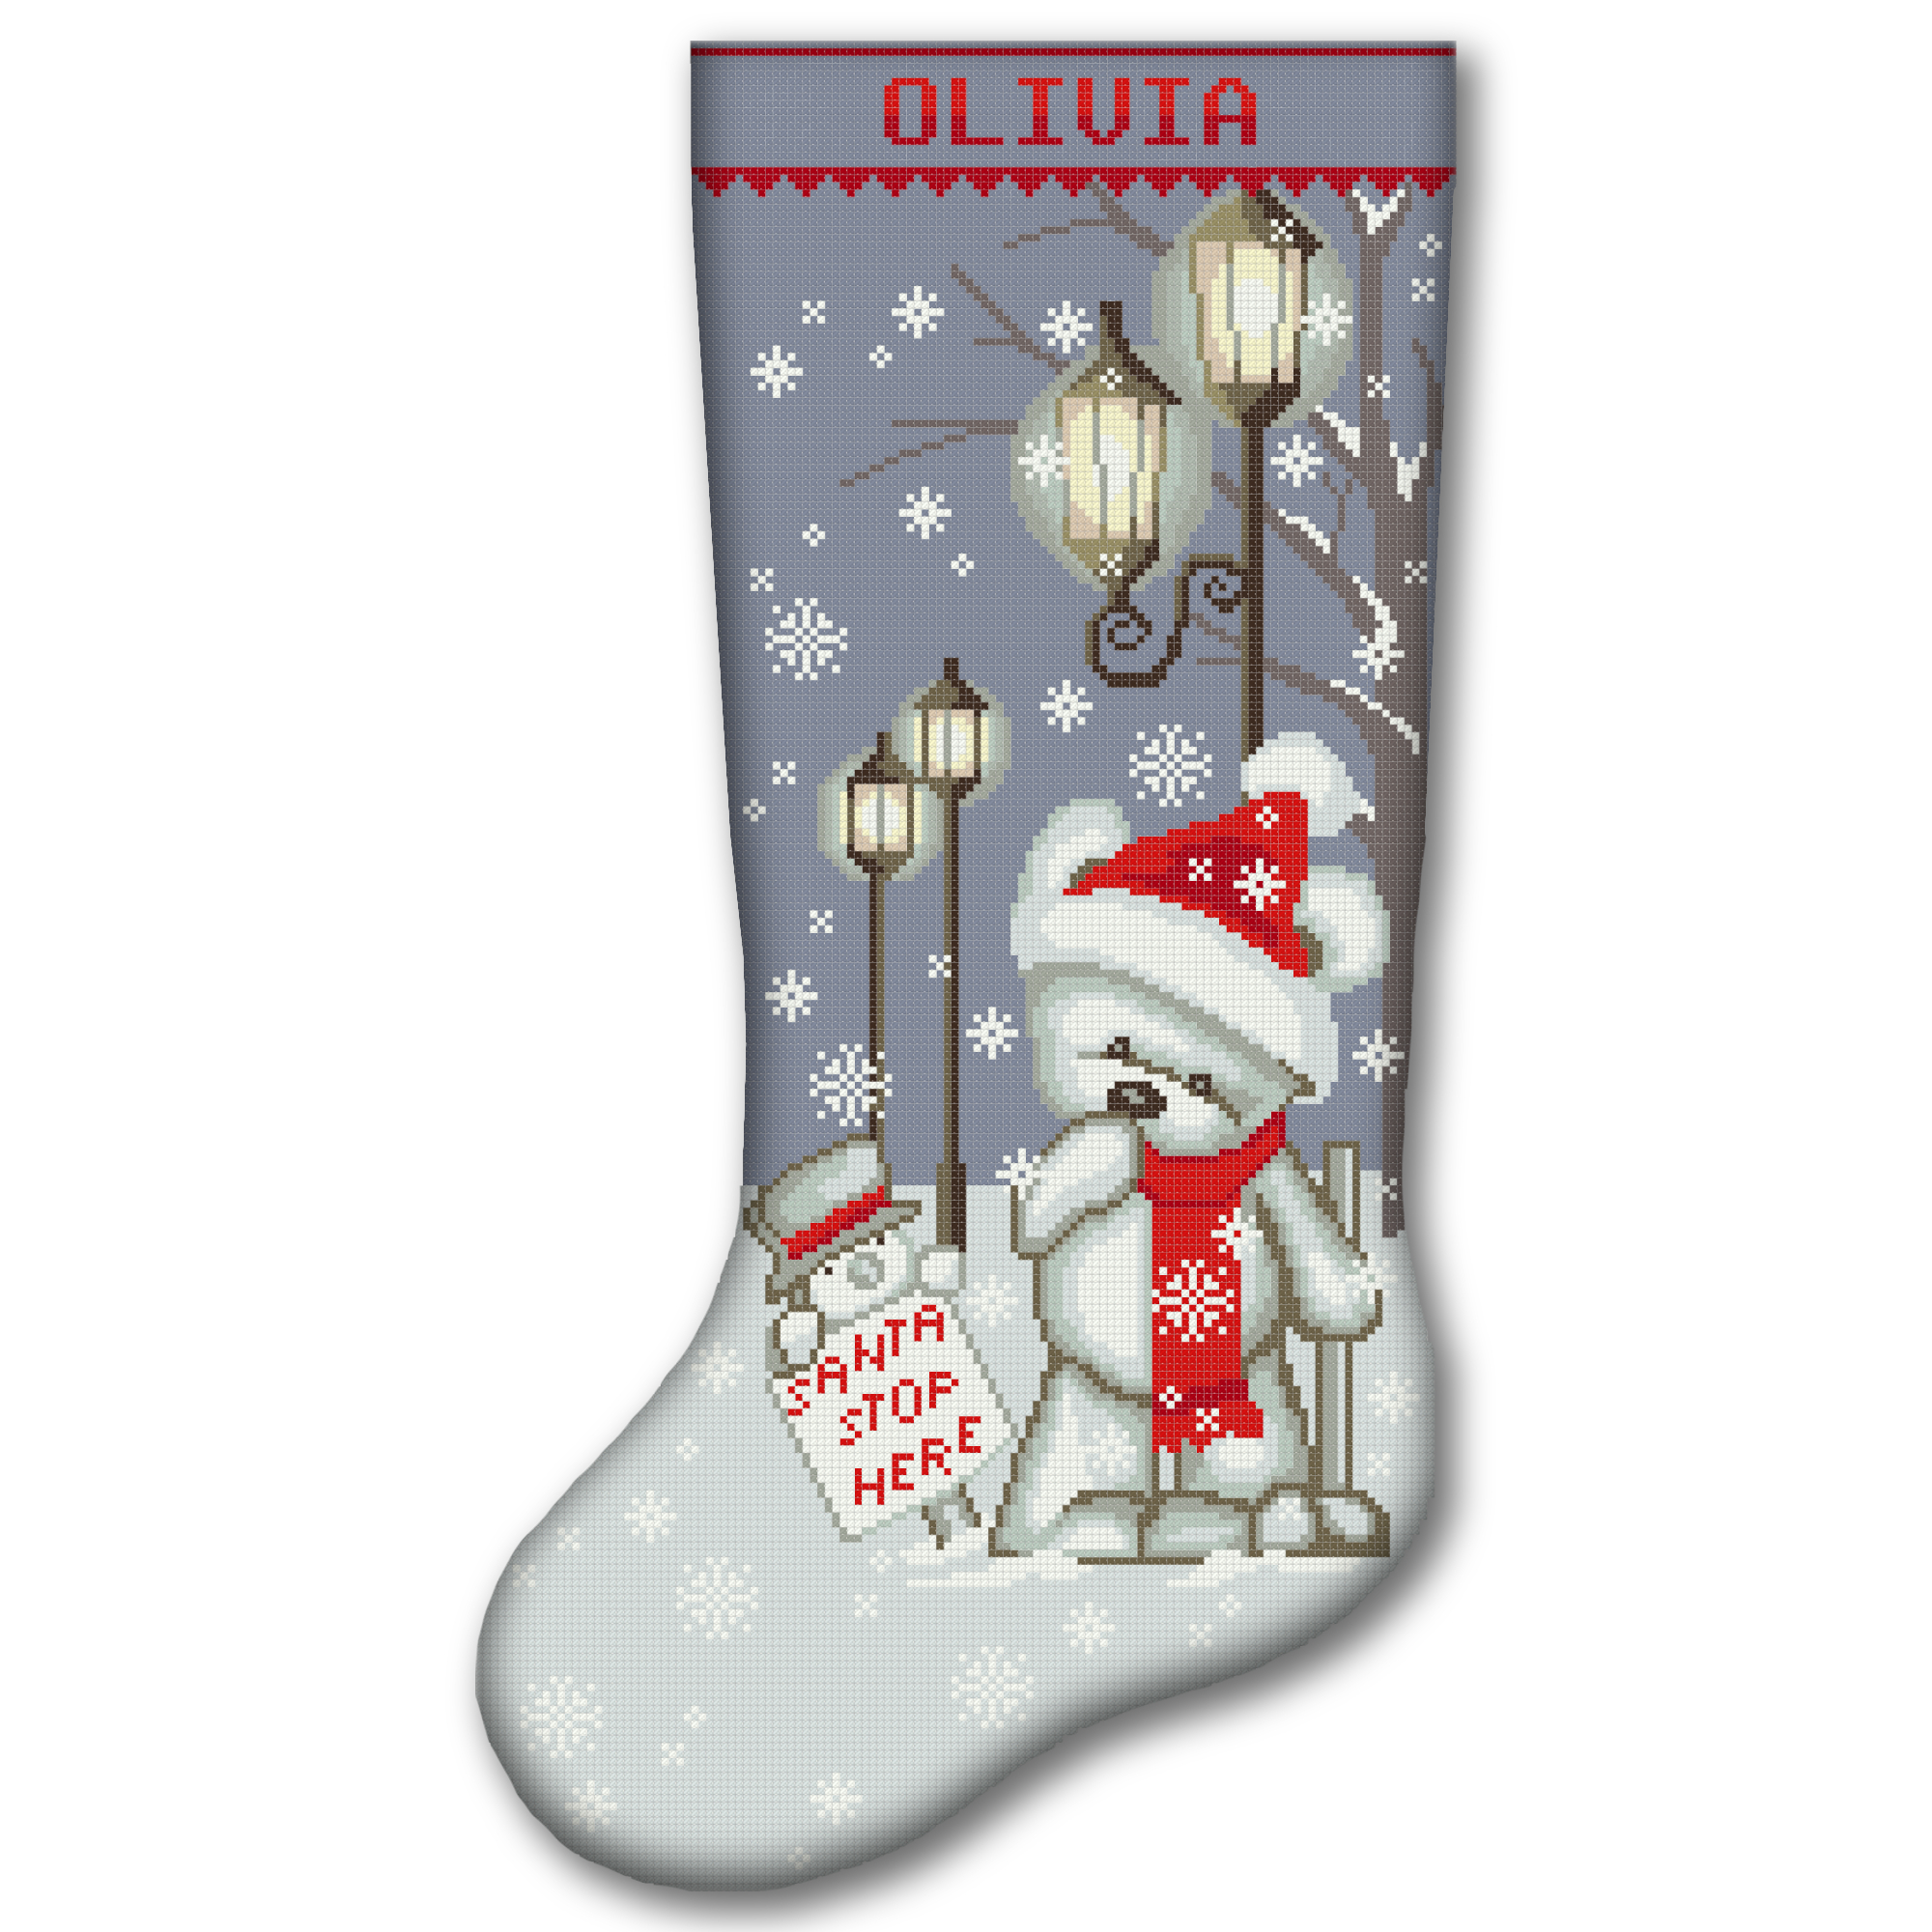
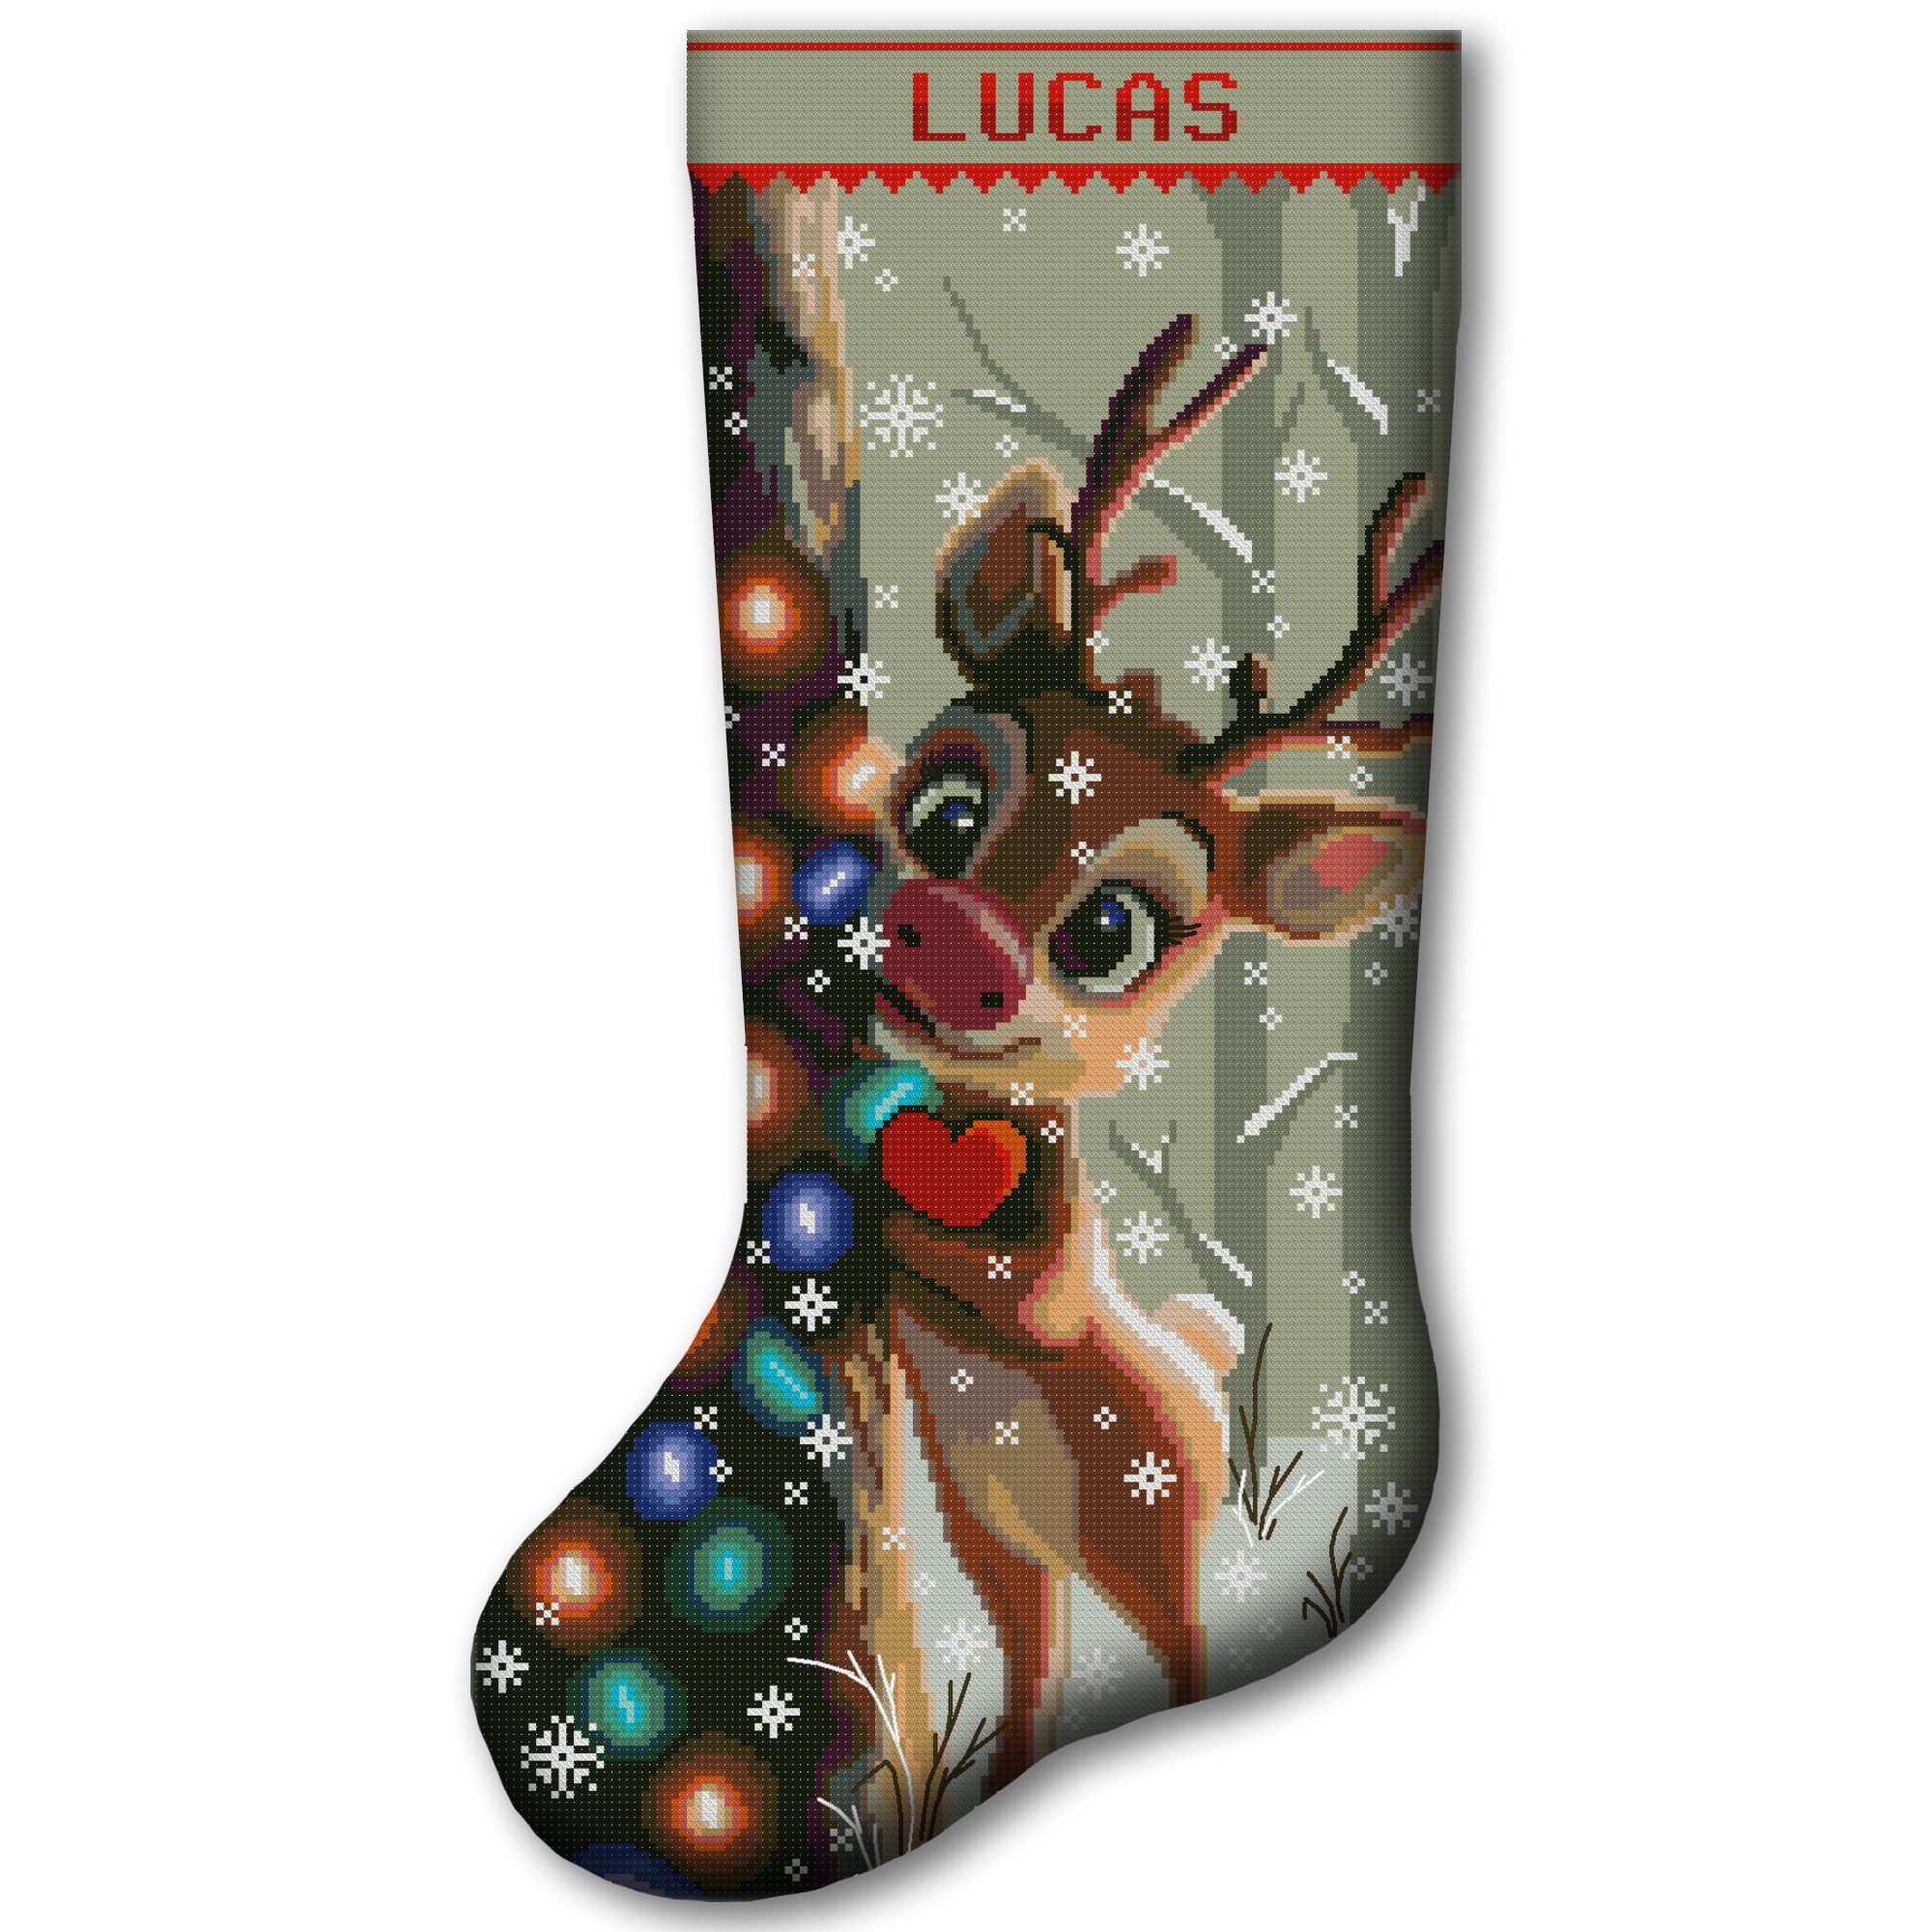
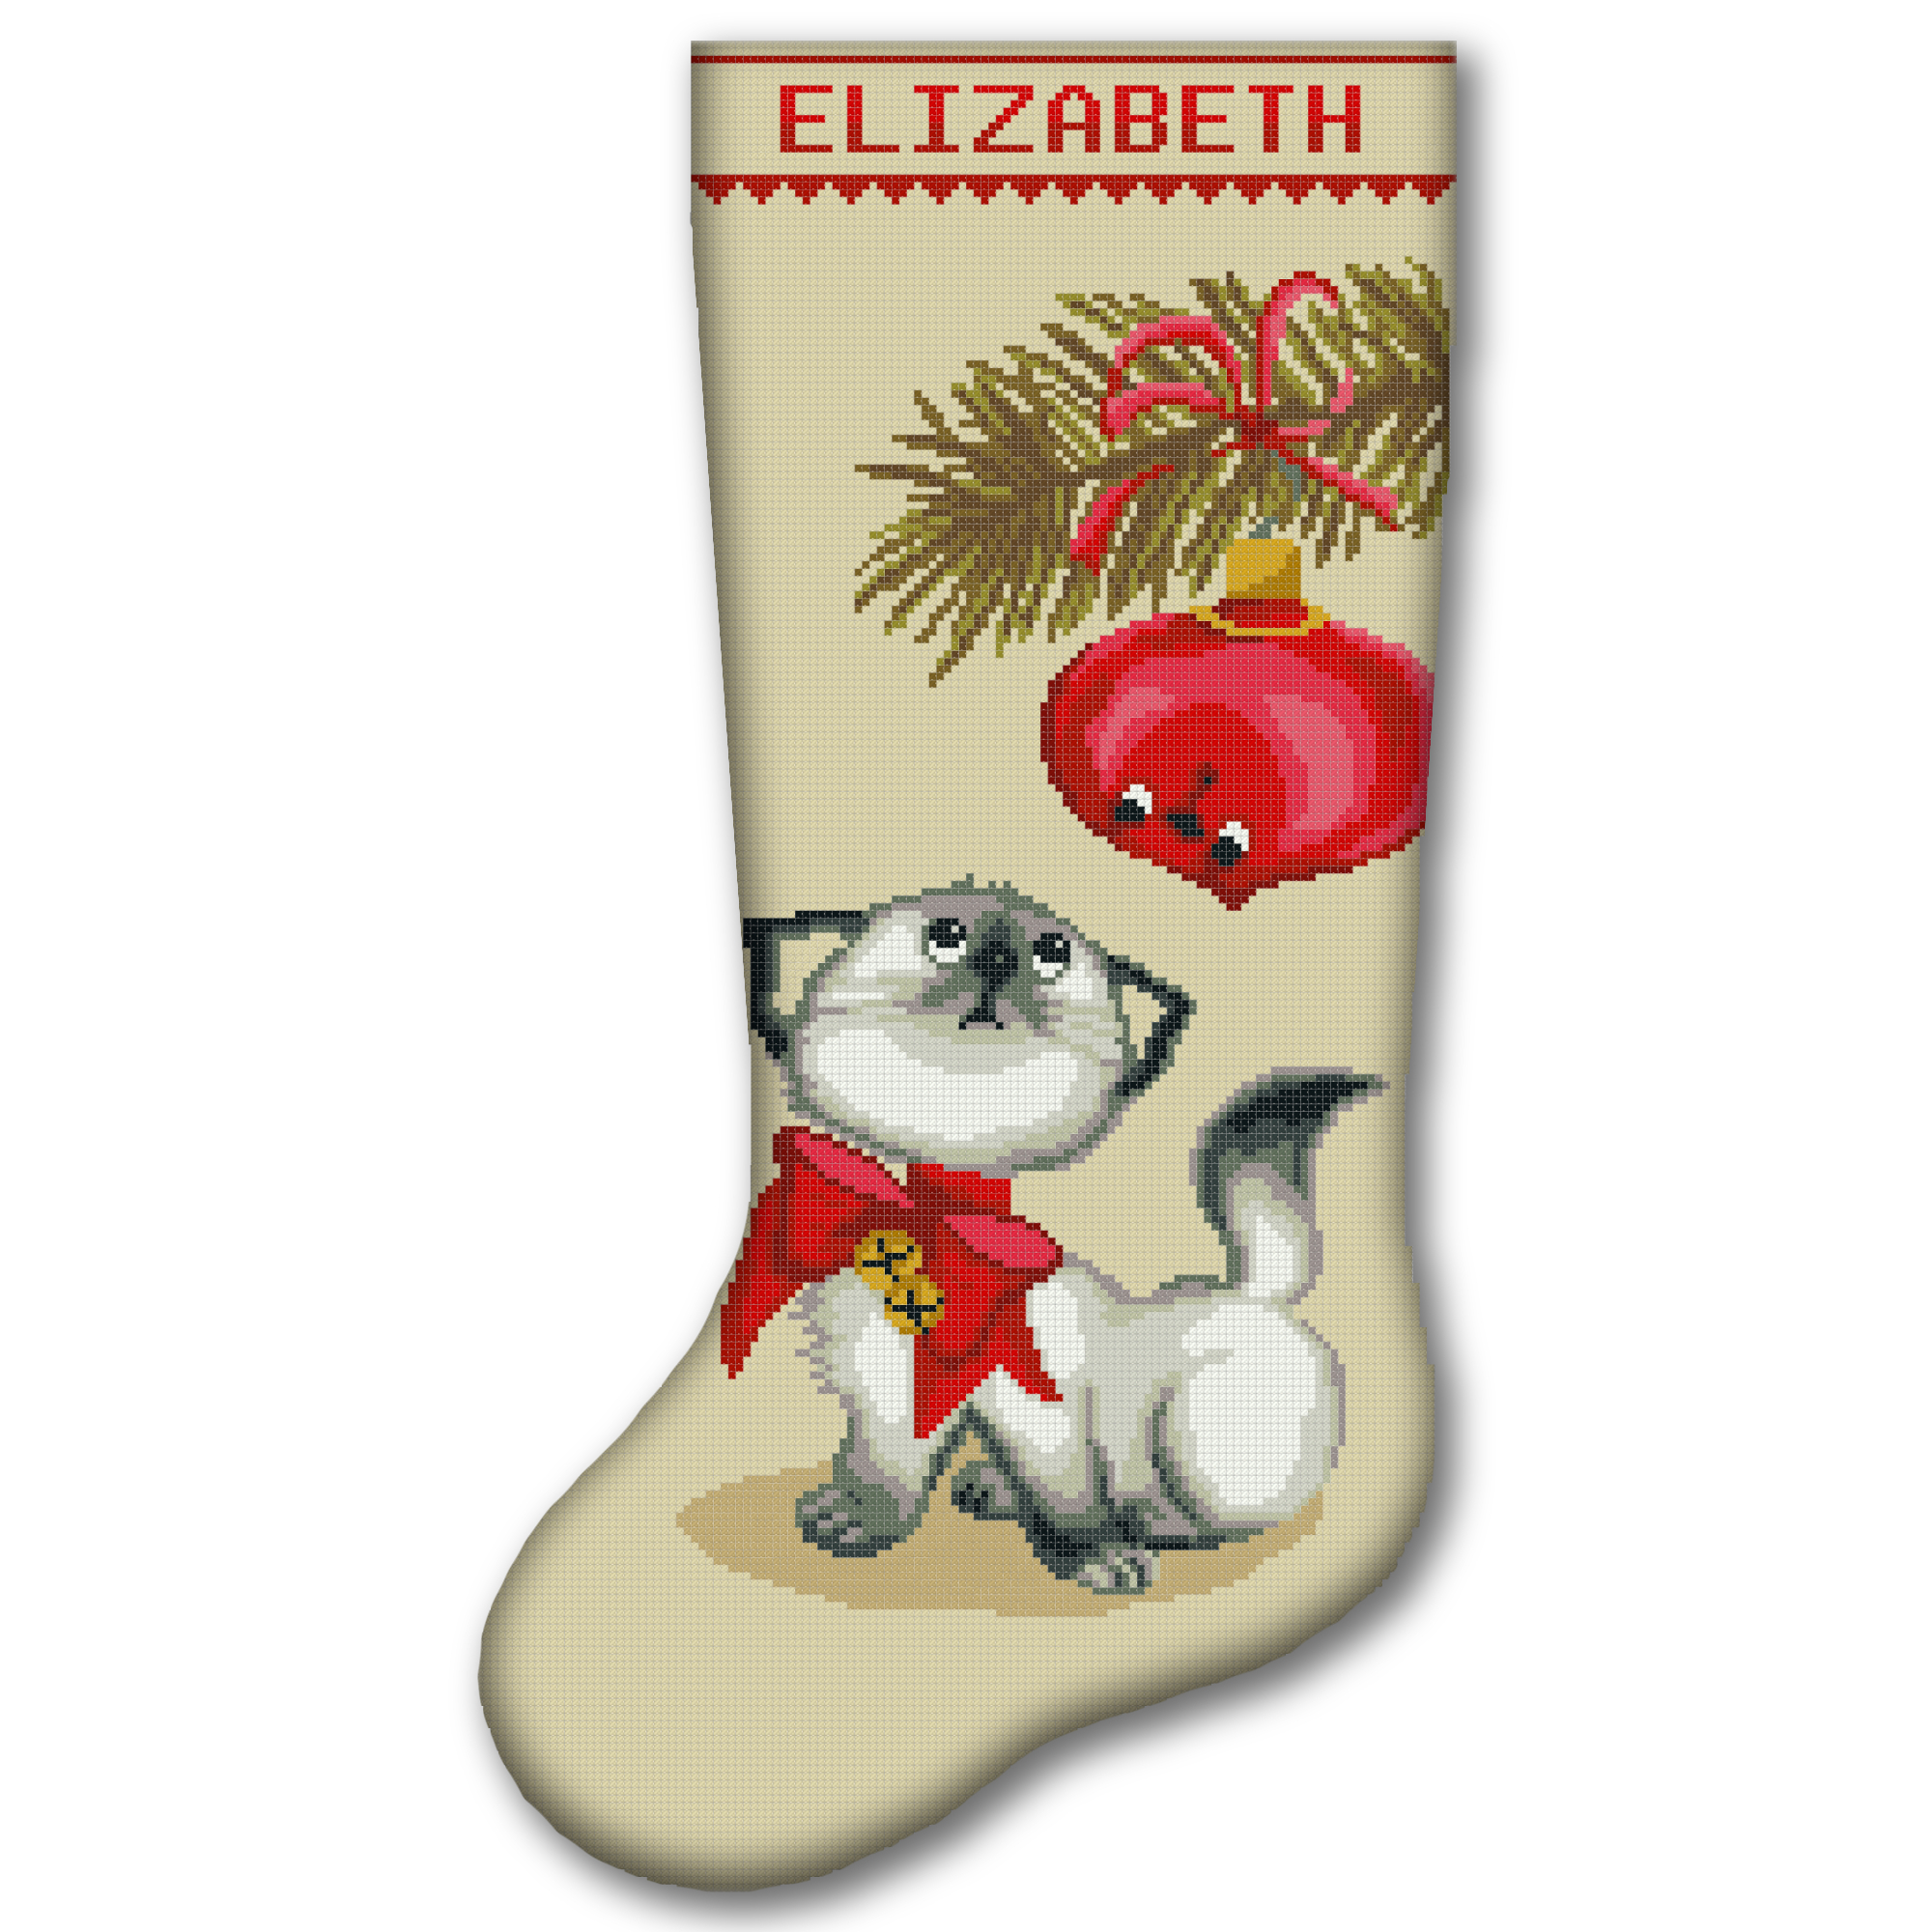
Choose a design you love, prepare one small section at a time, and do not worry about stitching quickly. Cross stitch is not a race. Every completed square brings the picture to life.
Your first stitches may not be perfectly even. That is normal. With every row, your hands will become more confident, your counting will become easier, and the design will begin to feel like your own.
Happy cross stitching!