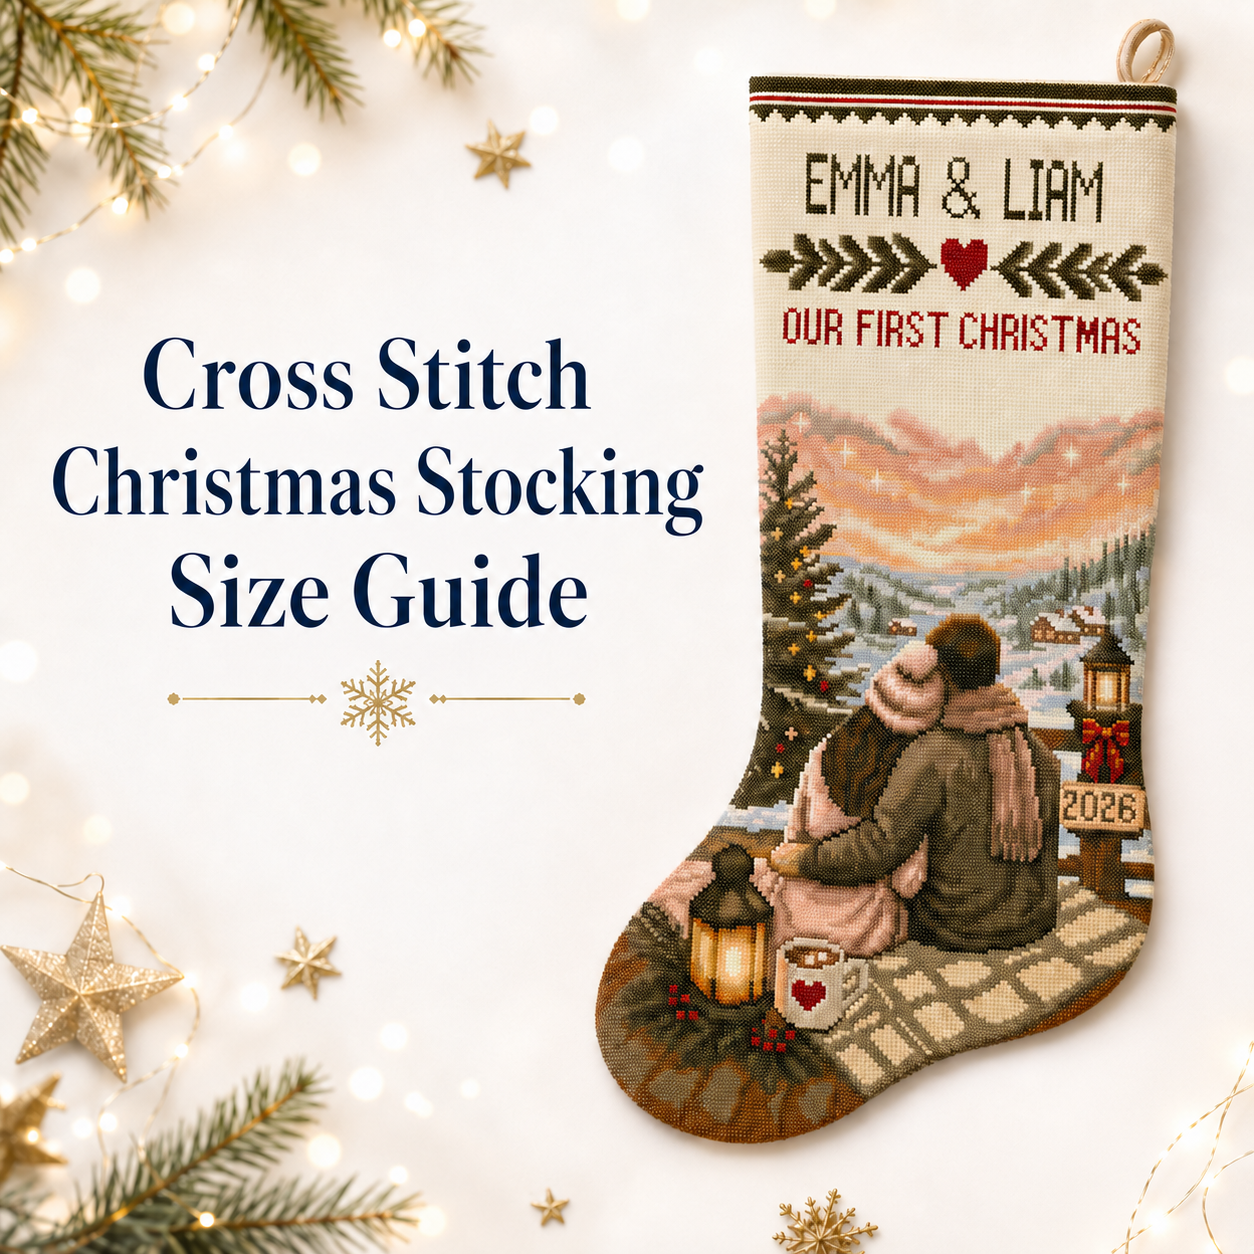
How to Finish a Cross-Stitch Christmas Stocking: 3 Easy Sewing Methods
You have finished the cross stitching, added the backstitch, and personalized the name. Now it is time to turn the embroidered fabric into a real Christmas stocking.
This part can feel difficult if you have never sewn before. However, the process becomes much easier when you understand the layers and complete them in the correct order.
There are three main ways to finish a cross-stitch Christmas stocking:
- Sew the embroidered front directly to a fabric back.
- Add a complete fabric lining.
- Add lining and interfacing or batting for extra structure.
This guide explains all three methods step by step. You will learn what materials are required, what is optional, how to place the right and wrong sides of the fabrics, how much seam allowance to leave, and how to attach a strong hanging loop.
If you need help with the complete stitching process, read our full beginner guide.
How to Cross Stitch a Christmas Stocking →
Choose Your Finishing Method
Before cutting the embroidered fabric, decide how you want the finished stocking to look and how it will be used.
Method 1: Simple Stocking Without Lining
This is the easiest method.
You need:
• One embroidered stocking front
• One fabric backing piece
• A hanging loop
The front and back are sewn together, and the seams remain visible inside the stocking.
Choose this method if:
• You are a complete sewing beginner.
• The stocking will be used mainly as a decoration.
• You want the fastest finishing method.
• You do not need to hide the back of the embroidery.
The raw fabric edges should be finished with a zigzag stitch, overlock stitch, or pinking shears to reduce fraying.
Method 2: Stocking With a Fabric Lining
This is the method we recommend for most finished Christmas stockings.
You need:
• One embroidered front
• One outer backing piece
• Two lining pieces
• A hanging loop
The lining hides the seams and protects the back of the embroidery. The inside looks clean, and small gifts cannot catch on the threads.
Choose this method if:
• The stocking will hold gifts.
• You want a clean and professional finish.
• You want to protect the back of the stitching.
• You plan to use the stocking for many years.
A lining adds very little weight and does not make the stocking look bulky.
Method 3: Structured or Padded Stocking
This method includes a lining and an additional supporting layer.
The supporting layer may be:
• Lightweight interfacing
• Sew-in stabilizer
• Fusible fleece
• Thin quilt batting
Choose this method if:
• You want the stocking to hold its shape.
• The backing fabric is very soft or thin.
• You want a slightly padded or quilted appearance.
• The stocking will be displayed as a decorative keepsake.
Interfacing creates a crisp finish. Batting or fusible fleece creates a softer, fuller finish.
⭐ CrossStitchStyleArte Tip
Aida fabric is already fairly firm. Many cross-stitch stockings do not need additional padding. For a beautiful and practical result, a simple cotton lining is often enough.
Required and Optional Materials
Required Materials
Prepare:
• Your completed cross-stitch stocking front
• Fabric for the back of the stocking
• Coordinating sewing thread
• Fabric scissors
• Pins or sewing clips
• A sewing machine or hand-sewing needle
• A ruler or measuring tape
• Fabric chalk or a removable fabric marker
• Ribbon, fabric, cord, or braid for the hanging loop
• A paper stocking template, if your pattern includes one
Optional Materials
Depending on the method, you may also need:
• Two pieces of lining fabric
• Lightweight interfacing
• Sew-in stabilizer
• Thin quilt batting or fusible fleece
• Pinking shears
• A pressing cloth
• A point turner or another blunt tool
• A seam ripper for correcting mistakes
Understanding the Right and Wrong Sides
This is one of the most important parts of sewing a stocking.
The Cross-Stitch Front
The right side is the side with the completed design.
The wrong side is the back, where you can see carried threads, knots, and finished thread ends.
The Backing Fabric
The right side is the side you want to see on the outside of the finished stocking.
For printed fabric, this is usually the brighter side.
For velvet, fleece, or textured fabric, this is usually the softer or more attractive side.
The wrong side will be hidden inside the stocking.
The Lining Fabric
The right side is the side that will be visible when you look inside the finished stocking.
The wrong side will be hidden between the lining and the outer stocking.
What Does “Right Sides Together” Mean?
Right sides together means that the two attractive sides face each other.
When sewing the outer stocking:
• The embroidered design faces the right side of the backing fabric.
When sewing the lining:
• The two right sides of the lining face each other.
The fabrics may look inside out while you are sewing. This is correct. The attractive sides will appear after the stocking is turned.
Before You Cut the Embroidery
Do not cut the finished stitching immediately. Complete these checks first.
Step 1: Finish All Stitching
Check that you have completed:
• All cross stitches
• All backstitch
• French knots or other details
• The personalized name
It is much easier to correct a missing stitch before the stocking is cut and sewn.
Step 2: Check the Back
Make sure that all thread ends are secure.
Trim only long, loose thread tails. Do not cut close to the finished stitches.
Step 3: Wash the Fabric if Required
If you used stamped cross-stitch fabric, the printed markings must normally be removed after all stitching is complete.
Follow the washing instructions included with the kit.
Do not cut or sew the stamped fabric before washing unless the instructions specifically tell you to do so. Washing first allows the printed design to disappear and reduces the risk of the finished stocking changing size later.
If you used counted cross stitch, wash the embroidery only if necessary and if all materials are safe to wash.
Step 4: Dry and Press the Embroidery
Dry the embroidery flat.
Place it face down on a clean, soft towel. Press it gently from the back using a pressing cloth.
Do not slide the iron back and forth over the stitches. Lift and lower it carefully.
Do not press directly on beads, knots, metallic threads, or raised details.
Step 5: Check the Stocking Outline
Find the finished sewing line on your pattern.
Some patterns include a seam allowance. Others show only the finished stocking shape.
Read the pattern instructions before cutting.
⭐ CrossStitchStyleArte Tip
Always measure twice and cut once. After the embroidery is cut, the missing fabric cannot be replaced.
How Much Seam Allowance Should You Leave?
A seam allowance is the fabric between the sewing line and the cut edge.
For most cross-stitch Christmas stockings, we recommend:
1/2 inch, or approximately 12 mm
This is easier for beginners and provides enough fabric around Aida, which can fray.
If your pattern specifies a different seam allowance, follow the pattern.
Use the same seam allowance around the complete stocking. An uneven allowance can change the shape of the toe and heel.
Do not add seam allowance across an edge where the pattern already includes it.
How to Cut the Stocking Pieces
Cut the Embroidered Front
Place the embroidery face up on a flat surface.
Mark the sewing line around the stocking shape. Check that the design is correctly positioned inside the shape.
Measure 1/2 inch or 12 mm outside the sewing line and draw the cutting line.
Cut slowly with sharp fabric scissors.
Do not cut through any stitches.
Cut the Outer Back
The back must be a mirror image of the front.
If the toe of the front points left, the toe of the backing will appear to point in the opposite direction when both pieces are lying right side up. When the right sides are placed together, the shapes will match.
If using a paper template, turn the template over before cutting the back piece.
Check directional prints carefully. Trees, animals, letters, and other directional designs should not appear upside down.
Cut the Lining
For a lined stocking, cut two matching lining pieces.
The easiest method is:
- Fold the lining fabric with the right sides together.
- Place the template on top.
- Cut through both fabric layers.
This creates one lining front and one mirrored lining back.
Use the same seam allowance as the outer stocking.
Cut the Interfacing or Batting
If using interfacing or batting, cut pieces to match the outer front and back.
For a less bulky seam, you can trim the interfacing or batting slightly inside the seam allowance after attaching it.
Do not trim the embroidered fabric seam allowance.
Method 1: Sew a Simple Unlined Stocking
This is the fastest method.
Step 1: Place the Outer Pieces Together
Place the embroidered front right side up.
Place the backing fabric on top with its right side facing down.
The right sides should be touching each other.
Match the top, sides, heel, toe, and bottom edges.
Step 2: Pin or Clip the Edges
Pin around the sides and bottom of the stocking.
Do not pin the top opening closed.
Place pins inside the seam allowance so they do not damage the stitching.
Step 3: Sew Around the Stocking
Begin at one upper side.
Sew down the side, around the heel, foot, toe, and back up the other side.
Leave the entire top open.
Use a 1/2-inch or 12 mm seam allowance.
If using a sewing machine, a standard stitch length of approximately 2.5 mm works well.
Backstitch at the beginning and end to secure the seam.
Step 4: Finish the Raw Edges
Because the stocking has no lining, the seams will remain visible inside.
Finish the raw edges with:
• A zigzag stitch
• An overlock stitch
• A serger
• Pinking shears
Do not cut too close to the sewing line.
Step 5: Clip and Notch the Curves
Do not skip this step. Clipping helps the stocking turn smoothly.
On inward curves, such as the ankle curve:
Make small straight clips toward the stitching line.
On outward curves, such as the rounded toe and heel:
Cut small V-shaped notches from the seam allowance.
Keep each cut approximately 2–3 mm away from the sewing line.
Never cut through the seam.
Step 6: Turn the Stocking
Turn the stocking right side out through the open top.
Use your fingers or a blunt point turner to shape the heel and toe.
Do not use sharp scissors or a sharpened pencil. They may push through the fabric.
Step 7: Finish the Top Edge
Turn the top raw edge approximately 1/4 inch or 6 mm toward the inside.
Turn it again approximately 1/2 inch or 12 mm.
Press carefully and stitch around the folded edge.
If the Aida is too thick to fold twice, cover the top edge with fabric binding or a separate fabric facing.
Step 8: Attach the Hanging Loop
Sew the loop securely to the inside upper corner on the heel side of the stocking.
Use several strong hand stitches or sew a small rectangle with an X through it.
The loop must be attached to more than one or two fabric threads.
Method 2: Sew a Fully Lined Stocking
This method creates a clean finish with no visible internal seams.
Do not place all four layers together and sew around them in one step. The outer stocking and the lining must be sewn separately.
Step 1: Sew the Outer Stocking
Place the embroidered front and outer back right sides together.
Pin or clip around the sides and bottom.
Leave the top open.
Sew using a 1/2-inch or 12 mm seam allowance.
Clip and notch the curves, but do not turn the lining because it has not been sewn yet.
Turn the outer stocking right side out.
Step 2: Sew the Lining
Place the two lining pieces right sides together.
Pin around the sides and bottom.
Mark an opening of approximately 4 inches or 10 cm along a straight section of the lining. The opening should not be on a tight curve.
Sew around the lining, but:
• Leave the top open.
• Leave the marked 4-inch opening unsewn.
Backstitch before and after the opening.
Clip and notch the lining curves.
Leave the lining wrong side out.
Step 3: Prepare the Hanging Loop
If using ribbon or a fabric loop, fold it in half.
Place it on the right side of the outer stocking at the upper heel-side corner.
The loop should point downward over the stocking. The raw ends should extend slightly above the top edge.
Baste the ends to the outer stocking inside the seam allowance.
The loop will turn upward after the stocking is completed.
If using a thick decorative braid with a tassel, it may be easier to attach it by hand after finishing the stocking.
Step 4: Place the Outer Stocking Inside the Lining
The outer stocking should be right side out.
The lining should remain wrong side out.
Push the outer stocking inside the lining.
The right side of the outer stocking should now touch the right side of the lining.
Match the top raw edges and the side seams.
Pin or clip around the complete top opening.
Step 5: Sew Around the Top
Sew around the complete top edge using a 1/2-inch or 12 mm seam allowance.
Backstitch over the hanging loop several times to reinforce it.
Do not sew the 4-inch opening in the lining closed.
Step 6: Turn the Stocking Right Side Out
Reach through the opening in the lining.
Gently pull the outer stocking through the opening.
Continue pulling until both the outer stocking and lining are completely right side out.
Do not pull hard on the embroidery or hanging loop.
Step 7: Close the Lining Opening
Turn the raw edges of the opening toward the inside.
Press them flat.
Close the opening with:
• A narrow machine topstitch
or
• Small hand-sewn ladder stitches
This seam will be hidden inside the stocking.
Step 8: Push the Lining Inside
Push the lining into the outer stocking.
Use your fingers to fit it carefully into the toe and heel.
Smooth the lining so it does not twist or form large folds.
Step 9: Finish the Top Edge
Press the top edge gently.
You may add a row of topstitching approximately 1/8 inch or 3 mm from the top. This is optional, but it helps keep the lining inside the stocking.
⭐ CrossStitchStyleArte Tip
If the lining looks slightly loose, do not cut it immediately. Push it fully into the toe and heel and smooth it with your hand. A small amount of ease helps the lining hold gifts without pulling on the outer stocking.
Method 3: Add Interfacing or Batting
Interfacing and batting are optional. They should support the stocking without hiding the shape of the embroidery.
Lightweight Interfacing
Use lightweight interfacing when you want the stocking to look crisp and hold its shape.
It works well with:
• Thin cotton backing
• Lightweight decorative fabric
• Soft lining fabric
Aida is already firm, so you may need interfacing only on the outer backing fabric.
Sew-In Stabilizer
Sew-in stabilizer is a safe choice for the embroidered front because it does not require heat.
Cut a piece to match the embroidered front.
Place it behind the embroidery with the wrong sides touching.
Baste the layers together inside the seam allowance.
Treat them as one outer front piece.
A piece of plain white cotton can also be used as an underlining. It helps protect the back of the stitches and prevents dark backing materials from showing through light Aida.
Fusible Interfacing
Fusible interfacing is attached with an iron.
Do not automatically fuse it directly to the back of completed embroidery.
Heat and pressure may flatten stitches, damage special threads, or cause adhesive to show through the fabric.
If you want to use fusible interfacing:
- Test it on a spare piece of the same fabric.
- Follow the manufacturer’s temperature instructions.
- Work from the wrong side.
- Use a pressing cloth.
- Press without sliding the iron.
The safest option is often to fuse the interfacing to the outer backing fabric rather than directly to the embroidery.
Thin Batting or Fusible Fleece
Use thin batting when you want a soft, padded stocking.
Place batting behind the outer front and outer back. Baste it inside the seam allowance.
Sew the outer stocking as described in Method 2.
After sewing, carefully trim the batting from the seam allowance to reduce bulk. Do not cut the outer fabrics or sewing thread.
Use a lining to hide and protect the batting.
Do not use loose toy stuffing inside the stocking walls. It will move, create lumps, and reduce the space available for gifts.
Should You Add Batting to Both Sides?
For an evenly padded stocking, add thin batting behind both the front and back.
If the Aida front is already very firm, you can test batting only behind the backing. However, the two sides may feel different.
For the most balanced result, use the same thickness on both sides or use lightweight support on both sides.
How to Make a Strong Hanging Loop
The hanging loop can be made from braid, ribbon, cord, or fabric.
Braided Hanging Loop
Some CrossStitchStyleArte kits include a separate bundle of threads for making the braided hanger.
Divide the threads into three equal groups.
Secure one end with tape or a temporary knot.
Braid the groups evenly until the braid is approximately 6 inches or 15 cm long.
Fold the braid in half to form a loop.
Tie the loose ends together below the braid. Leave approximately 1 inch or 2.5 cm of thread below the knot to create a small decorative tassel.
Trim the ends evenly.
Hand-sew the braid securely to the heel-side top edge of the finished stocking.
Ribbon Loop
Cut approximately 6–8 inches or 15–20 cm of strong ribbon.
Fold it in half.
Place the raw ends inside the seam and reinforce the stitching.
Avoid very thin decorative ribbon if the stocking will hold gifts.
Fabric Loop
Cut a fabric strip approximately:
1 1/2 inches × 8 inches
or
4 cm × 20 cm
Fold the strip in half lengthwise and press.
Open it and fold both long raw edges toward the center line.
Fold it in half again and press.
Stitch close to the open edge.
Fold the finished strip in half to form the loop.
Where Should the Loop Be Attached?
Attach the loop at the upper heel-side corner.
This position helps the stocking hang in the correct direction.
Reinforce the loop with several rows of stitching. If sewing by hand, use strong thread and small backstitches.
Do not hang a stocking filled with heavy objects from a decorative loop. Place heavy gifts under the stocking or support the stocking separately.
Can You Sew the Stocking by Hand?
Yes. A sewing machine is faster, but it is not required.
Use:
• Strong coordinating sewing thread
• A sharp sewing needle
• Small backstitches
• A consistent 1/2-inch or 12 mm seam allowance
A backstitch is stronger than a simple running stitch.
Keep the stitches approximately 1/8 inch or 3 mm long. Secure the thread firmly at the beginning and end.
Hand sewing takes longer, but the finished stocking can be just as strong and neat.
Common Finishing Mistakes
Sewing All Four Layers Together
Do not stack the outer front, outer back, and two lining pieces and sew around them together.
Sew the outer stocking separately. Sew the lining separately. Then join them around the top.
Forgetting the Turning Opening
A lined stocking needs an opening in one lining seam. Without it, you will not be able to turn the stocking right side out.
Cutting Before Washing Stamped Fabric
The printed markings should normally be removed before cutting and sewing. Follow the washing instructions for the kit.
Forgetting the Seam Allowance
Never cut directly on the finished stocking outline unless the seam allowance is already included.
Cutting Two Identical Back Pieces
The front and back need to be mirror images when their right sides are facing outward.
Sewing the Top Closed
The sides, heel, foot, and toe are sewn closed. The top must remain open.
Cutting Through the Sewing Line
Clip curves carefully. Stop a few millimeters before the seam.
Using Too Much Batting
Thick batting can hide the stocking shape and make the seams difficult to turn. Use a thin layer.
Pressing Directly on the Stitches
Always press from the back with the embroidery resting face down on a soft towel.
Attaching a Weak Hanging Loop
Secure the loop with reinforced stitches. One small line of stitching may tear when the stocking is filled.
⭐ CrossStitchStyleArte Tip
Before turning the stocking, run your finger along the entire seam. Check that the top and lining opening are still open and that no pins remain inside.
Frequently Asked Questions
Does a Cross-Stitch Stocking Need a Lining?
No. A lining is optional.
However, we recommend it for stockings that will hold gifts. It hides the seams, protects the back of the embroidery, and creates a more professional finish.
Does Aida Need Interfacing?
Usually not. Aida is naturally firm.
Add interfacing only if the stocking needs more structure or the backing fabric is very soft.
What Is the Best Backing Fabric?
Good choices include:
• Quilting cotton
• Medium-weight cotton
• Cotton canvas
• Velvet
• Fleece
• Linen blend
Choose a stable fabric that does not stretch excessively.
If the fabric may shrink, prewash it before cutting.
Can I Use Felt for the Back?
Yes. Felt does not fray and is easy for beginners.
However, thin craft felt may stretch and may not look as refined as woven cotton, canvas, or velvet. Choose good-quality felt if the stocking will be used for many years.
What Is the Best Method for a Beginner?
A lined stocking without batting is the best balance of simplicity, strength, and appearance.
It requires a few more steps than an unlined stocking, but the result is cleaner and better protected.
Can I Add a Decorative Cuff?
Yes. A separate fabric cuff can be added around the top.
However, it creates additional layers and sewing steps. Complete a basic lined stocking first if you are new to sewing.
Should I Sew the Name Before Assembling the Stocking?
Yes. Complete all personalization while the fabric is still flat.
Centering and stitching a name after the stocking is assembled is much more difficult.
Which Finishing Method Should You Choose?
Choose an unlined stocking if you want the quickest and easiest finish.
Choose a lined stocking if you want a clean, practical, and professional result.
Choose a lined and padded stocking if you want extra structure or a soft decorative appearance.
For most cross-stitch projects, our recommendation is:
An embroidered front, a stable fabric back, a lightweight cotton lining, and no heavy padding.
This method protects the stitching, holds its shape well, and is still manageable for a beginner.
Create Your Next Christmas Stocking
If you would like a project with prepared materials and clear instructions, explore our Christmas stocking cross-stitch kits.
Explore Christmas Stocking Cross-Stitch Kits →
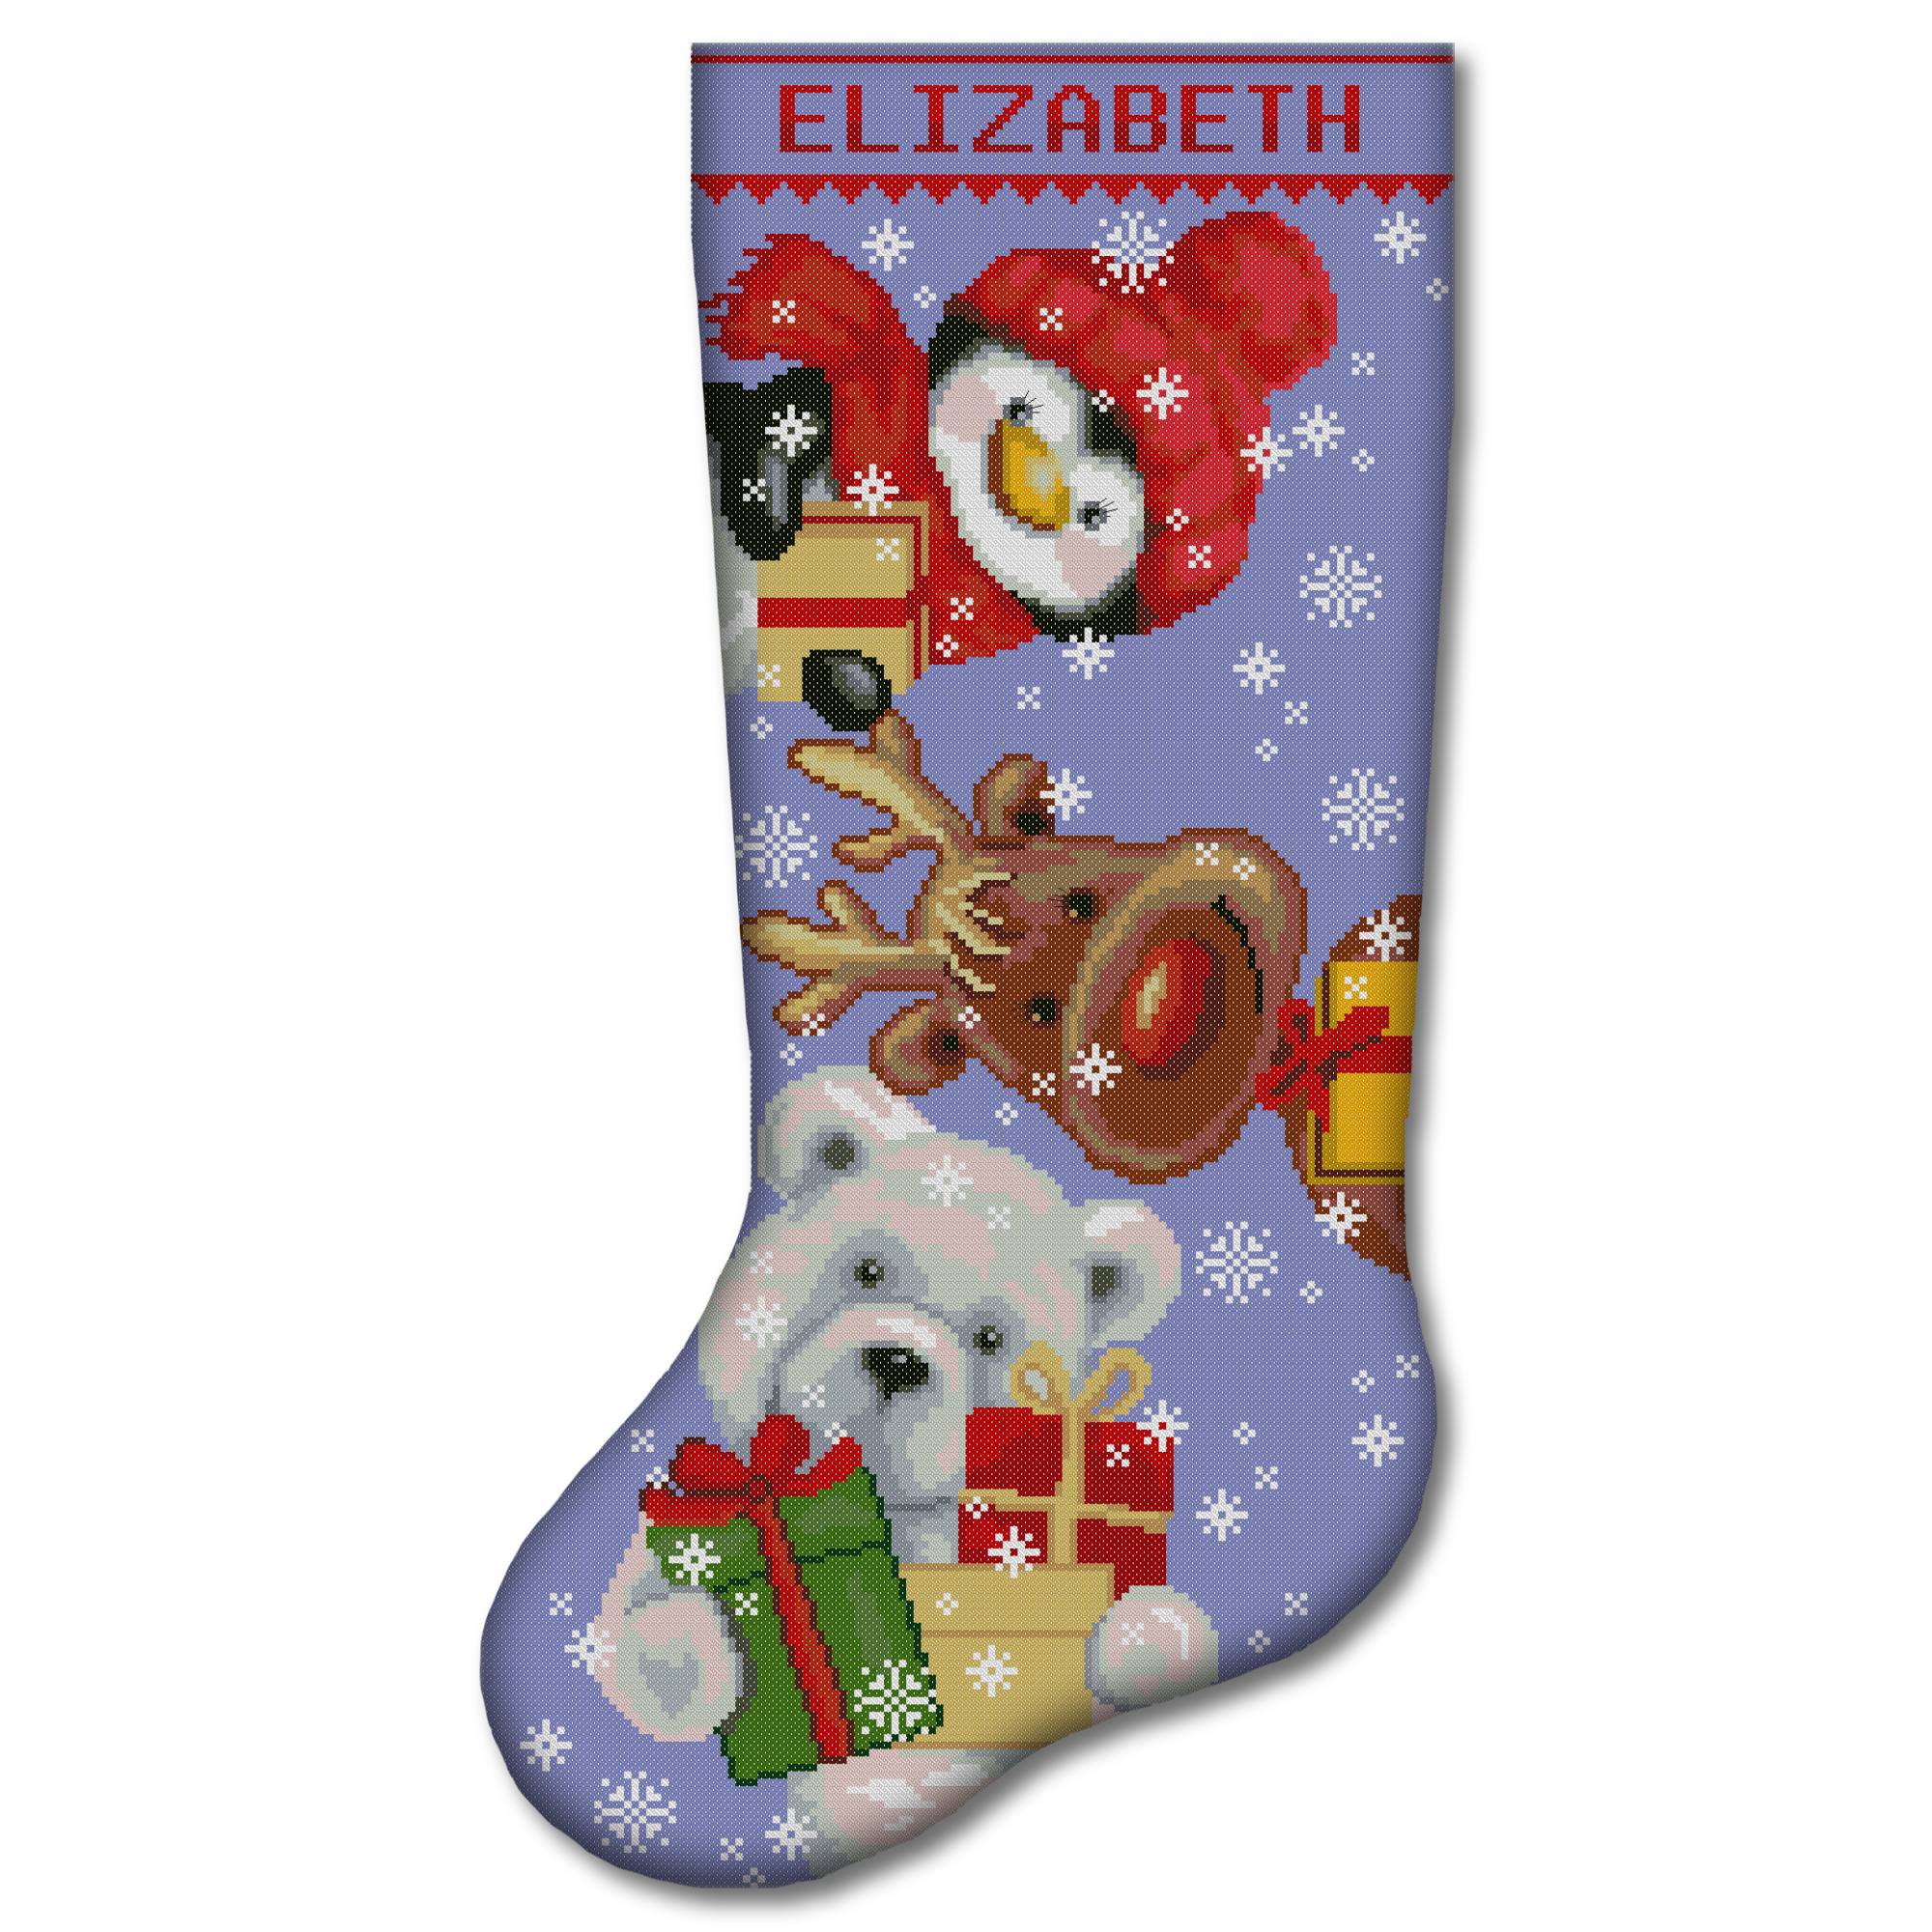
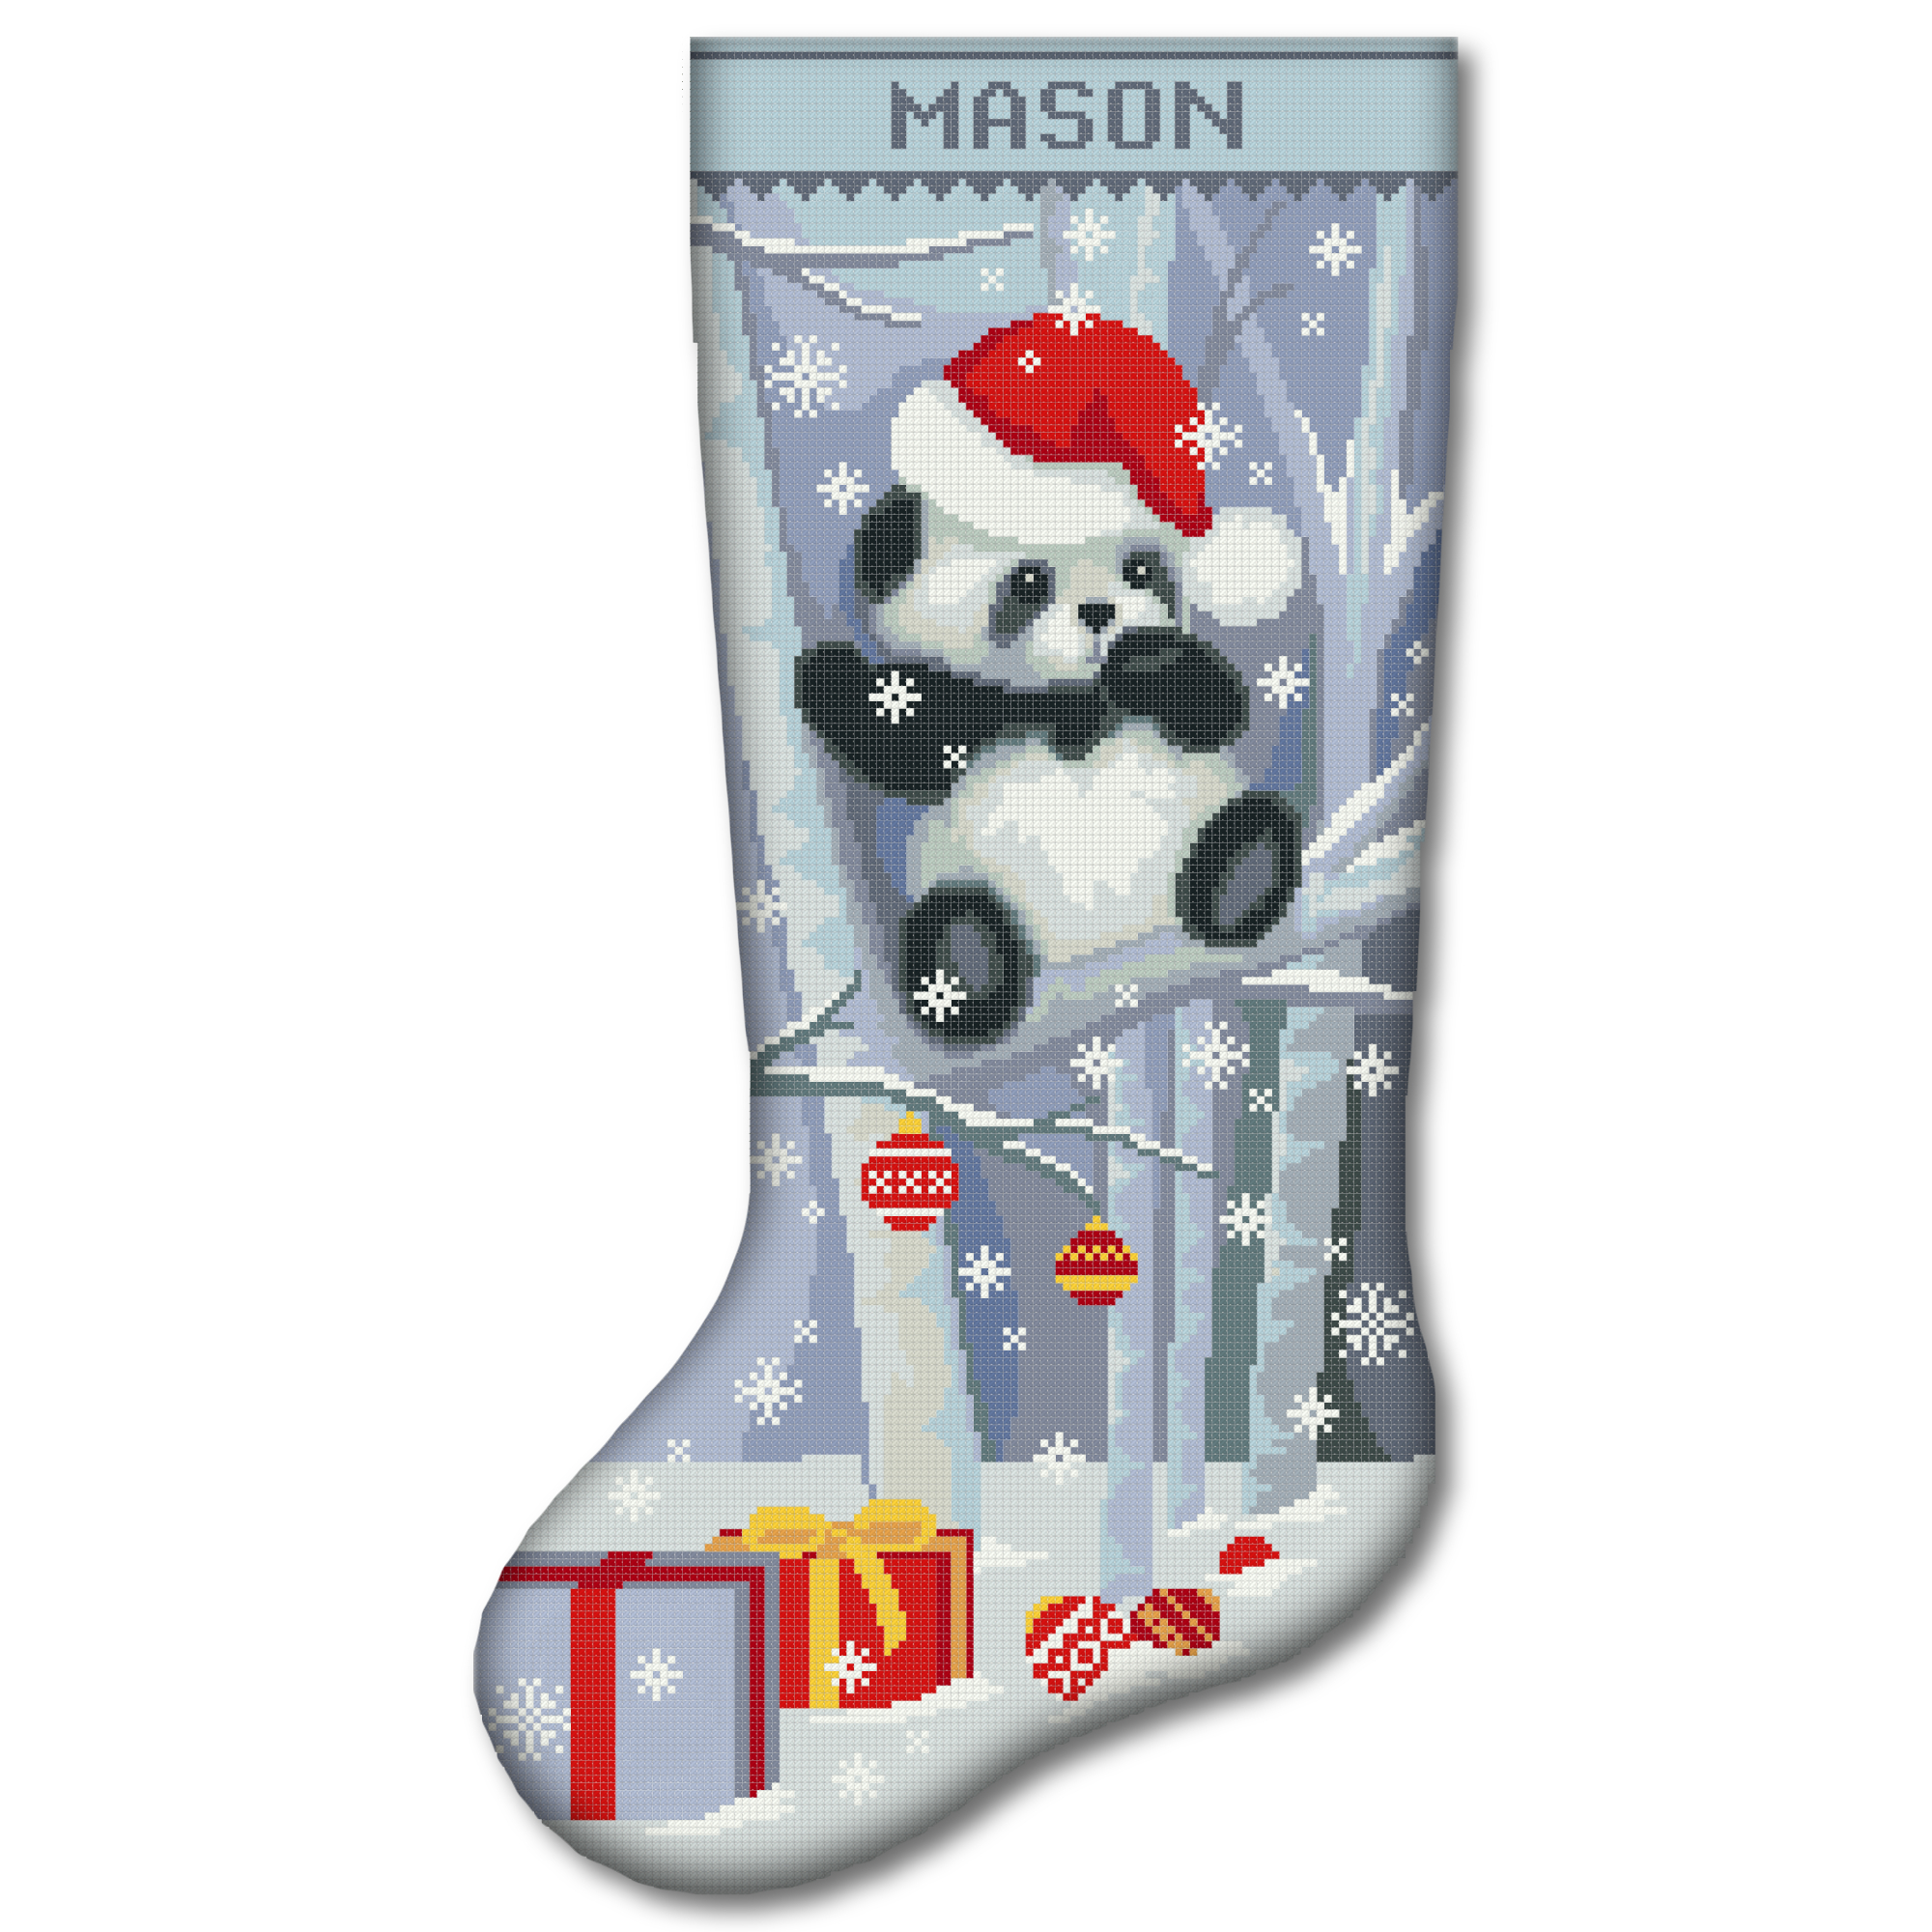




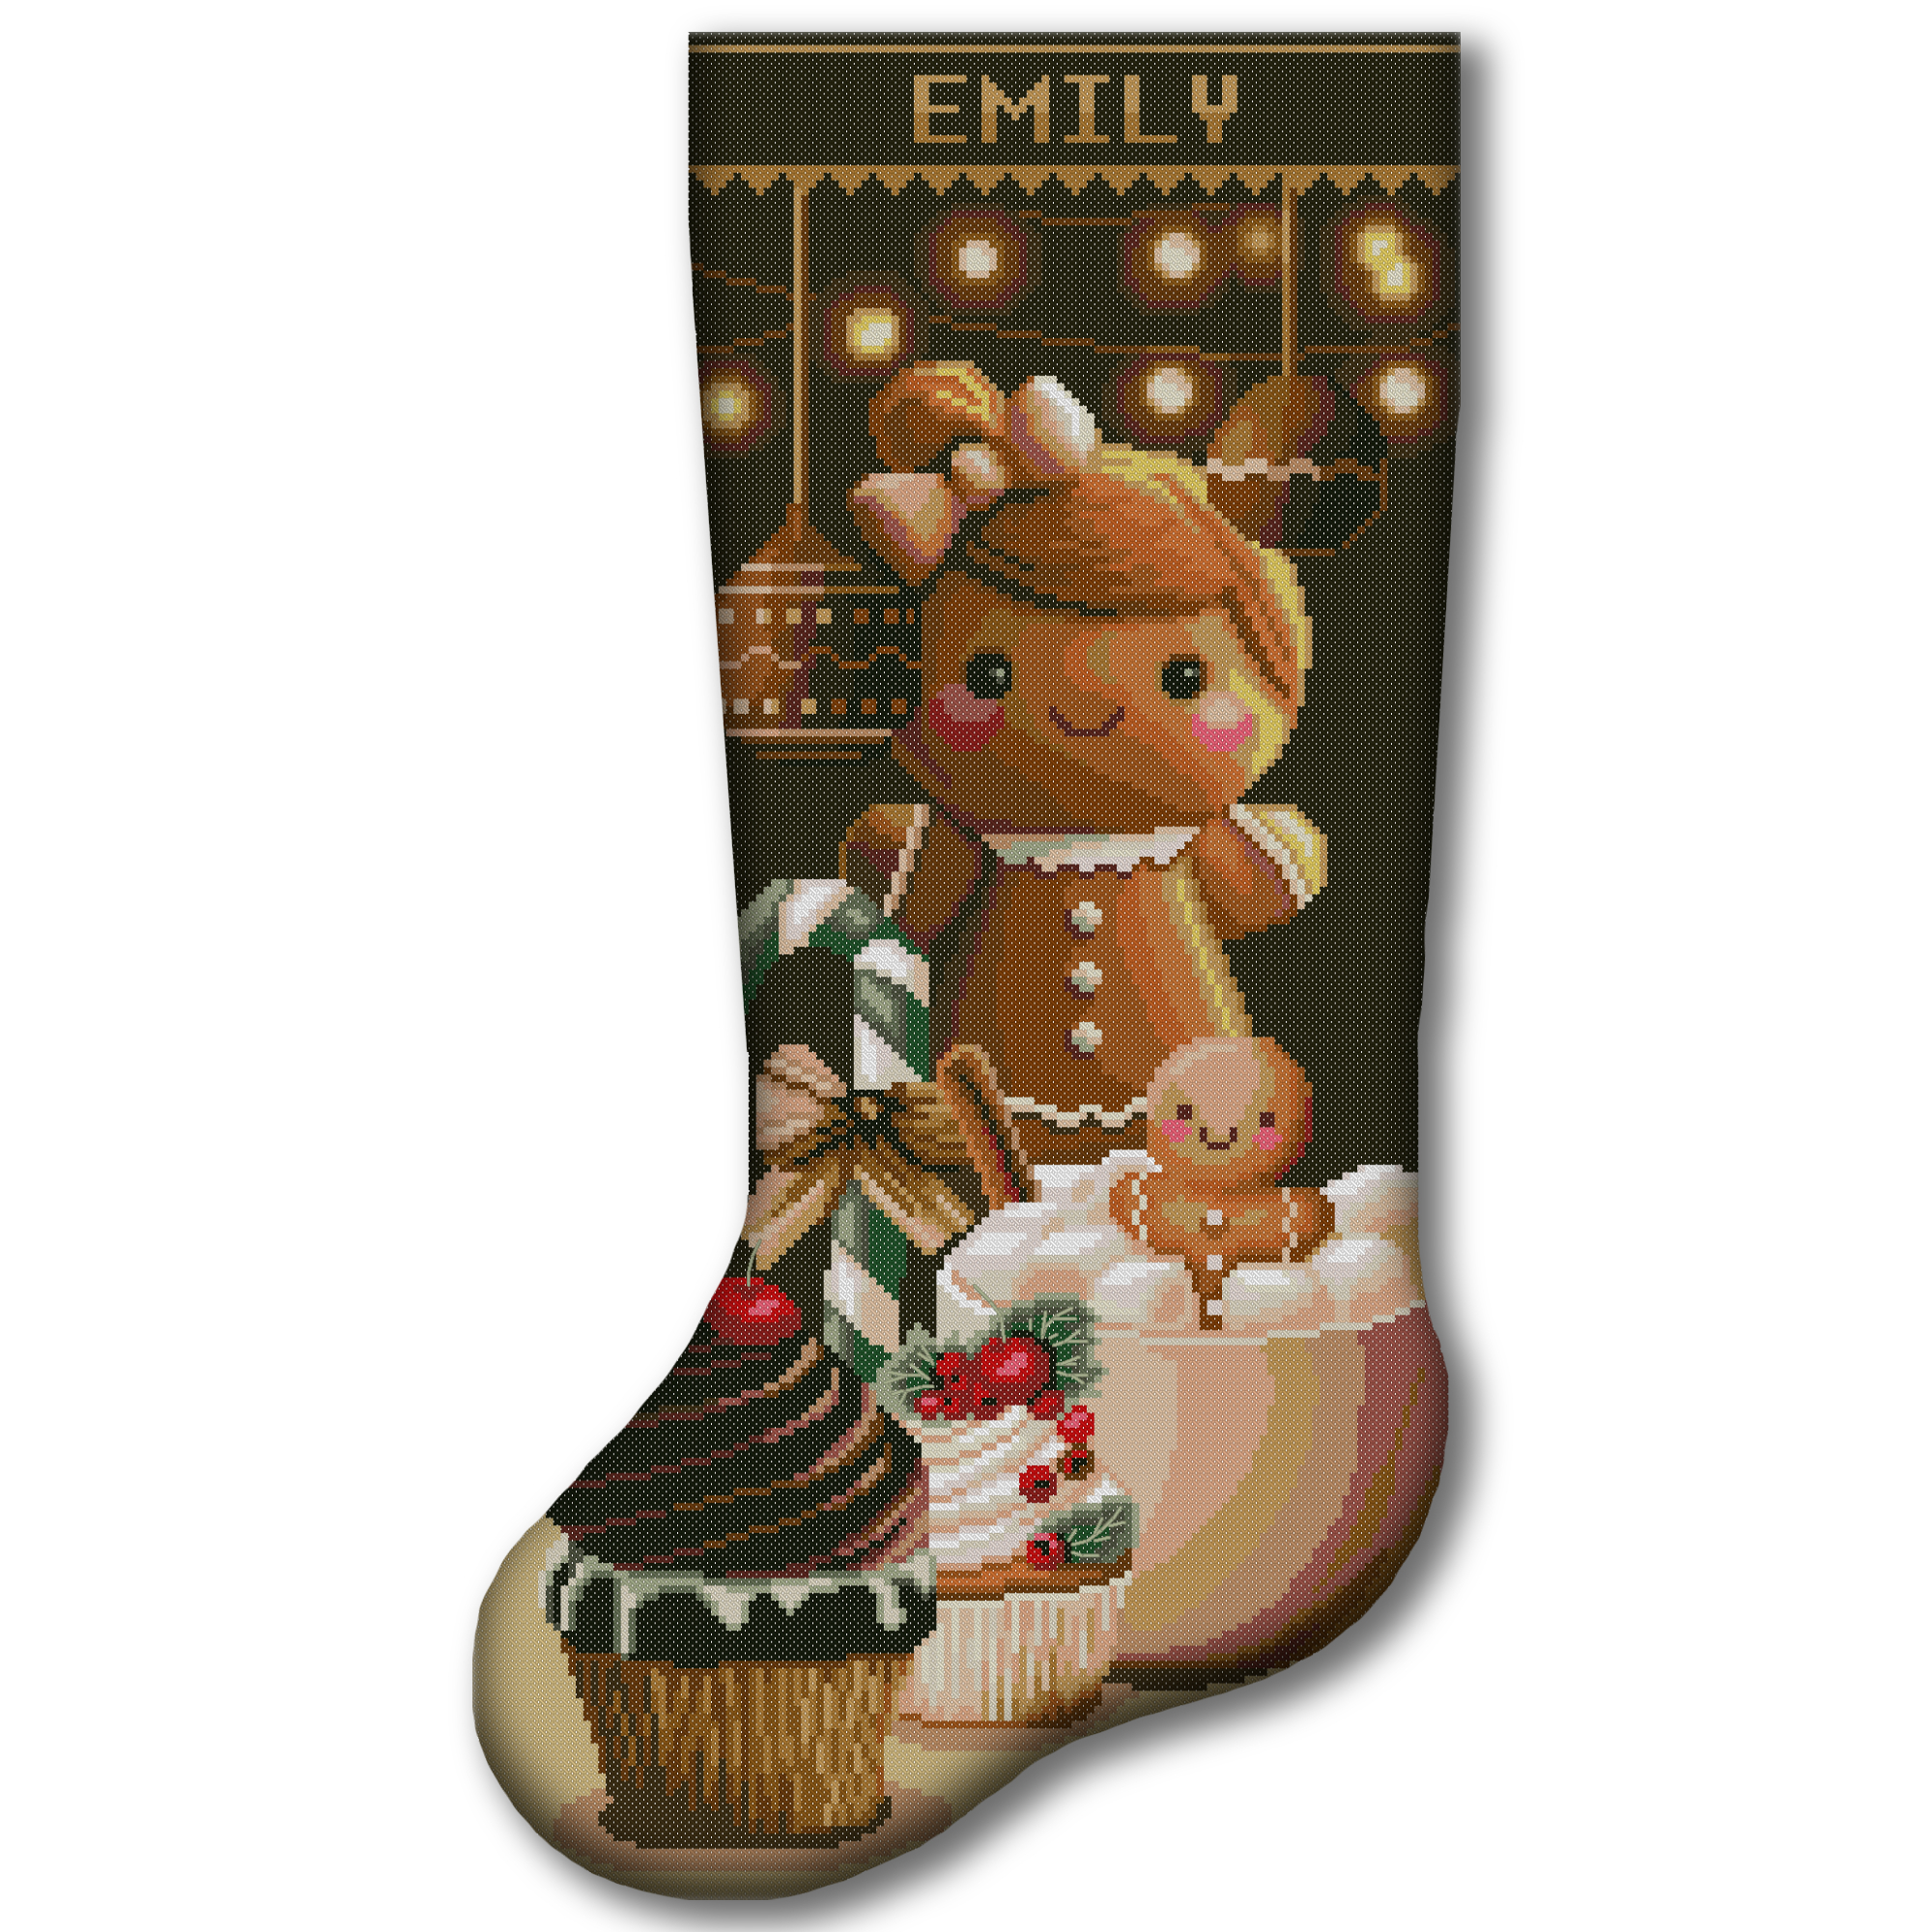



If you prefer to choose your own fabric, backing, lining, and finishing method, browse our digital Christmas stocking patterns.
Browse Digital Christmas Stocking Patterns →


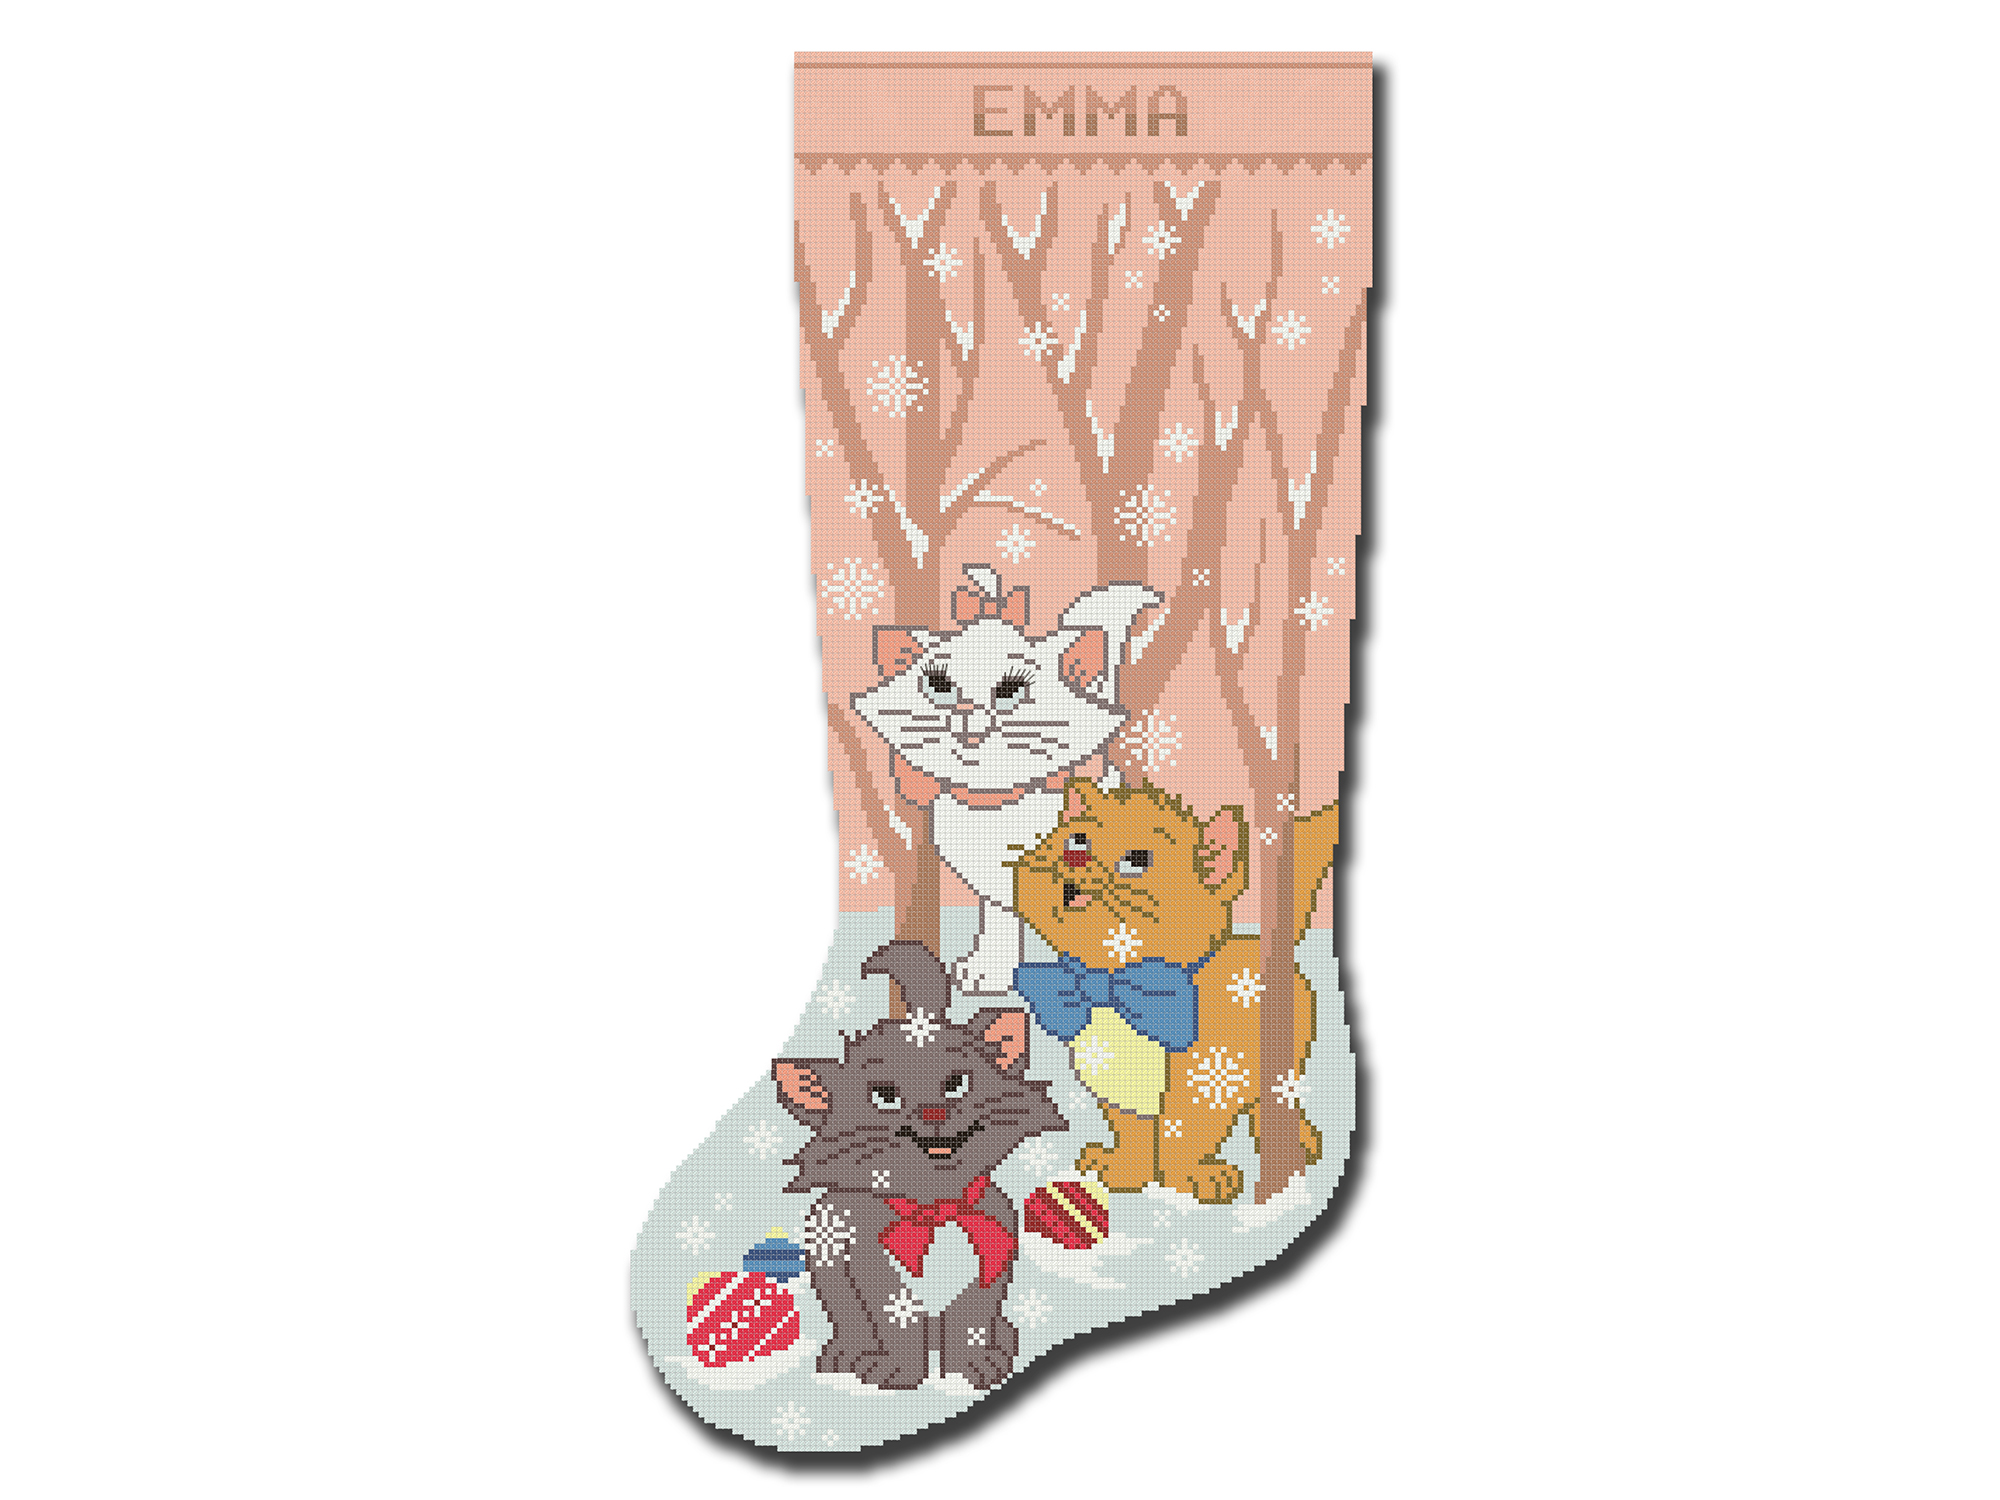

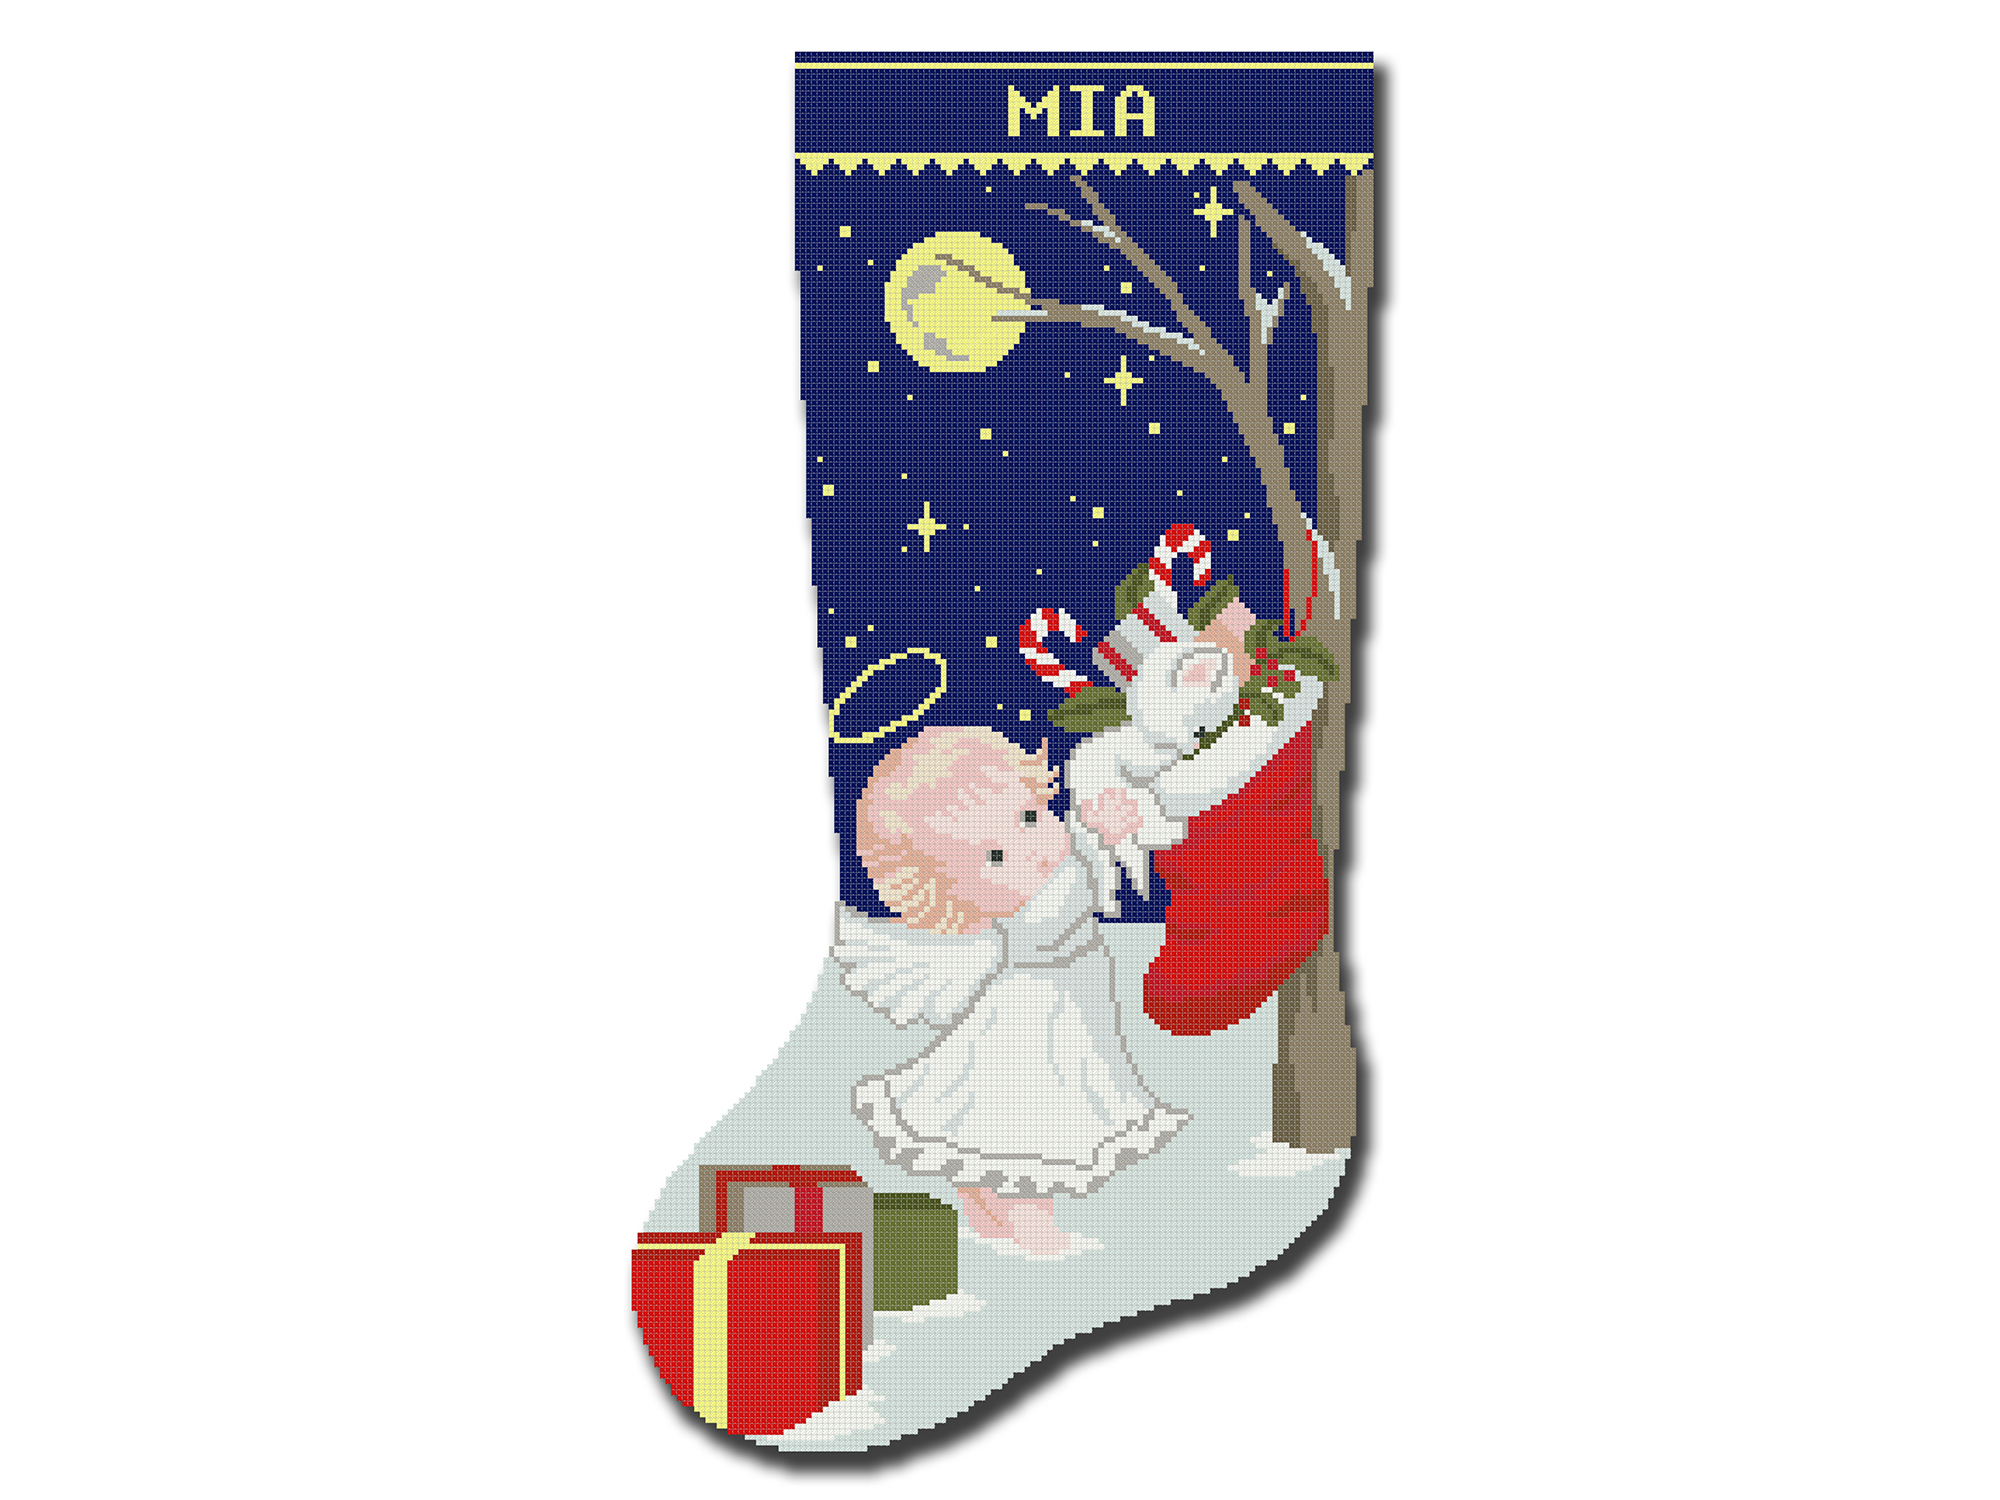


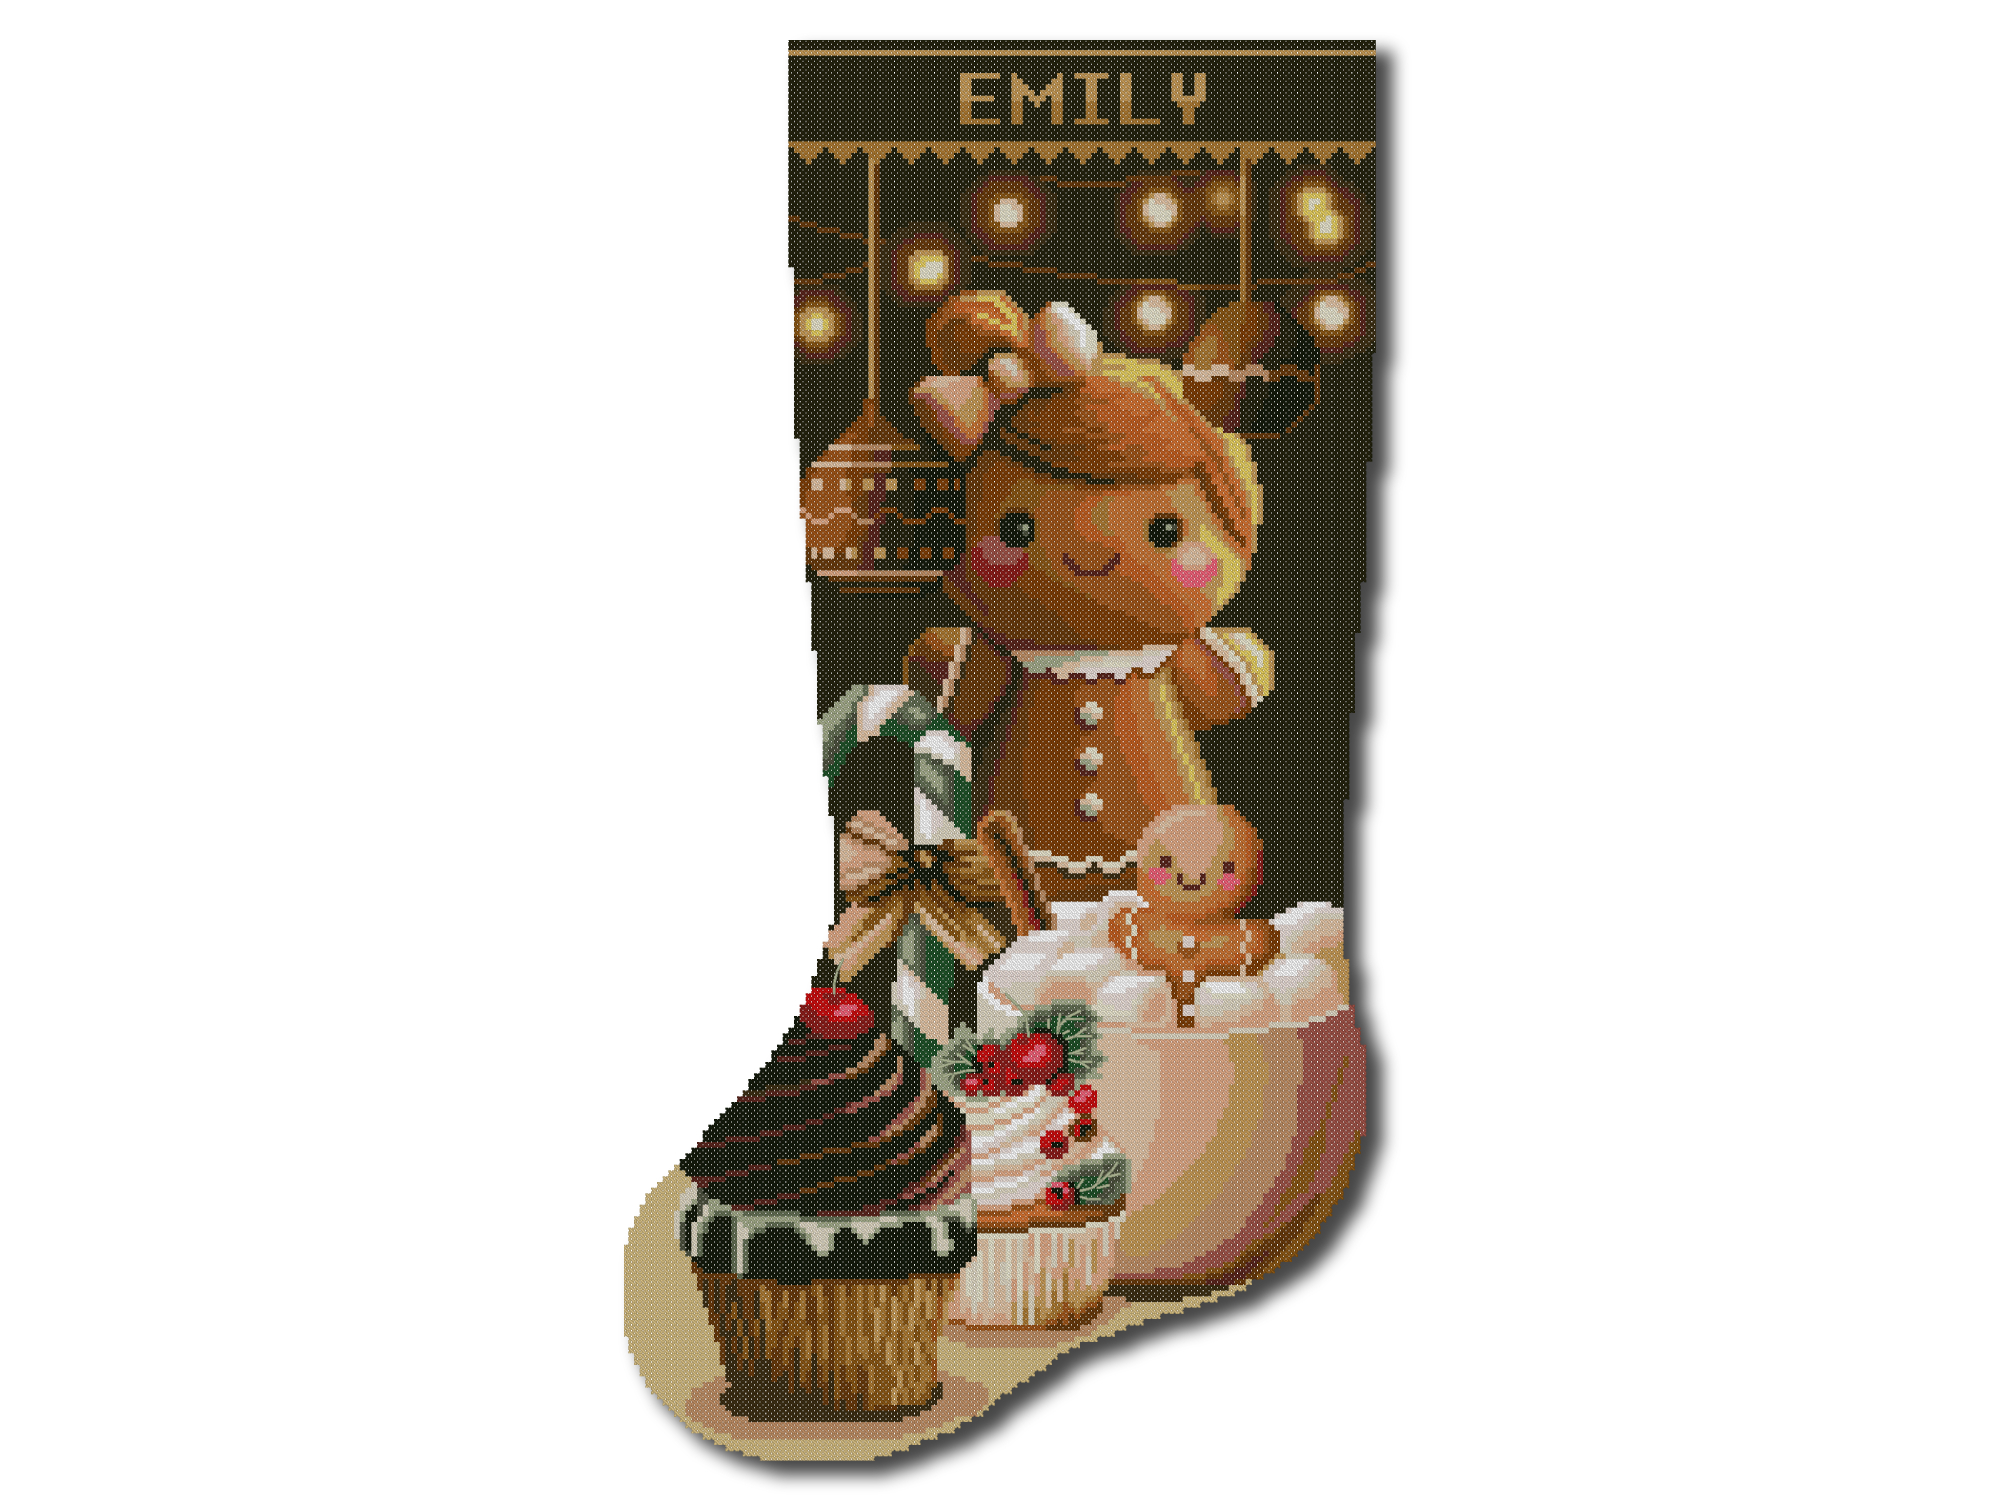
For more help with stitching, personalization, washing, sewing, and finishing, visit our complete Christmas stocking guide library.
Explore Christmas Stocking Cross Stitch Guides →
Final Thoughts
Finishing a cross-stitch Christmas stocking is easier when you work with one layer at a time.
Prepare and press the embroidery first. Add a consistent seam allowance. Cut the backing as a mirror image. Sew the outer stocking separately from the lining. Clip the curves carefully, turn the stocking, and attach a strong hanging loop.
A lining and padding are optional. You do not need to add every possible layer to create a beautiful result.
For most beginners, a simple lined stocking is the best choice. It looks professional, protects the embroidery, and can become a treasured part of your family Christmas for many years.