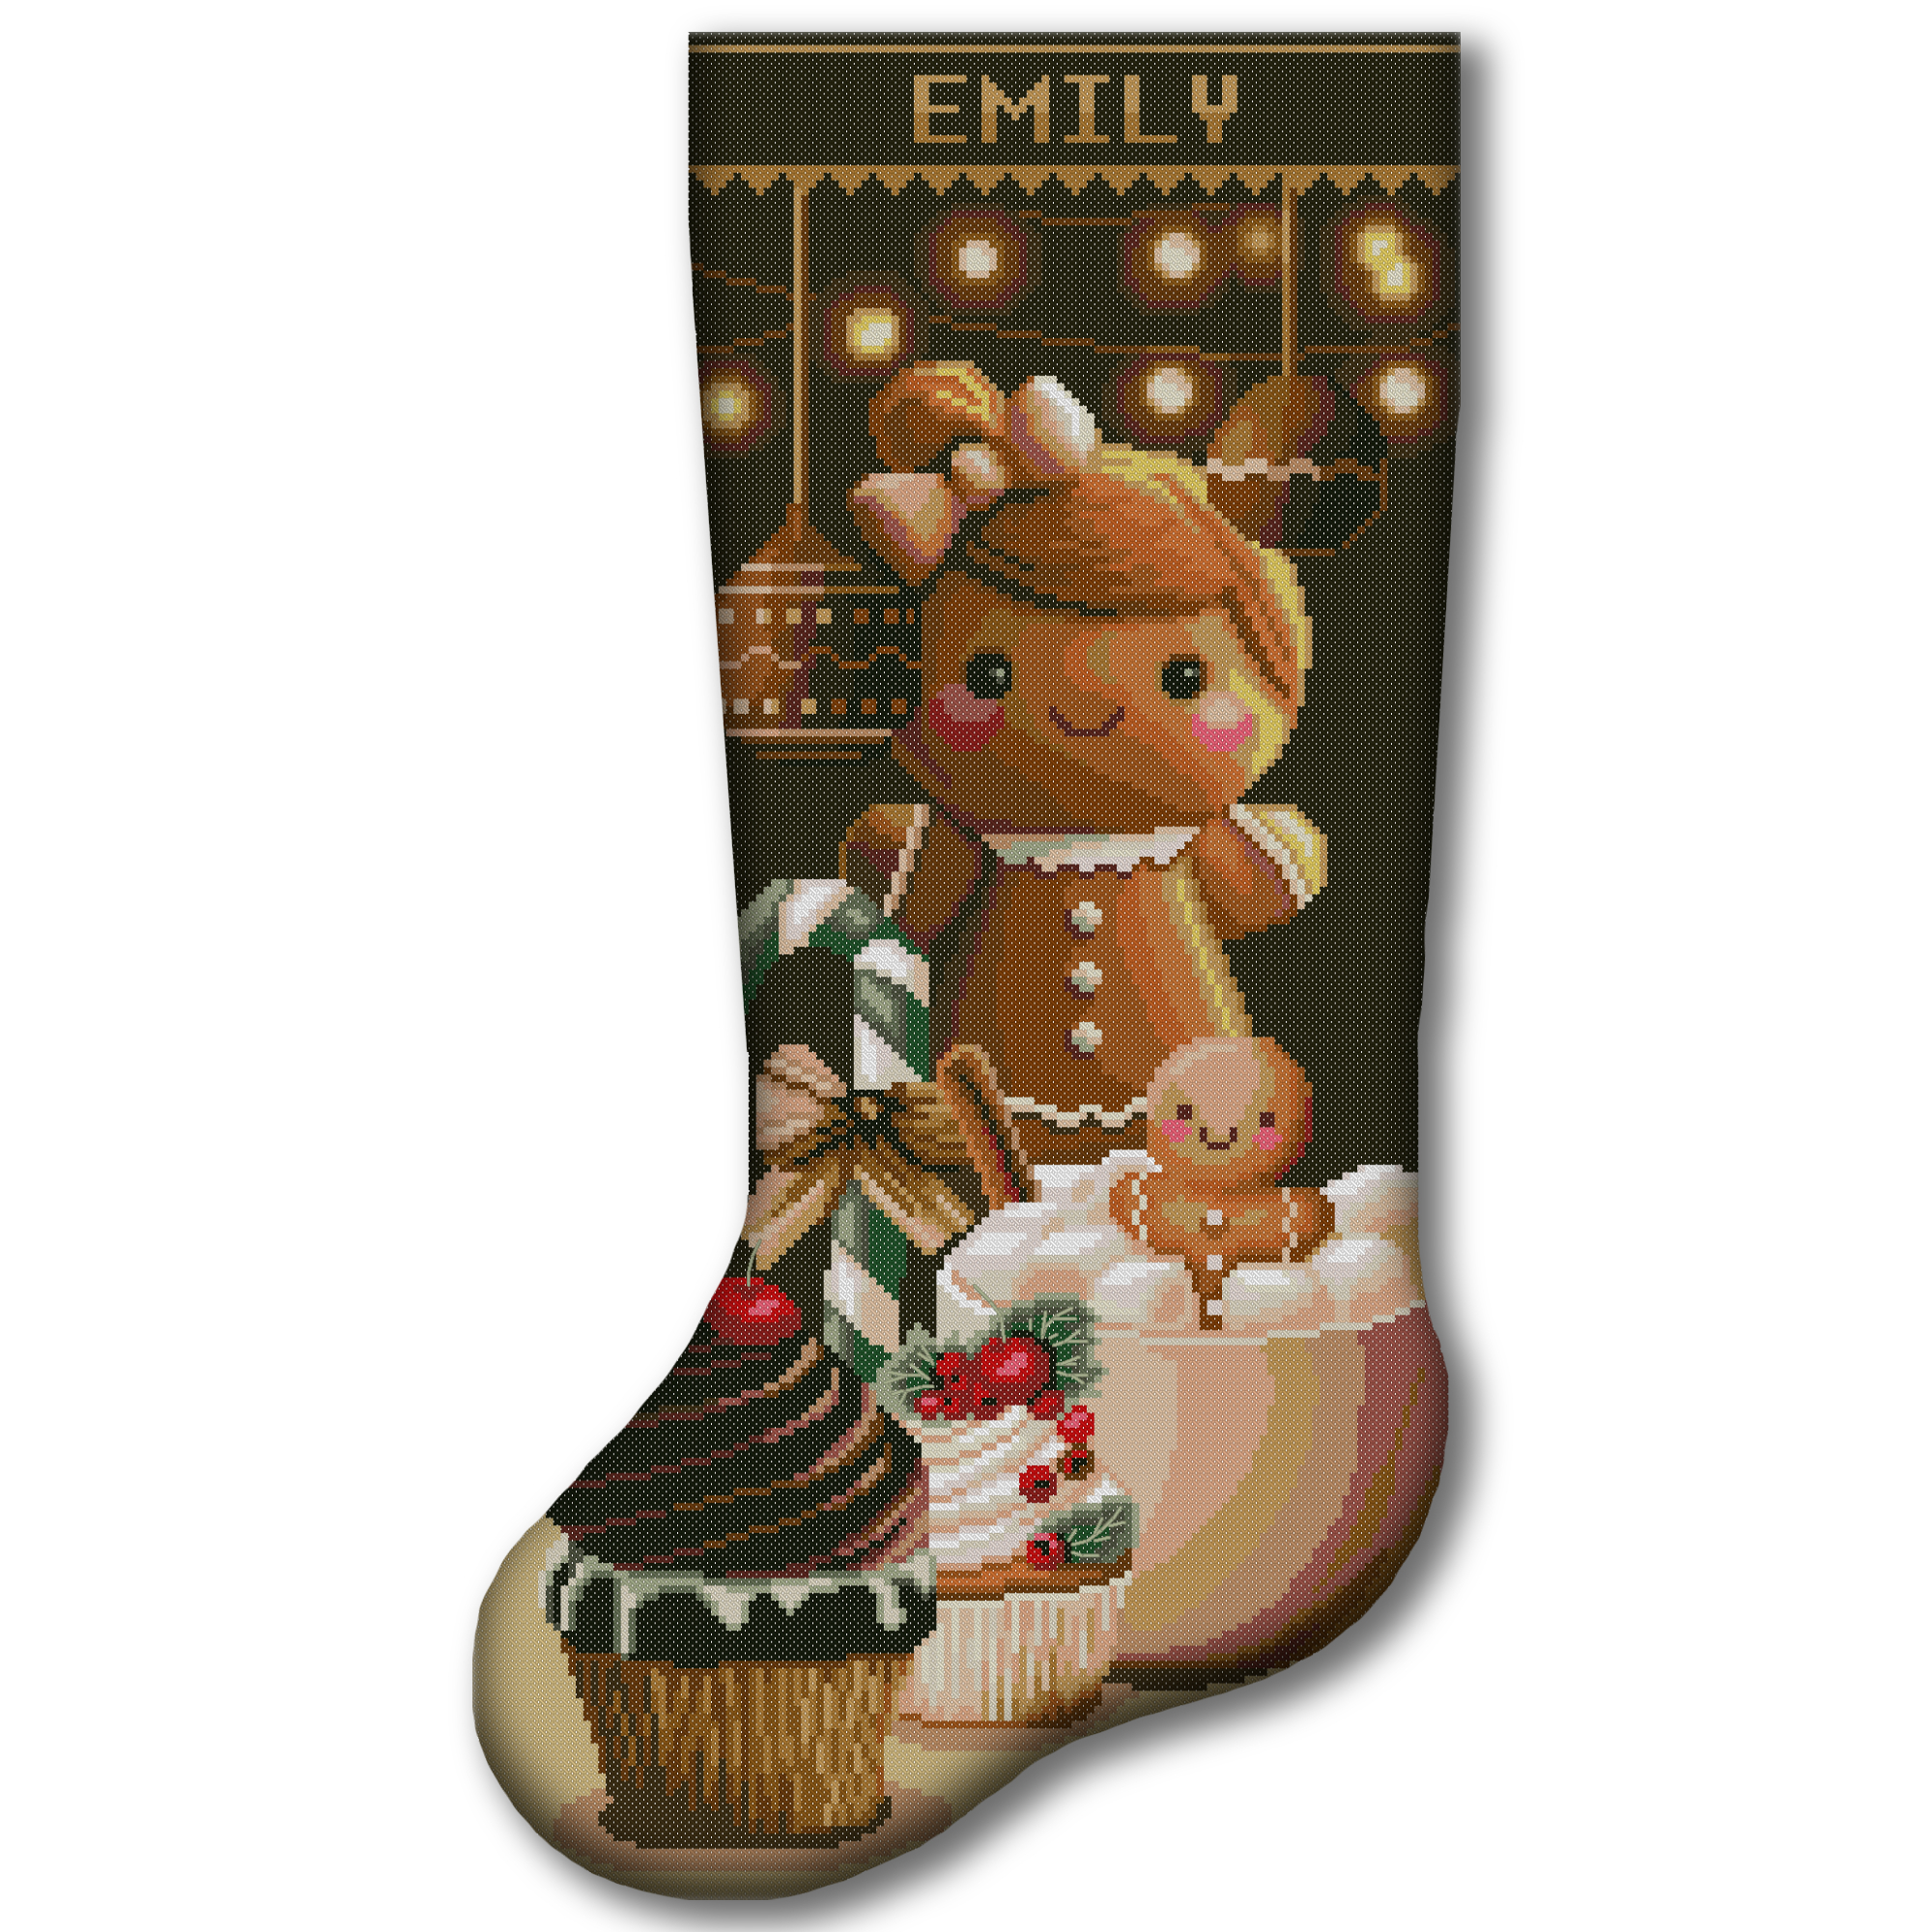
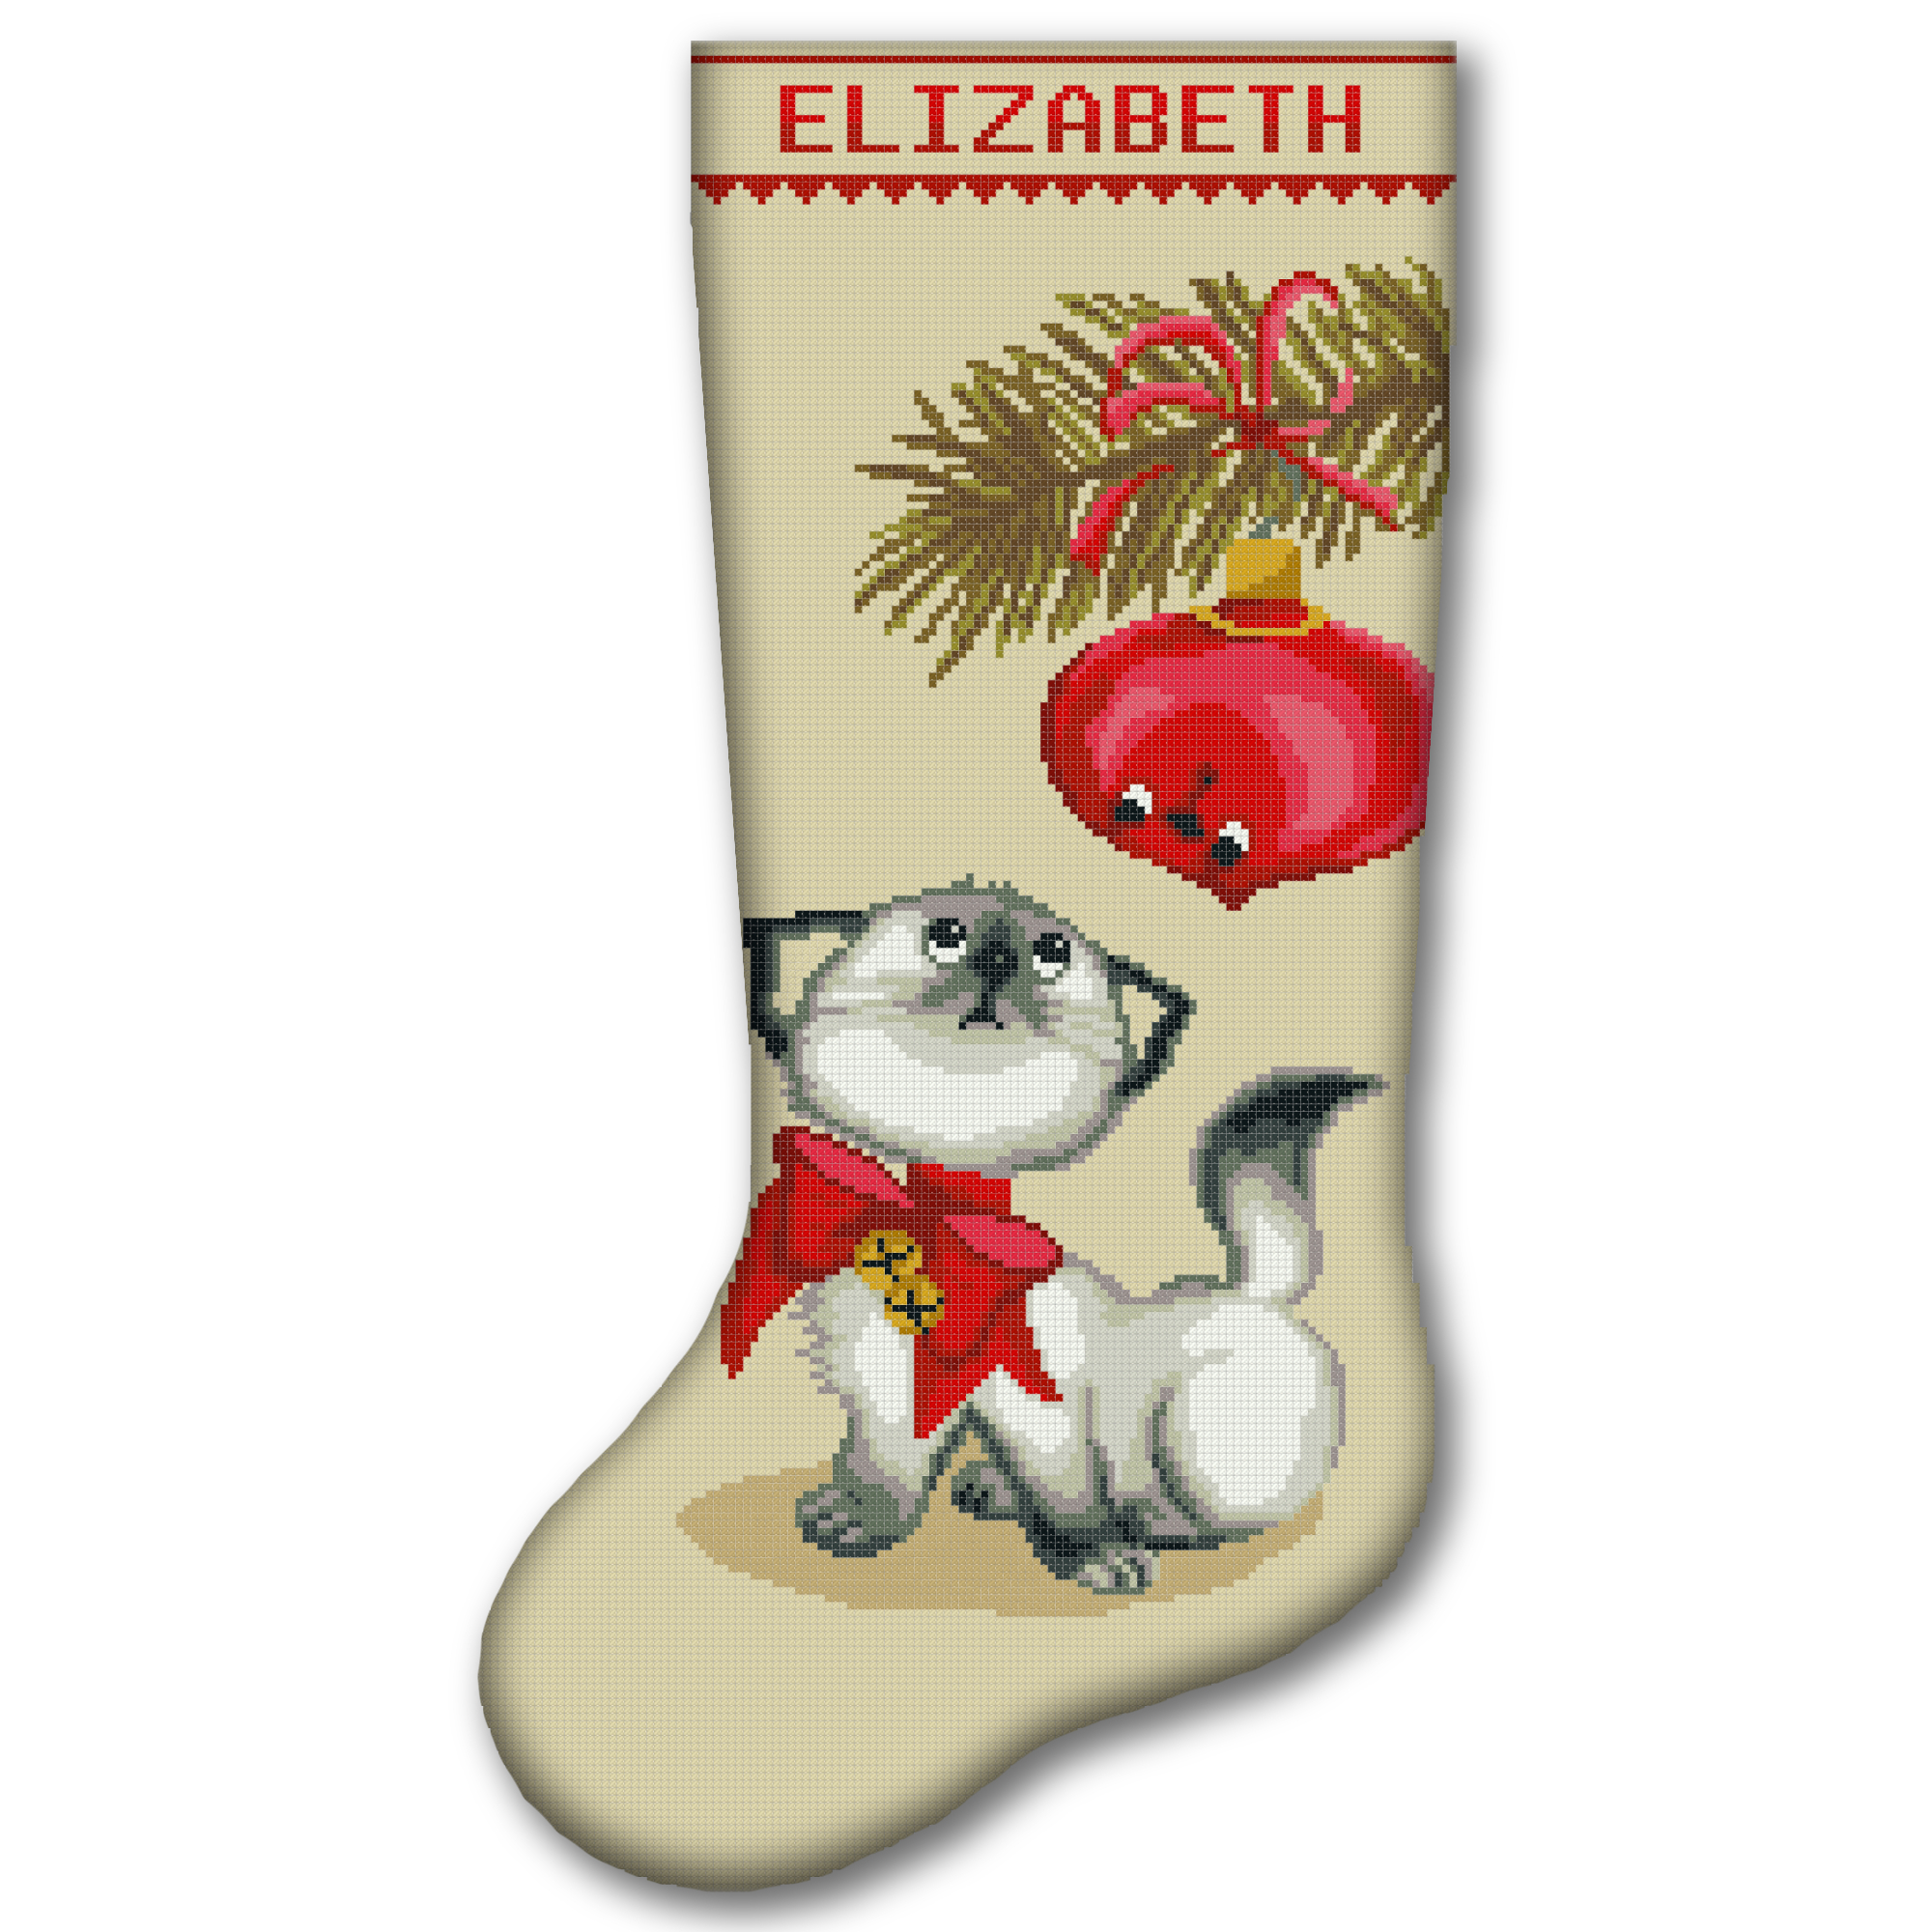
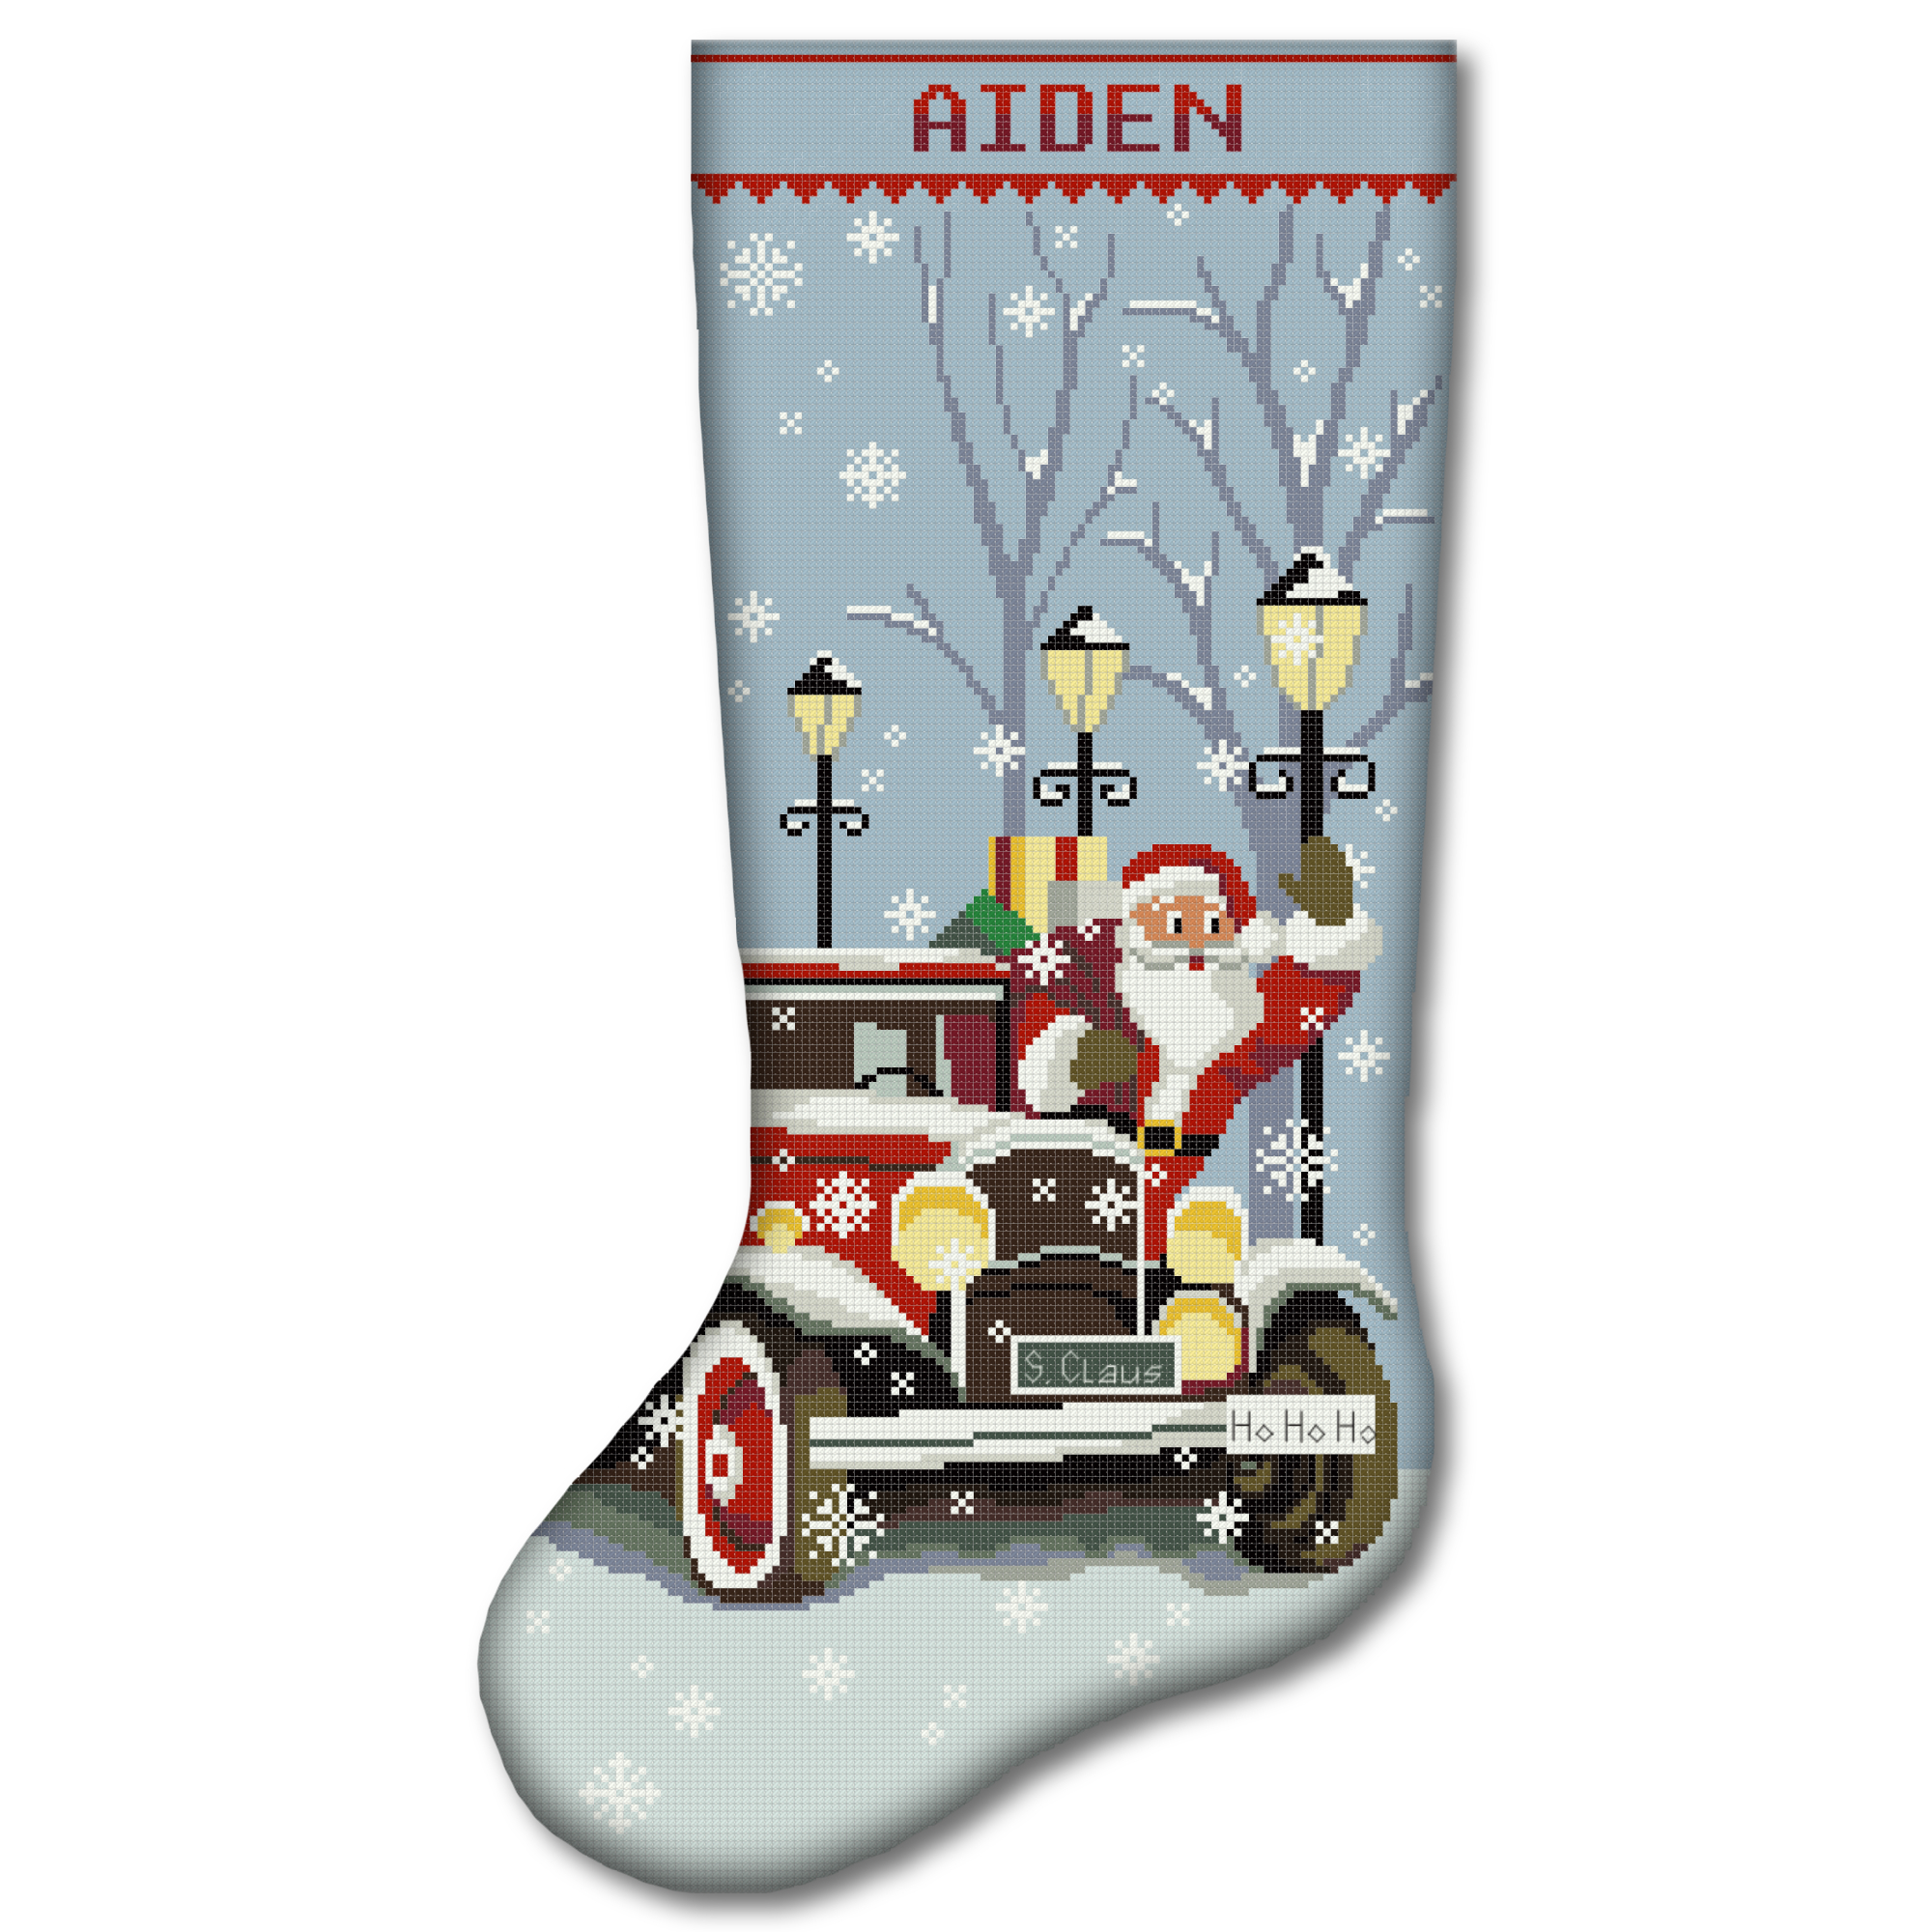
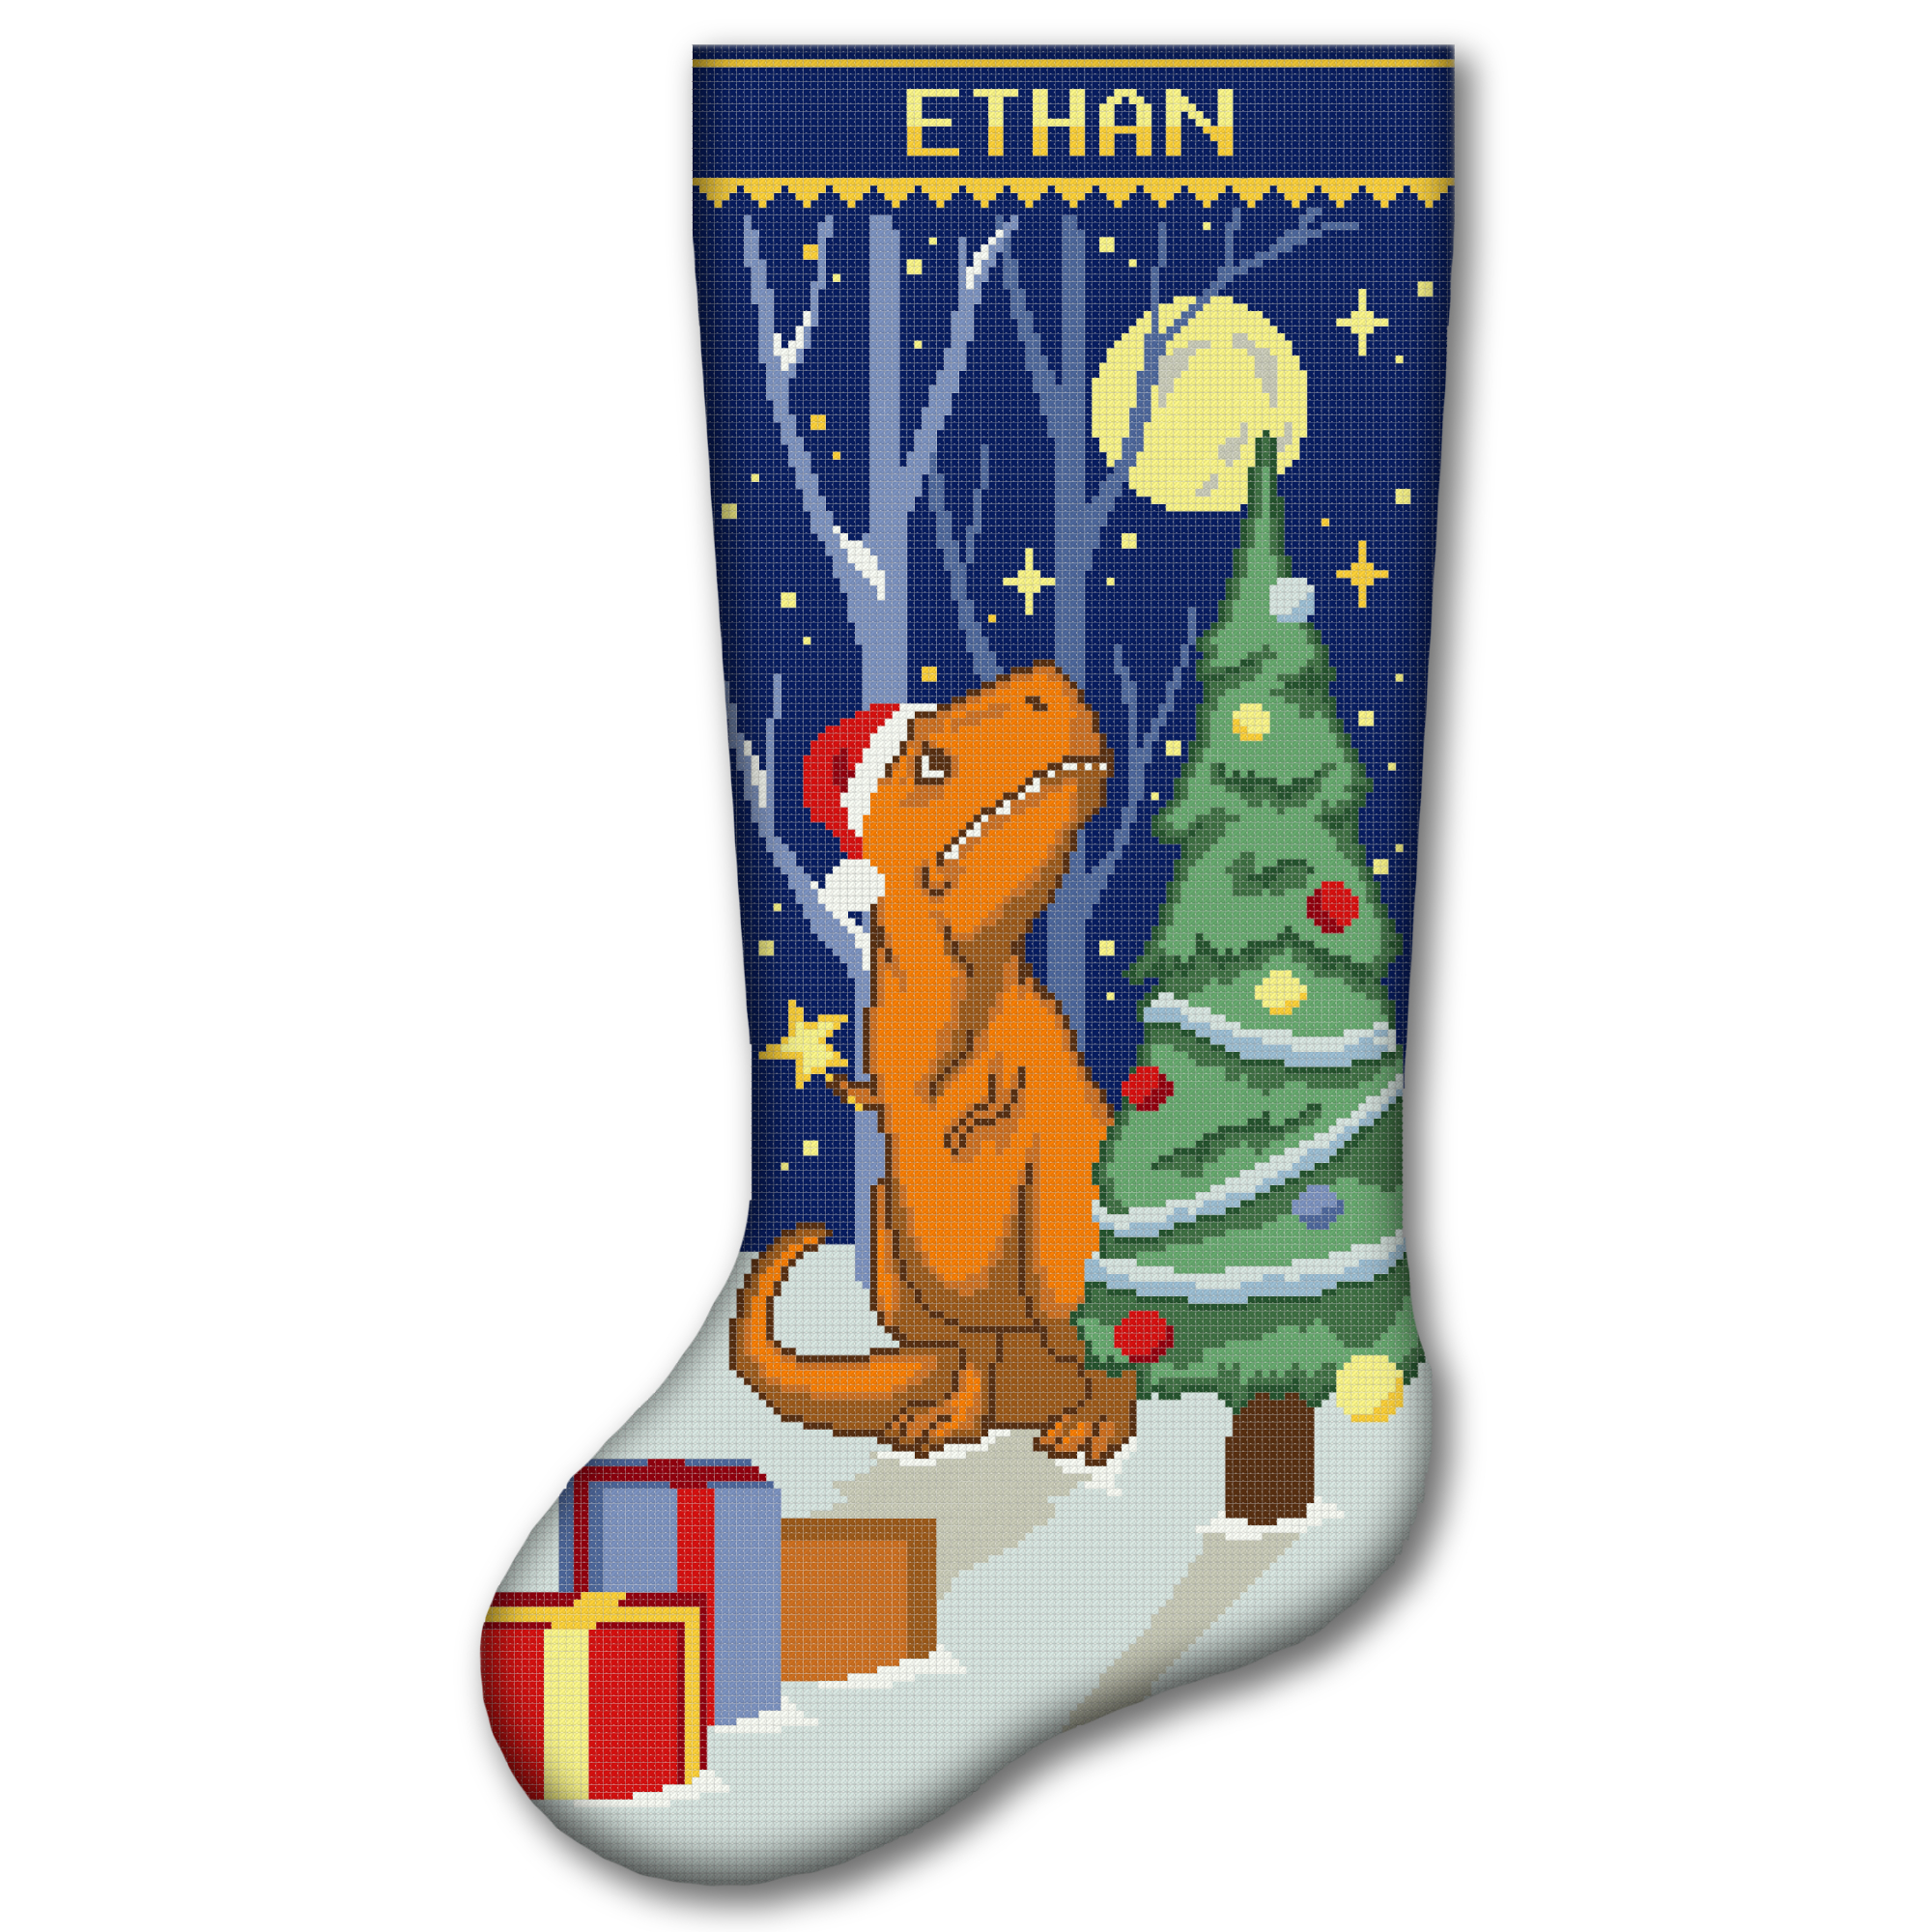
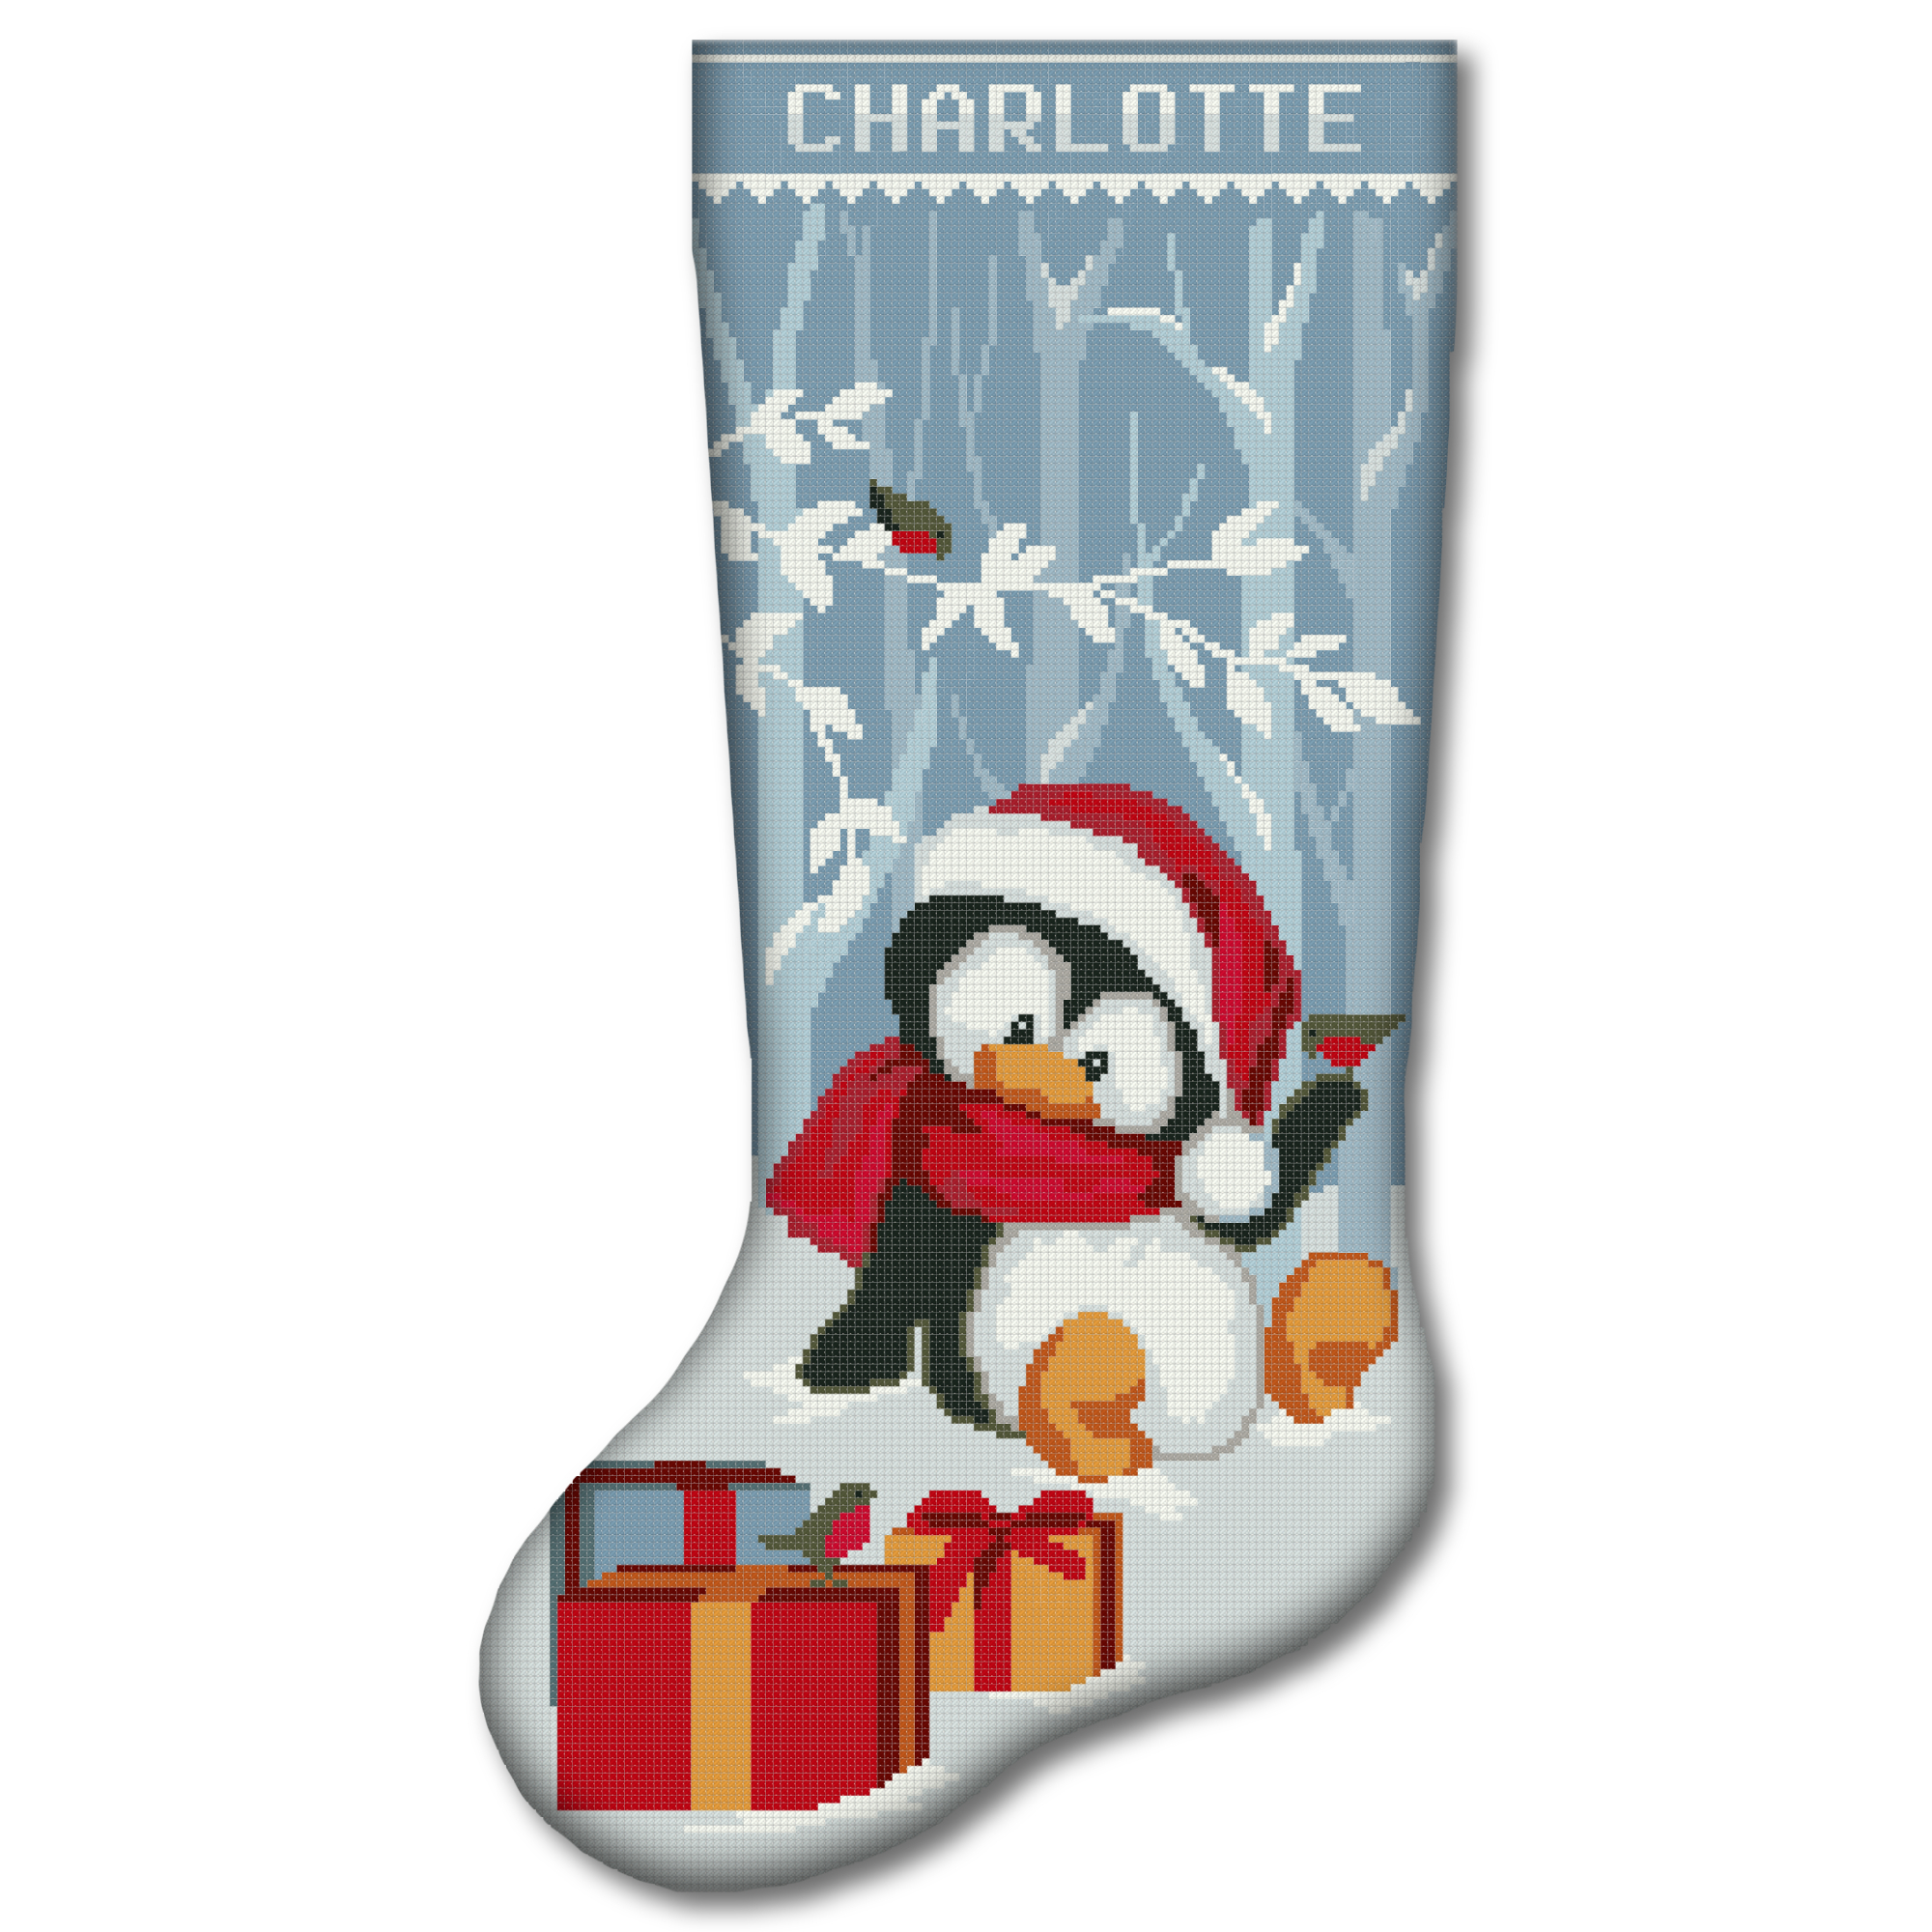
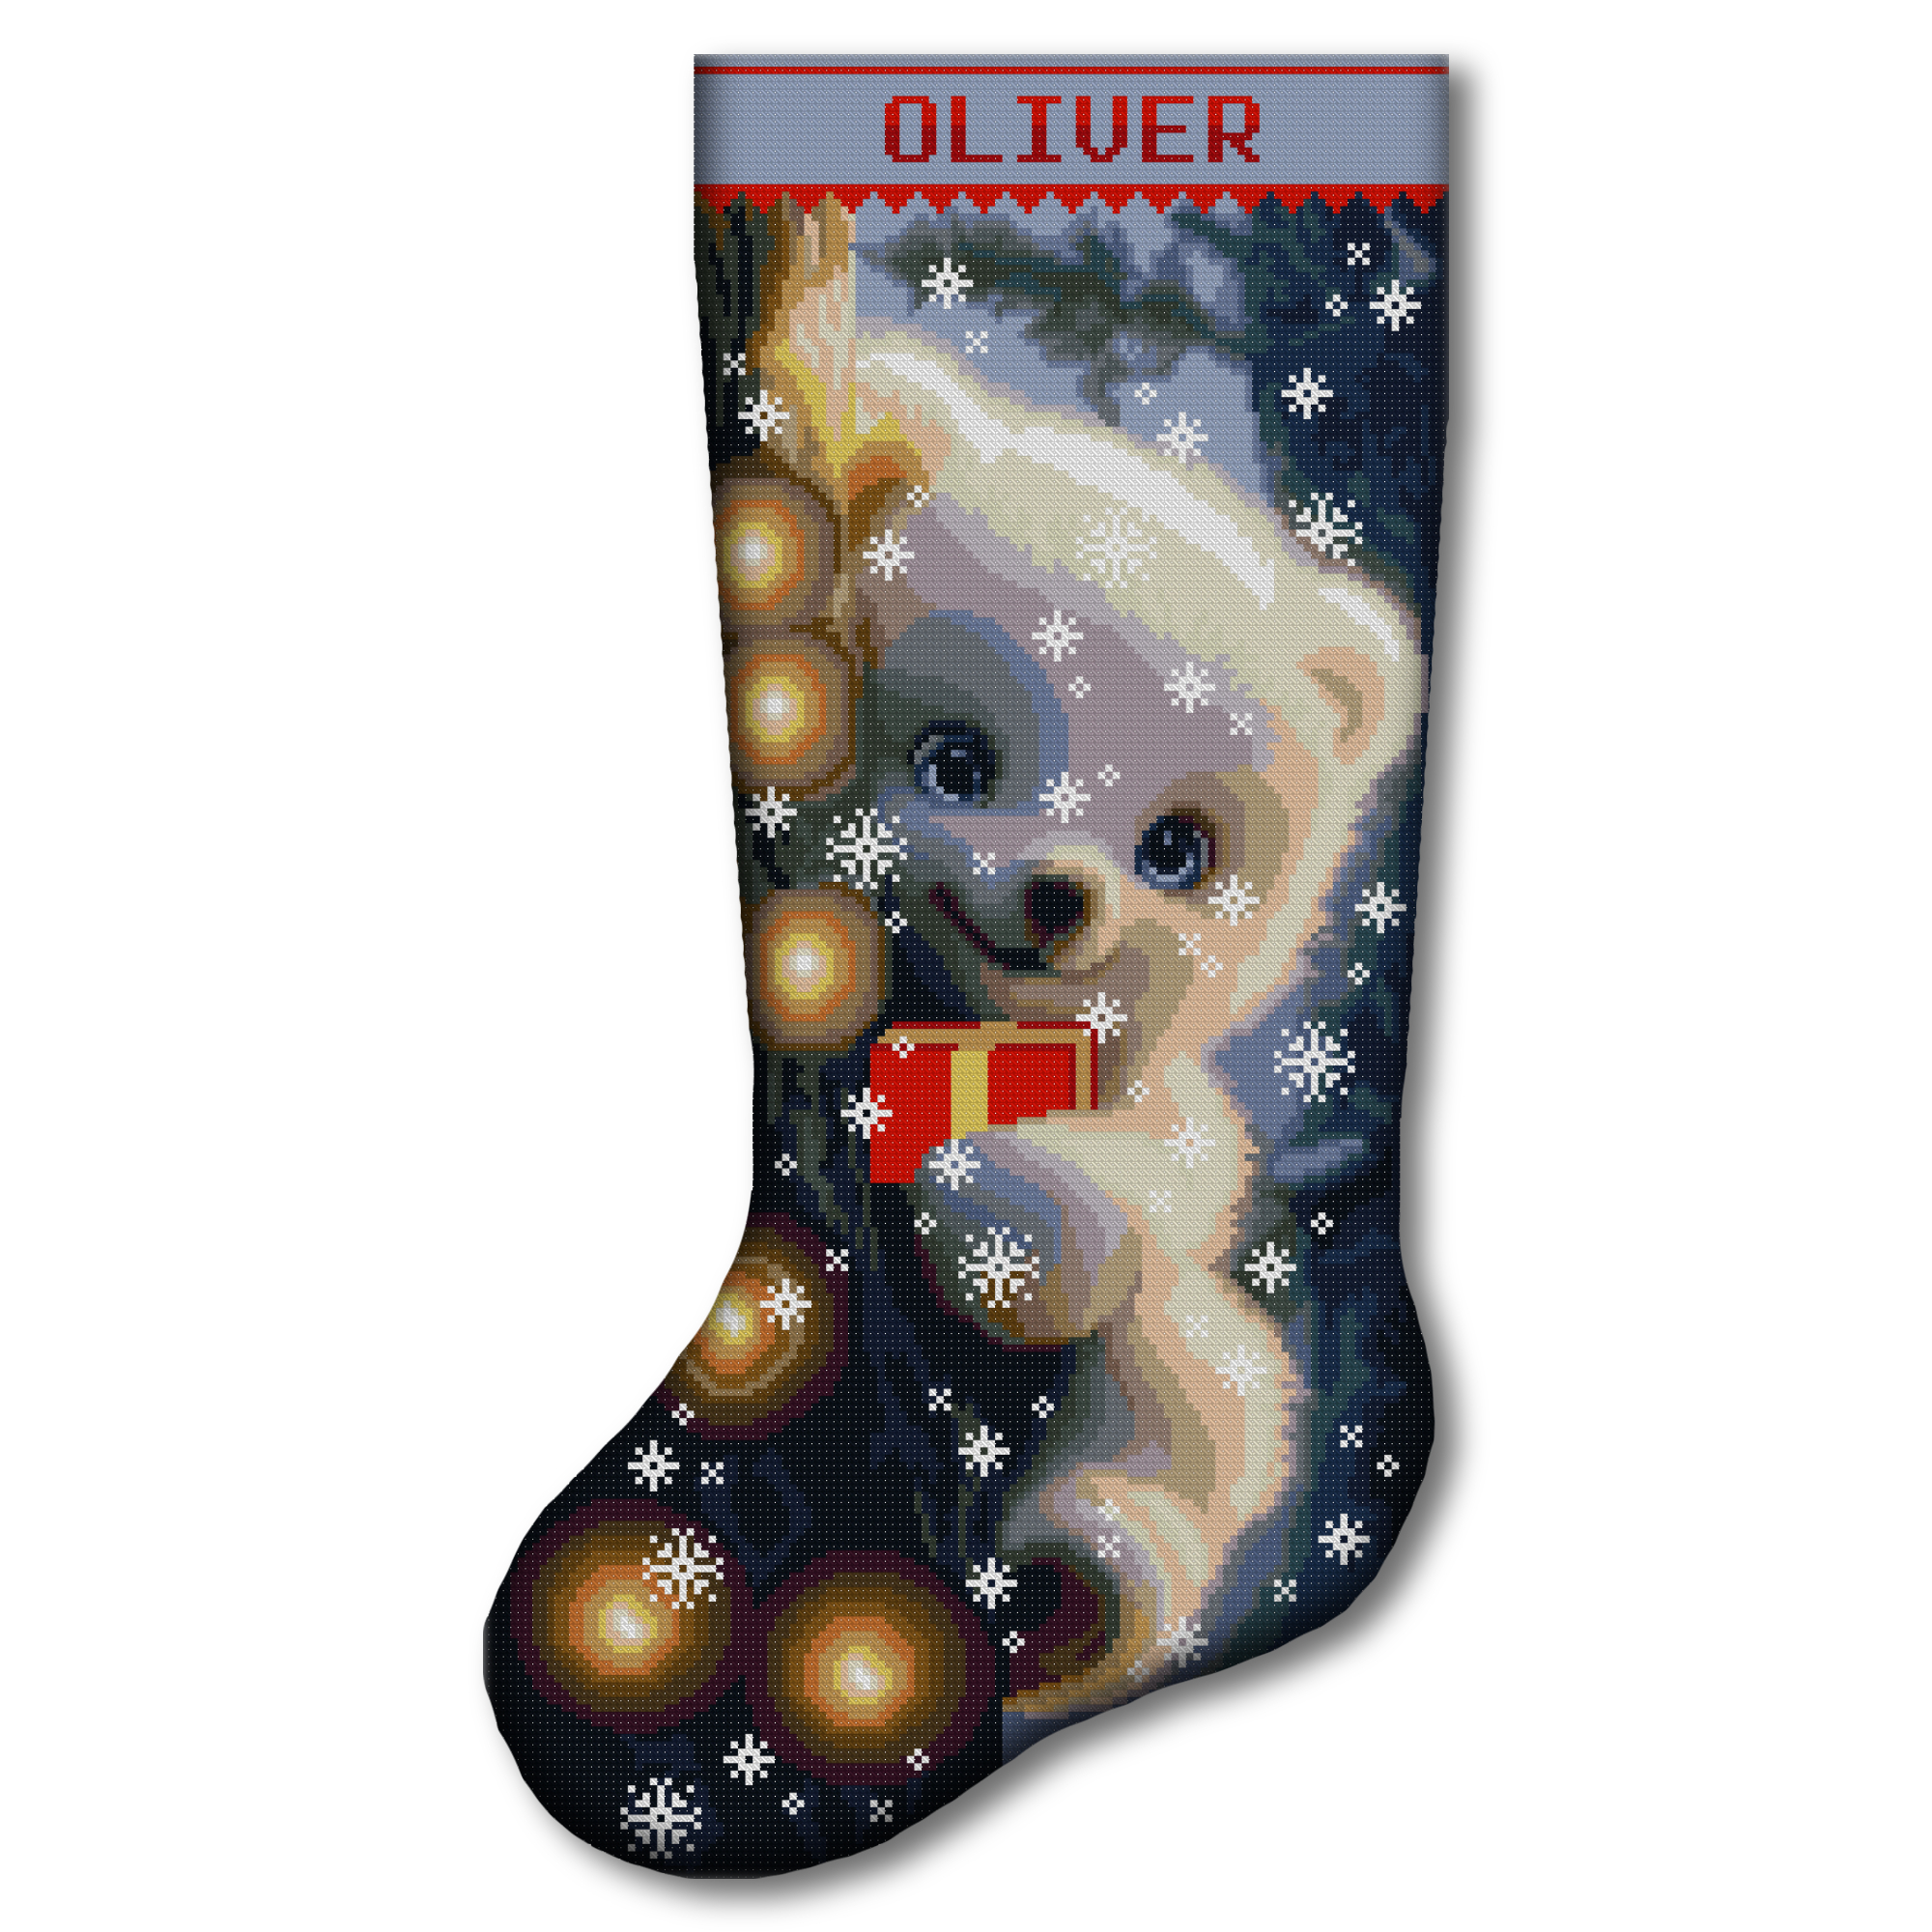
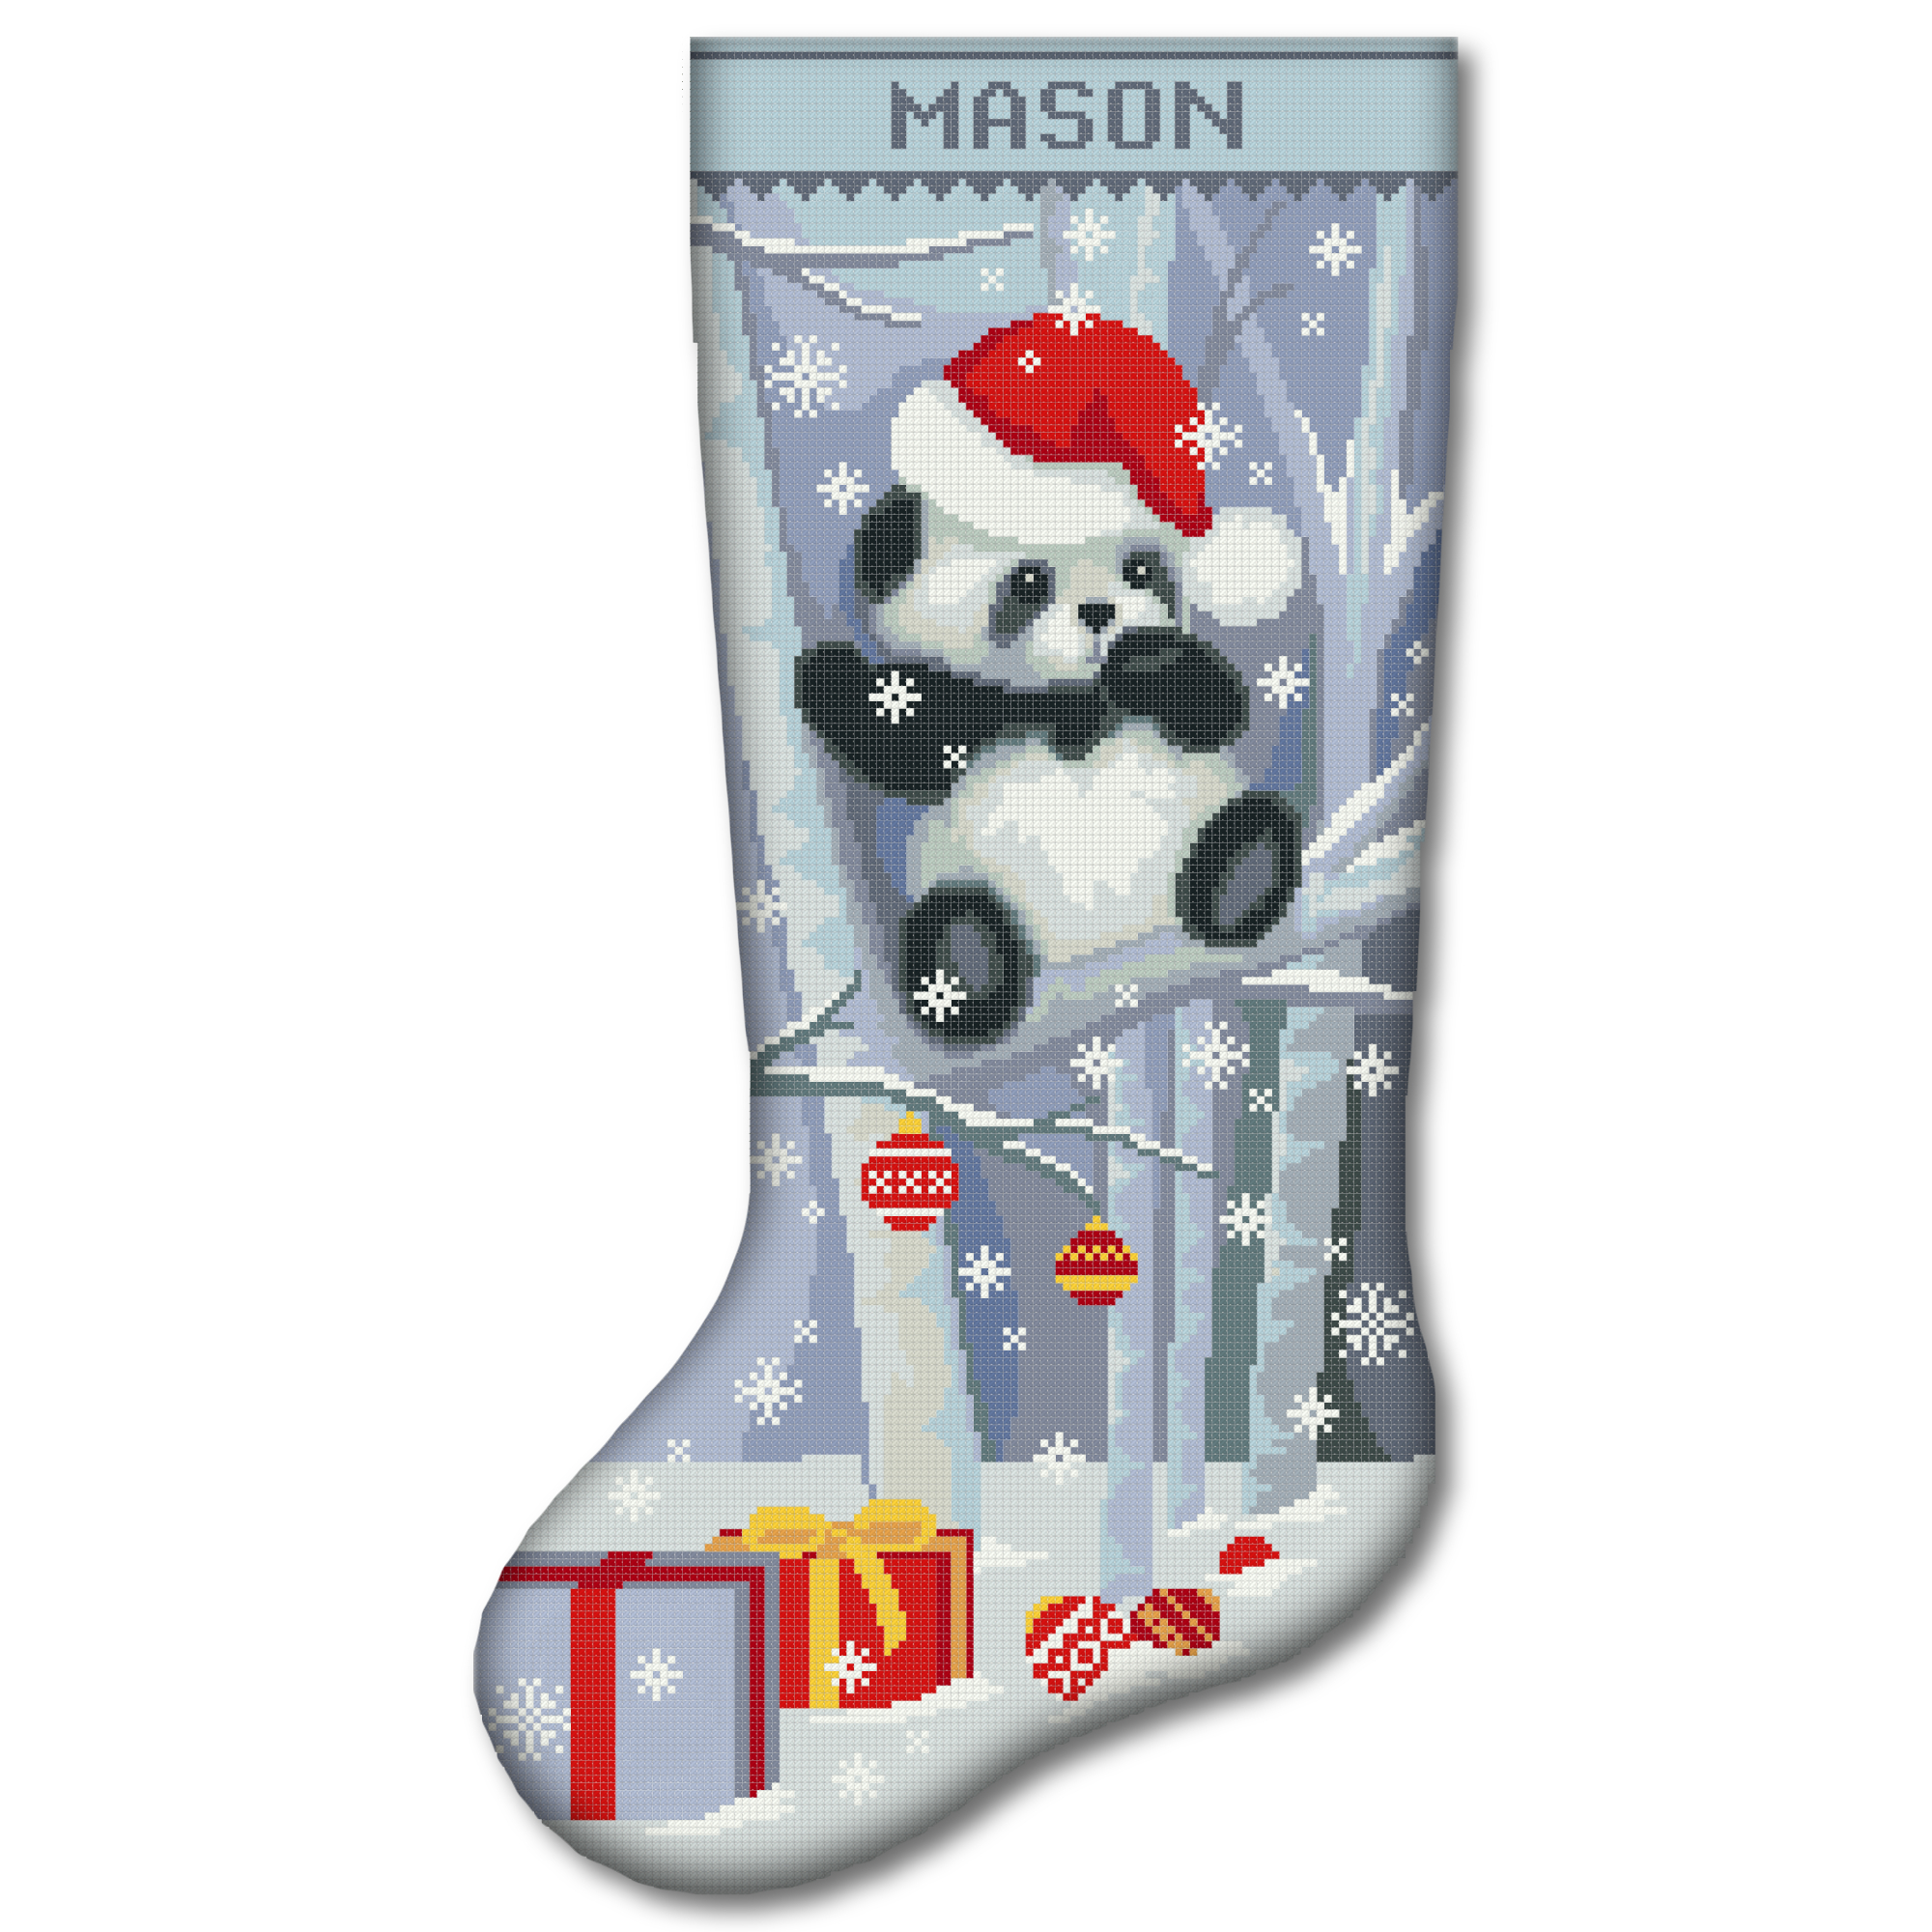
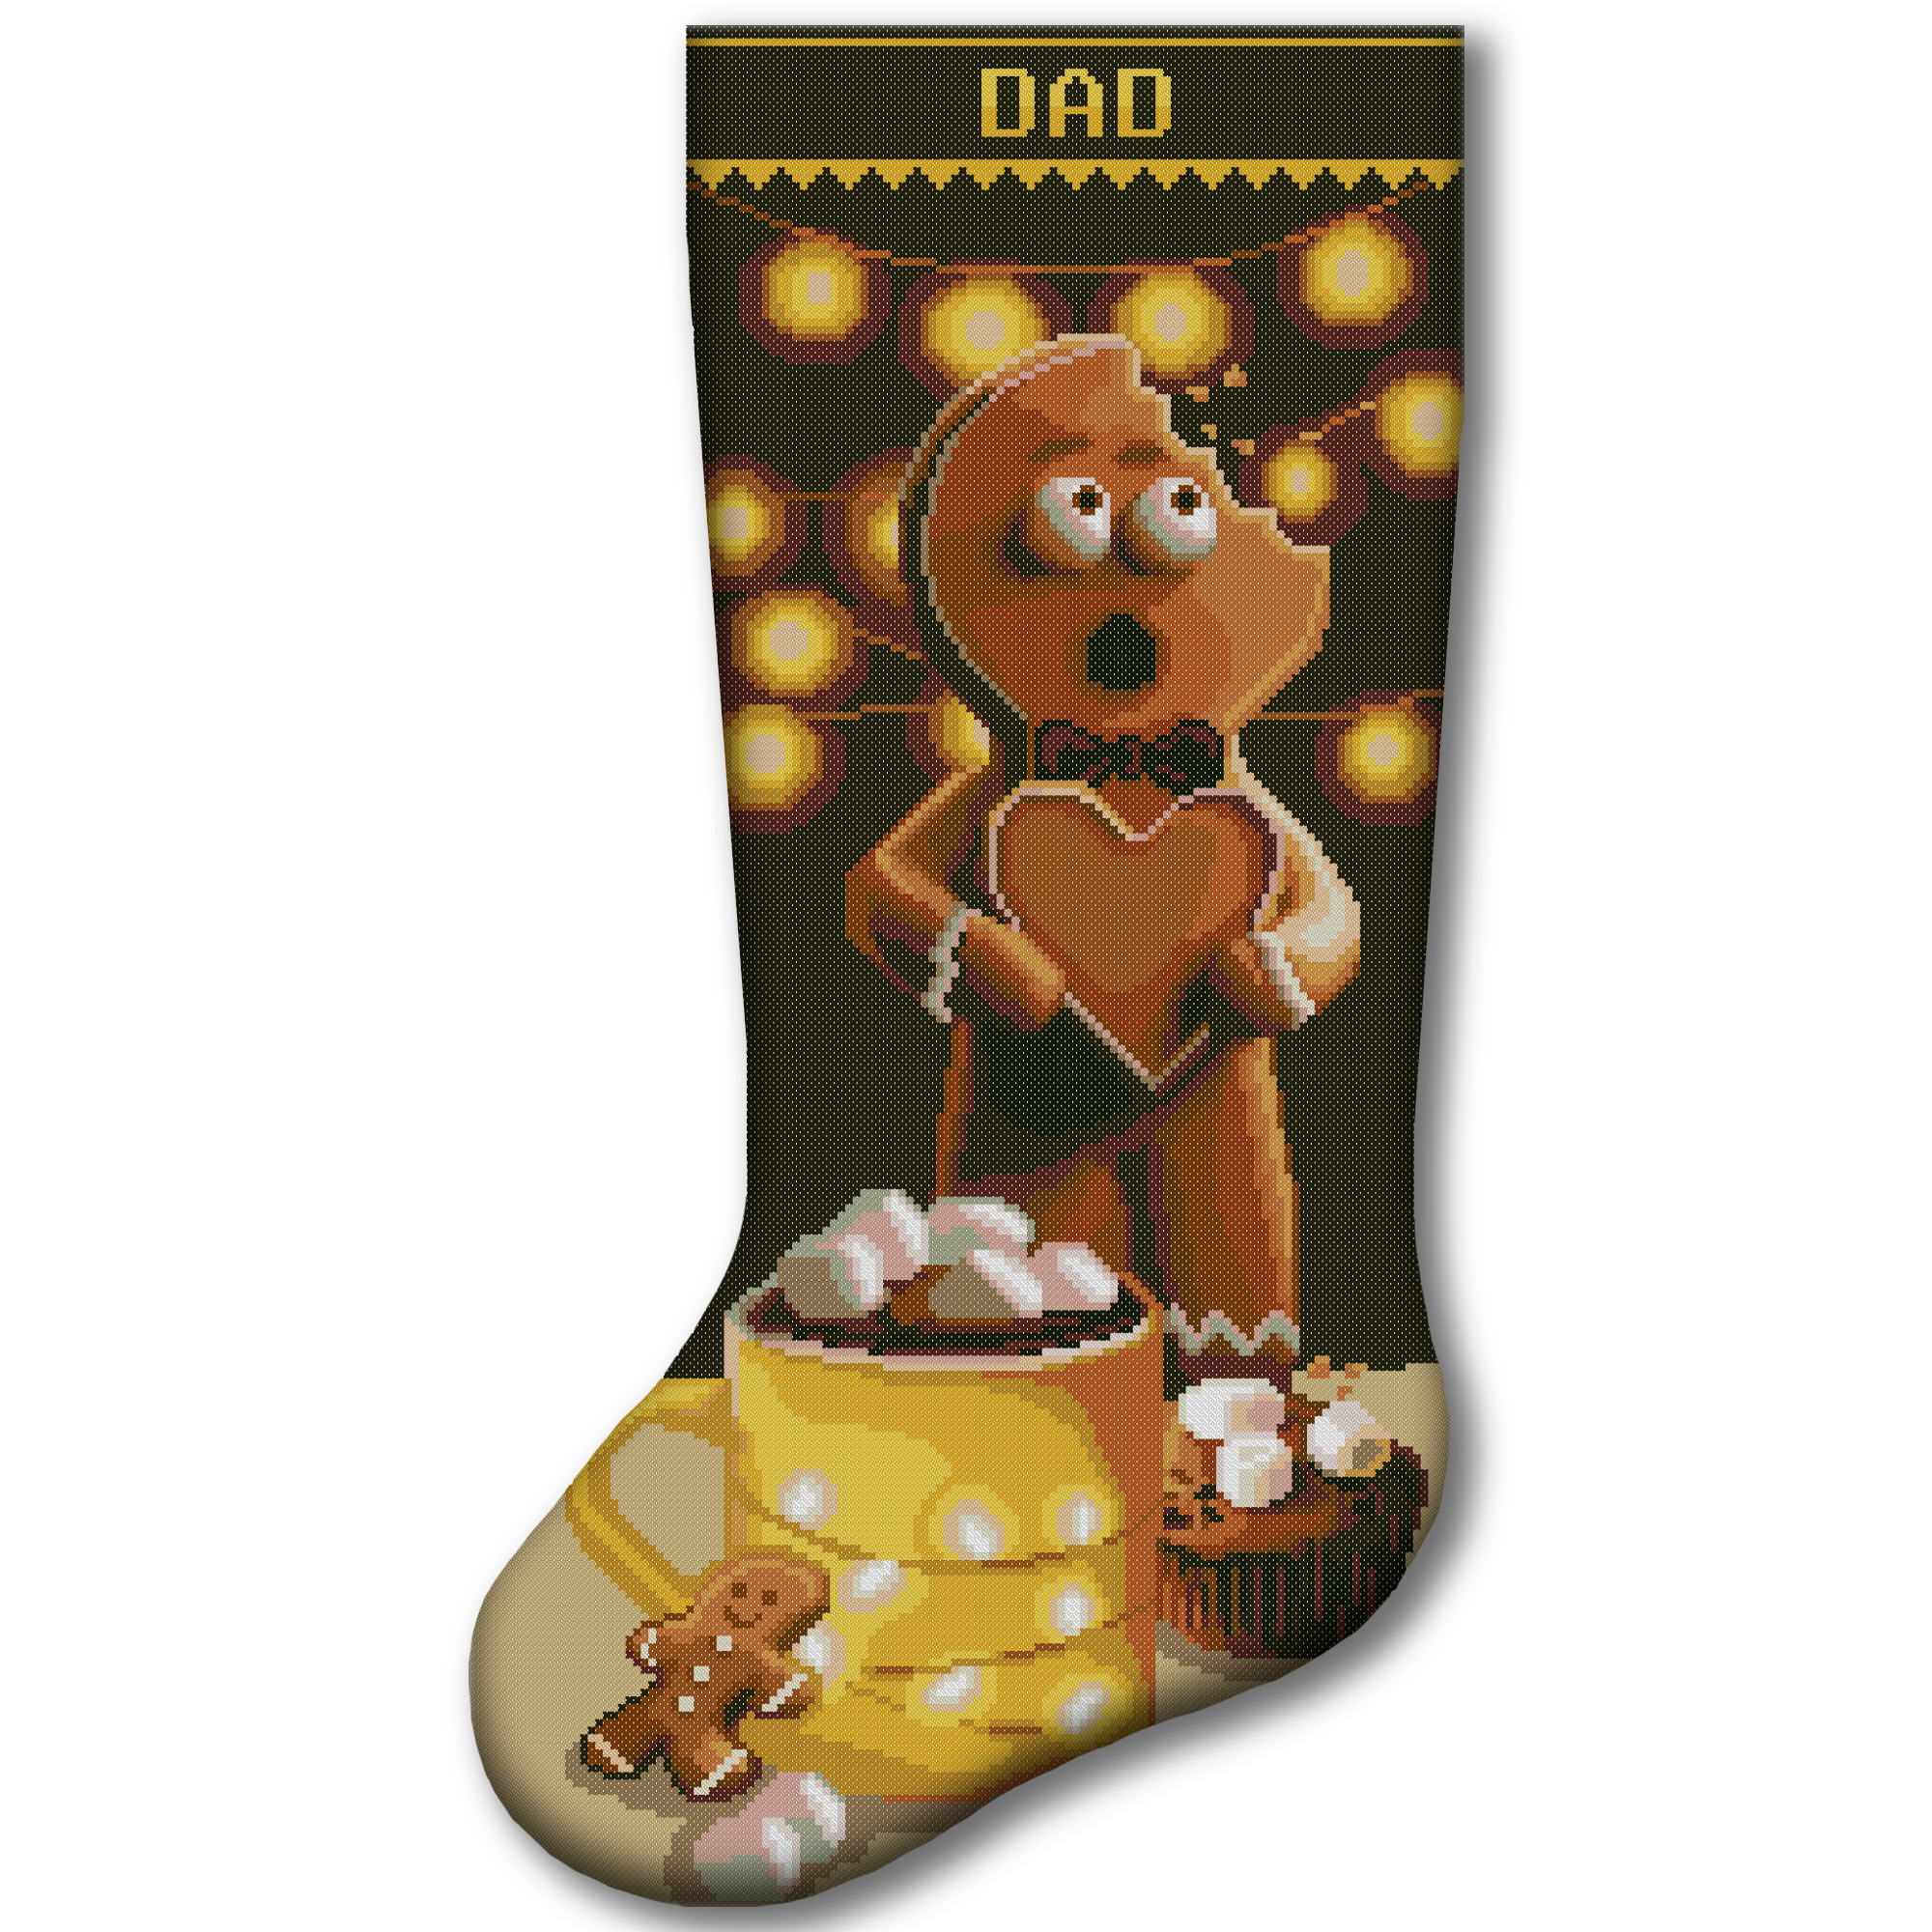
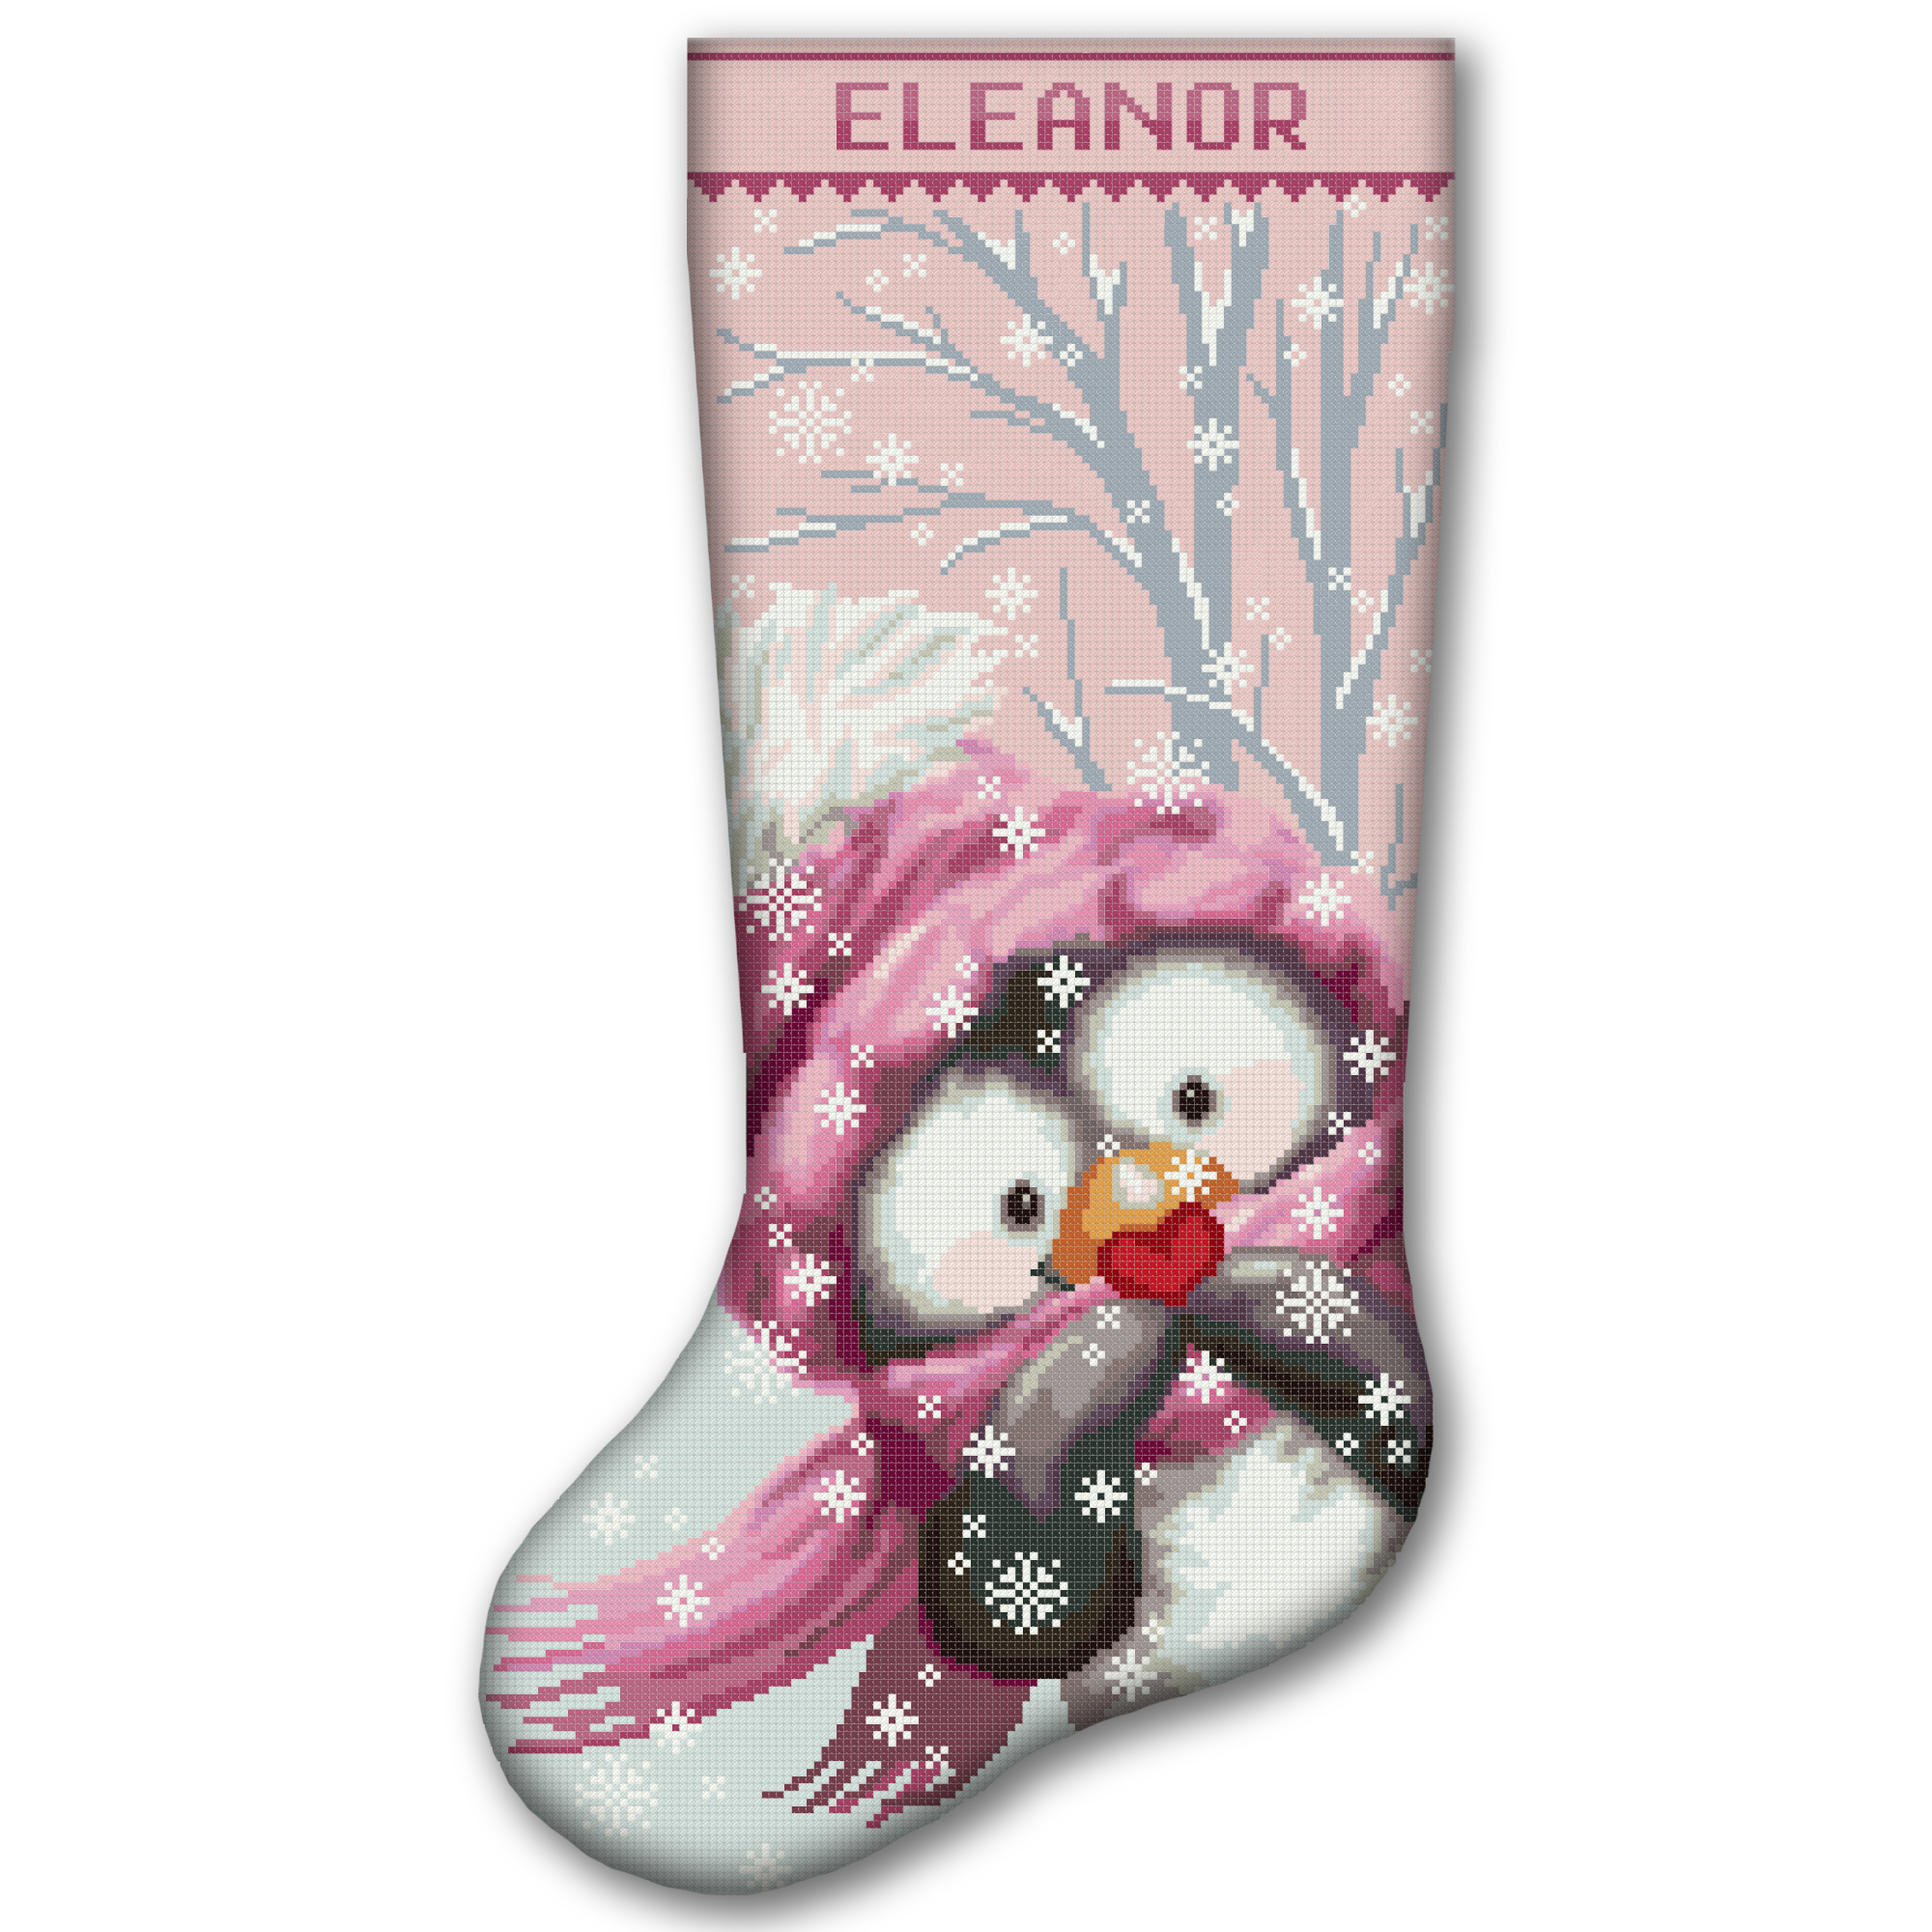
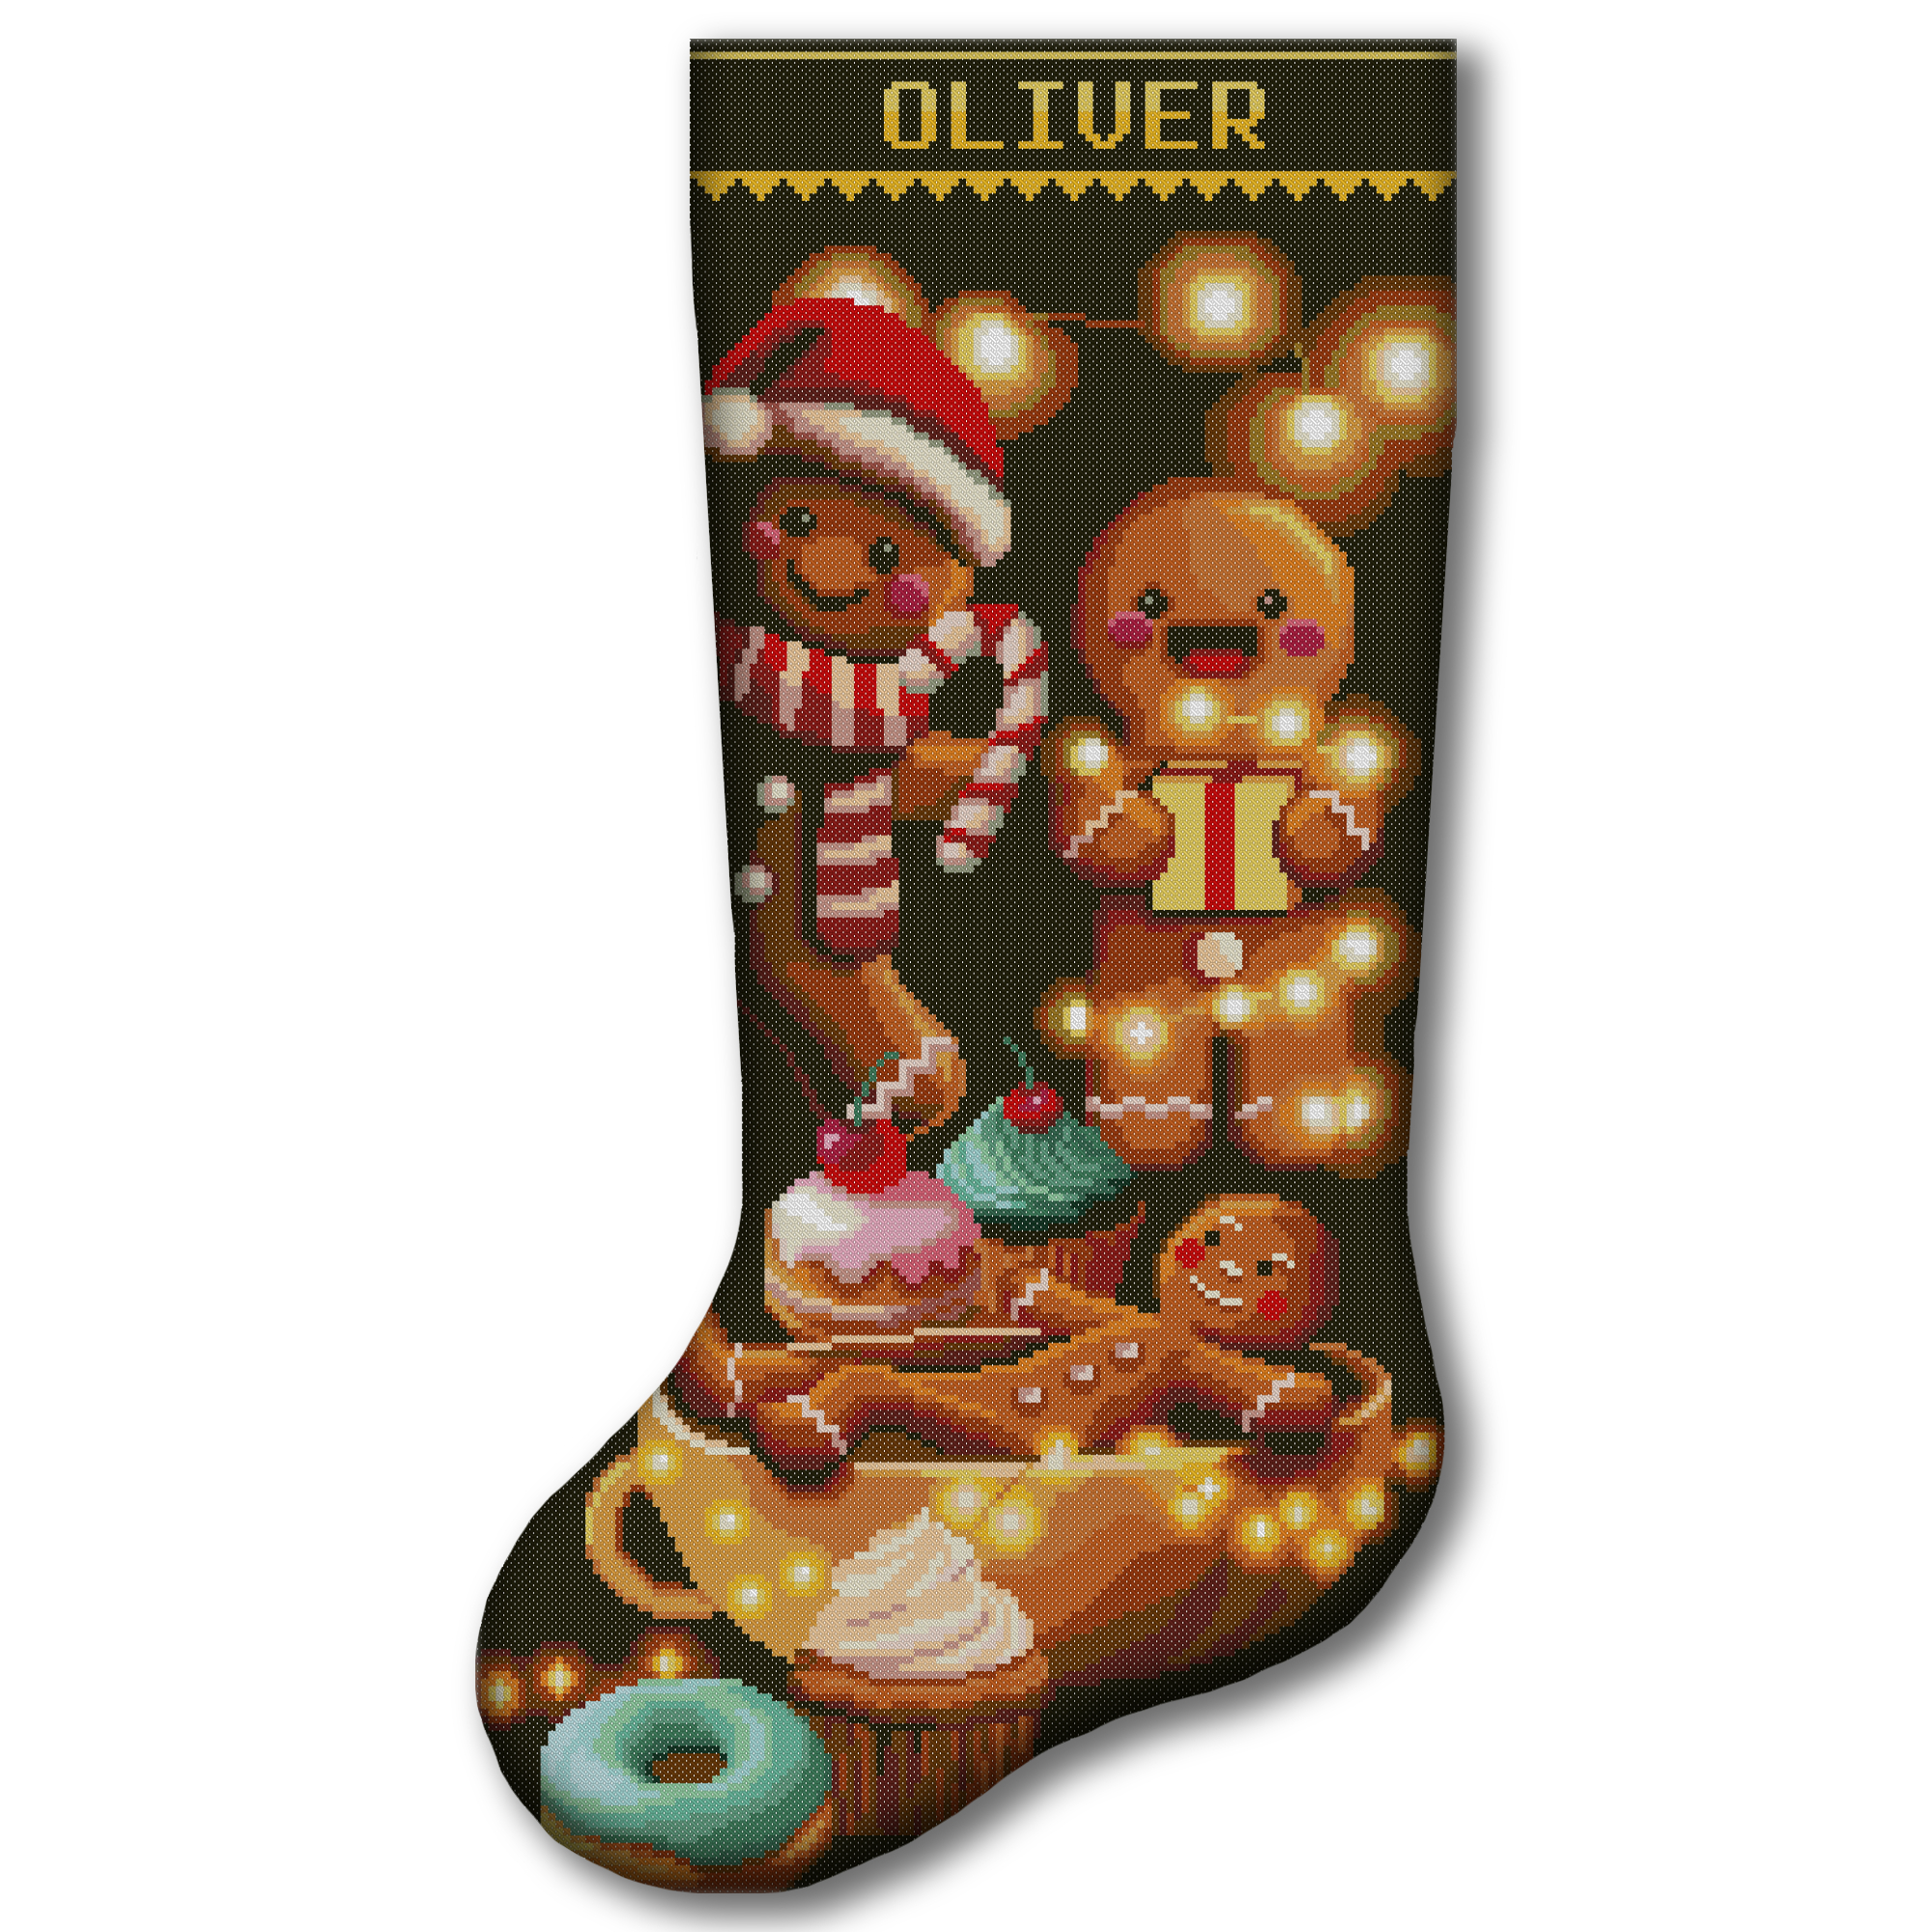
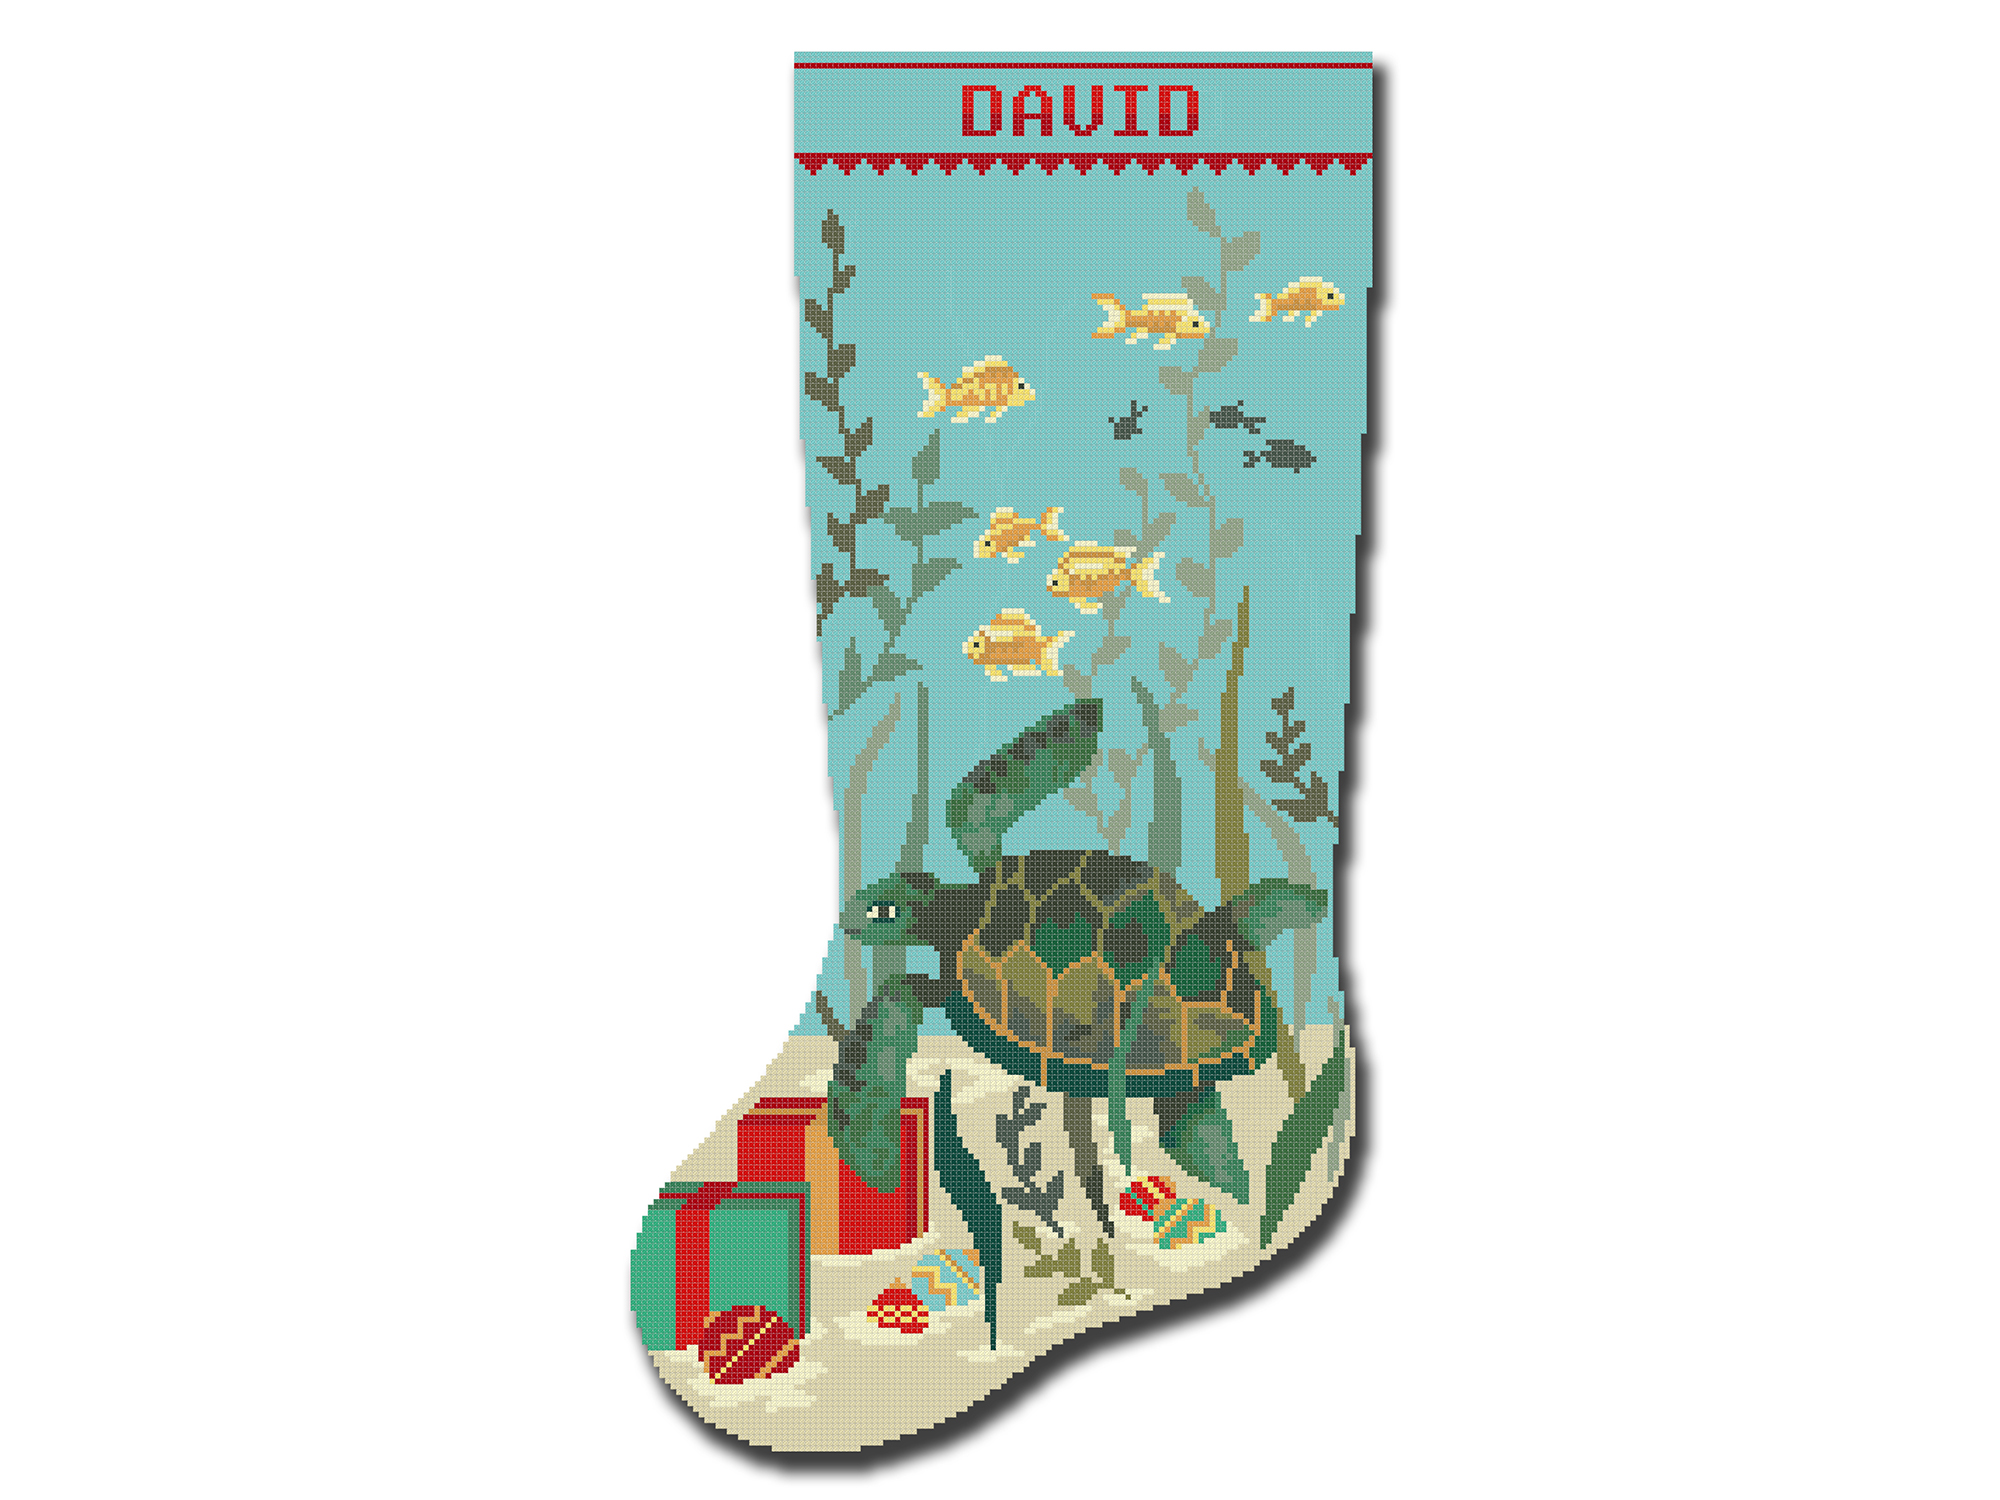
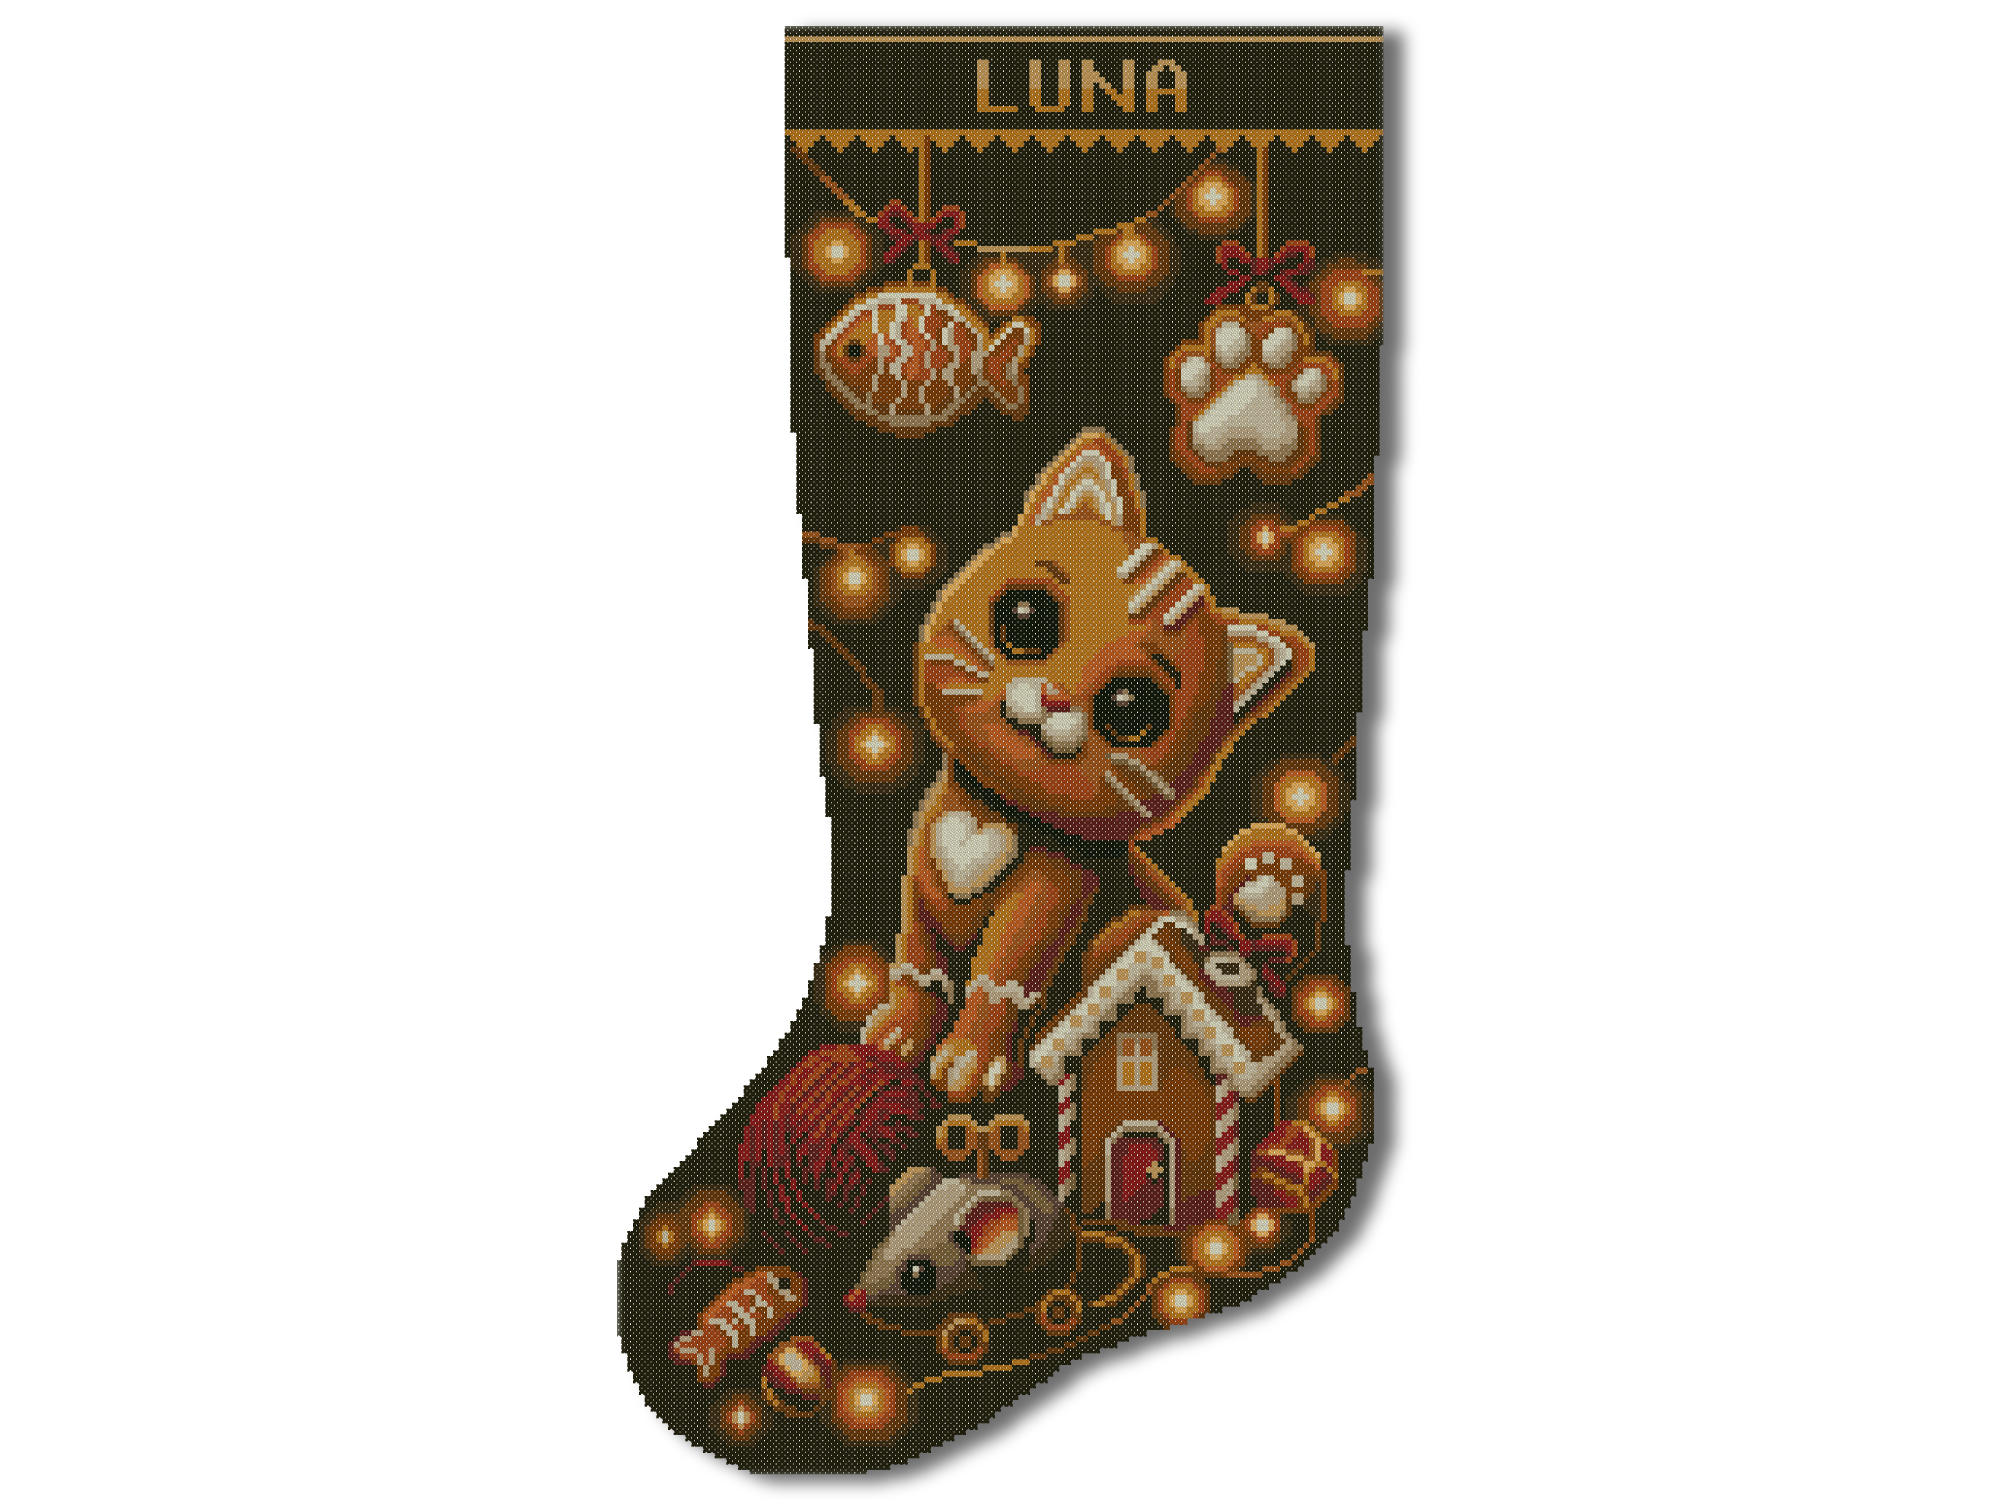
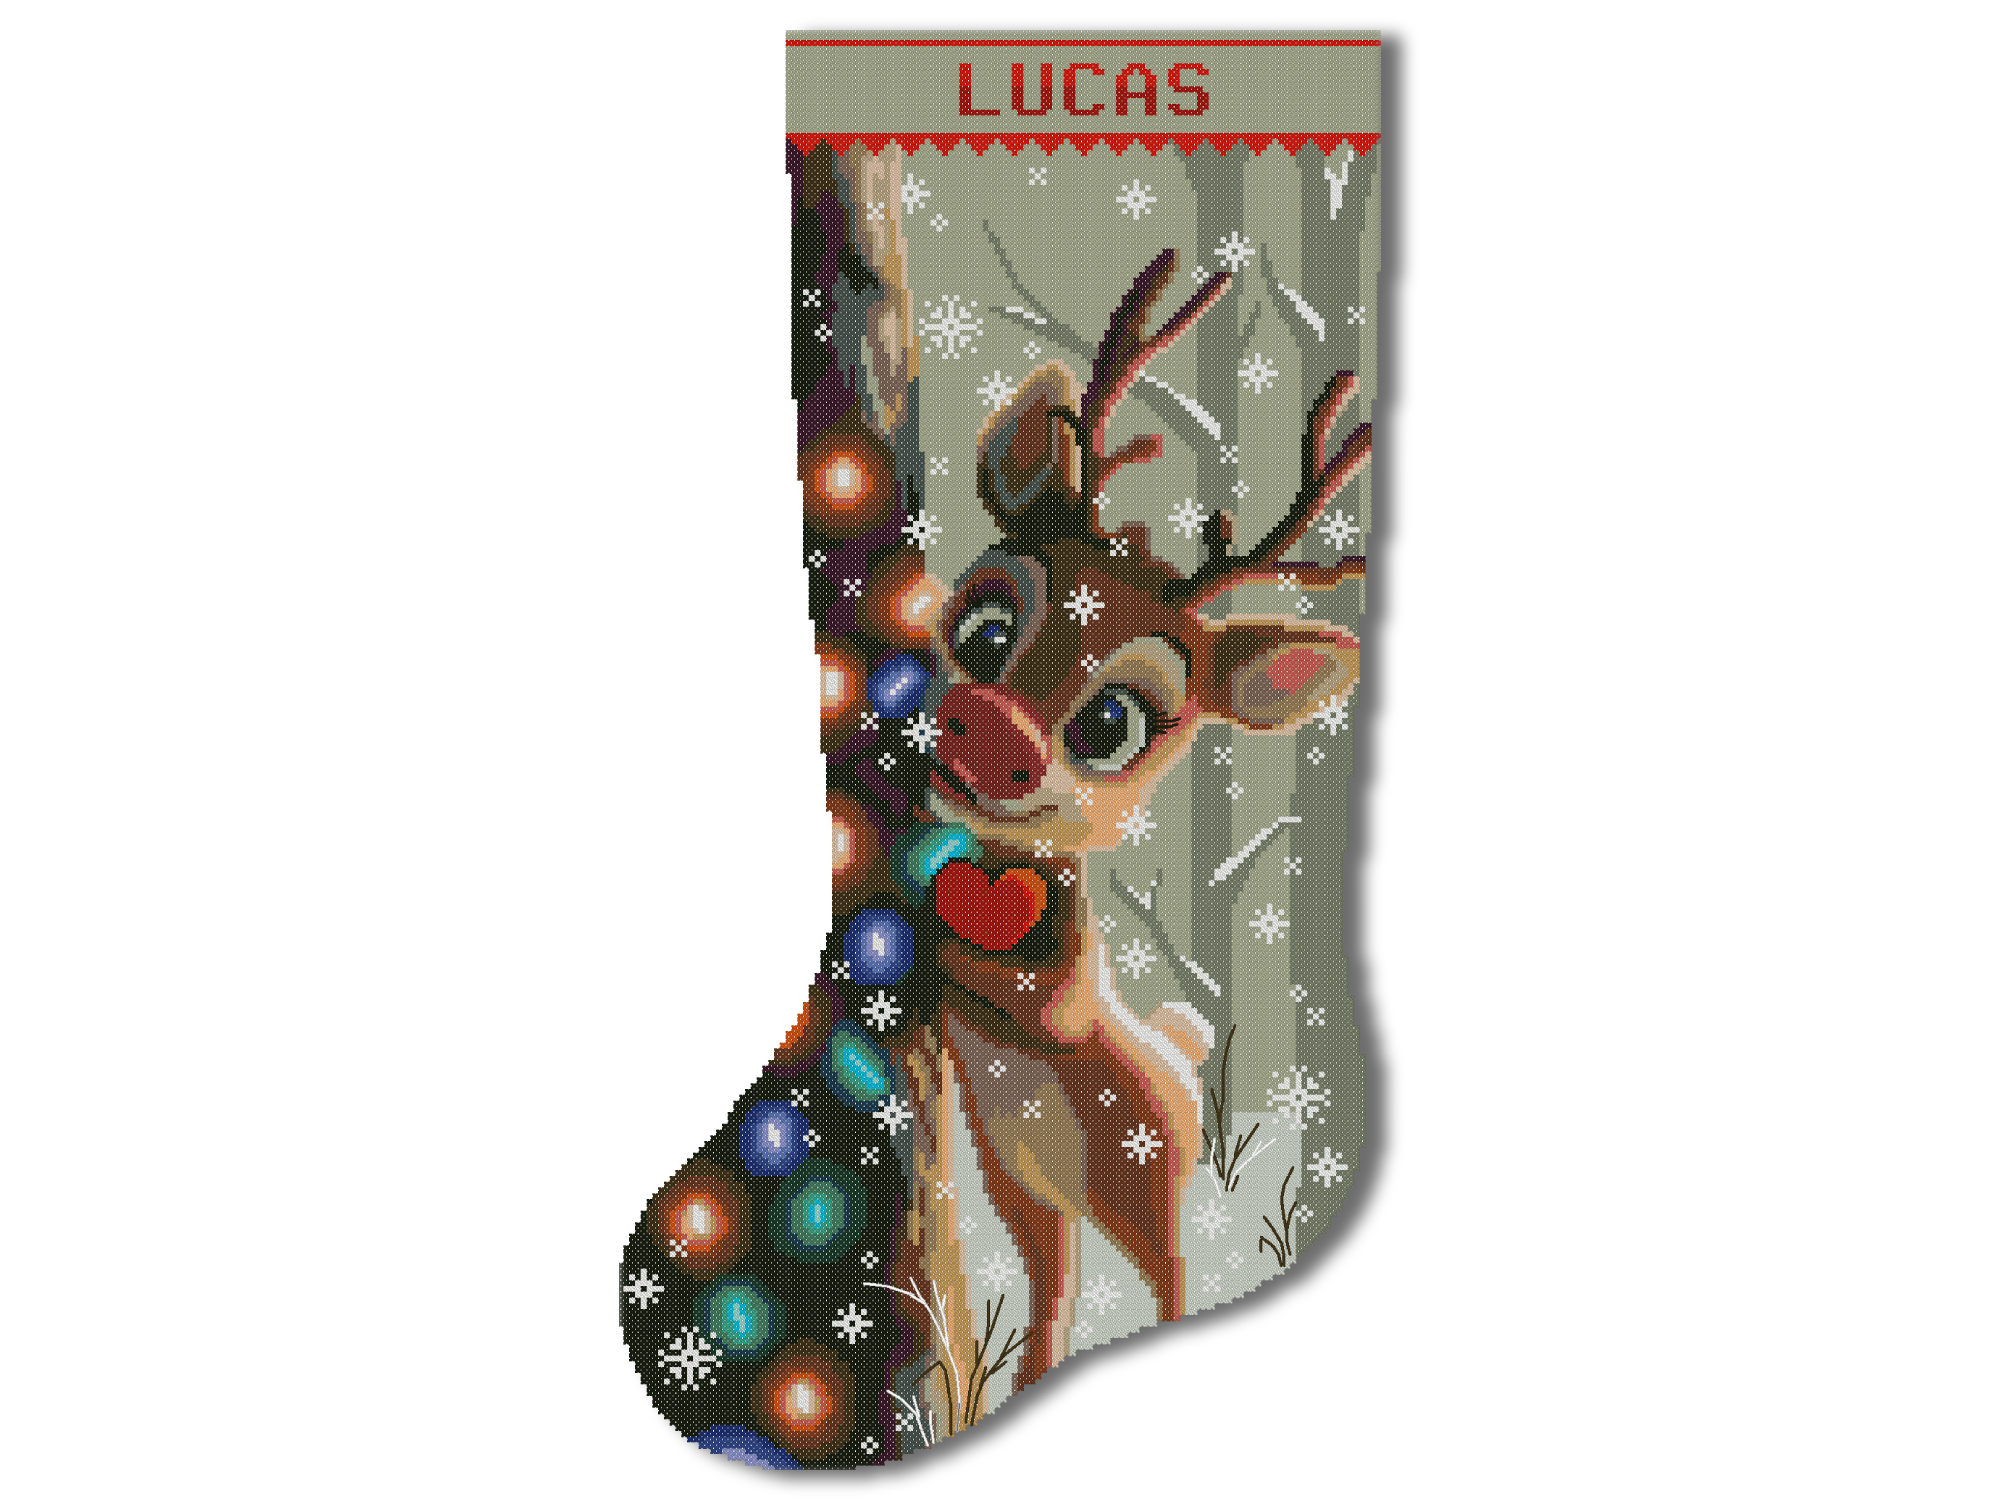
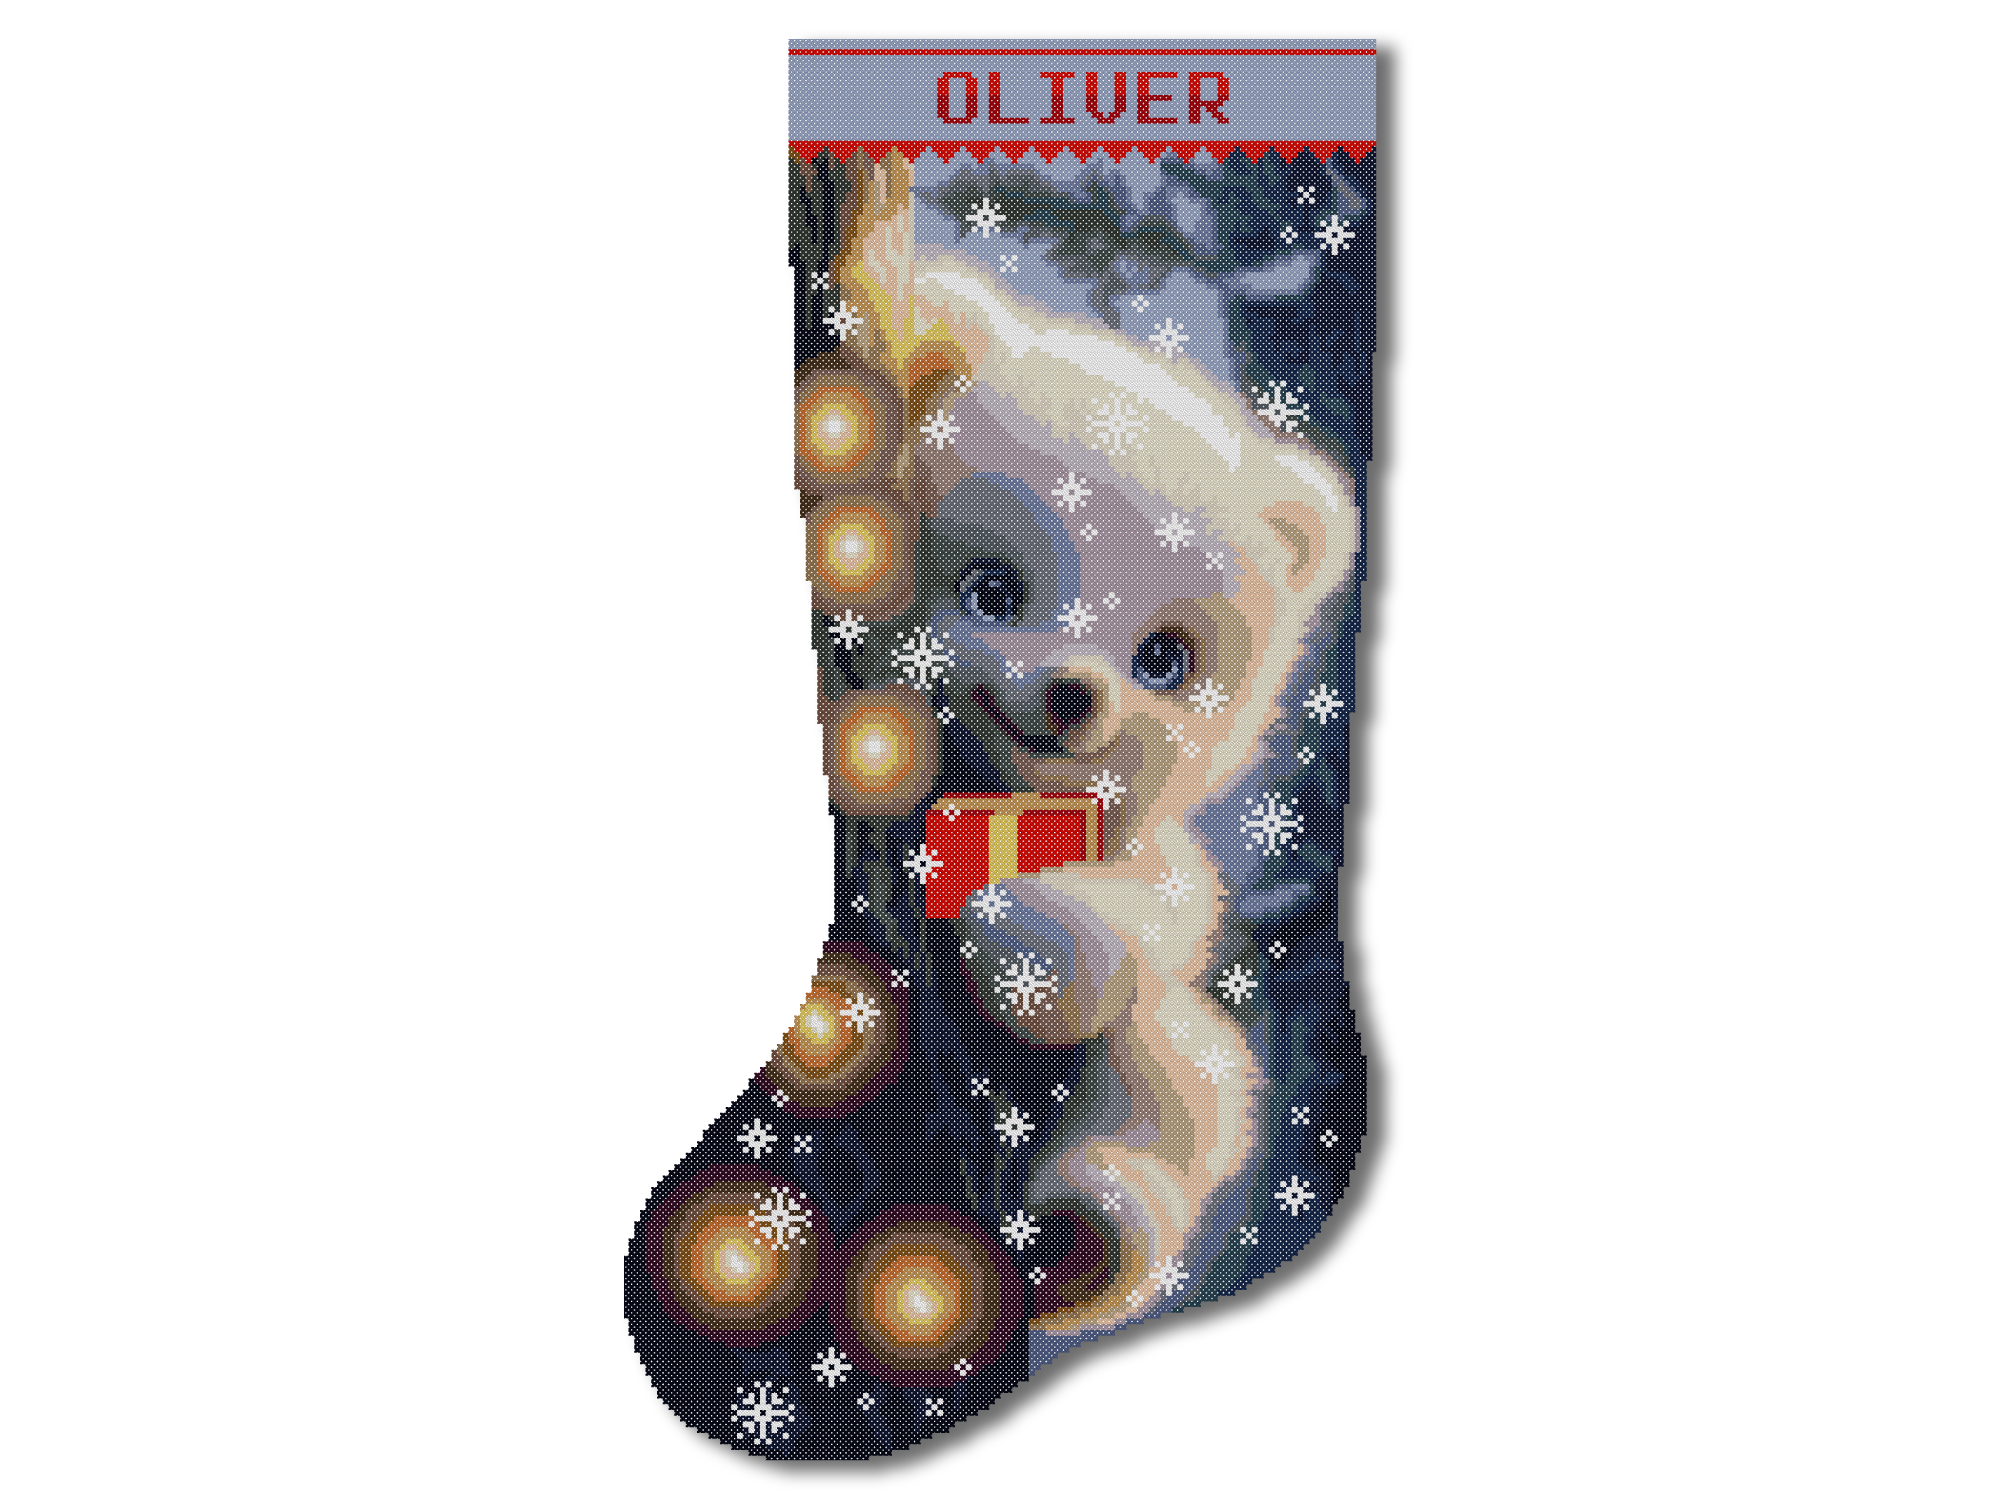
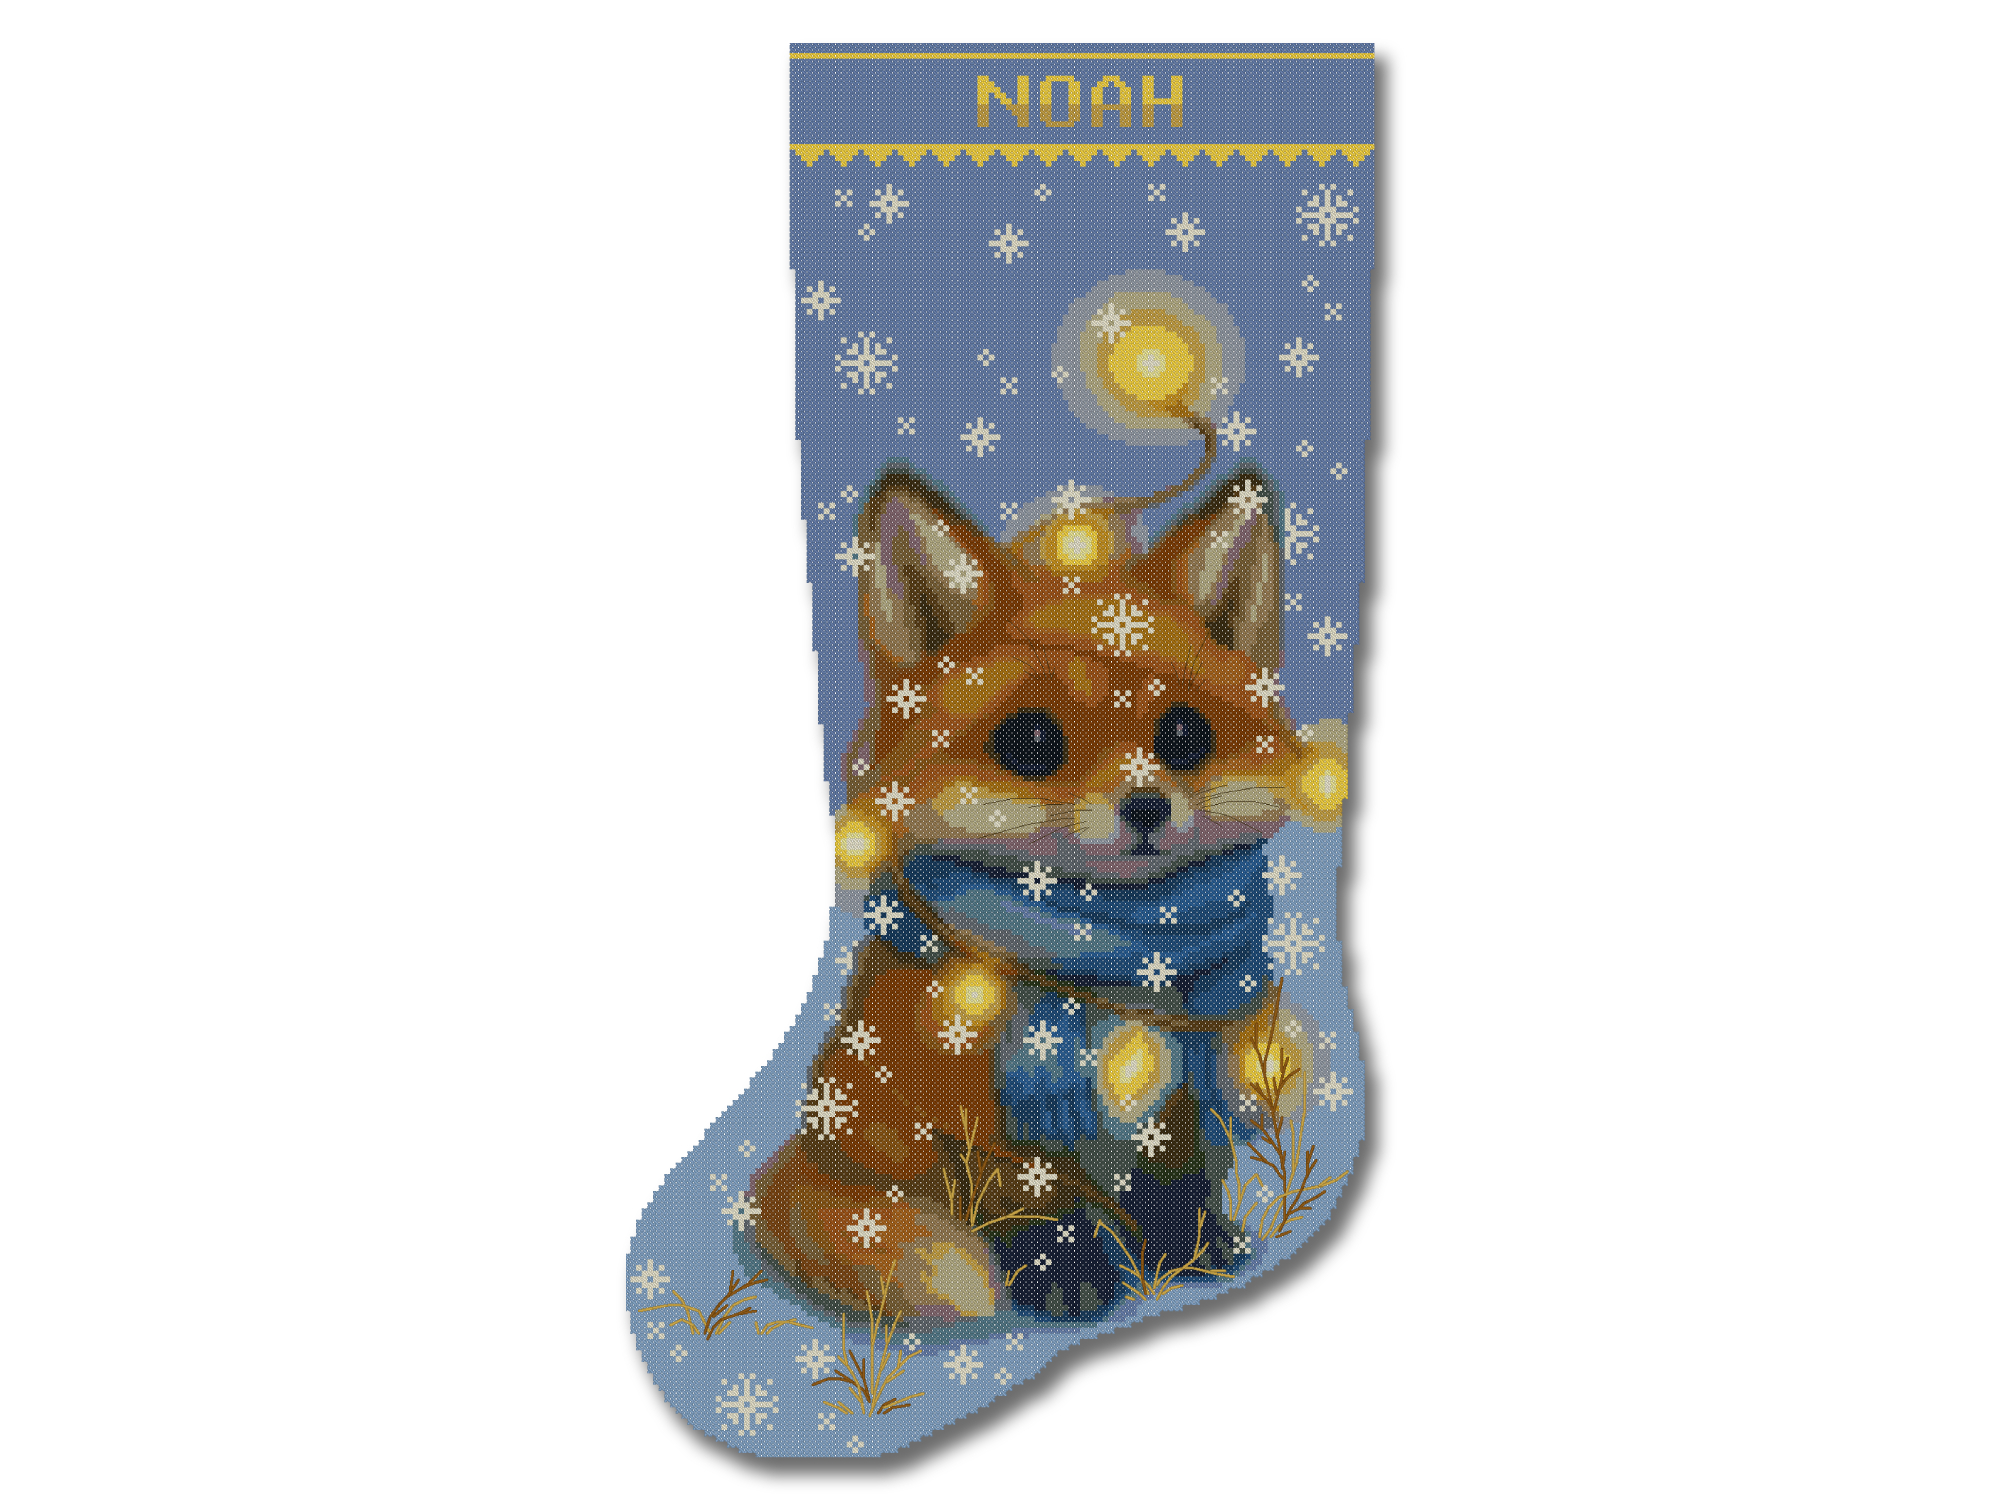
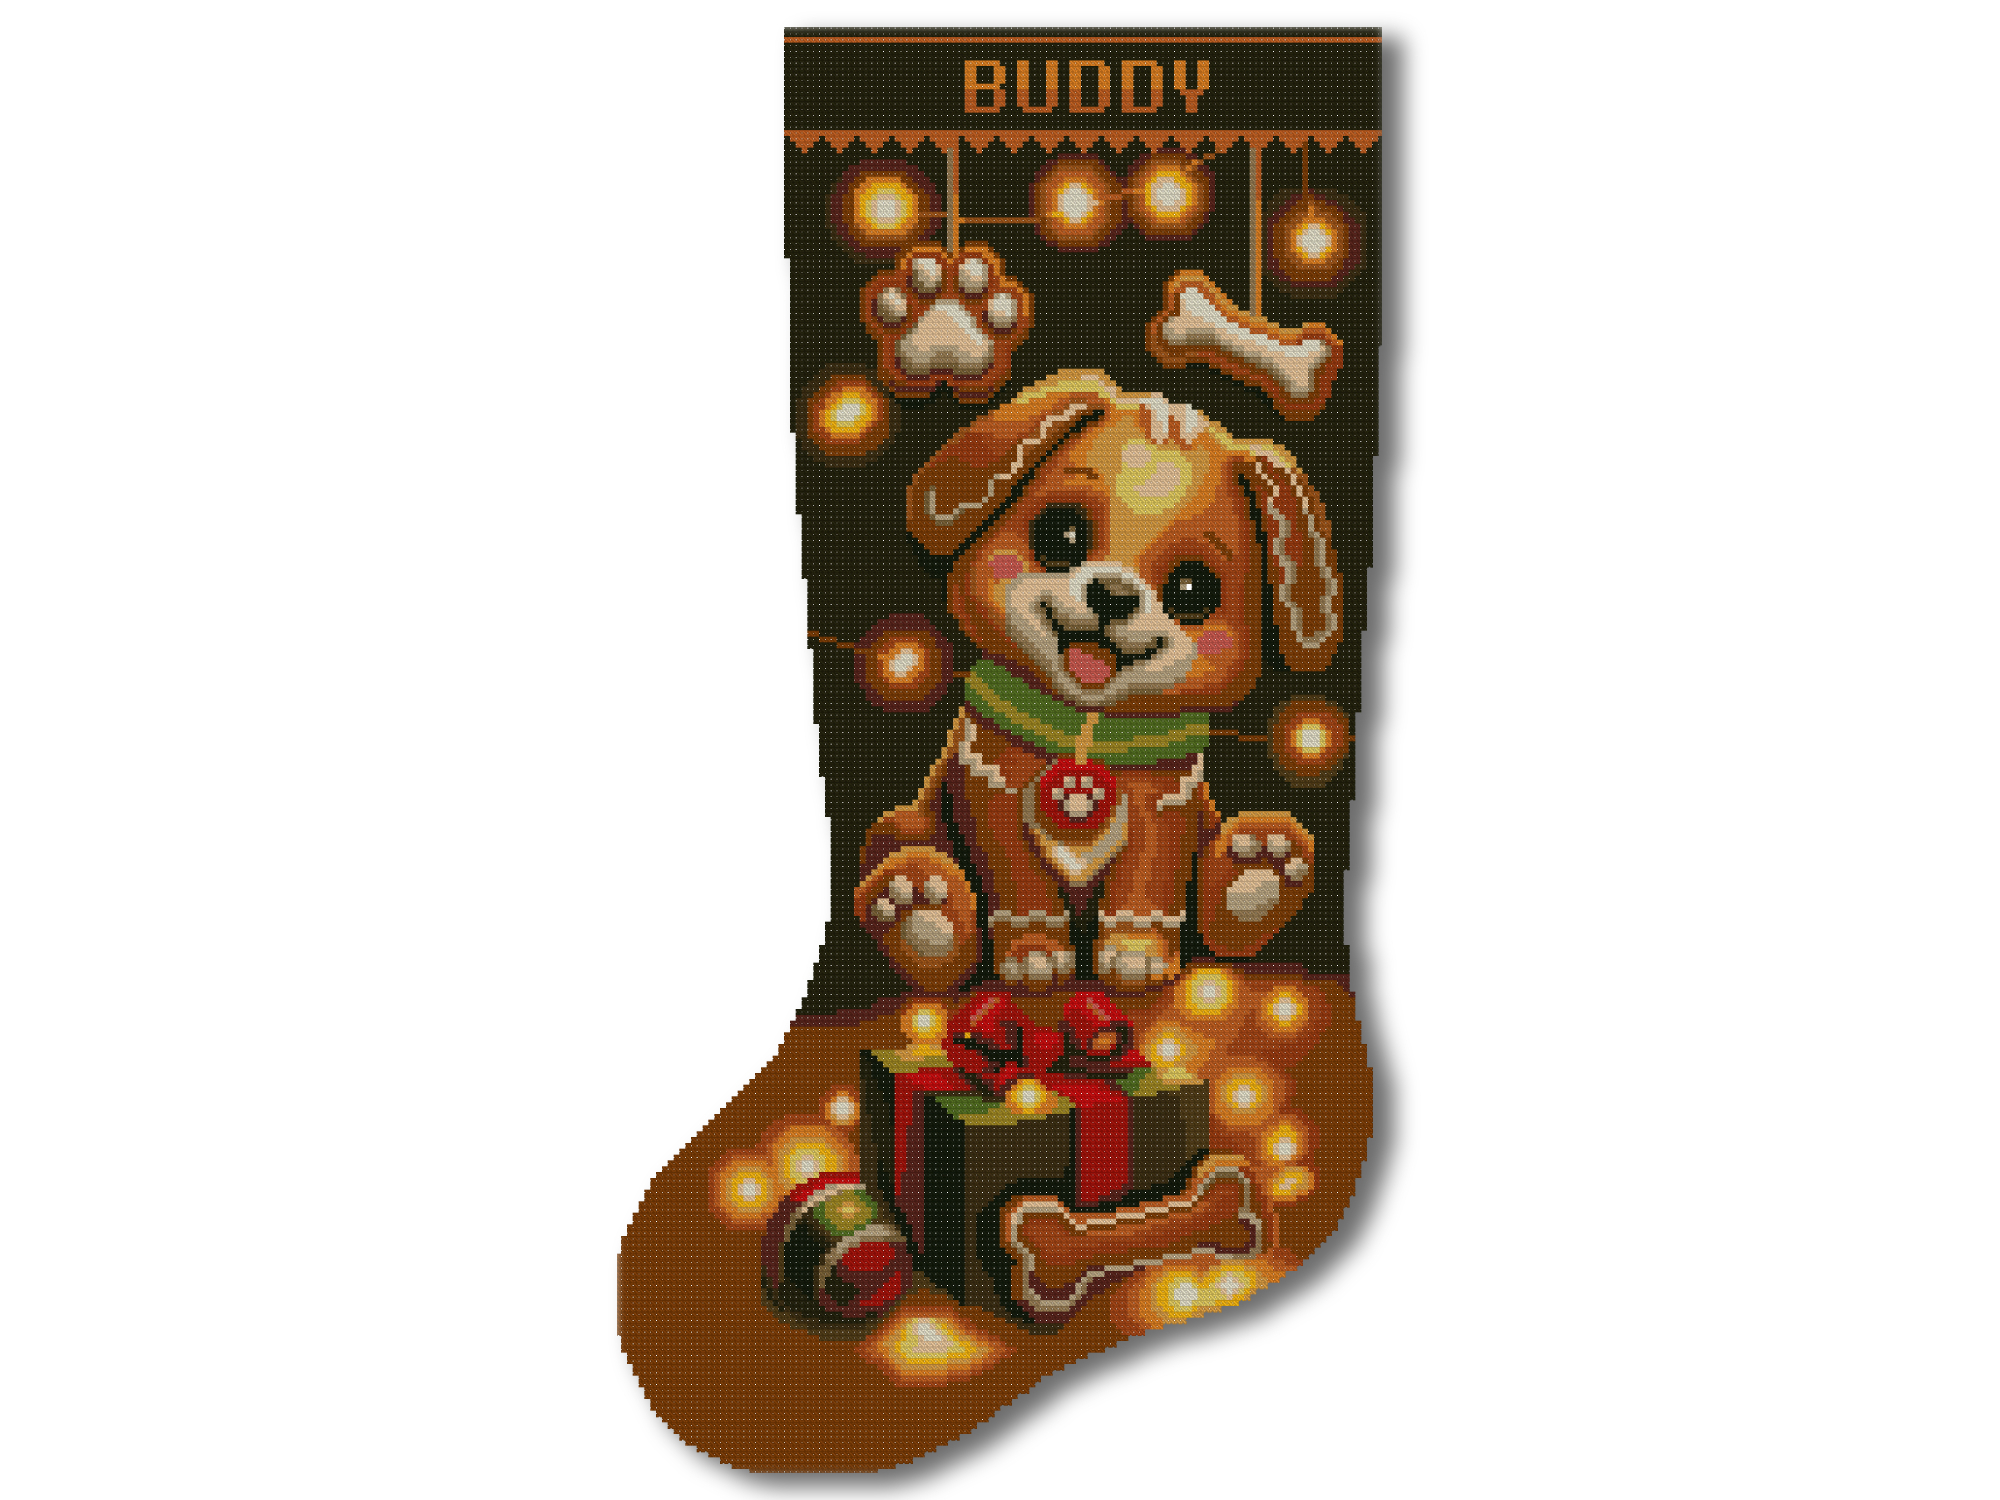
The best Christmas stocking cross stitch patterns for beginners are attractive, clearly explained and realistic to complete. Choosing your first one should feel exciting, not confusing. The picture may be the first thing you notice, but a beautiful design is only one part of a good beginner project. You also need to check the stitching method, fabric count, chart, stitch types, materials, finished size and instructions.
This simple guide will help you understand those details before you buy. You will learn how to choose between a digital pattern and a complete kit, how to spot a genuinely beginner-friendly design and how to plan a personalized Christmas stocking that you can finish with confidence.
Quick answer: Choose a stamped kit if you want the design printed on the fabric. Choose a digital counted pattern if you already have supplies and enjoy following a chart. Choose a 2-in-1 kit if you want both stamped and counted options in one box.
Explore personalized Christmas stocking cross stitch patterns →
What Makes a Christmas Stocking Cross Stitch Pattern Easy?
The word easy can mean different things on different product pages. A large stocking is not automatically too difficult for a beginner, and a small design is not automatically simple. A smaller pattern with many isolated stitches, similar colors and complicated outlines may be harder than a larger pattern made from clear blocks of color.
A beginner-friendly Christmas stocking pattern usually has:
- clear, easy-to-read symbols;
- good contrast between neighboring chart symbols;
- large areas of the same or similar colors;
- mostly full cross stitches;
- little or clearly marked backstitch;
- few or no fractional stitches, beads or complicated specialty stitches;
- a complete thread-color key;
- the stitch count and finished size;
- simple personalization instructions;
- clear directions for turning the embroidery into a real stocking.
Do not rely only on a “beginner” label. Read the complete description and check what the project actually requires.
Digital Pattern or Complete Cross Stitch Kit?
The most important first decision is whether you want a downloadable pattern or a physical kit. Both can create a beautiful personalized stocking, but they provide very different starting points.
| Feature | Digital PDF Pattern | Physical Cross Stitch Kit |
|---|---|---|
| Delivery | Instant download | Shipped physical product |
| Fabric and floss | Purchased separately | Included |
| Needles | Purchased separately | Included in CrossStitchStyleArte kits |
| Choice of fabric | You choose the fabric and count | Fabric is selected for you |
| Preparation | You collect the materials | Most materials are already prepared |
| Best for | Stitchers who own supplies or want flexibility | Beginners, gift buyers and convenient project planning |
Choose a Digital Christmas Stocking Pattern If:
- you want to begin immediately;
- you already own Aida, floss and needles;
- you enjoy counted cross stitch;
- you want to choose your own fabric color or fabric count;
- you prefer viewing a chart on a computer or tablet;
- you want an affordable way to build a family stocking collection.
CrossStitchStyleArte digital stocking patterns include clear printable charts, a DMC color list, design measurements and an alphabet for personalization. The individual product page explains the exact files and design details included with that pattern.
Important: A digital pattern is not a physical kit. Fabric, floss, needles and finishing materials are not shipped with a PDF download.
Browse all digital Christmas stocking patterns →
Choose a Complete Christmas Stocking Kit If:
- this is your first large cross stitch project;
- you do not already own the required materials;
- you want the fabric, floss, needles and instructions prepared for you;
- you are buying a creative gift for another person;
- you do not want to calculate and purchase every color separately;
- you want finishing materials for creating a usable stocking.
CrossStitchStyleArte Christmas stocking kits include the main supplies required for stitching and finishing. Depending on the selected kit, this may include stamped 14-count Aida, blank white 14-count Aida for counted cross stitch, organized cotton floss, approximately 30% extra thread, two tapestry needles, printed charts, an alphabet, backing fabric, finishing instructions and materials for the hanging loop.
Small embroidery scissors are still useful, and a hoop or frame is optional. Always check the individual product page before ordering.
Explore Christmas stocking cross stitch kits →
Stamped, Counted or 2-in-1: Which Is Best for a Beginner?
Stamped Cross Stitch
In stamped cross stitch, the design is printed directly on the fabric. You follow the printed symbols and cover them with cross stitches. The printing is removed according to the kit instructions after all stitching is complete.
Stamped cross stitch is often the easiest option for a complete beginner because it reduces counting. It is a good choice if you want a more guided and relaxing project.
Counted Cross Stitch
In counted cross stitch, you begin with blank fabric and follow a separate chart. Each square on the chart represents a square on the fabric. You count carefully to place every stitch in the correct position.
Counted cross stitch gives you more freedom to select your own fabric, but it requires more concentration. It is a good choice if you enjoy charts, counting and traditional cross stitch.
2-in-1 Christmas Stocking Kit
A 2-in-1 kit gives you two fabric options for the same design: pre-printed fabric for stamped cross stitch and blank 14-count Aida for counted cross stitch. You choose the method you want to use for one finished stocking.
This is a practical choice when you are not sure which method you will enjoy. It is also useful as a gift because the recipient can choose the stitching style that feels most comfortable.
Compare stamped and counted cross stitch in detail →
How to Check the Real Difficulty Before Buying
1. Check the Fabric Count
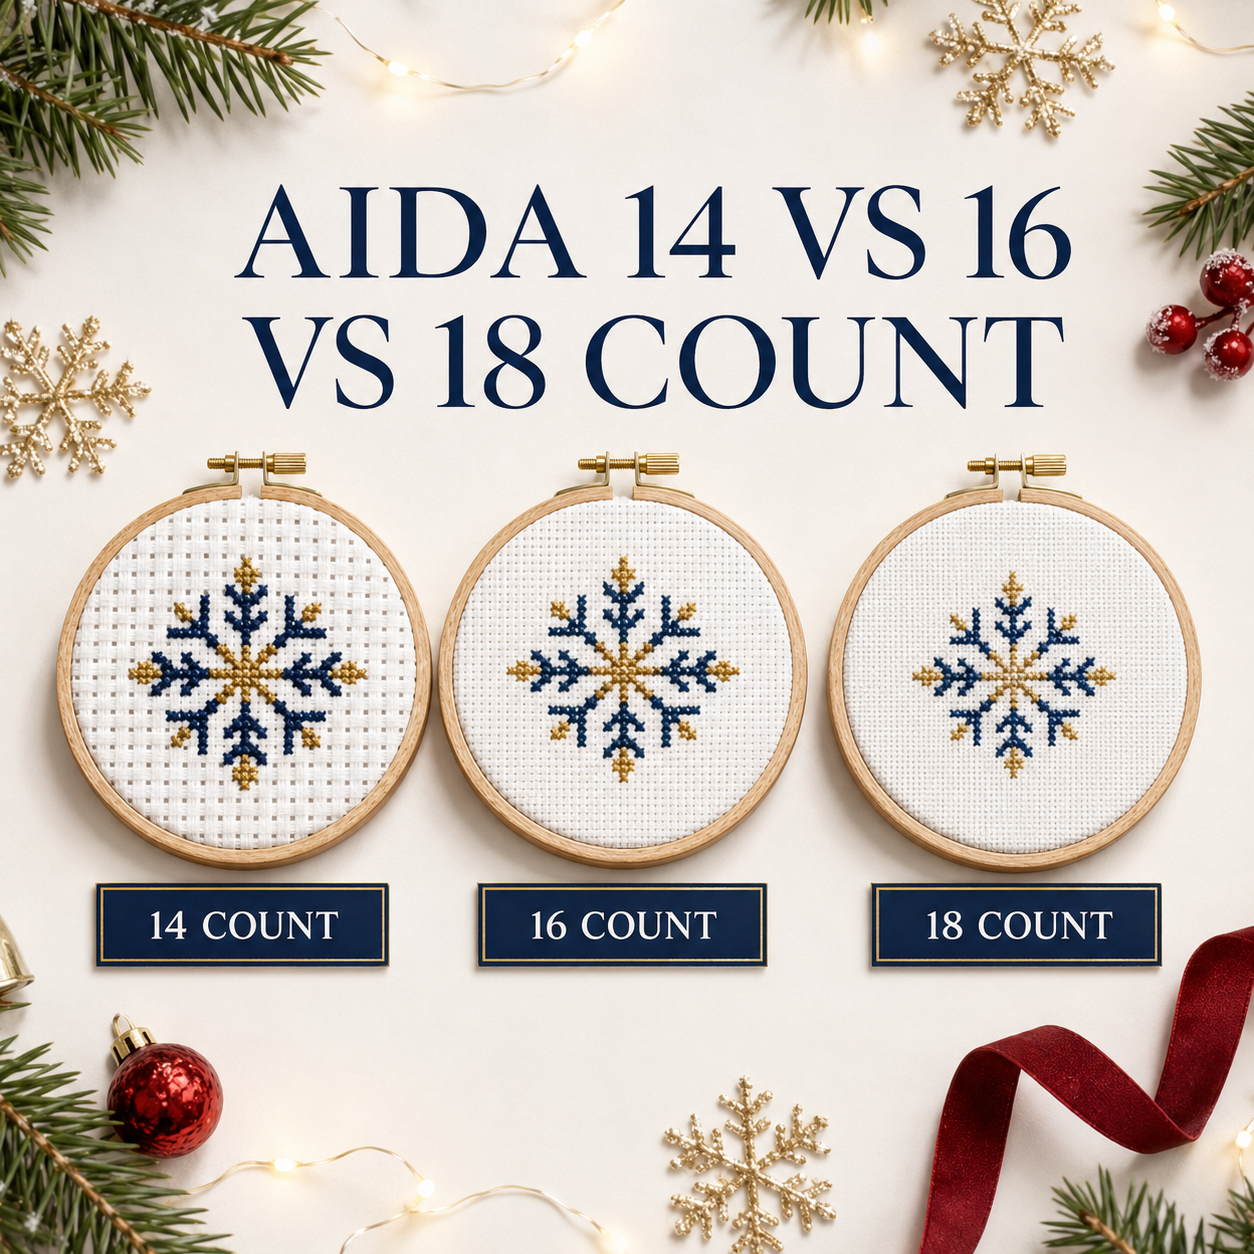
Fabric count tells you how many stitches fit into one inch of fabric. On lower-count fabric, the squares are larger and easier to see. On higher-count fabric, the stitches are smaller.
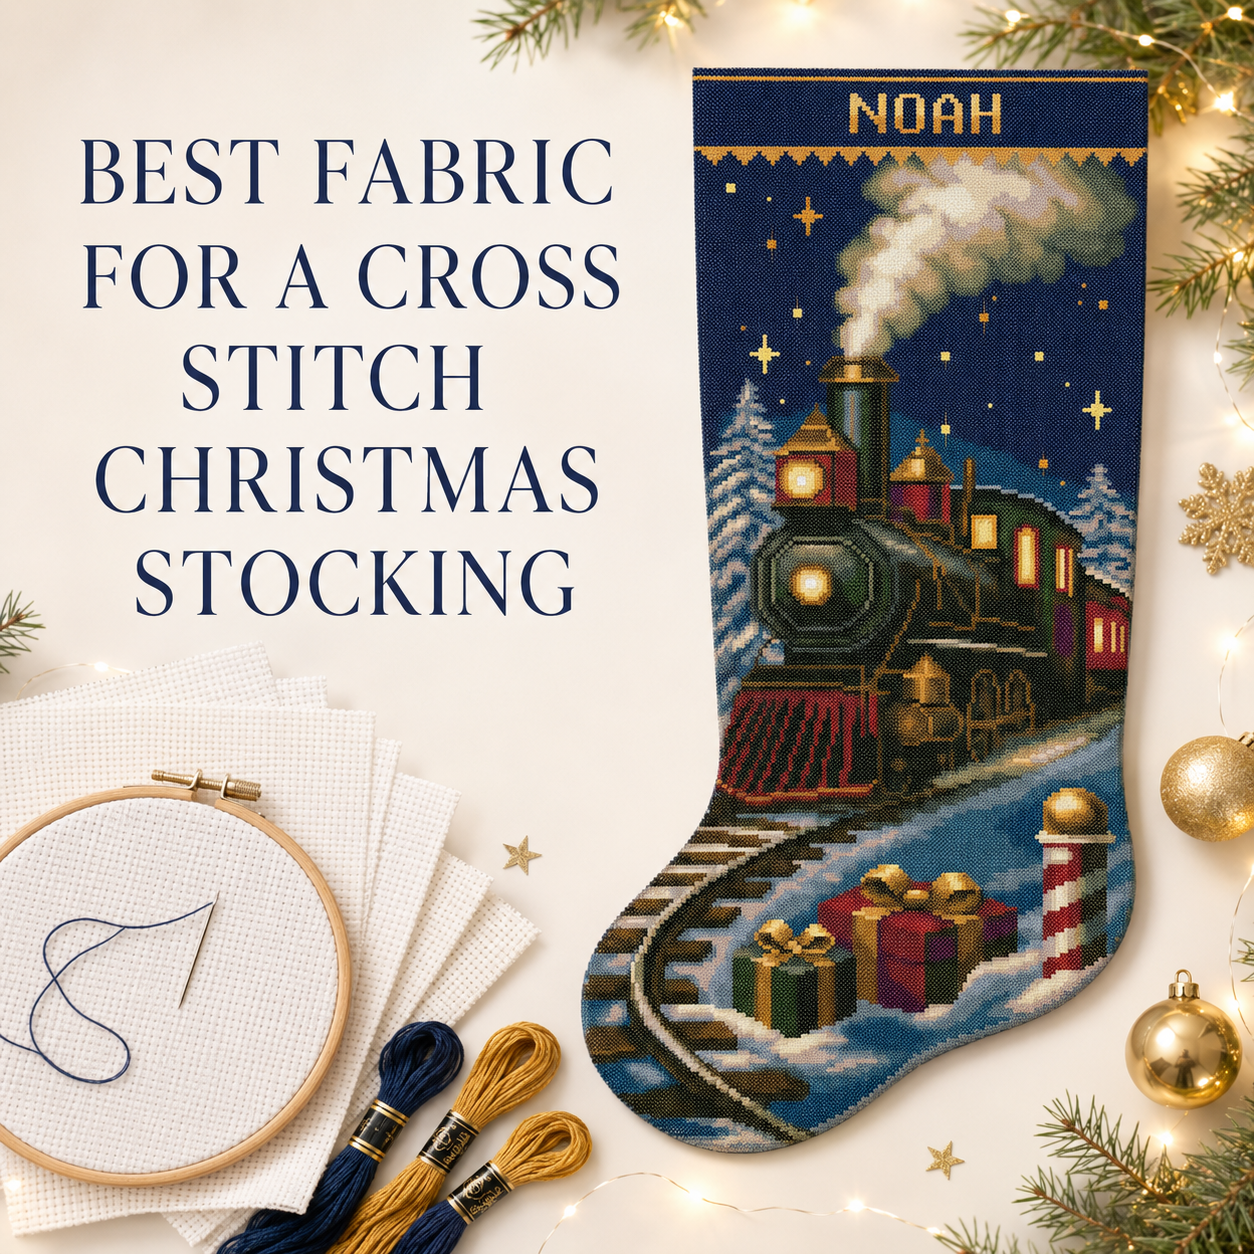
Fourteen-count Aida is a popular beginner choice because its holes are easy to recognize while the finished stitches still look detailed. Many CrossStitchStyleArte stocking patterns are designed for 14-count Aida.
2. Check the Stitch Types
Full cross stitches are the easiest place to begin. Backstitch is also simple once you understand how it works, but a design with a large amount of detailed outlining will take more time.
If this is your first project, look for a pattern made mainly from full crosses. Avoid choosing your first large stocking solely because it contains metallic floss, beads, many French knots or complicated fractional stitches. Those details can be beautiful, but they are not necessary for a professional result.
3. Look at the Color Changes
A pattern with 25 colors can sometimes be easier than a pattern with 15 colors. What matters is how the colors are arranged.
Large, clear color sections are easier to follow. Many single stitches scattered across the chart require frequent thread changes and more careful counting.
4. Check the Stitch Count and Coverage
The finished measurement does not tell you how long the project will take. Two stockings of the same size can require very different amounts of stitching.
Check:
- the width and height in stitches;
- how much of the fabric is covered;
- the amount of backstitch;
- the number of isolated stitches;
- the number of hours you can stitch each week.
Use the free Cross Stitch Time Calculator and Planner to estimate your hours and create a realistic schedule before Christmas.
5. Read What Is Included
Never assume that the photograph shows everything you will receive. A pattern and a kit are different products.
Before buying, confirm:
- whether the product is digital or physical;
- whether fabric and floss are included;
- whether the chart is suitable for printing or tablet use;
- whether an alphabet is included;
- whether the pattern explains how many strands to use;
- whether backing fabric and finishing instructions are included;
- whether you need a hoop, scissors or other tools.
Choose a Stocking Design That Feels Personal
The easiest pattern is not always the best pattern for you. You are more likely to finish a project when you truly love the design and know who it is for.
Baby’s First Christmas Stocking Patterns
A personalized first Christmas stocking can include the baby’s name and year, turning the finished embroidery into a family keepsake. Soft blue, pink and gender-neutral gingerbread designs make thoughtful projects for a child, grandchild, niece or nephew.
- Baby’s First Christmas gingerbread boy pattern
- Baby’s First Christmas gingerbread girl pattern
- Gender-neutral Baby’s First Christmas pattern
Matching Family Christmas Stockings
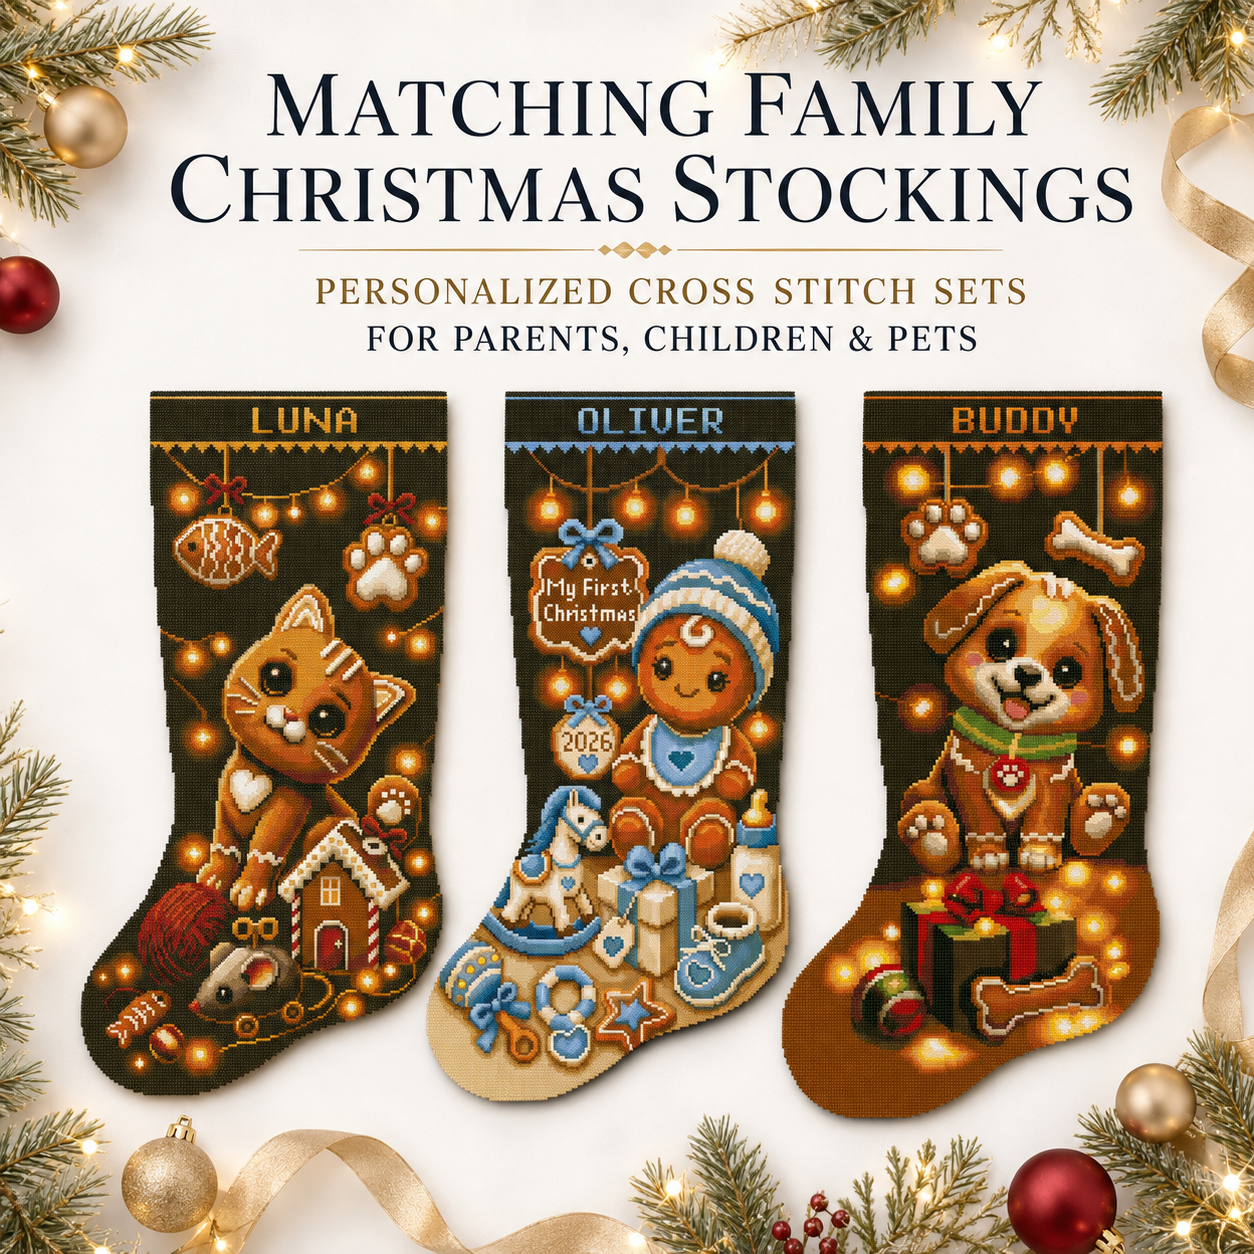
Matching patterns help create a coordinated fireplace display while giving every family member an individual design and name. A family collection can also be more economical than purchasing each PDF separately.
View the personalized gingerbread family pattern collection →
Woodland Animal Stocking Patterns
Reindeer, foxes, moose, bunnies, owls and polar bears work well for children and adults. Their winter colors look coordinated without making every stocking identical.
Explore the personalized woodland animal pattern bundle →
Gingerbread Christmas Stockings
Gingerbread designs feel warm, playful and traditional. They are a good choice for families because different characters and colors can represent parents, children and couples while still looking like one collection.
See the personalized Gingerbread Delight PDF pattern →
Pet and Hobby-Themed Stockings
A cat, dog, dinosaur or gamer-themed stocking can feel more personal than a general Christmas design. Choose a theme that reflects the recipient’s personality. The finished stocking will be more meaningful, and you will have more motivation to complete it.
How to Personalize a Cross Stitch Christmas Stocking
Many stocking patterns include an alphabet so you can add a name to the cuff. Some designs also provide space for a year or short phrase.
Before stitching the first letter:
- Find the usable cuff width in stitches.
- Calculate the width of every letter.
- Add the spaces between letters.
- Find the center of the complete name.
- Match it with the center of the stocking cuff.
- Check the spelling before you begin.
You do not need to solve this by guessing. Use the free Cross-Stitch Stocking Name Centering Calculator to calculate the starting and ending positions and preview the name before stitching.
Plan Your Fabric, Floss and Time Before Starting
A little planning prevents the most frustrating beginner problems: fabric that is too small, missing floss and a project that cannot be finished before Christmas.
Calculate the Fabric Size
If you purchase a digital pattern, enter the design width, design height, fabric count and required margins into the free Cross Stitch Fabric Calculator.
Remember that a stocking also needs enough fabric around the embroidery for cutting and sewing. Extra fabric can be trimmed later. Fabric that is too small cannot be repaired.
Calculate the Embroidery Floss
A digital pattern provides the thread-color information, but you purchase the floss yourself. Use the Cross Stitch Thread Calculator to estimate the total floss and number of skeins required.
If you already have partial skeins, check them with the Floss Usage Calculator before buying more.
Make a Realistic Stitching Schedule
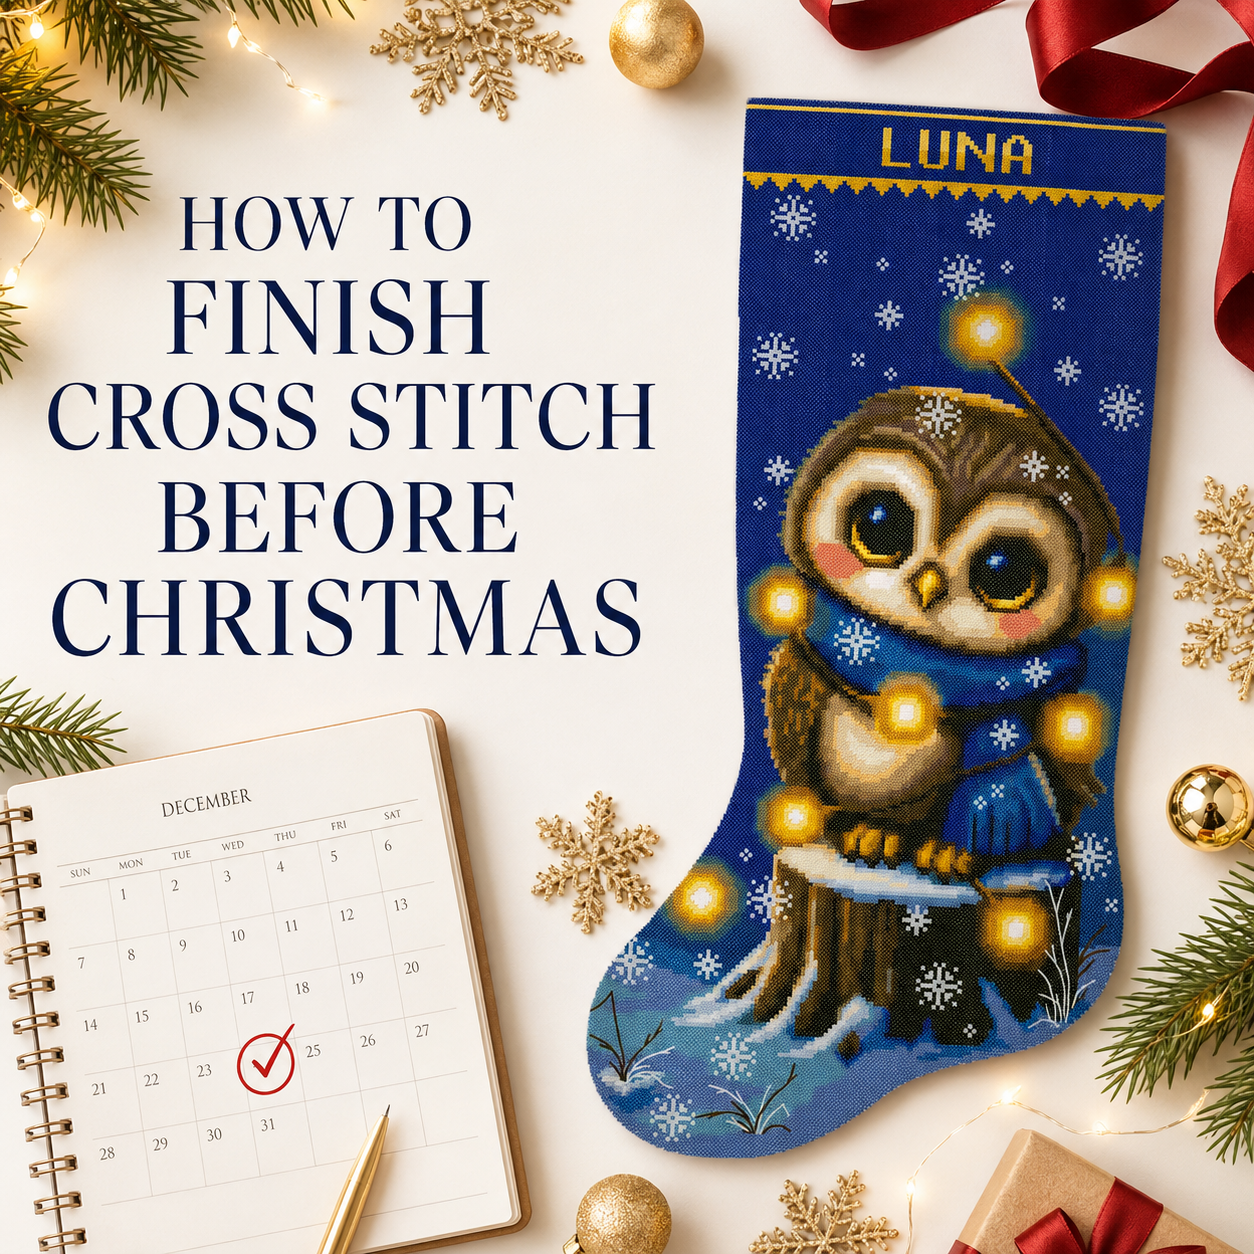
Do not wait until December to discover that your project needs many weeks of stitching. Enter the total stitches, your stitching speed and the days you can work into the Cross Stitch Time Calculator and Planner.
A realistic plan is more helpful than rushing. Even 20 or 30 minutes of regular stitching can create steady progress.
Beginner Checklist Before You Buy
- I know whether the item is a digital pattern or a physical kit.
- I understand whether it is stamped, counted or 2-in-1.
- The fabric count is comfortable for me.
- The chart and symbols are clear.
- The stitch types match my experience.
- The project size and stitch count are realistic.
- I know which materials are included.
- I have enough fabric and floss.
- I know how the stocking will be personalized.
- I have enough time to finish before my target date.
- I genuinely like the design and want to stitch it.
If you can answer yes to these points, you are ready to choose your project.
Frequently Asked Questions
Can a Beginner Cross Stitch a Christmas Stocking?
Yes. A Christmas stocking is larger than a small sampler, but it can still be beginner-friendly. Choose 14-count Aida, clear symbols, mostly full cross stitches and detailed instructions. A stamped kit provides the easiest guided start.
What Is the Easiest Type of Christmas Stocking Cross Stitch?
Stamped cross stitch is usually the easiest method because the design is printed directly on the fabric. You follow the printed symbols instead of counting every position from a blank square.
Is 14-Count Aida Good for Beginners?
Yes. Fourteen-count Aida has clearly visible holes and is widely used for beginner and intermediate projects. It creates a detailed result without making the fabric squares extremely small.
Does a Digital Cross Stitch Pattern Include Fabric and Thread?
No. A digital pattern is a downloadable file. You receive charts and project information, but no physical fabric, floss, needle or backing material is shipped.
What Does a 2-in-1 Christmas Stocking Kit Mean?
It means the kit includes two fabric options for the same design: stamped fabric and blank fabric for counted cross stitch. You select one method to create one finished stocking.
Can I Add Any Name to a Christmas Stocking Pattern?
You can add a name when the pattern includes a personalization area and an alphabet. Very long names may require narrower letters or less spacing. Preview the complete name before stitching it.
How Long Does a Cross Stitch Christmas Stocking Take?
The time depends on the total stitches, stitching method, color changes, backstitch and your personal speed. Use the free time calculator for a project-specific estimate rather than relying on one general number.
How Do I Turn the Embroidery Into a Real Stocking?
After the embroidery is complete, it must be prepared, cut and sewn to backing fabric. Follow the detailed Christmas stocking finishing guide before cutting the fabric.
Choose a Christmas Stocking Project You Will Be Proud to Finish
The best beginner project is not simply the smallest or cheapest design. It is a project with clear instructions, suitable materials, an achievable schedule and a picture you truly love.
Choose stamped cross stitch for the most guided experience. Choose counted cross stitch when you enjoy charts and want more control over your materials. Choose a 2-in-1 kit when you want the freedom to decide after opening the box.
Your first stocking does not need to be perfect. Each row of stitches builds skill, and the finished personalized stocking will carry something that a store-bought decoration cannot: your time, care and family story.
Shop digital Christmas stocking patterns →
Shop complete Christmas stocking cross stitch kits →
Visit the Christmas Stocking Guides library →