Creating a cross stitch pattern for a child is not simply a matter of making an adult pattern smaller. A successful children’s design needs to be clear, safe, colourful and simple enough to finish without frustration.
In this guide, parents, teachers and craft-loving adults will learn how to create cross stitch patterns for kids step by step. You will learn how to choose a suitable design, limit the number of colours, prepare an easy-to-read chart, select appropriate materials and test the pattern before giving it to a child.
The goal is not to create a perfect work of art. The goal is to give a young stitcher an enjoyable first experience and a finished project they can feel proud of.
How to Create a Cross Stitch Pattern for Kids: The Quick Answer
To create an easy cross stitch pattern for a child:
- Choose a small, recognisable picture.
- Select materials suitable for the child’s ability.
- Draw the design on a square grid.
- Use only a few clearly different colours.
- Remove isolated and unnecessary stitches.
- Prepare a large, readable symbol key.
- Test-stitch the complete design.
- Write short, simple instructions.
- Let the child add a personal detail.
- Provide adult supervision throughout the project.
Now let us look at every step more carefully.
Who Should Create the Pattern?
This guide is written for an adult creating a pattern for a child. That adult may be:
- a parent or grandparent;
- a teacher;
- a craft-group leader;
- an experienced stitcher;
- a cross stitch pattern designer.
A child can help choose the subject and colours, but an adult should prepare and test the final chart. This is particularly important when needles, scissors, small embellishments or complicated instructions are involved.
If you are completely new to cross stitch, begin with our complete cross stitch guide for beginners. It explains the basic materials, stitches and techniques in clear steps.
Safety Comes Before the Design
Cross stitch can be a wonderful creative activity, but needles, scissors and small accessories require care.
The child’s age alone does not determine which materials are appropriate. Consider the child’s coordination, concentration, experience and ability to follow instructions.
Follow these basic safety rules:
- Check the age and safety information provided by the material or kit manufacturer.
- Supervise the child during the entire activity.
- Use a plastic or suitable blunt needle when possible.
- Remember that even a blunt tapestry needle can hurt if handled carelessly.
- Keep scissors under adult control.
- Count all needles before and after each stitching session.
- Store needles in a closed needle case or needle minder.
- Avoid beads, buttons and other small decorations when they may present a choking risk.
- Keep long pieces of thread away from very young children.
- Stop the activity when the child becomes tired or loses concentration.
Never describe a project as “safe for all children.” The adult responsible for the child must decide whether the materials and activity are appropriate.
What Makes a Cross Stitch Pattern Suitable for Kids?
A child-friendly design should feel achievable from the beginning.
The best first patterns usually have:
- a small overall size;
- one main object;
- a clear outline;
- large blocks of colour;
- three to six colours;
- very few isolated stitches;
- little or no backstitch;
- no fractional stitches;
- no complicated colour blending;
- a large, readable chart;
- a simple colour and symbol key.
Good beginner subjects include:
- a heart;
- a star;
- a rainbow;
- a flower;
- a Christmas tree;
- a snowman;
- a simple animal face;
- the first letter of the child’s name;
- a small ornament or bookmark.
A detailed portrait, realistic landscape or large full-coverage picture is usually a poor choice for a first project.
Step 1: Choose a Design the Child Actually Likes
Children are more likely to finish a project when they care about the picture.
Instead of choosing the subject alone, offer two or three simple options. For example:
- a cat, dog or fox;
- a star, moon or rainbow;
- a snowman or gingerbread character;
- a flower or butterfly;
- an initial in the child’s favourite colour.
Avoid showing twenty different ideas at once. Too many choices can make the project feel complicated before it has even started.
Choose an original motif, a public-domain image or artwork you have permission to use. Do not copy a protected cartoon, movie or game character and sell the resulting pattern without the appropriate rights.
Step 2: Decide How the Finished Project Will Be Used
The final object helps determine the pattern’s shape and size.
A first design might become:
- a bookmark;
- a small framed picture;
- a greeting card;
- a Christmas ornament;
- a bag decoration;
- a name tag;
- a small patch created with suitable materials.
A small project that can be completed in several short sessions is normally more encouraging than a large picture that takes many weeks.
For a first counted design, a chart approximately 20–40 stitches wide is often easier to manage than a large pattern. This is only a starting point. The correct size depends on the material, stitch size, child and chosen project.
Step 3: Choose the Material Before Drawing the Final Chart
The same chart will produce different finished dimensions on different fabrics.
For a child’s very first sewing experience, perforated felt, plastic canvas, punched card or another material with large visible holes may be easier than traditional counted cross stitch fabric.
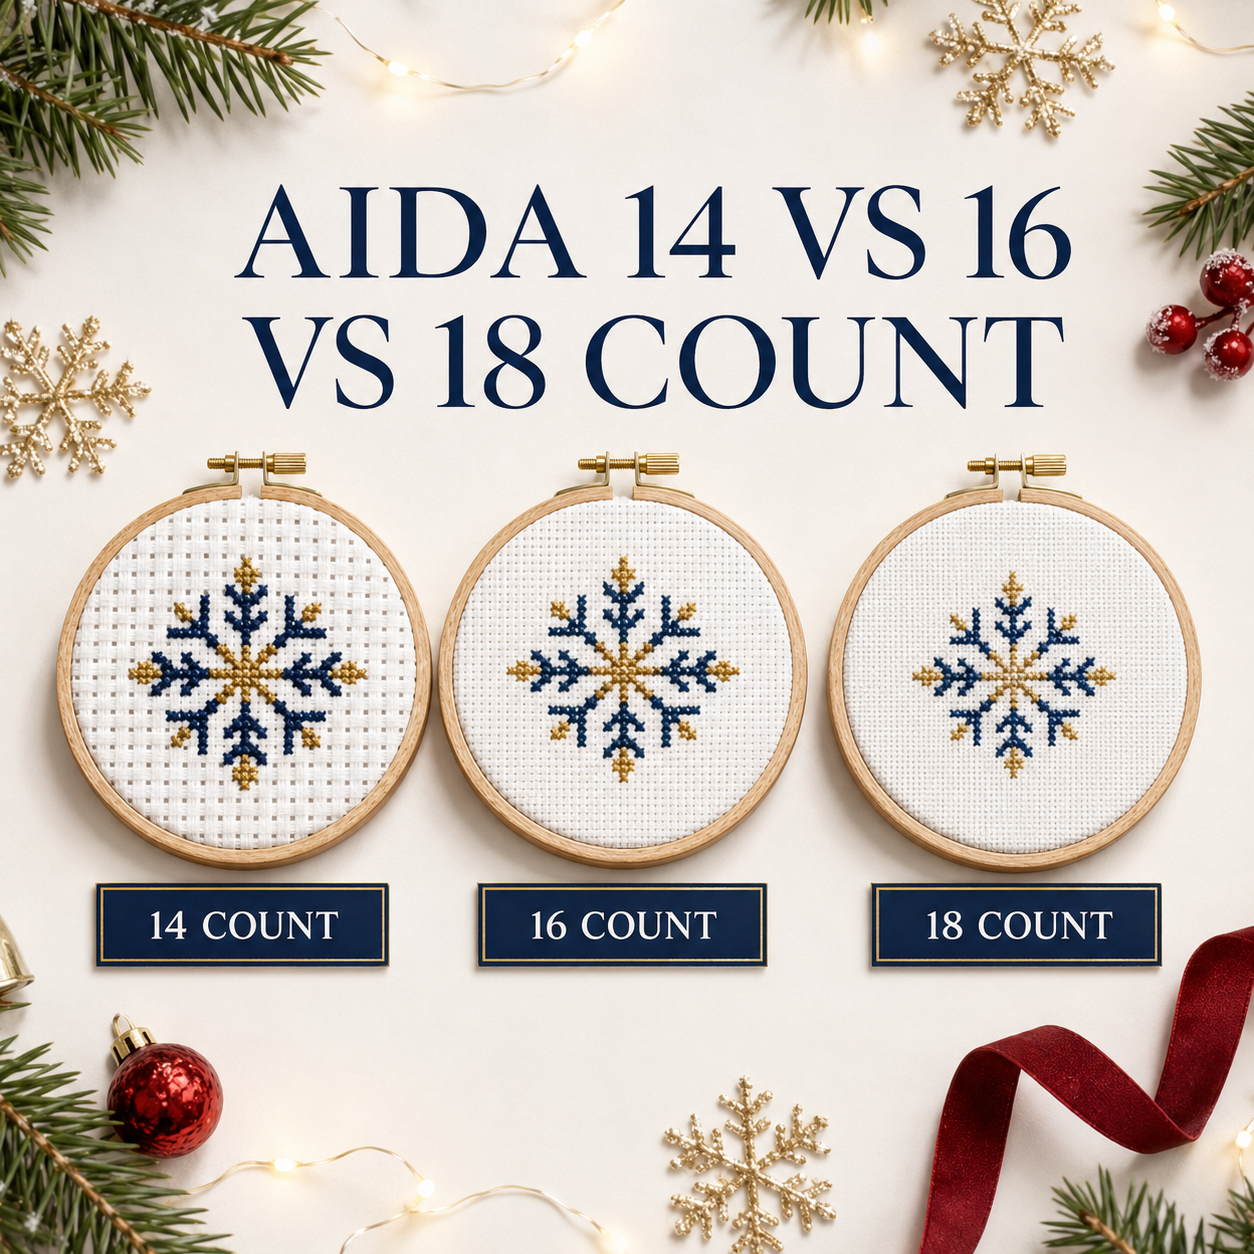
An older or more confident beginner may be ready to use low-count Aida with a suitable blunt tapestry needle. Finer fabrics such as 14-count Aida require more precise counting and coordination.
Before choosing, consider:
- the size of the holes;
- the size and type of needle;
- the thickness of the thread or yarn;
- how clearly the child can see the grid;
- whether the material is comfortable to hold;
- the manufacturer’s age and safety instructions.
Do not automatically choose 6-count, 8-count or 14-count fabric for every child. The fabric, needle and thread must work together.
You can read more about fabric, needles, floss, hoops and other supplies in our guide to the best materials and tools for cross stitching.
Step 4: Calculate the Pattern Size
In counted cross stitch, every square on the chart normally represents one cross stitch.
The physical size of the finished design depends on:
- the number of stitches across;
- the number of stitches down;
- the fabric count;
- the amount of fabric needed around the design.
For example, the same 30-stitch-wide pattern will look larger on fabric with fewer stitches per inch and smaller on fabric with more stitches per inch.
Use our free Cross Stitch Fabric Calculator to check the stitched dimensions and add enough fabric around the design for holding, framing or finishing.
Always calculate the size before cutting the fabric.
Step 5: Draw the Design on a Square Grid
You can create the first version of the pattern using:
- graph paper;
- a spreadsheet with square cells;
- dedicated cross stitch software;
- a digital drawing program with a visible grid.
Begin with the outer shape. Fill one square at a time, just as if you were building a picture from coloured blocks.
If you are designing a heart, for example:
- Mark the vertical centre.
- Draw one half of the heart.
- Mirror it on the other side.
- Fill the inside with one colour.
- Check whether the outline still looks clear when viewed from a distance.
Do not add shadows and tiny details immediately. First make sure the basic silhouette is easy to recognise.
Step 6: Use a Small, Clear Colour Palette
Too many colours make a children’s pattern harder to read and slower to complete.
For a first project, begin with approximately three to six colours. Choose shades that are visibly different from one another.
For example, avoid placing two nearly identical pale blues next to each other if one blue can create the same effect.
Ask these questions:
- Does every colour have a clear purpose?
- Can any two similar shades be combined?
- Will the colours remain easy to distinguish on the chart?
- Is there enough contrast between the design and the fabric?
The screen preview is not always an exact representation of real embroidery floss. If colour accuracy is important, compare the selected colours using a physical thread chart or actual floss.
Step 7: Remove Unnecessary and Isolated Stitches
This is one of the most important parts of creating easy cross stitch patterns for kids.
Automatic image-conversion software may produce:
- too many colours;
- scattered single stitches;
- rough edges;
- unnecessary shadows;
- tiny colour changes;
- details that disappear when stitched.
Do not give a child an automatically converted pattern without checking it manually.
Zoom in and inspect every part of the chart. Remove stitches that do not improve the main picture. Replace groups of almost identical colours with one clear colour when possible.
Large connected areas are easier to follow than many separate single stitches.
Step 8: Keep the Stitch Types Simple
A first project may need only full cross stitches.
Backstitch can be added when it is necessary to show:
- a smile;
- an eye;
- a simple outline;
- a letter;
- one small detail.
Avoid filling the first pattern with:
- quarter stitches;
- three-quarter stitches;
- French knots;
- complicated backstitch;
- blended threads;
- metallic floss;
- frequent colour changes.
These techniques are useful later, but they can make the first project unnecessarily difficult.
If your design includes an outline, our beginner’s backstitch guide explains how this stitch works.
Step 9: Create a Large and Readable Chart
A good chart must be understandable even without the coloured preview.
Each floss colour should have:
- a unique symbol;
- a colour name or number;
- a clear sample in the key;
- instructions showing how many strands to use.
Use simple symbols such as:
- a circle;
- a square;
- a triangle;
- a heart;
- a star;
- a plus sign.
Do not use two symbols that look almost identical. A small circle and a slightly larger circle may be easy to confuse.
Print the chart and check it at its real size. If an adult struggles to identify a symbol, it will not be suitable for a child.
For help understanding grids, symbols and colour keys, read How to Read a Cross Stitch Pattern.
Step 10: Test-Stitch the Entire Pattern
Never assume that a design works simply because it looks good on a screen.
Test-stitching helps you find:
- incorrect symbols;
- missing stitches;
- confusing colour changes;
- poor contrast;
- awkward outlines;
- inaccurate material estimates;
- sections that are too difficult.
During the test, note how long each section takes and where you make counting mistakes. If an experienced stitcher repeatedly loses their place, the chart probably needs to be simplified.
After testing, update both the chart and the instructions.
Step 11: Prepare the Materials
A simple project pack may include:
- the tested chart;
- a large colour and symbol key;
- suitable fabric or perforated material;
- pre-cut floss or yarn;
- the correct needle;
- a hoop, if appropriate;
- simple written instructions;
- a picture of the finished design.
An adult should prepare and organise the materials before the stitching session begins.
If the pattern contains several colours, place each thread on a labelled organiser. The label should match the symbol or number shown in the chart.
Use our Cross Stitch Thread Calculator to estimate the required floss. Add a reasonable allowance for starting, ending and correcting small mistakes.
Step 12: Write Instructions a Child Can Follow
Use short sentences and one action at a time.
Instead of writing:
“Separate the floss, thread the needle and begin stitching the first colour from the centre of the design.”
Write:
- Find colour number 1.
- Ask an adult to cut the thread.
- Separate the required strands.
- Thread the needle.
- Find the centre symbol.
- Make the first diagonal stitch.
- Complete the X.
Add photographs or simple diagrams whenever possible.
A child should not need to read a long paragraph while holding a needle and fabric.
How to Teach a Child the First Cross Stitch
Demonstrate the stitch slowly:
- Bring the needle up through one hole.
- Move diagonally to the opposite hole.
- Pull the thread gently.
- Bring the needle up through the next lower corner.
- Cross the first stitch to make an X.
Teach the child to pull the thread until it lies flat, but not so tightly that the fabric bends.
All top stitches should ideally face the same direction. However, do not turn a first project into a test. Neatness will improve with practice.
Praise specific progress:
- “You followed the symbol correctly.”
- “Your stitches are becoming more even.”
- “You remembered where the needle belongs.”
- “You finished an entire colour.”
Specific encouragement is more useful than correcting every imperfect stitch.
Keep Stitching Sessions Short and Positive
Children have different attention spans. A short enjoyable session is better than forcing the child to continue until a large section is finished.
A simple session might include one small goal:
- complete one row;
- stitch one colour;
- finish one side of the shape;
- learn how to thread the needle;
- mark completed stitches on the chart.
Stop before the child becomes exhausted or frustrated. Leave the project at a clear stopping point so it is easy to continue later.
For a larger supervised project, use our Cross Stitch Time Calculator and Project Planner to create a realistic schedule.
Let the Child Personalise the Pattern
Personalisation gives the child a sense of ownership.
Simple options include:
- choosing the background colour;
- changing one main colour;
- adding an initial;
- adding a small heart or star;
- choosing the finishing method;
- selecting a frame or ribbon.
Keep the editable area small. Changing too many elements can damage the balance of the original design or make the chart difficult to follow.
Common Mistakes When Creating Cross Stitch Patterns for Kids
Making the Pattern Too Large
A large project may look exciting at first but can quickly become overwhelming. Begin with something the child can complete in a reasonable number of sessions.
Using Too Many Colours
More colours do not automatically create a better pattern. A limited palette is easier to organise, read and stitch.
Choosing Similar Symbols
Symbols must look clearly different in both the printed and digital versions of the chart.
Using Complicated Stitches Too Early
Full cross stitches are enough for many beautiful first projects. Add advanced stitches only when the child is ready.
Skipping the Test Stitch
A chart that looks correct on a screen may contain mistakes. Always test the finished pattern before sharing, teaching or selling it.
Ignoring the Finished Size
Calculate the design dimensions before cutting fabric or choosing a frame.
Giving the Child an Automatic Photo Conversion
Automatic conversion is only a starting point. It still requires colour reduction, cleanup, symbol checking and test-stitching.
Expecting Perfect Stitches
The purpose of a first project is to learn and enjoy creating. A slightly uneven handmade stitch is not a failure.
Ideas for Easy Cross Stitch Projects for Kids
After completing the first small pattern, try:
- a personalised initial;
- a mini rainbow;
- a simple animal face;
- a festive ornament;
- a flower bookmark;
- a small thank-you card;
- a name sign;
- a seasonal decoration.
Move to a larger pattern only when the child can comfortably:
- follow chart symbols;
- count several squares;
- change colours;
- handle the needle safely;
- begin and end a thread with help;
- recognise and correct a simple mistake.
Ready for a Larger Family Project?
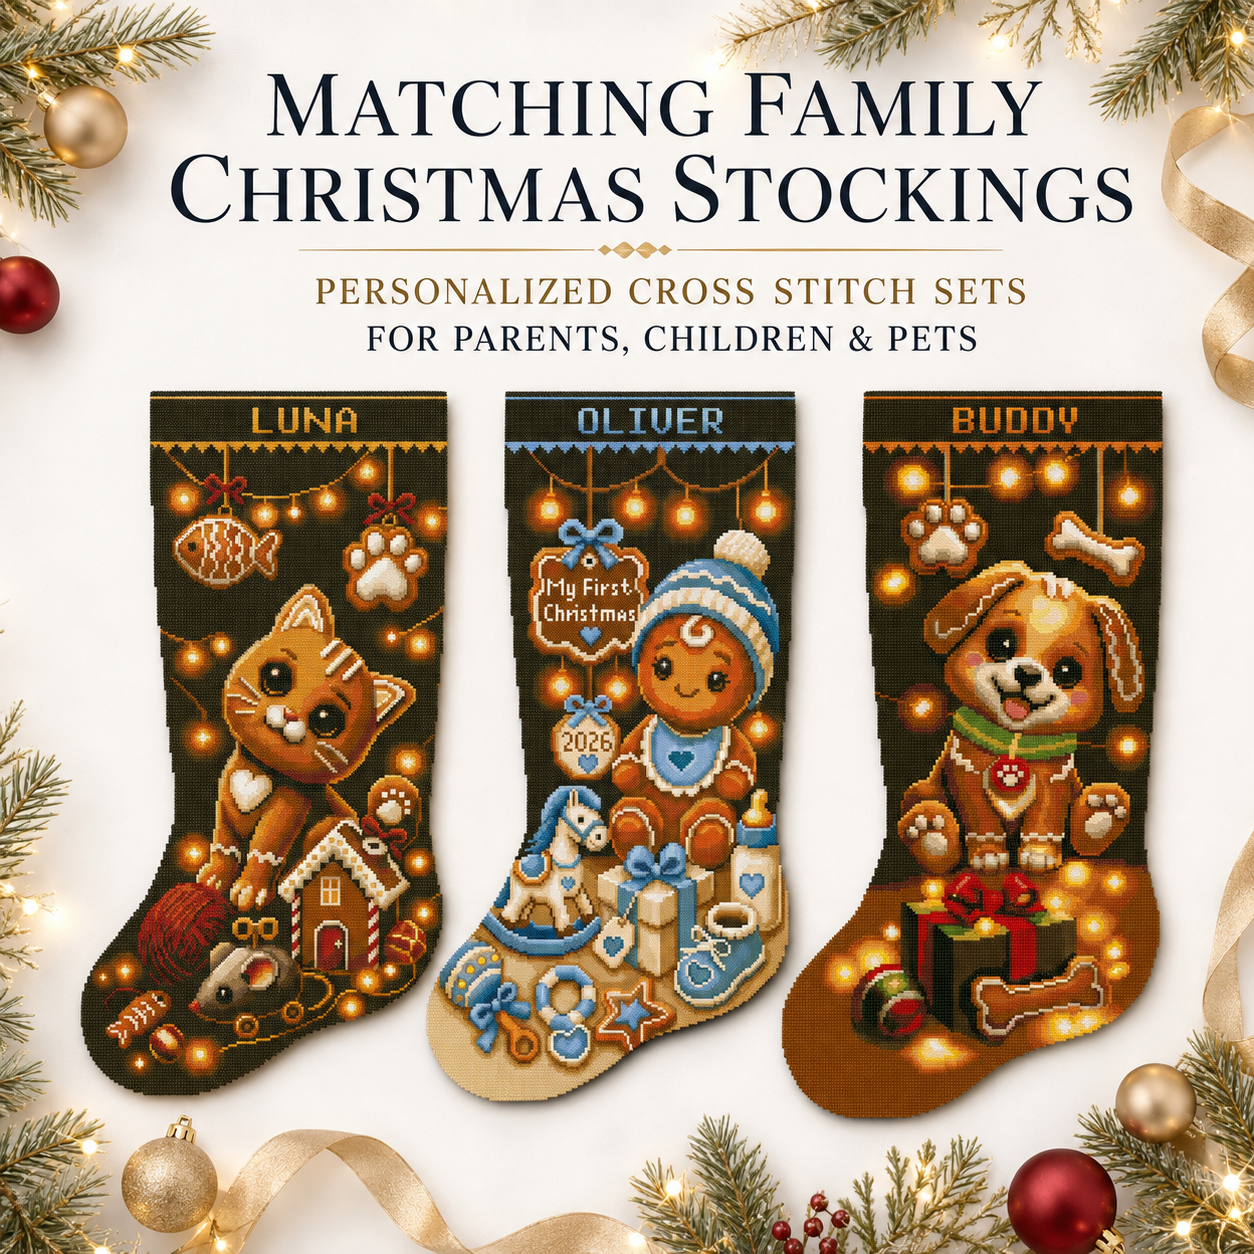
Creating a complete pattern from scratch takes time. If an adult will be stitching alongside the child—or if an older, supervised beginner is ready for a more detailed project—you can explore our collection of personalised Christmas stocking cross stitch patterns.
Each project has its own size, colour count and level of detail. Review the product information before deciding whether it is suitable for a particular stitcher.
You can also browse our cross stitch kits for complete projects. These are craft products rather than children’s toys, so an adult should review the included materials and supervise any younger stitcher.
Frequently Asked Questions
What is the best age to start cross stitch?
There is no single correct age. Readiness depends on coordination, concentration, experience and the materials being used. Follow the manufacturer’s age guidance and provide adult supervision.
What type of needle should a child use?
A plastic or suitable blunt needle may be appropriate for an early sewing activity with large holes. A blunt tapestry needle may be used by an older or more experienced beginner under adult supervision. Match the needle to the fabric and thread.
What fabric is easiest for children?
Material with large, clearly visible holes is generally easier to follow. Depending on the project, this may be perforated felt, plastic canvas, punched card or low-count Aida. No single material is correct for every child.
How many colours should a beginner pattern have?
Approximately three to six clearly different colours are usually enough for a first design. The exact number depends on the size and subject.
How large should the first pattern be?
A small design approximately 20–40 stitches wide can be a practical starting point, but size should be adjusted to the fabric, child and intended finished item.
Should a children’s pattern include backstitch?
It can include a small amount of simple backstitch, but it is not essential. A first pattern made only with full cross stitches is perfectly acceptable.
Can I turn a photograph into a children’s cross stitch pattern?
Yes, but automatic conversion rarely creates a finished beginner-friendly chart. You will need to reduce the colours, remove isolated stitches, simplify details, check the symbols and test-stitch the result.
Can children create their own patterns?
Yes. A child can draw a small picture on graph paper and choose the colours. An adult should check the final chart, prepare safe materials and test the design before stitching begins.
Can I sell a pattern created from a cartoon character?
Not automatically. Famous cartoon, movie and game characters are normally protected by copyright or trademarks. Create an original design, use public-domain material or obtain the required commercial permission.
Final Thoughts
The best cross stitch patterns for kids are not necessarily the most detailed. They are the patterns that children can understand, enjoy and complete successfully.
Choose one recognisable shape, use a small colour palette, prepare a readable chart and test every stitch. Most importantly, select age-appropriate materials and remain present throughout the activity.
A small finished project can give a child confidence, patience and a wonderful introduction to handmade creativity—one colourful X at a time.