A beautiful preview image can make you want to begin a project immediately. But the picture alone does not tell you whether the actual cross stitch chart will be accurate, readable or enjoyable to follow.
A quality cross stitch pattern should give you much more than an attractive design. It should tell you exactly what to stitch, which materials to prepare, how large the finished design will be and how to read every symbol on the chart.
This guide explains how to choose a cross stitch pattern before buying or downloading it. You will learn how to evaluate the chart, colour key, PDF layout, difficulty level and included instructions—even if you have never stitched before.
How to Choose a Cross Stitch Pattern: Quick Checklist
Before buying a cross stitch PDF pattern, check whether the listing or pattern includes:
- The stitch count in both width and height.
- The finished size for the recommended fabric count.
- A complete embroidery floss key.
- Clear, easily distinguishable symbols.
- Bold grid lines and visible centre marks.
- An honest description of the difficulty level.
- Information about all stitch types used.
- Readable printable and digital chart options.
- Properly numbered pages for larger designs.
- A clean design without unnecessary colour changes.
- A clear list of the files included with the purchase.
- Usage terms and a way to contact the designer.
If this basic information is missing, ask the designer before purchasing.
Why Pattern Quality Matters
Cross stitch is created one square at a time. A small mistake in a chart can affect an entire section of the finished project.
A poorly prepared pattern may cause:
- confusing symbols;
- incorrect thread colours;
- missing stitches;
- unclear backstitch lines;
- excessive colour changes;
- inaccurate finished dimensions;
- pages that are difficult to connect;
- insufficient embroidery floss;
- hours of unnecessary unpicking.
This becomes especially important in a large project such as a personalised Christmas stocking. A pattern containing thousands of stitches may take weeks or months to complete. It is worth checking the quality before investing that time.
If this is your first counted cross stitch project, read our complete beginner’s guide to cross stitch before choosing a large pattern.
1. The Pattern Shows the Complete Stitch Count
The stitch count tells you how many cross stitch squares the design contains across and down.
It may be written as:
132 stitches wide × 249 stitches high
These numbers are not the finished size in centimetres or inches. The physical dimensions depend on the fabric count.
The same 132 × 249-stitch design will be:
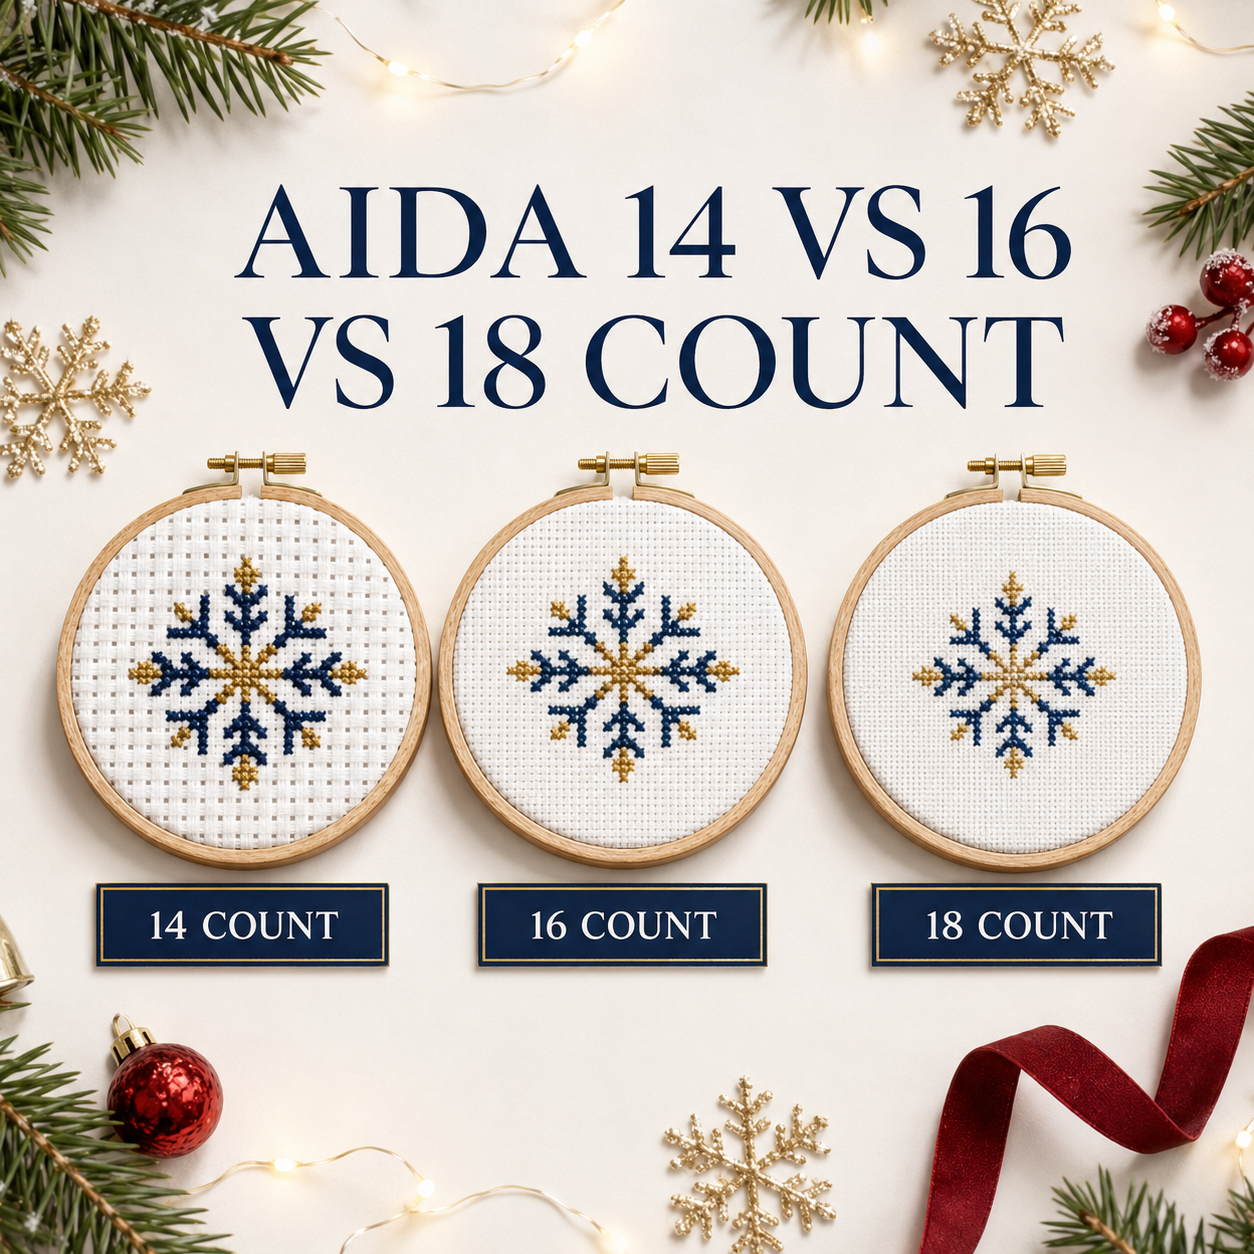
- larger on 11-count Aida;
- smaller on 14-count Aida;
- even smaller on 16 or 18-count Aida.
A quality pattern or product description should clearly state:
- design width in stitches;
- design height in stitches;
- recommended fabric count;
- approximate finished width;
- approximate finished height;
- whether the stated size includes extra fabric or only the stitched area.
Use our free Cross Stitch Fabric Calculator to compare the finished dimensions on different fabric counts and calculate the fabric margins.
Why This Information Matters
Without an accurate stitch count, you cannot confidently:
- buy the correct amount of fabric;
- choose an appropriate frame;
- estimate the project’s difficulty;
- calculate stitching time;
- confirm that the design will fit a stocking, cushion or ornament.
Never cut fabric based only on the approximate size of a preview image.
2. The Difficulty Level Is Described Honestly
Words such as “easy,” “beginner-friendly” and “advanced” are useful only when the designer explains what they mean.
A pattern’s difficulty depends on several factors:
- total number of stitches;
- number of colours;
- number of colour changes;
- size of the chart;
- amount of backstitch;
- use of fractional stitches;
- use of French knots or specialty stitches;
- presence of blended threads;
- density of isolated stitches;
- fabric count;
- amount of full coverage.
A large design made mostly from full cross stitches can be technically simple but time-consuming. A small design with fractional stitches, French knots and constant colour changes may require more experience.
A Beginner-Friendly Pattern Usually Has:
- mostly full cross stitches;
- clear blocks of colour;
- a manageable colour palette;
- limited backstitch;
- few isolated stitches;
- clear instructions;
- large, readable symbols.
A beginner does not necessarily need to choose the smallest pattern. The chart must be understandable, and the stitcher must be comfortable with the time required.
If you are searching specifically for a first stocking project, read Christmas Stocking Cross Stitch Patterns for Beginners: How to Choose.
3. The Preview Represents the Real Design Clearly
A listing should let you see what you are buying.
The preview should show:
- the complete design;
- the shape and proportions;
- the main colours;
- the level of detail;
- any personalised area;
- an example of the chart or PDF pages.
A stitched model is useful because it shows how the threads and fabric look in real life. A digital mockup is also useful for presenting the intended finished appearance.
However, a mockup should not hide weaknesses in the actual pattern.
Questions to Ask About the Preview
- Is this a photograph of finished embroidery or a digital mockup?
- Can I see a sample of the actual chart?
- Are the colours close to the listed floss palette?
- Is the chart shown clearly enough to evaluate its symbols?
- Does the product description explain exactly what will be downloaded?
Screen colours can vary, and digital previews do not always match physical embroidery floss perfectly. When a precise shade matters, check the actual thread numbers using a physical colour card or real floss.
4. The Symbols Are Clear and Easy to Distinguish
A counted cross stitch chart uses symbols to represent embroidery floss colours.
One symbol may represent red, another blue and another beige. The stitcher follows the symbols rather than trying to identify colours by eye.
A quality chart uses symbols that are:
- sharp;
- large enough to see;
- centred inside the squares;
- visually different from neighbouring symbols;
- readable in black and white;
- used consistently throughout the pattern.
Poor symbol combinations include:
- a small circle and a slightly larger circle;
- a square and an almost identical filled square;
- several arrows pointing in similar directions;
- very fine symbols that disappear when printed;
- symbols placed too close to grid lines.
The designer should avoid placing nearly identical symbols beside one another, particularly when their thread colours are also similar.
If you are unsure how symbols, grids and colour keys work, read How to Read a Cross Stitch Pattern.
5. The Grid Is Organised and Easy to Follow
Most cross stitch charts use a square grid. One square normally represents one full cross stitch.
A well-prepared grid should include:
- fine lines around individual squares;
- darker lines every ten squares;
- row or column numbers;
- horizontal and vertical centre marks;
- enough contrast between the symbols and background;
- clear page boundaries.
Darker ten-square lines help you count larger distances without starting from the beginning of every row.
The centre markings are useful when beginning from the middle of the design. They also help when checking the design’s placement on the fabric.
Colour Is Not Enough
A chart should remain understandable even when printed on a black-and-white printer.
Colour blocks can make sections easier to recognise, but symbols provide the essential information. A pattern that depends entirely on colour may become difficult to follow when several shades look similar.
6. The PDF Includes Useful Chart Formats
Different stitchers prefer different ways of working.
Some follow a coloured chart on a tablet. Others print black-and-white pages and mark completed stitches with a highlighter.
A professional cross stitch PDF may include:
- a colour chart with symbols;
- a black-and-white symbol chart;
- a single-page overview;
- a larger chart divided across several pages;
- a layout page showing how the pages connect;
- a printable floss key;
- a digital-friendly version.
Not every small pattern needs all these formats. A tiny ornament may fit comfortably on one page. A large Christmas stocking needs a different layout because placing the entire chart on one sheet would make the symbols too small.
The important question is whether the provided format suits the design’s size.
Check Before Using a Pattern App
Some stitchers use applications such as Pattern Keeper or Markup R-XP. A normal PDF is not automatically compatible with every pattern-tracking application.
If application compatibility matters to you, look for an explicit statement in the product description or contact the designer before purchasing.
7. Multi-Page Charts Are Divided Correctly
Large cross stitch designs are often divided across several printable pages.
A quality multi-page chart should have:
- clear page numbers;
- a page layout or map;
- repeated row and column references;
- visible boundaries;
- logical page order;
- enough overlap or orientation information to connect sections correctly.
The chart should not leave the stitcher guessing which page comes next.
When moving between pages, check the row and column numbers rather than relying only on the visible part of the picture.
A layout page is especially helpful for shaped projects such as Christmas stockings because the design may not form a simple rectangle.
8. The Floss Key Is Complete and Accurate
The floss key connects every chart symbol with the correct embroidery thread.
A useful key should show:
- chart symbol;
- floss brand;
- colour number;
- colour name, when available;
- stitch type;
- number of strands;
- approximate quantity, when provided.
DMC is one of the most commonly used thread systems, but some patterns use Anchor, Madeira, Cosmo, Sullivans, hand-dyed floss or another brand.
The listing should tell you which system is used.
Check the Number of Strands
Embroidery floss usually contains six separable strands. That does not mean you use all six strands for every stitch.
A pattern may recommend:
- two strands for full cross stitch;
- one strand for backstitch;
- a different number for French knots or specialty stitches.
Always follow the pattern instructions because coverage changes with fabric count, thread type and stitching style.
Use our Cross Stitch Thread Calculator to estimate the amount of embroidery floss required for your project.
9. Every Stitch Type Is Explained
A preview image may not reveal every technique used in the chart.
Before purchasing, check whether the pattern contains:
- full cross stitch;
- half cross stitch;
- quarter stitch;
- three-quarter stitch;
- backstitch;
- French knots;
- beads;
- blended threads;
- metallic floss;
- other specialty stitches.
The pattern should explain how these stitches appear on the chart and which floss should be used.
Backstitch lines must be easy to follow. They should show where each line begins and ends rather than forming an unclear dark mass over the symbols.
If your chosen pattern includes outlining, use our step-by-step backstitch guide to learn the technique.
10. The Design Has Been Cleaned and Edited
Turning a photograph into a grid does not automatically create a good cross stitch pattern.
Automatic conversion software may produce:
- hundreds of isolated stitches;
- too many similar colours;
- rough outlines;
- unnecessary shadows;
- random pixels;
- details that disappear when stitched;
- frequent thread changes with little visual benefit.
These scattered individual stitches are often called confetti stitches.
Some confetti is useful for creating detail, texture or highlights. Excessive confetti makes the chart slower and more frustrating without noticeably improving the finished picture.
A responsible designer reviews the conversion manually and decides:
- which details should remain;
- which colours can be combined;
- whether the outline needs correction;
- whether small areas will be visible when stitched;
- whether the design remains balanced at the final size.
Fewer Colours Do Not Always Mean Better Quality
A limited palette can make a project easier, but reducing the colours too aggressively may remove depth and important details.
The goal is not simply to use the smallest possible number of floss colours. The goal is to use every colour for a clear reason.
11. The Pattern Has Been Checked Before Sale
Test-stitching is one of the strongest ways to check a design because it reveals problems that may not be obvious on a screen.
A complete test stitch can identify:
- missing symbols;
- incorrect colours;
- confusing backstitch;
- poor contrast;
- awkward edges;
- inaccurate size information;
- difficult page transitions;
- insufficient thread estimates.
However, large designs can take months to stitch, so not every digital pattern is presented with a completed physical model.
If a full test stitch is not available, the designer should still perform technical checks:
- verify every symbol;
- confirm the floss key;
- review the stitch count;
- check page order;
- inspect the chart at print size;
- confirm the centre marks;
- review the finished dimensions;
- remove accidental stitches.
A digital mockup is not proof that a chart has been test-stitched. It is a visual preview of the intended result.
12. The Included Files and Usage Terms Are Clear
A digital product listing should explain exactly what the buyer receives.
Look for information about:
- file format;
- number of PDF files;
- colour and black-and-white charts;
- printable and digital versions;
- floss key;
- instructions;
- personalization alphabet;
- finishing guide;
- additional materials required.
The listing should also make it clear whether the purchase is:
- a PDF pattern;
- a physical cross stitch kit;
- a completed embroidered item.
A digital pattern normally does not include fabric, floss, needles or other physical materials unless the listing specifically says otherwise.
Check the Pattern Licence
Most digital cross stitch patterns are protected by copyright.
The designer should explain whether you may:
- use the pattern for personal projects;
- give the finished embroidery as a gift;
- sell a limited number of finished stitched pieces;
- share photographs of your finished work.
Purchasing a PDF does not normally give permission to copy, resell, upload or distribute the pattern itself.
If the usage terms are not clear, contact the designer before using the pattern commercially.
Red Flags When Buying a Cross Stitch Pattern
Be cautious when a listing has several of the following problems:
- no stitch count;
- no finished dimensions;
- no recommended fabric count;
- no floss brand or colour numbers;
- only one low-resolution image;
- no example of the actual chart;
- no explanation of stitch types;
- no difficulty information;
- unclear digital or physical product description;
- symbols that are impossible to read;
- hundreds of nearly identical colours;
- no contact information;
- copied or protected artwork offered without clear permission;
- promises such as “perfectly accurate” without supporting details.
One missing detail does not always mean the pattern is poor. But if basic technical information is absent, ask questions before purchasing.
How to Choose a Beginner Cross Stitch Pattern
A good first pattern should help you practise the basic technique without overwhelming you.
Look for:
- full cross stitches;
- a small or medium design;
- clear blocks of colour;
- limited backstitch;
- no complicated fractional stitches;
- few isolated stitches;
- a readable symbol chart;
- simple instructions;
- clearly listed materials.
Also consider the subject. A design you genuinely love is easier to continue when progress feels slow.
Do Not Look Only at the Number of Colours
A pattern with eight colours can still be difficult if every colour appears in scattered individual stitches.
A pattern with twenty colours may feel easier if each shade forms a large connected area.
Look at the chart structure, not only the colour total.
How to Evaluate a Pattern Before Purchasing
Use this simple process:
- Read the entire product title.
- Confirm whether it is digital or physical.
- Find the stitch count.
- Check the recommended fabric count.
- Calculate the finished size.
- Review the number of floss colours.
- Check which stitch types are required.
- Look for an actual chart sample.
- Read the included-files list.
- Review the usage terms.
- Check whether customer support is available.
- Choose a design that suits your experience and available time.
For a large project, use our Cross Stitch Time Calculator and Project Planner before starting. It can estimate your stitching hours and help you create a realistic schedule.
What Is Included in a CrossStitchStyleArte Digital Pattern?
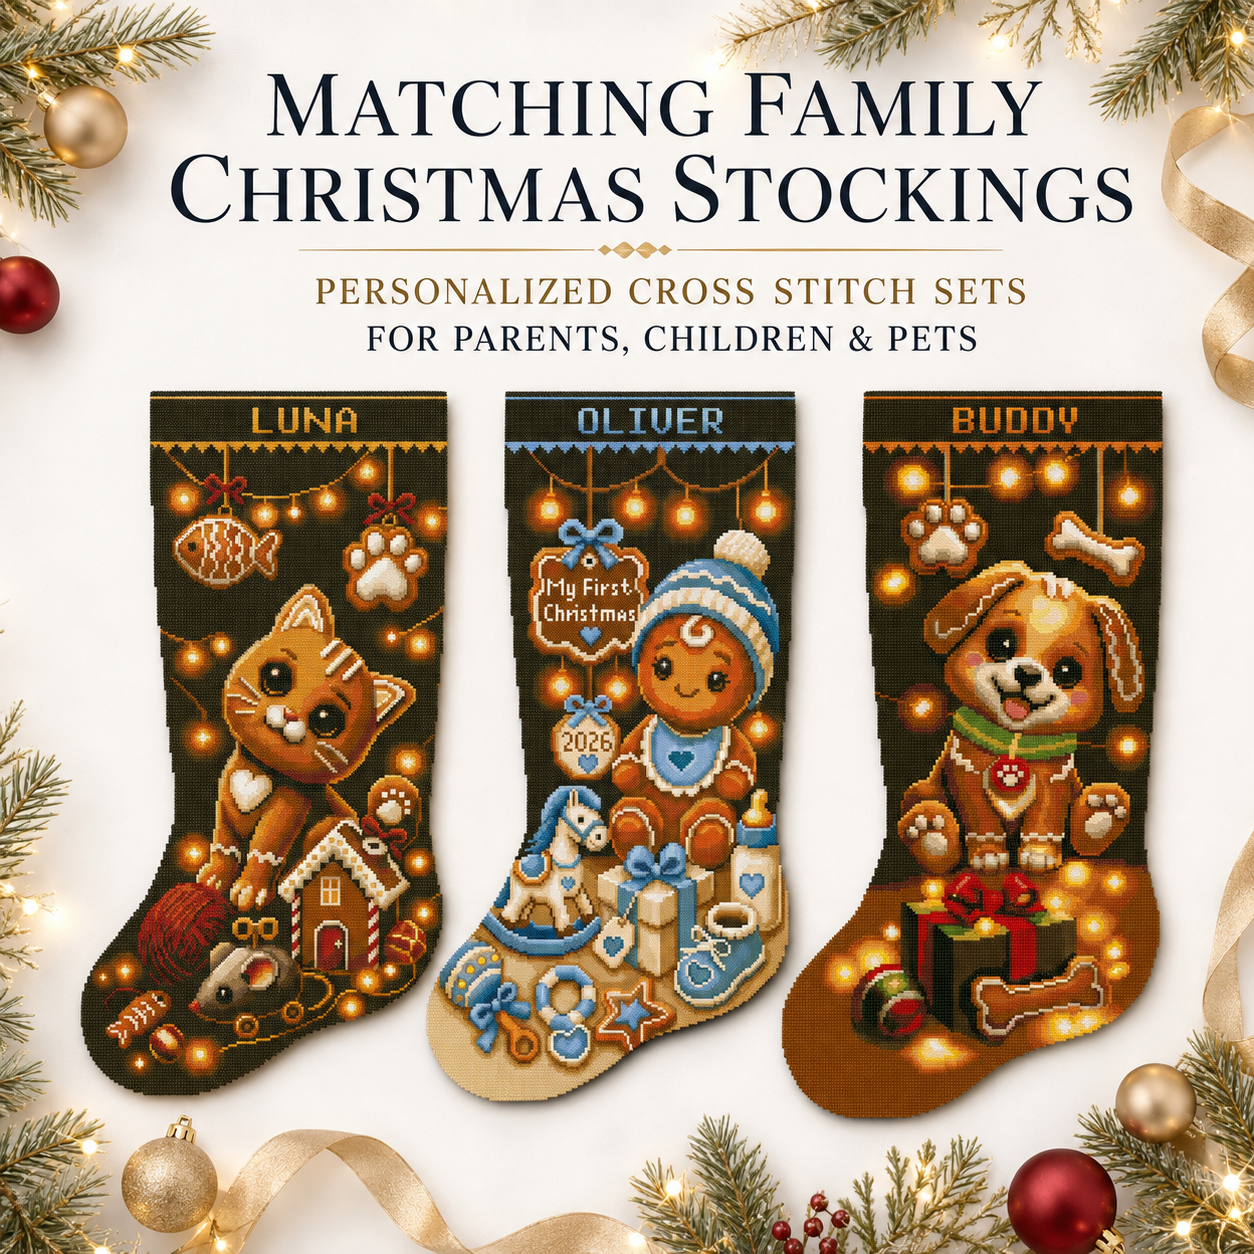
CrossStitchStyleArte creates modern counted cross stitch designs, including personalised Christmas stockings and seasonal projects.
The exact files depend on the selected design, so always read the individual product description.
A detailed CrossStitchStyleArte stocking pattern package may include:
- a colour chart with symbols;
- a black-and-white symbol chart;
- a single-page digital overview;
- a multi-page printable chart;
- a page layout showing how the sections connect;
- a DMC embroidery floss list;
- a version without a personalised name;
- an example with a name;
- a cross stitch alphabet;
- beginner instructions;
- stocking finishing instructions.
No fabric, thread or other physical materials are included with a digital PDF unless the product listing expressly says otherwise.
Explore our collection of personalised Christmas stocking cross stitch patterns and review the technical details of each design before choosing your next project.
If you prefer to receive fabric, floss, needles and finishing materials together, browse our cross stitch kits.
Frequently Asked Questions
What should a good cross stitch pattern include?
A good pattern should include a clear chart, stitch count, finished dimensions, fabric recommendation, floss key, symbol legend, stitch instructions and an accurate list of included files.
Is a colour chart better than a black-and-white chart?
Neither format is always better. Colour charts help you recognise design sections, while black-and-white symbols often provide better contrast for printing. Many stitchers appreciate receiving both.
Does a PDF cross stitch pattern include materials?
Normally, no. A digital PDF pattern usually contains downloadable charts and instructions. Fabric, embroidery floss, needles and other physical supplies must be purchased separately unless the listing says they are included.
Can I use a different fabric count?
Usually, yes. The stitch count remains the same, but the physical size of the finished design changes. Recalculate the dimensions and floss requirements before buying or cutting the fabric.
How do I know whether a pattern is suitable for beginners?
Check the total size, number of colours, stitch types, amount of backstitch, number of isolated stitches and clarity of the instructions. Do not rely only on the word “easy.”
Are digital mockups misleading?
Not necessarily. A mockup can clearly show the intended design, proportions and colours. The listing should simply avoid presenting a digital image as a photograph of completed embroidery.
Does every PDF work with Pattern Keeper?
No. PDF compatibility depends on how the pattern was created and exported. Only assume compatibility when the designer or seller explicitly confirms it.
Why do some patterns have several PDF versions?
Different versions serve different purposes. A single-page chart may be comfortable on a tablet, while enlarged multi-page charts are easier to print and read. Colour and black-and-white versions also suit different stitching preferences.
How much extra fabric should I leave?
The required margin depends on the project and finishing method. Framed work, ornaments and sewn Christmas stockings need different allowances. Use a fabric calculator and read the project instructions before cutting.
Can I change the colours in a purchased pattern?
For a personal project, you can usually change floss colours, but the result may differ from the original preview. Keep enough contrast between neighbouring sections and retain the original floss key for reference.
Final Thoughts
Learning how to choose a cross stitch pattern can save you hours of confusion and prevent expensive material mistakes.
Do not judge a pattern only by its cover image. Check the stitch count, finished size, symbols, floss key, page layout, difficulty and included instructions.
A quality cross stitch PDF should make the creative process easier. You should be able to understand what you are buying, prepare the correct materials and follow the chart with confidence.
Once you find a design that combines a beautiful image with accurate technical information, you can stop worrying about the pattern and enjoy what cross stitch is really about: creating something meaningful, one stitch at a time.