Learning how to read a cross stitch pattern is easier than it looks. A pattern is simply a map made from squares. Each square tells you where to place a stitch, and the symbol inside it tells you which thread color to use. Once you understand the grid, color key, stitch symbols, and page layout, you can follow almost any counted cross stitch chart with confidence.
This complete beginner guide explains every part in plain language. You will learn how to read color and black-and-white charts, understand full crosses and backstitch, follow a multi-page PDF pattern, find the center, track your progress, and avoid the mistakes that cause most counting problems.
Written and updated by Iryna Kushnir, founder and cross stitch designer at CrossStitchStyleArte, specializing in personalized Christmas stocking patterns and kits.
How to Read a Cross Stitch Pattern: The Quick Answer
- Read the pattern information and check the finished stitch count.
- Find the color key, also called the legend.
- Match every symbol on the chart to its thread color in the key.
- Remember that one chart square usually represents one full cross stitch.
- Find the center arrows or choose another clearly measured starting point.
- Place the same stitches on your fabric that you see on the chart.
- Mark completed squares so you do not stitch them twice.
- Add backstitch, French knots, beads, or other details only when the instructions tell you to.
The most important rule: the legend and instructions included with your pattern always take priority. Symbols are not universal. The same symbol can represent different colors or stitches in different patterns.
What Is a Cross Stitch Pattern?
A cross stitch pattern, sometimes called a cross stitch chart, is a set of instructions that shows you how to recreate a design with thread and fabric. Think of it as a picture made from tiny squares. You do not need to draw the picture yourself. You follow the map one square at a time.
Most counted cross stitch patterns contain:
- a square grid showing the design;
- symbols or colors inside the squares;
- a legend that connects each symbol to a thread color;
- the design width and height in stitches;
- a recommended fabric count;
- instructions for the number of floss strands;
- information about full crosses, backstitch, French knots, beads, or other details;
- a page map when the chart is divided across several pages.
A chart does not show the physical size of the finished embroidery. The printed square on the paper can be large or small. Your finished size is determined by the number of stitches and the fabric count.
If you are completely new to embroidery, begin with our complete guide to cross stitch for beginners. It explains supplies, fabric, needles, thread, full crosses, starting methods, and finishing.
What Does a Cross Stitch Pattern Include?
Open the complete file before buying fabric or cutting thread. A professionally prepared PDF may have several chart versions, and every page has a different purpose.
| Pattern section | What it tells you | What to do |
|---|---|---|
| Cover or preview | Shows the completed design | Use it as a visual reference, not as the stitching chart |
| Pattern details | Lists stitch count, fabric count, finished size, and stitch types | Check these details before preparing materials |
| Color and symbol key | Matches each chart symbol to a floss code and color | Keep this page beside you while stitching |
| Color chart | Uses color blocks and symbols | Helpful for seeing the picture and separating large color areas |
| Black-and-white chart | Uses clear symbols without relying on color | Useful for printing and distinguishing very similar shades |
| Page layout | Shows how all chart pages connect | Use it before moving from one page to the next |
| Alphabet or personalization page | Provides letters and sometimes numbers | Plan the complete name or year before stitching it |
| Stitching and finishing instructions | Explains special stitches, strand counts, washing, or assembly | Read the instructions from beginning to end before starting |
A CrossStitchStyleArte digital stocking pattern typically includes color charts, black-and-white symbol charts, printable multi-page charts, a DMC floss list, a page layout guide, and beginner instructions. Personalized designs also include an alphabet. Always check the individual product description because the exact files may vary by design.
How to Read a Cross Stitch Grid
The grid is the main part of the pattern. It represents the stitched area of your fabric. Horizontal lines form rows, and vertical lines form columns.
One Square Usually Equals One Full Cross Stitch
On Aida fabric, one chart square usually matches one Aida cell. A full cross stitch fills that cell and uses the four holes around it. Do not make one cross over two Aida cells unless the pattern specifically tells you to do that.
Some squares may contain partial marks for quarter, half, or three-quarter stitches. These are explained later in this guide.
Why Are Some Grid Lines Darker?
Many charts use darker lines every ten squares. These 10-by-10 blocks help you count long distances without counting every square from the beginning.
For example, if a symbol is in column 24, you can count two complete blocks of ten and then four more squares. The row and column numbers printed around the grid help you confirm the exact position.
What Do the Arrows Around the Chart Mean?
Small arrows at the top and side edges often mark the horizontal and vertical center. Imagine a line moving inward from each arrow. The place where those two lines meet is the center of the design.
Starting in the center is a safe method for a beginner because it reduces the chance of placing the entire design too close to an edge. It is not the only possible starting method. An experienced stitcher may begin in a corner or another clearly measured point after checking all margins.
Stitch Count Is Not the Same as Fabric Size
If a pattern says 132 × 249 stitches, it means the design is 132 chart squares wide and 249 squares high. It does not mean 132 inches, centimeters, or printed paper squares.
To calculate the finished size in inches, divide the number of stitches by the fabric count. A 140-stitch-wide design on 14-count Aida will be 10 inches wide because 140 ÷ 14 = 10.
Use the free Cross Stitch Fabric Calculator to convert stitch dimensions into the correct fabric size and add finishing margins.
How to Read the Cross Stitch Legend and Color Key
The legend, also called the color key, explains the symbols used on the chart. Each symbol points to a specific thread color. You match the symbol in a chart square to the same symbol in the key.
A simple example might look like this:
| Example symbol | Thread code | Color | Stitch |
|---|---|---|---|
| ● | DMC 321 | Red | Full cross |
| + | DMC 310 | Black | Full cross |
| □ | DMC 3865 | Winter white | Full cross |
This table is only an example. Always use the codes and symbols in your own pattern.
What Is a DMC Number?
DMC is a common embroidery floss brand, and each shade has its own number. The number helps you choose the intended color even when the color name or screen preview looks slightly different.
If you use another thread brand, do not choose a substitute by eye alone. Use our free Cross Stitch Floss Converter to compare DMC, Anchor, Cosmo, Madeira, and Sullivans shades.
Why Use Symbols When the Chart Already Has Colors?
Two thread colors may look almost identical on a screen or printer. Symbols make them easier to tell apart. Always check both the symbol and the key instead of relying only on the color block.
How Many Strands Should You Use?
Embroidery floss usually contains six strands twisted together, but you rarely stitch a full cross with all six. The pattern may specify one, two, or three strands depending on the fabric count and desired coverage.
If the pattern does not make the strand count clear, read our complete Aida and floss strand guide before starting.
What Do Cross Stitch Pattern Symbols Mean?
Symbols are not only used for colors. Lines, dots, partial shapes, and notes can also tell you which type of stitch to make. Because chart styles differ, read the pattern instructions before assuming what a mark means.
| What you may see | What it often means | Beginner action |
|---|---|---|
| A symbol filling one square | One full cross stitch | Match the symbol to the color key |
| One diagonal line across a square | Half cross stitch | Follow the direction shown |
| A small corner mark or partial triangle | Quarter or three-quarter stitch | Check the special-stitch instructions |
| A line crossing several grid squares | Backstitch or outline | Add it after the main crosses unless instructed otherwise |
| A small dot or circle | French knot, bead, or another detail | Check the legend for the exact technique and color |
| An empty square | Usually unstitched fabric or background | Do not stitch it unless the key says otherwise |
Full Cross Stitch
A full cross is an X. Every full cross should occupy the same size cell, and all top legs should face the same direction. This makes the finished design smooth and tidy.
Half, Quarter, and Three-Quarter Stitches
Fractional stitches help create rounded edges and small details. A half cross uses one diagonal. A quarter stitch reaches from one corner toward the center of the square. A three-quarter stitch combines a quarter stitch with a half cross.
If your design is labeled beginner friendly and uses only full cross stitch, you will not need to make these fractional stitches.
Backstitch
Backstitch appears as a line drawn over the grid. It creates outlines, facial details, lettering, branches, cords, and other thin shapes. Do not count the line as a row of full crosses. Follow the line from one marked point to the next.
French Knots, Beads, and Metallic Details
Dots or special marks may indicate French knots or beads. Shiny areas may use metallic thread. The key should identify the material and placement.
If you want to add sparkle to holiday lights, stars, snow, a name, or a first-Christmas year, see our beginner guide to cross stitching with metallic thread.
How to Read Color and Black-and-White Cross Stitch Charts
A digital pattern may include more than one version of the same chart. You do not have to stitch each version. They are alternative ways to read the same design.
Color Symbol Chart
A color chart shows the approximate thread colors and normally places symbols over them. It helps you recognize objects and large color areas. However, screen settings and printers can change how colors look, so the symbol and thread number are still the reliable guides.
Black-and-White Symbol Chart
A black-and-white chart uses symbols without colored backgrounds. It is often clearer when several shades are very similar. It can also use less printer ink and makes highlighting completed areas easy.
Which Chart Should a Beginner Use?
Use the format that is easiest for your eyes. Some beginners prefer the color chart because it resembles the finished design. Others prefer the sharper contrast of the black-and-white symbols. Both versions lead to the same finished embroidery when their grids and keys match.
How to Read a Multi-Page Cross Stitch Pattern
Large patterns are often divided into several printable pages so the symbols remain large enough to read. The chart may look confusing when you open only one middle page, but the layout page shows how everything connects.
Start with the Page Layout
The page layout is a small map of the complete design. It shows whether page 2 sits to the right of page 1, below it, or in another position. Check the page numbers and orientation before stitching.
Understand Overlap Areas
Some multi-page charts repeat a few rows or columns at the edges. This overlap helps you connect the pages accurately. It may be shaded or marked with a heavier border.
Do not stitch an overlap twice. When you finish one page, use the repeated symbols only to find your position on the next page. Your pattern instructions should explain how the overlap is marked.
Moving from One Page to the Next
- Look at the page layout.
- Confirm the number of the page you finished.
- Find the neighboring page on the layout.
- Match the border or overlap symbols.
- Count from a completed stitch, darker 10-square line, or another reliable landmark.
- Mark the new page and continue.
Never guess that the top-left corner of every printed page is a new section of fabric. Page margins, page numbers, and repeated columns are printing tools, not stitches.
How to Start a Cross Stitch Pattern Step by Step
Step 1: Read the Entire Pattern First
Check the stitch count, fabric recommendation, floss list, number of strands, stitch types, and finishing notes. Look through every PDF page before printing or buying supplies.
Step 2: Check Your Materials
For a digital counted cross stitch pattern, you usually need fabric, embroidery floss, a blunt tapestry needle, scissors, and a hoop or frame. A digital PDF does not include physical materials unless the product description clearly says otherwise.
Step 3: Calculate the Fabric Size
Enter the chart width, chart height, fabric count, and desired margins into the Fabric Size Calculator. For a framed design, leave enough border for mounting. For a Christmas stocking, leave the seam and finishing space required by the instructions.
Step 4: Prepare and Organize the Floss
Match every thread code to the symbol key. Label loose floss so similar shades are not mixed. If your pattern provides per-color stitch counts, use the Cross Stitch Thread Calculator to estimate the amount required.
Step 5: Find the Center
Fold the fabric gently in half from side to side, then from top to bottom. The meeting point is the center. Find the chart center using its arrows. The center of the chart and the center of the fabric are your matching starting points.
Do not make a permanent crease in delicate fabric. A removable marker or a loose guide stitch can mark the center instead.
Step 6: Choose the First Symbol and Color
Find the symbol at or near your starting point. Match it to the legend, prepare the correct number of floss strands, and double-check the color code before making the first stitch.
Step 7: Stitch a Small Area
Work a manageable group of nearby stitches. Count from your last confirmed stitch instead of jumping across a large blank distance. If the next area is far away, end the thread securely and restart closer to it.
Step 8: Keep Every Top Leg in the Same Direction
You may make the lower leg from bottom left to top right and the upper leg from bottom right to top left, or use the opposite order. The important point is consistency: every upper leg should face the same way.
Step 9: Mark Your Progress
After completing a group, mark those chart symbols on a working copy. This makes it easier to return after a break and prevents accidental double stitching.
Step 10: Add Outlines and Details
Complete the main full crosses first unless the pattern gives a different order. Then add backstitch, French knots, beads, metallic accents, or personalized lettering.
How to Keep Your Place on a Cross Stitch Chart
Losing your place is one of the most common beginner problems. A simple progress system prevents hours of recounting.
On a Printed Pattern
- Work from a copy, not the only original file or master print.
- Use a light-colored highlighter that does not hide the symbols.
- Mark only stitches you have actually completed.
- Use a ruler, magnetic strip, or clean sheet of paper to follow the current row.
- Write the active thread symbol and page number on a small note before taking a break.
On a Tablet or Computer
- Keep an untouched backup of the PDF.
- Use the zoom function instead of straining to read tiny symbols.
- Mark completed areas with an annotation tool.
- Save your progress before closing the file.
- Check that automatic screen rotation does not make you turn the chart without turning the fabric.
Work in Small Sections
You do not have to complete an entire color across the whole design. A beginner often finds it easier to finish one small area, confirm it, and then move to the next. This reduces long thread carries and counting errors.
How to Read a Digital PDF Cross Stitch Pattern
A PDF pattern can be opened on a phone, tablet, or computer and can usually be printed for personal use. The chart works the same way in every format: one grid position on the file corresponds to one position on the fabric.
Does the Printed Chart Need to Be the Same Size as the Embroidery?
No. A cross stitch chart is not a fabric template. Enlarging the chart on a screen or printing it larger does not change the finished embroidery size. The stitch count and fabric count determine the real size.
Can You Use “Fit to Page” When Printing?
Usually, yes, because the physical chart scale does not control the stitch size. The symbols must remain readable, and no rows, columns, page numbers, or overlap marks should be cut off. Follow any special printing instructions included with the pattern.
Single-Page and Multi-Page Charts
A single-page chart is useful for viewing the whole design on a tablet. A multi-page chart provides larger symbols for printing. Choose one working version and use the page layout to understand how it fits into the complete design.
Protect Your Pattern File
Save the original download in a clearly named folder. Keep a second backup before adding highlights or notes. Digital patterns are normally licensed for the buyer’s personal use and should not be copied, shared, resold, or uploaded publicly.
Counted Cross Stitch Patterns vs. Stamped Cross Stitch Kits
This guide mainly explains counted cross stitch. Counted fabric is blank, so you follow a separate chart and count the squares.
In stamped cross stitch, the design or symbols are printed directly on the fabric. You follow the printed marks instead of transferring every position from a separate chart. A stamped kit can feel easier if you are worried about losing your place.
| Counted pattern | Stamped kit |
|---|---|
| Uses blank fabric | Uses pre-printed fabric |
| You count from a separate chart | You follow symbols printed on the fabric |
| A PDF is available instantly | A physical kit must be shipped |
| You normally buy materials separately | The main materials are normally included |
| Offers more control over fabric and floss | Offers a more guided starting experience |
Learn the complete stamped process in How to Use a Stamped Cross Stitch Kit. If you want both options in one box, explore our 2-in-1 Christmas stocking kits with stamped and counted fabric.
How to Read a Personalized Christmas Stocking Pattern
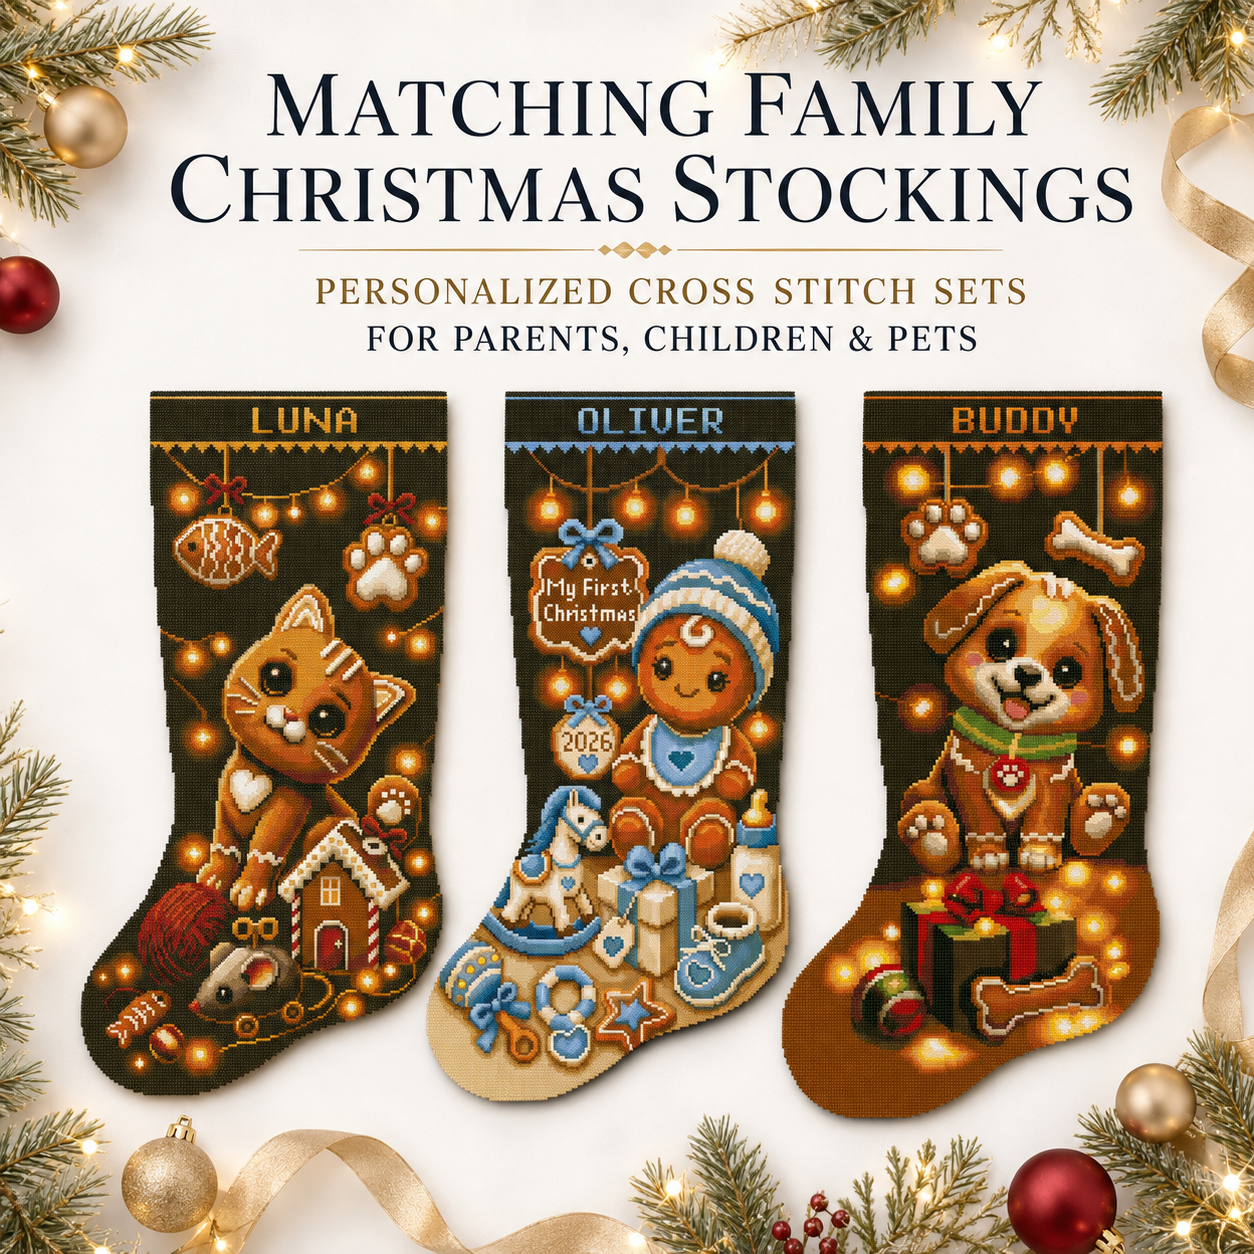
A personalized stocking pattern is read in the same way as any other counted chart, but it may include an extra alphabet, name area, or year.
Plan the Name Before Stitching
- Choose the complete name.
- Find every letter on the included alphabet chart.
- Count the width of each letter.
- Add the spaces between letters.
- Compare the total name width with the available cuff width.
- Find the starting column before making the first letter.
Use the free Christmas Stocking Name Centering Calculator to calculate the starting and ending positions.
Add a First Christmas Year Carefully
If the design includes a year, check whether the numbers are already included in the main chart or supplied on a separate alphabet page. Plan all four digits before stitching so the spacing remains balanced.
For a practical example, see the personalized Baby’s First Christmas gingerbread boy stocking pattern. It includes a name and year area and is designed as a meaningful newborn Christmas keepsake.
If you want to learn the complete process from fabric preparation to finishing, read How to Cross Stitch a Christmas Stocking.
Common Mistakes When Reading a Cross Stitch Pattern
1. Following the Color Instead of the Symbol
Printers and screens change colors. Two similar shades may look identical. Match the chart symbol to the legend and confirm the thread number.
2. Counting Holes Instead of Fabric Cells
On Aida, one full cross fills one cell and uses four surrounding holes. If you count the holes as separate chart squares, the design will become too large and the stitches will not align.
3. Turning the Chart but Not the Fabric
Keep the chart and fabric in the same orientation. Mark the top edge of the fabric before you begin, especially when the piece is almost square.
4. Ignoring the 10-Square Grid Lines
Darker grid lines are counting landmarks. Use them to check your position frequently instead of counting a long distance from the edge each time.
5. Stitching a Page Overlap Twice
Repeated rows and columns on multi-page charts are alignment guides. Check the page map and overlap marks before continuing.
6. Assuming Every Blank Square Needs White Thread
A blank square usually means no stitch. The visible fabric becomes the background. Stitch blank squares only when the legend specifically assigns them a color.
7. Using the Wrong Number of Floss Strands
Six-strand embroidery floss is usually separated before stitching. Check the instructions and fabric count instead of threading all six strands automatically.
8. Not Marking Completed Stitches
Memory is unreliable on a large chart. Mark every completed group on a working copy or digital annotation layer.
9. Starting Without Checking the Fabric Margin
A correctly stitched design can still fail if it is too close to an edge. Calculate the finished size and add framing or sewing margins before starting.
10. Guessing What an Unusual Symbol Means
If a mark is not clear, stop and read the legend or special-stitch notes. Do not invent a stitch based on how the symbol looks.
Plan Your Pattern with Free Cross Stitch Calculators
Reading the chart is only one part of planning a successful project. CrossStitchStyleArte provides free tools that turn the pattern information into practical fabric, thread, time, and personalization calculations.
| Free tool | Use it for |
|---|---|
| Fabric Size Calculator | Convert chart stitches into fabric dimensions and margins |
| Thread Calculator | Estimate thread length and the number of skeins |
| Floss Usage Calculator | Check whether the thread already in your stash is enough |
| Time Calculator and Planner | Estimate stitching hours and create a project schedule |
| Name Centering Calculator | Center a personalized name on a stocking cuff |
| Floss Converter | Compare colors across popular thread brands |
| Cross Stitch Price Calculator | Estimate a fair price if you sell your finished handmade work |
See the complete collection on the free Cross Stitch Calculators and Tools page.
Choose a Pattern or Complete Kit
Ready to use what you have learned?
- Prefer an instant PDF? Explore our personalized Christmas stocking cross stitch patterns with clear color and symbol charts.
- Want both counted and stamped options? Browse our 2-in-1 Christmas stocking cross stitch kits.
- Prefer to follow marks printed on the fabric? See our stamped Christmas stocking kits for beginners.
- Looking for a blue first-Christmas design? View the personalized Baby’s First Christmas gingerbread boy PDF pattern.
Frequently Asked Questions
Is a cross stitch pattern the same as a cross stitch chart?
The terms are often used for the same thing. “Pattern” may describe the complete set of files and instructions, while “chart” usually means the grid that shows stitch positions and symbols.
Does one square on a cross stitch pattern equal one stitch?
Usually, one full chart square represents one full cross stitch. Fractional marks can represent half, quarter, or three-quarter stitches, so always check the legend.
How do I know which thread color to use?
Match the symbol inside the chart square to the same symbol in the color key. Then select the listed thread brand and color number.
What do blank squares mean on a cross stitch chart?
A blank square usually means that the fabric remains unstitched. Do not assume it means white thread. The pattern legend always gives the final answer.
Where should a beginner start on a cross stitch pattern?
The center is a safe starting point. Match the center of the chart to the center of the fabric. You may use another measured point if you have already calculated the complete fabric size and margins.
What are the darker lines on a cross stitch grid?
They usually divide the chart into blocks of ten squares. These lines and their numbers make counting and checking your position easier.
What does a line across several squares mean?
It often represents backstitch or another outline. It is not a row of full cross stitches. Confirm the color, strand count, and technique in the key.
How do I read a pattern printed on several pages?
Use the page layout to see how the pages connect. Check whether rows or columns overlap, match the repeated symbols, and never stitch an overlap twice.
Is a color chart better than a black-and-white chart?
Neither is automatically better. A color chart helps you see the picture, while a black-and-white chart can make similar shades easier to distinguish. Use the version you can read most comfortably.
Can I read a cross stitch pattern on a tablet?
Yes. Zoom in to read symbols and use an annotation tool to mark completed areas. Keep an untouched backup of the original PDF.
Does enlarging a PDF chart make the embroidery larger?
No. Enlarging the chart only makes it easier to read. The design’s stitch count and your fabric count determine the finished size.
Can a child learn to read a cross stitch chart?
Yes. A simple chart with large symbols, few colors, full crosses, and 11-count or 14-count Aida can work well for a young beginner. Needles and scissors should be used with appropriate adult supervision.
Read One Symbol and One Square at a Time
A cross stitch chart is not a mysterious code. It is a map. The grid shows where to stitch, the legend shows which color to use, and the instructions show which type of stitch to make.
Begin by reading the entire file. Match every symbol carefully, use the darker grid lines to count, keep the chart and fabric in the same orientation, and mark your progress. When a symbol or page border is unclear, stop and check the legend instead of guessing.
With that simple system, even a large multi-page Christmas stocking pattern becomes a series of small, manageable steps. One square becomes one stitch, and one stitch at a time becomes a handmade keepsake.