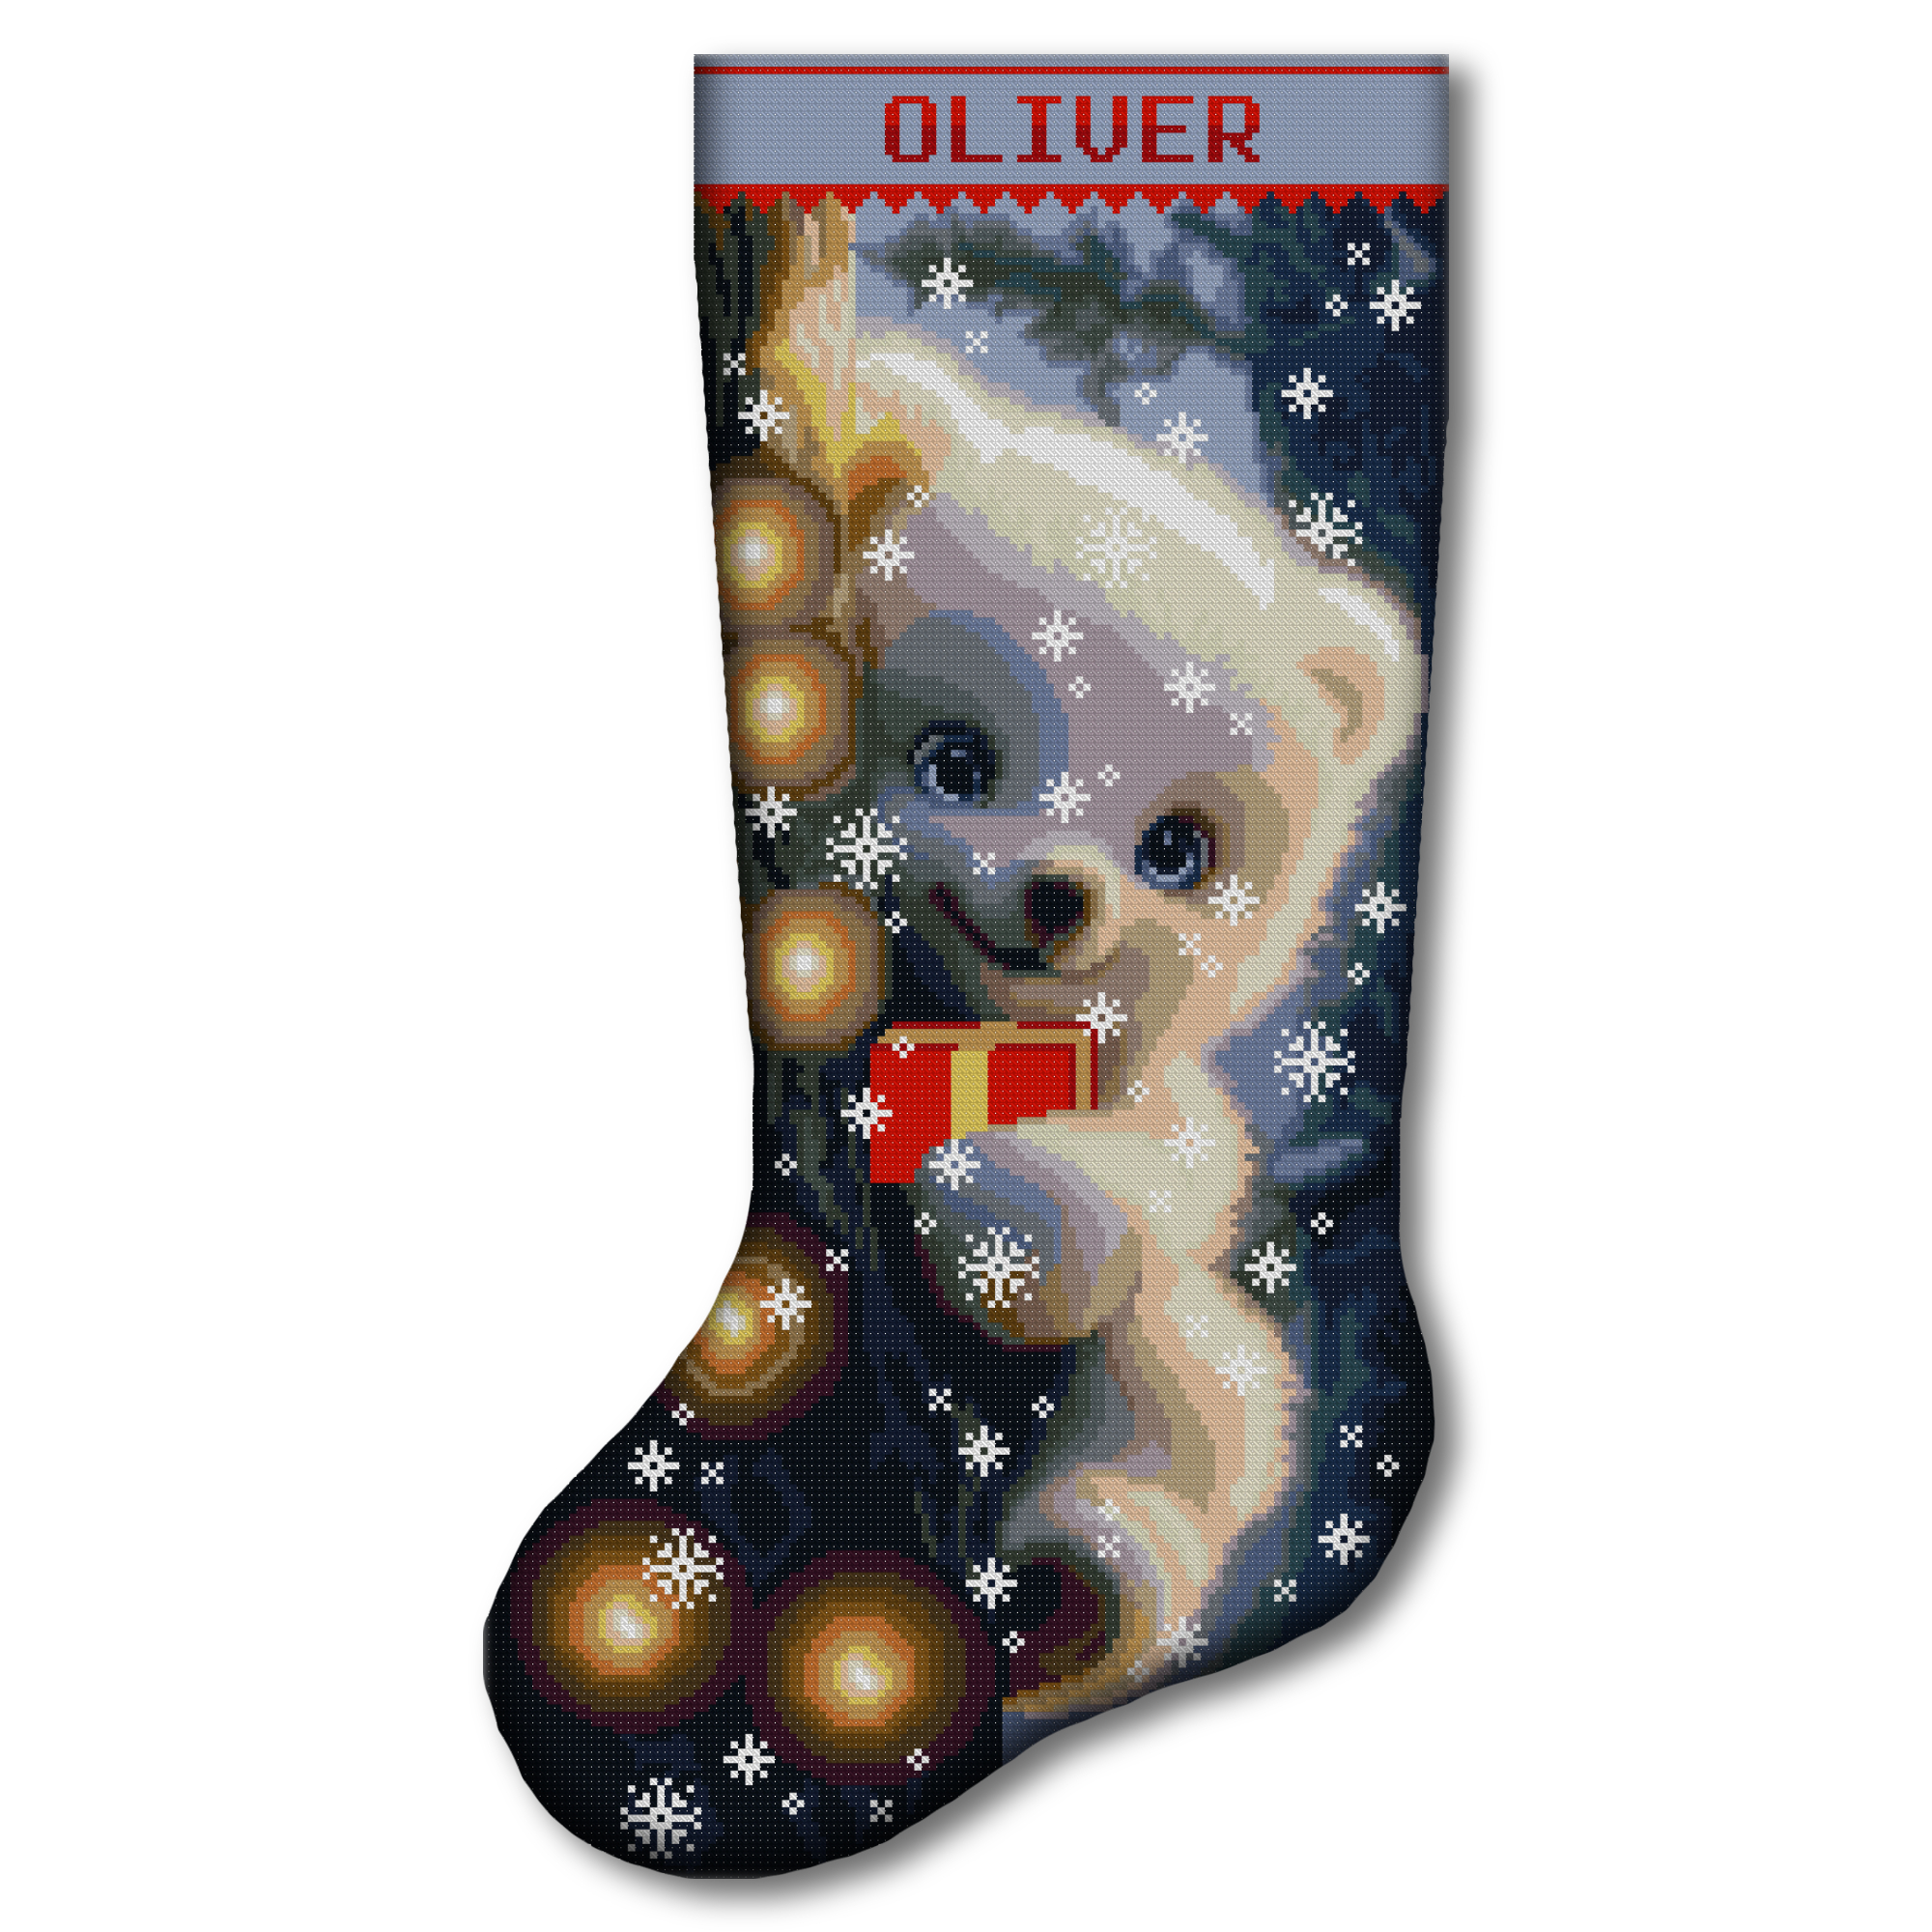
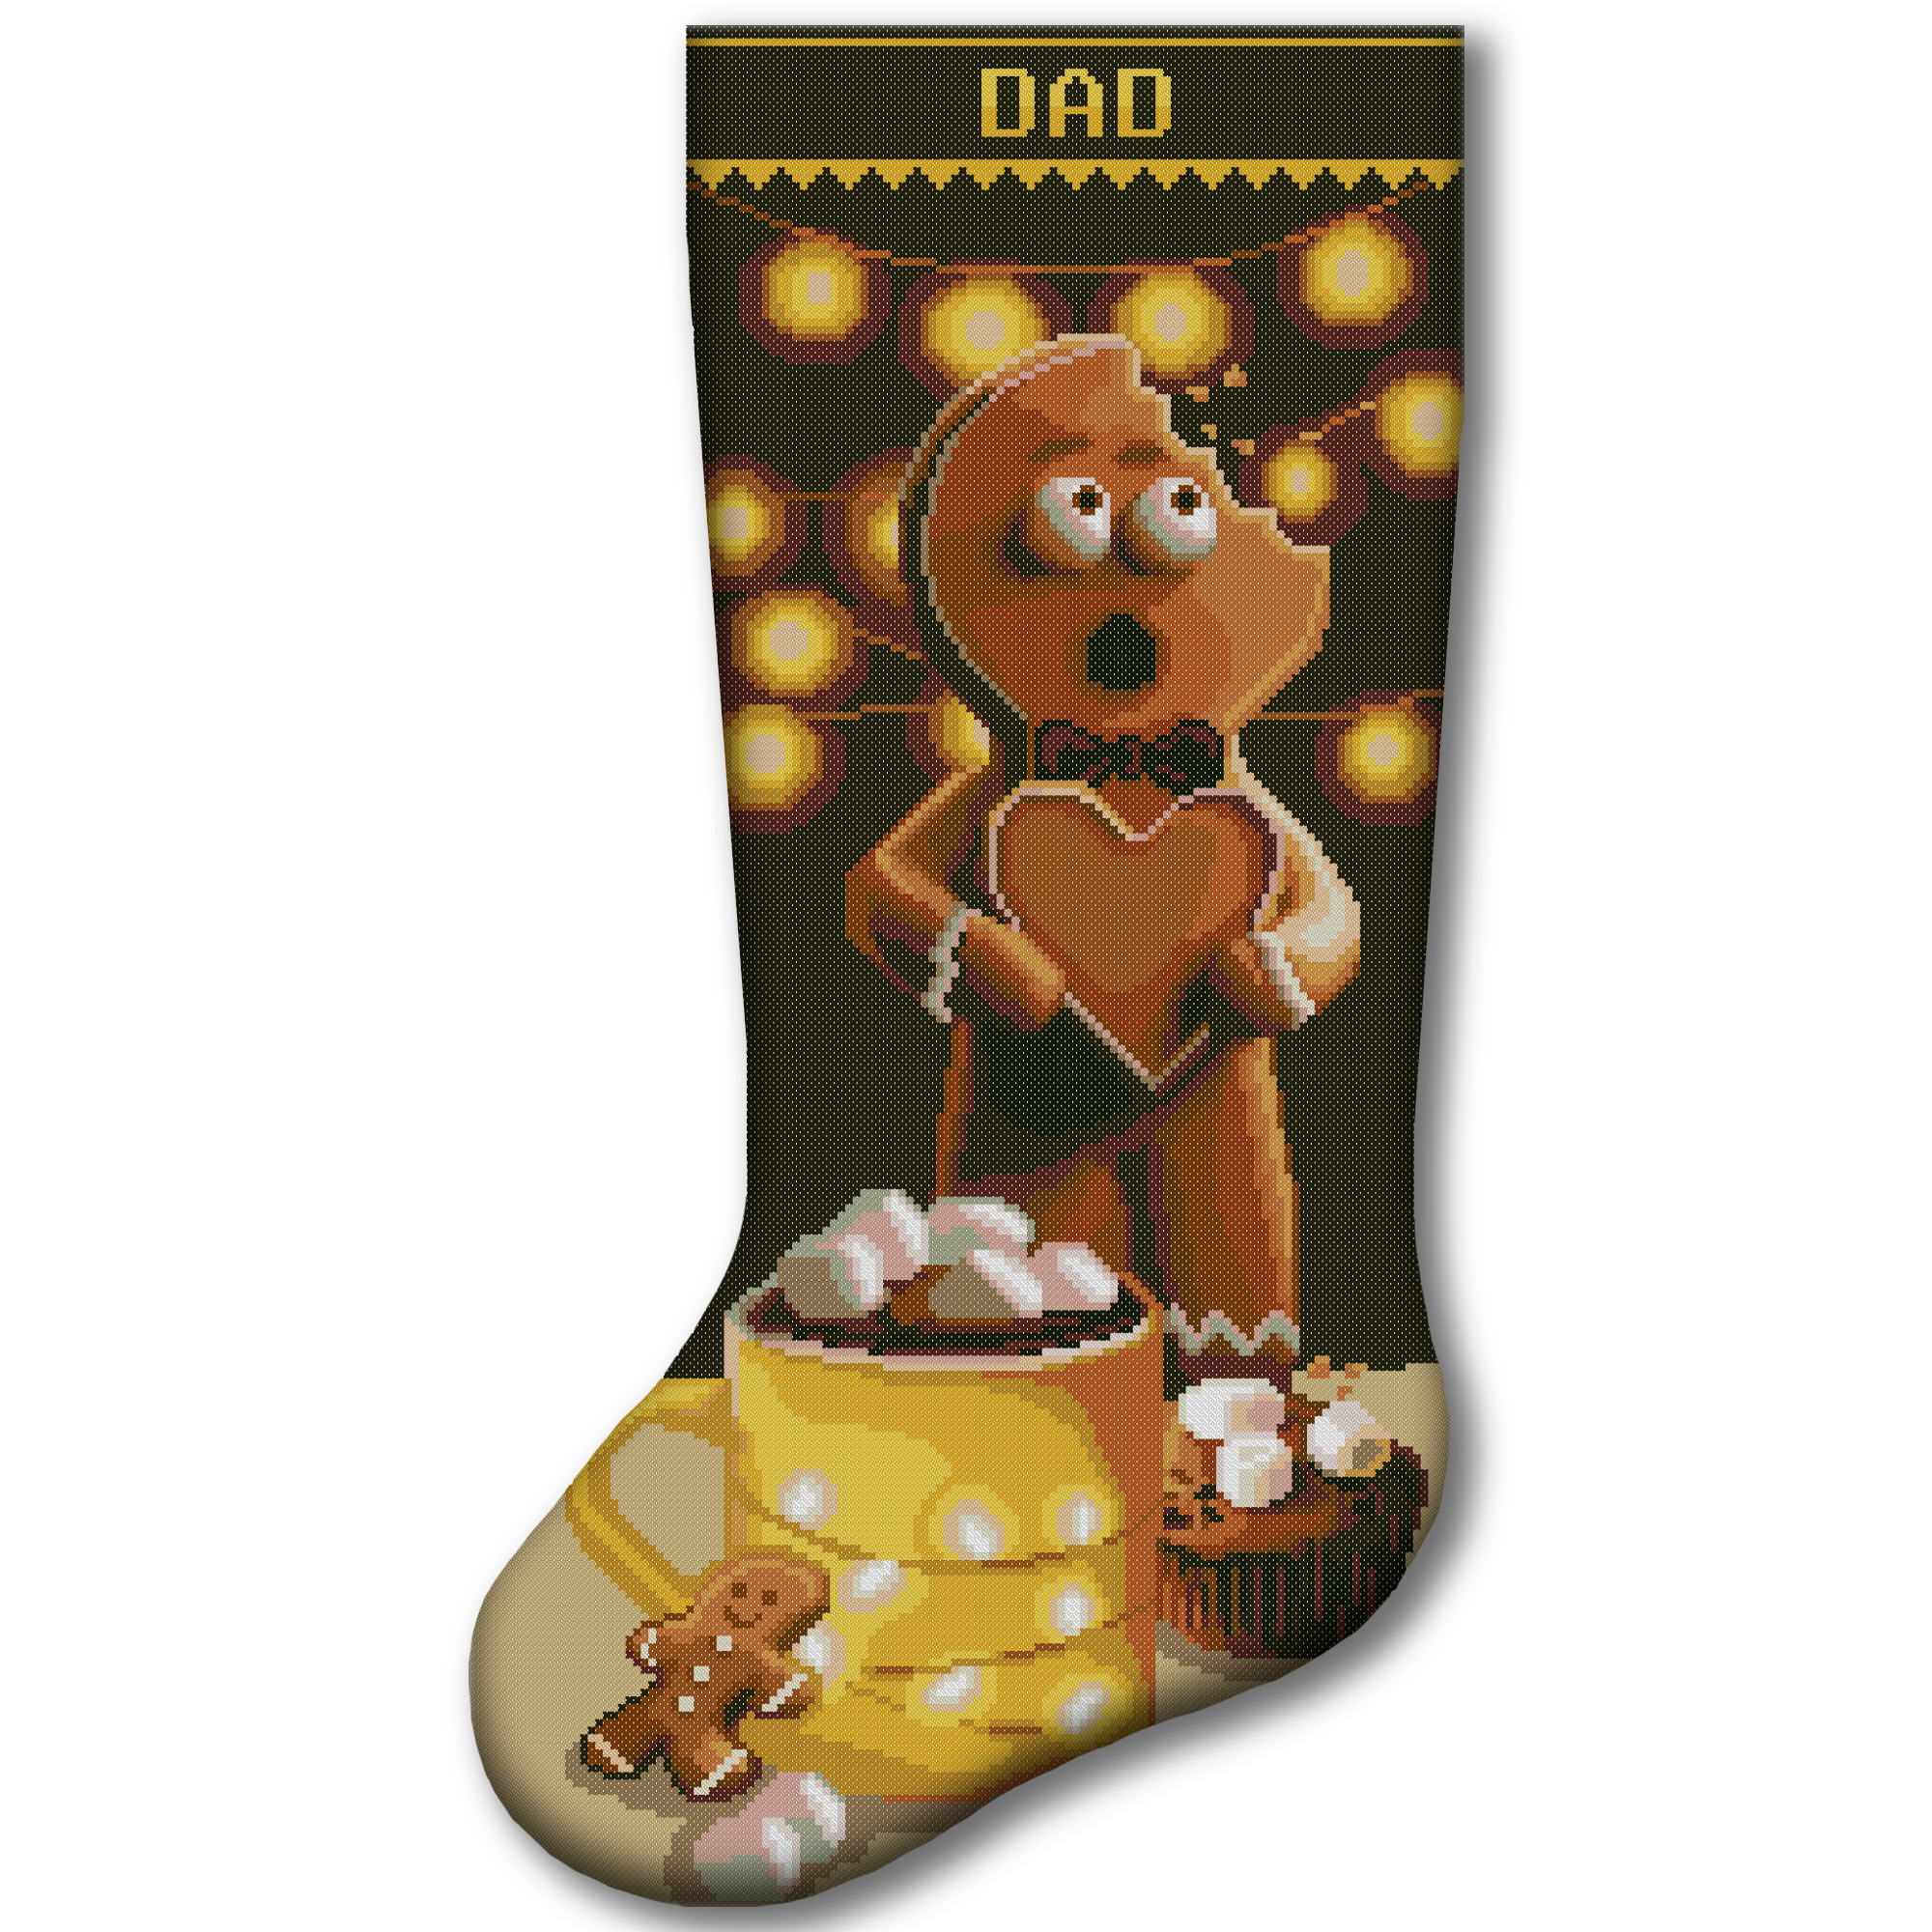
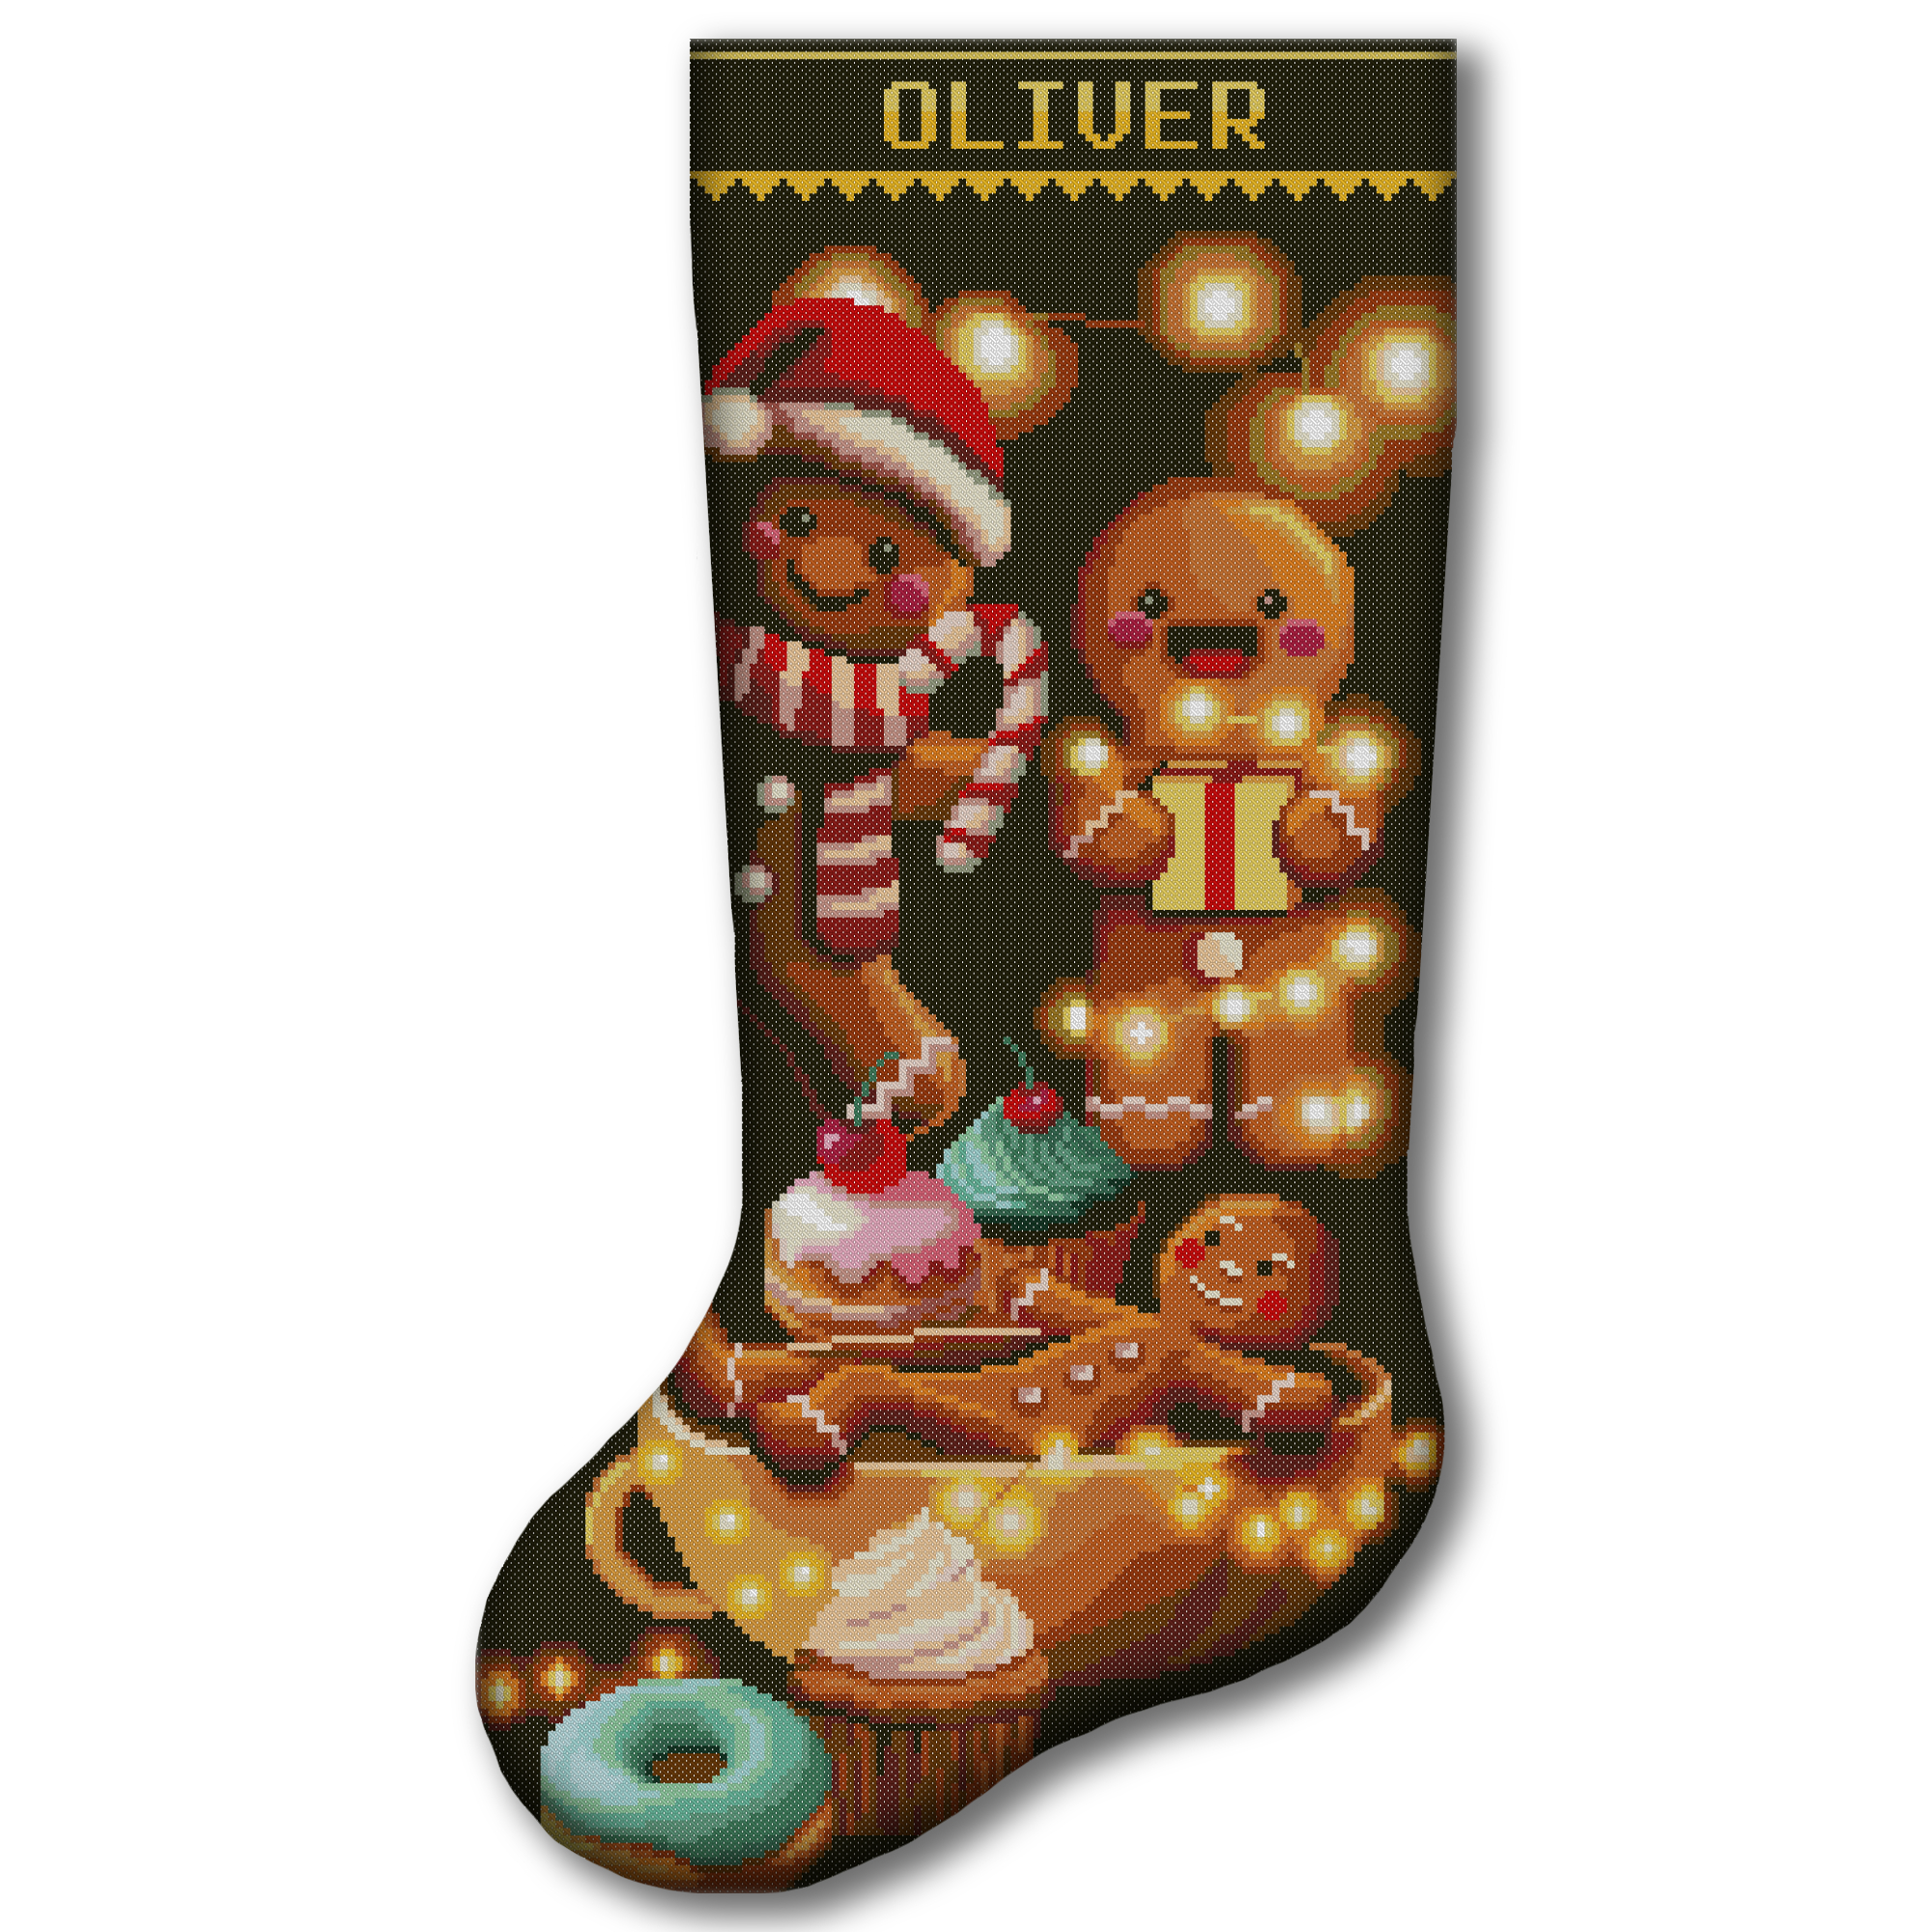
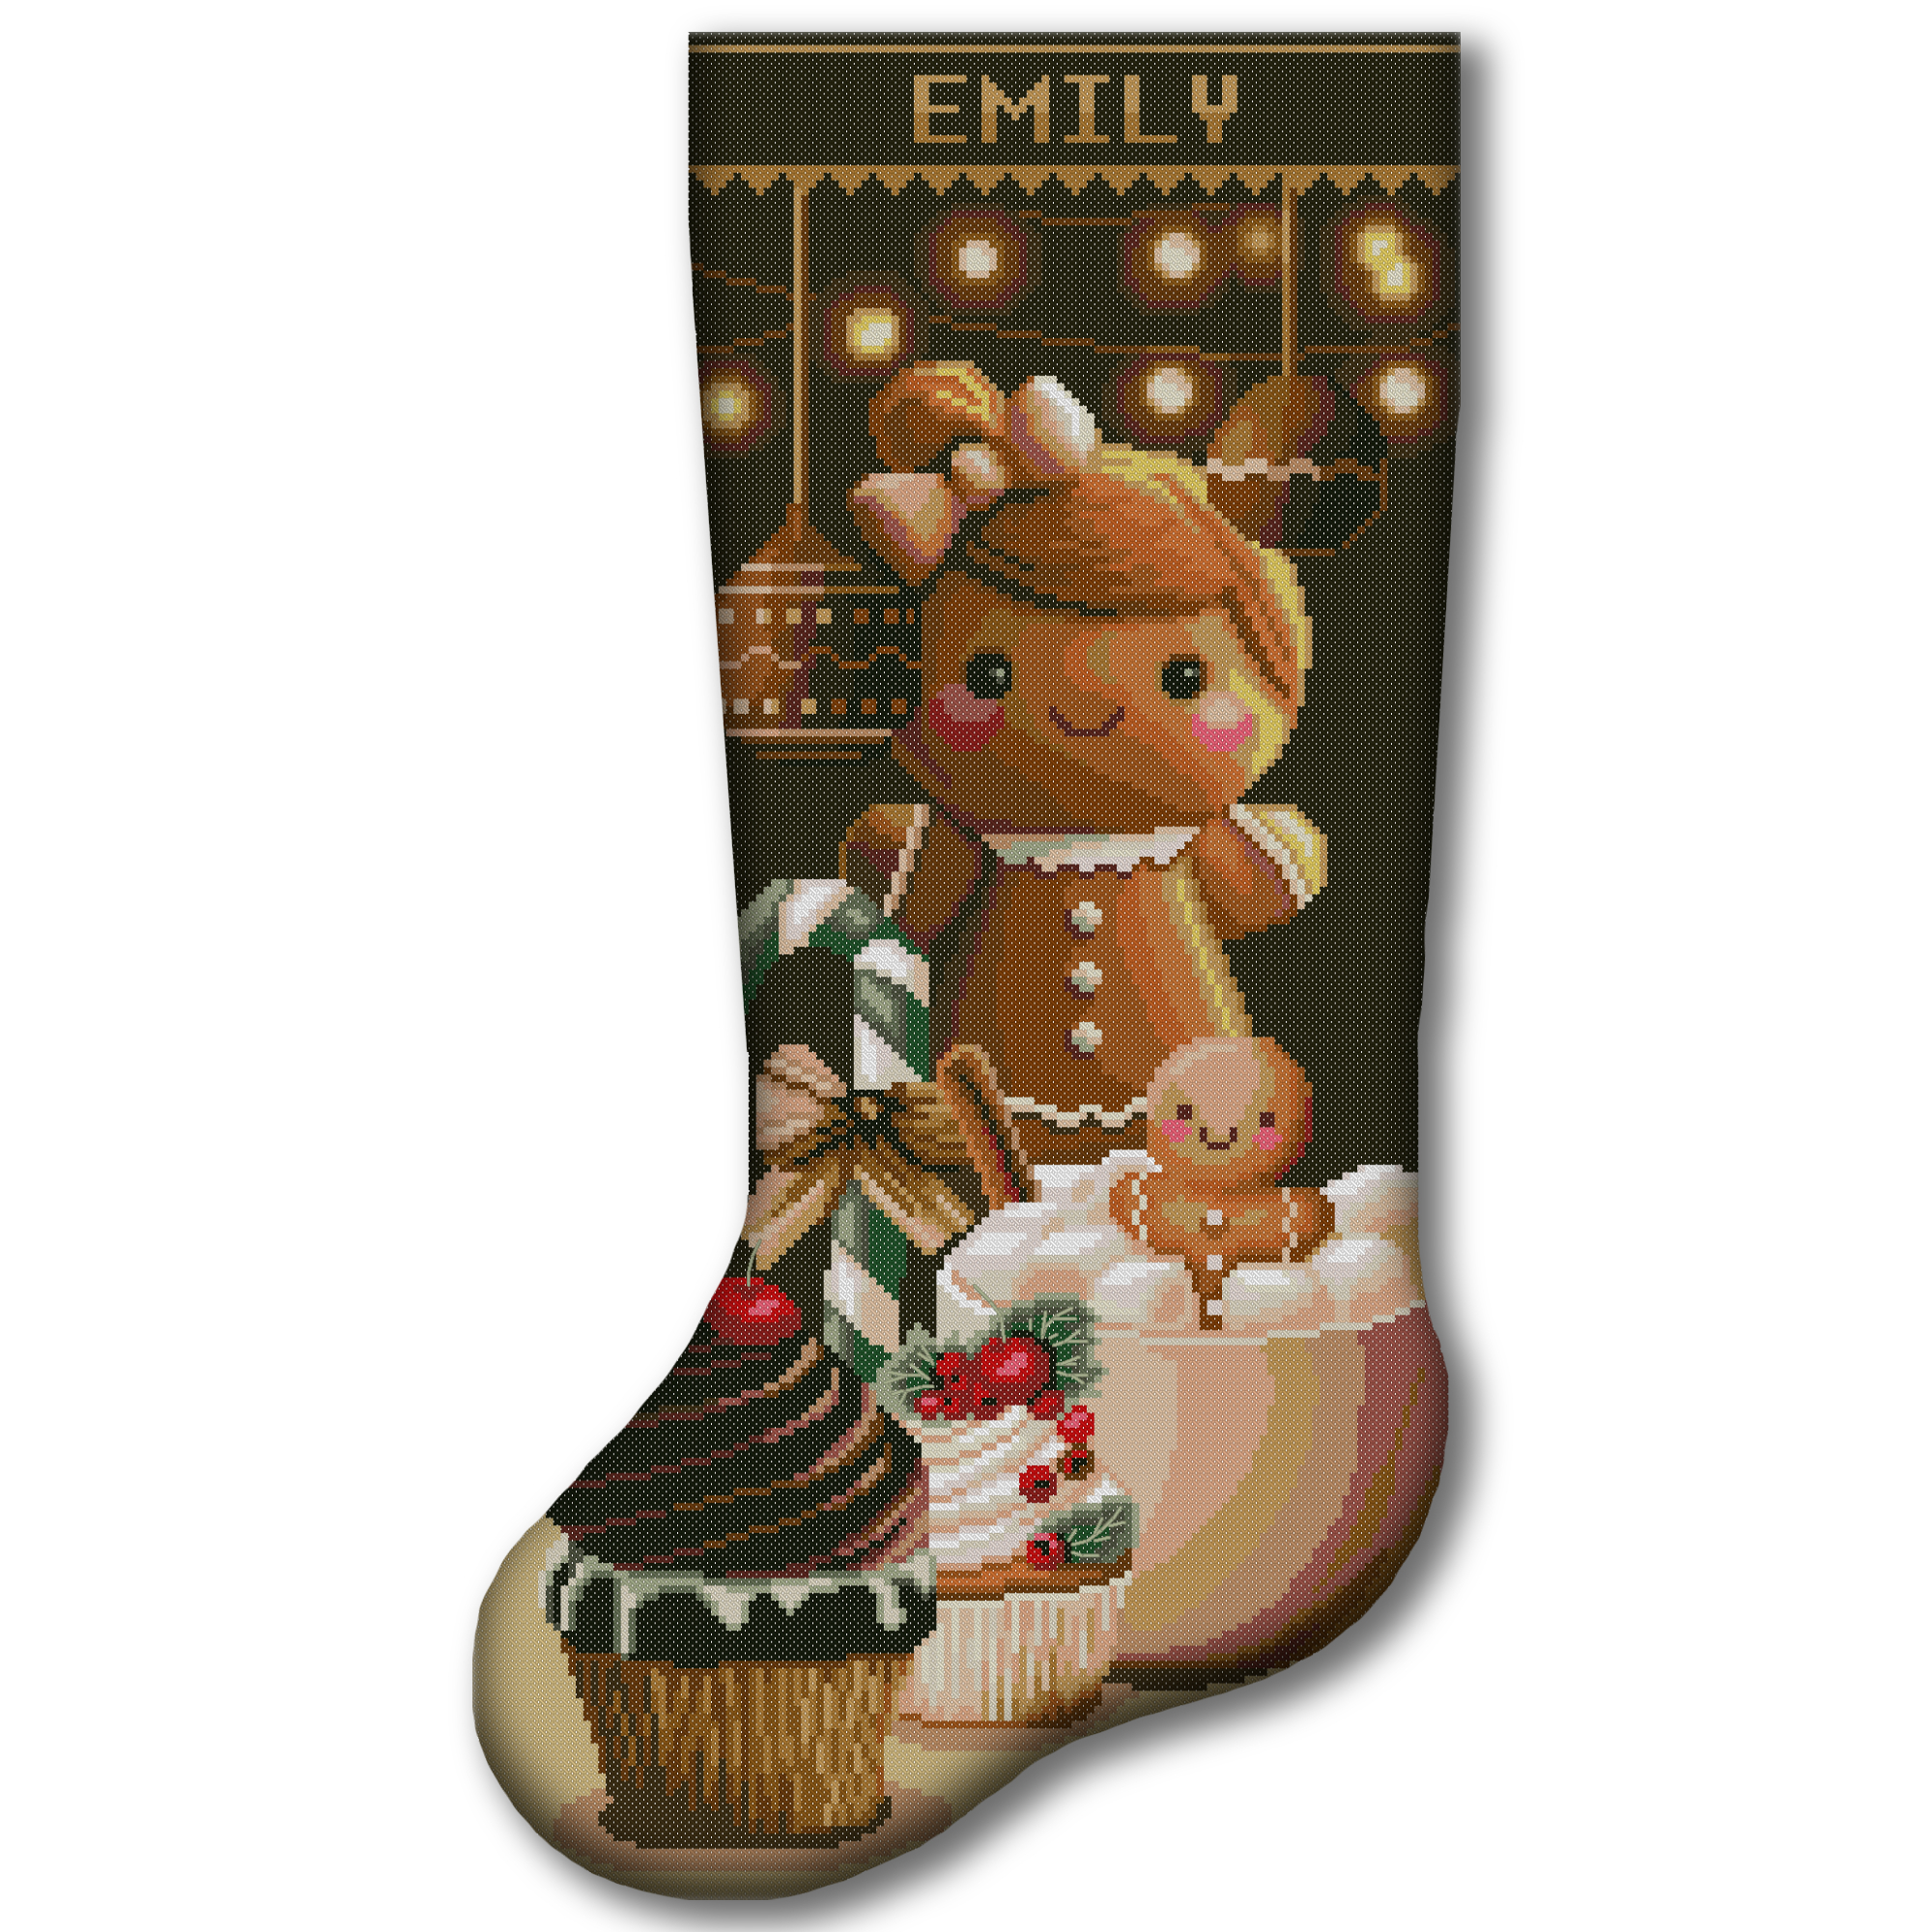
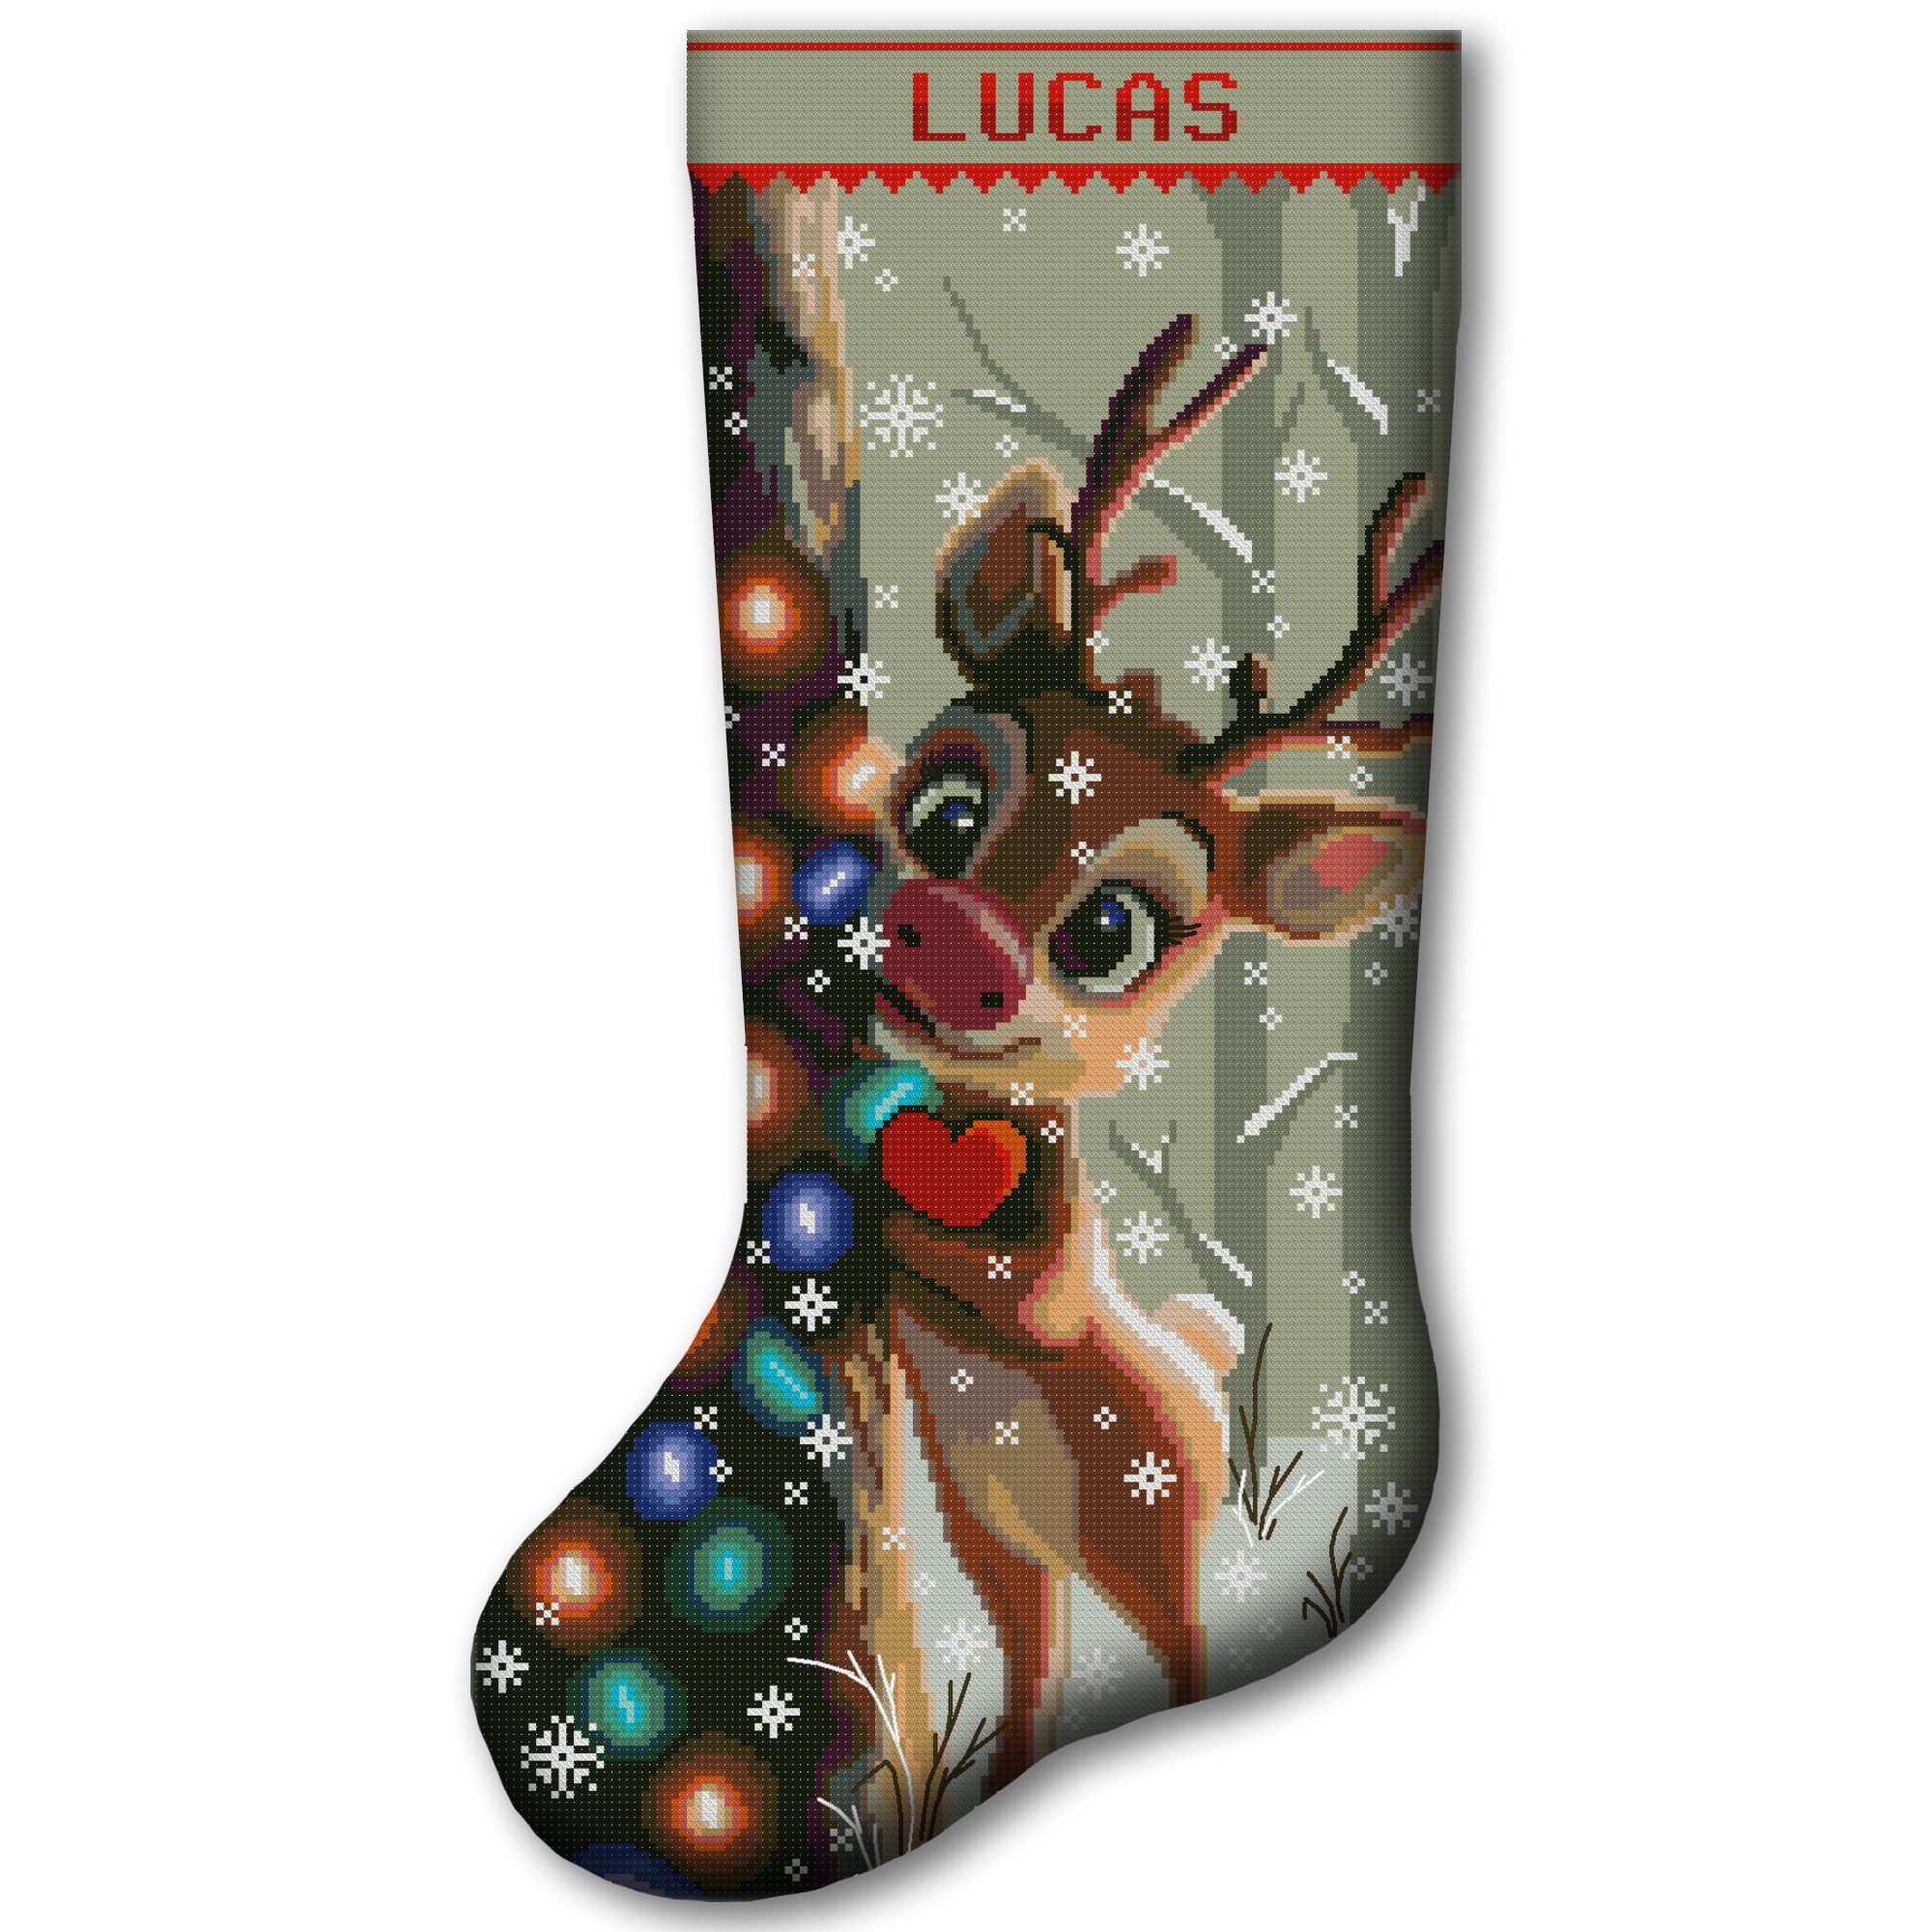
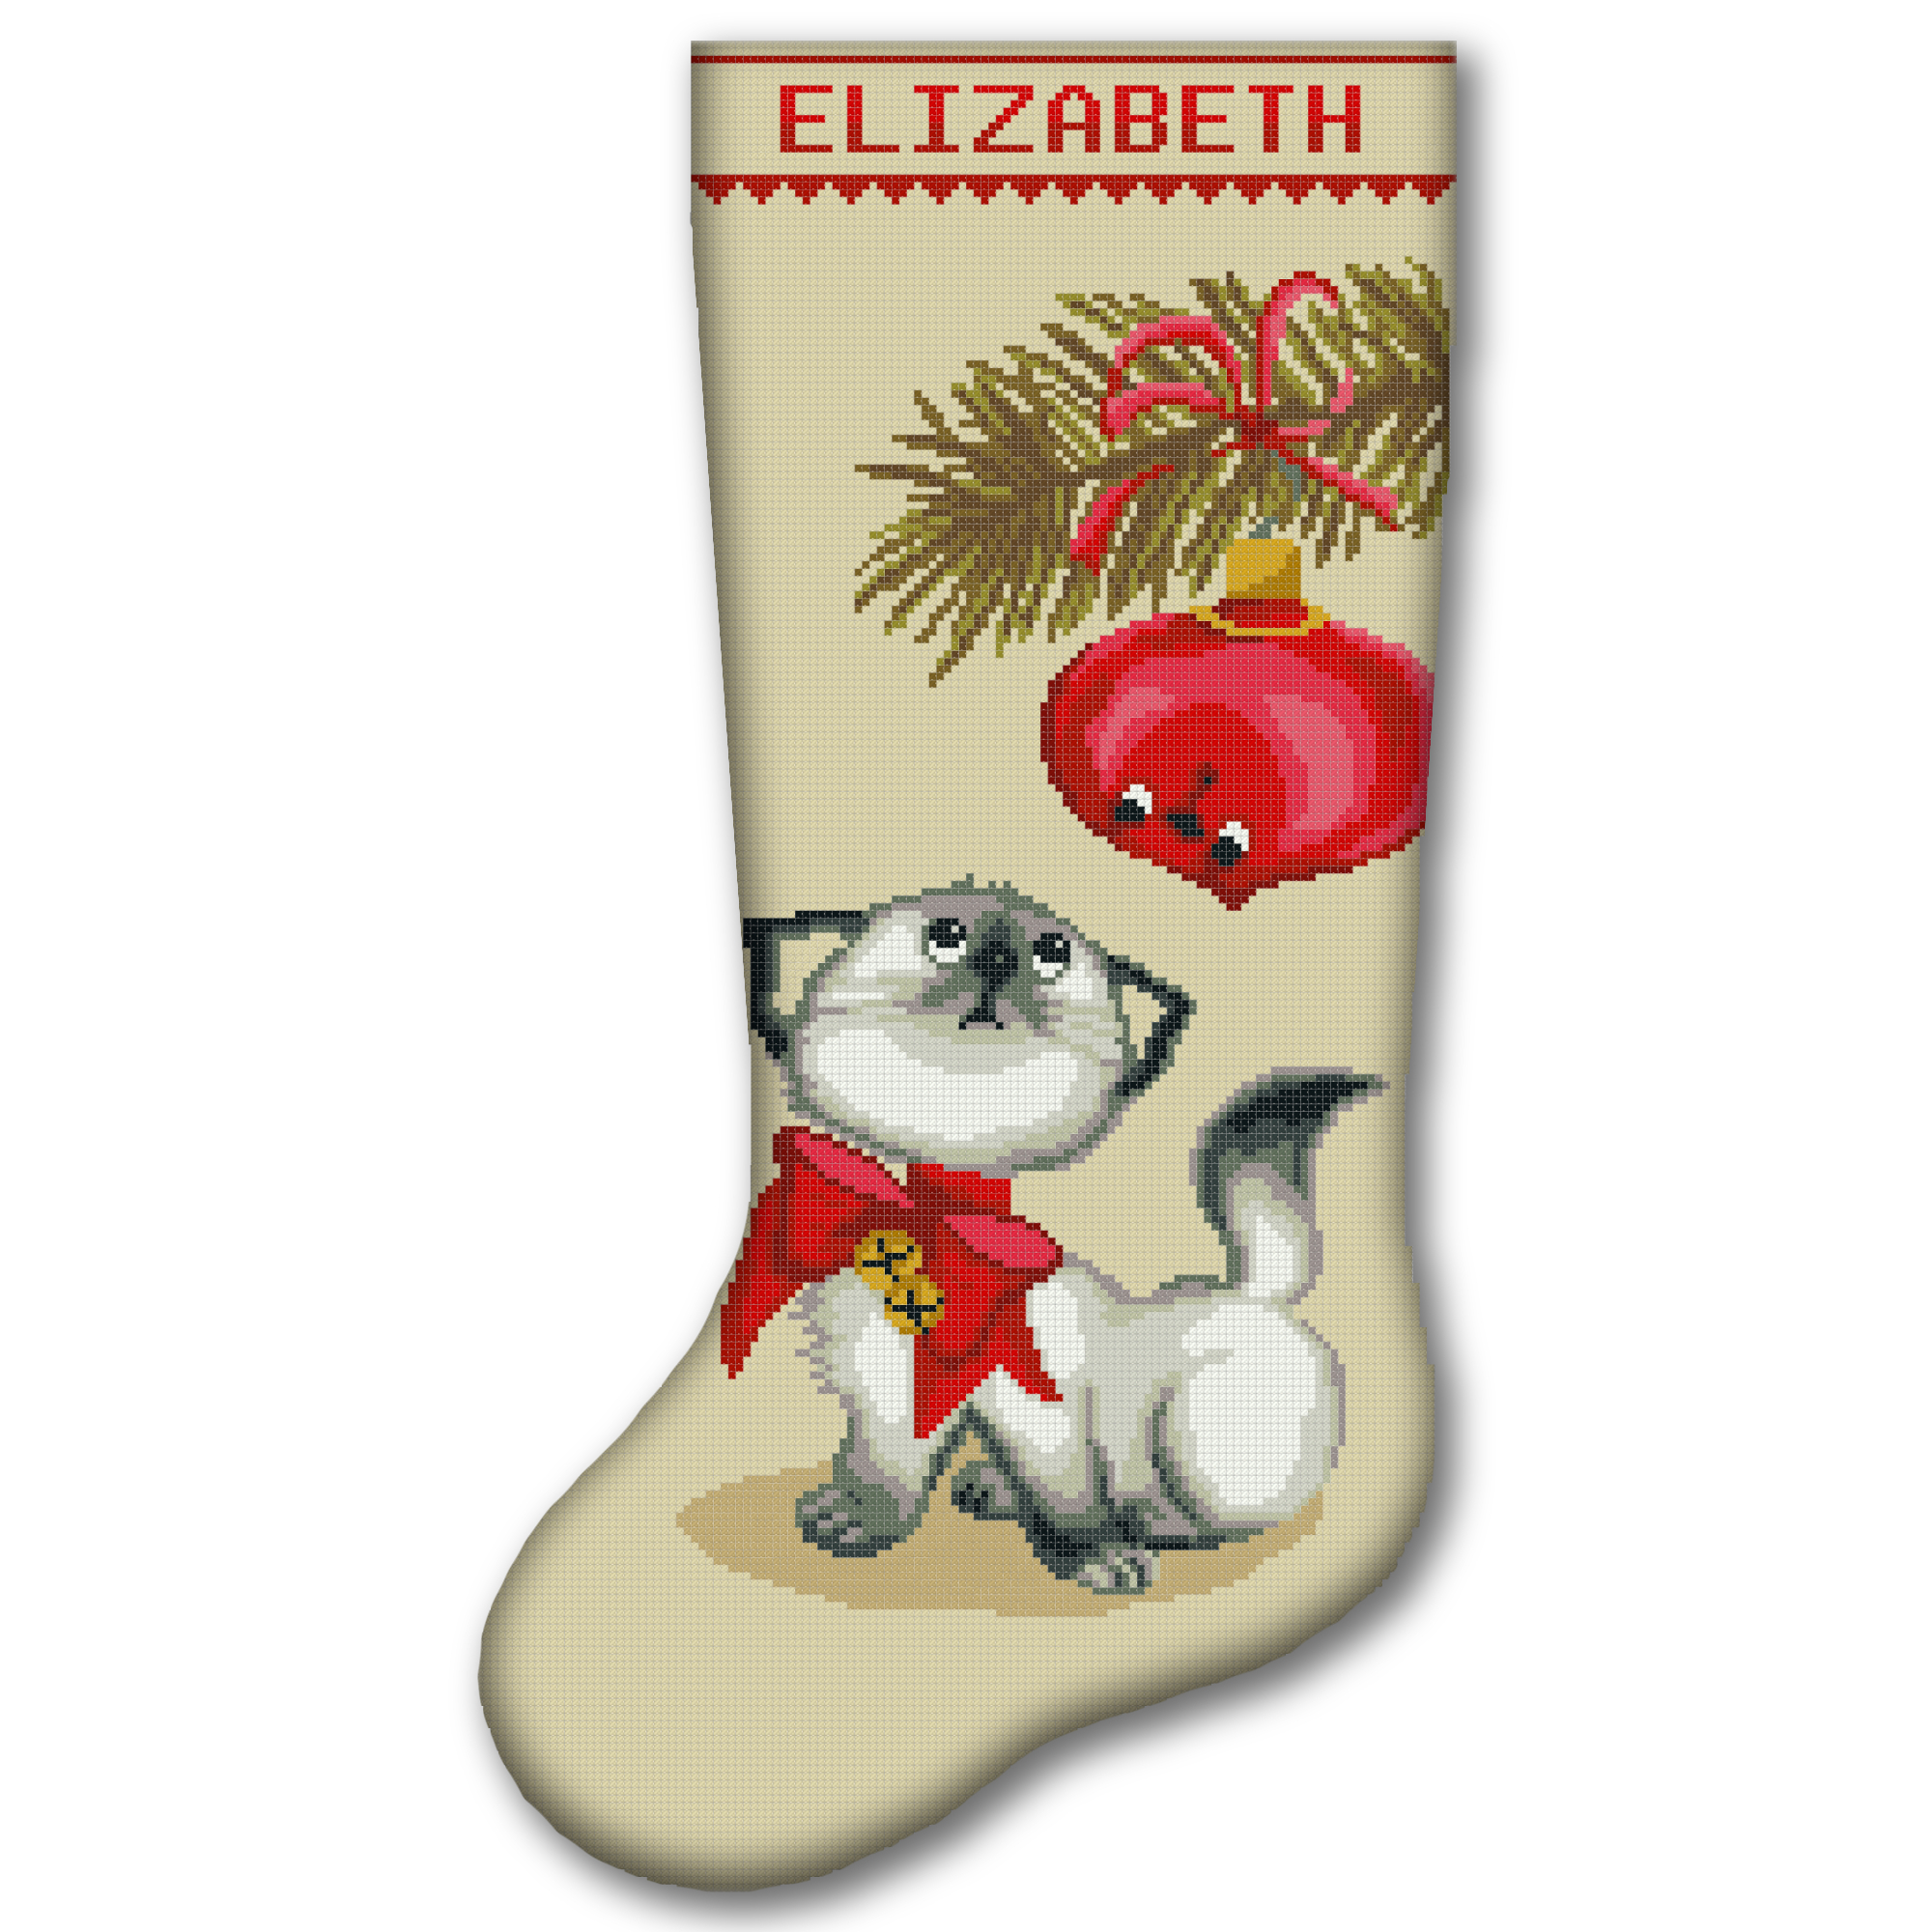
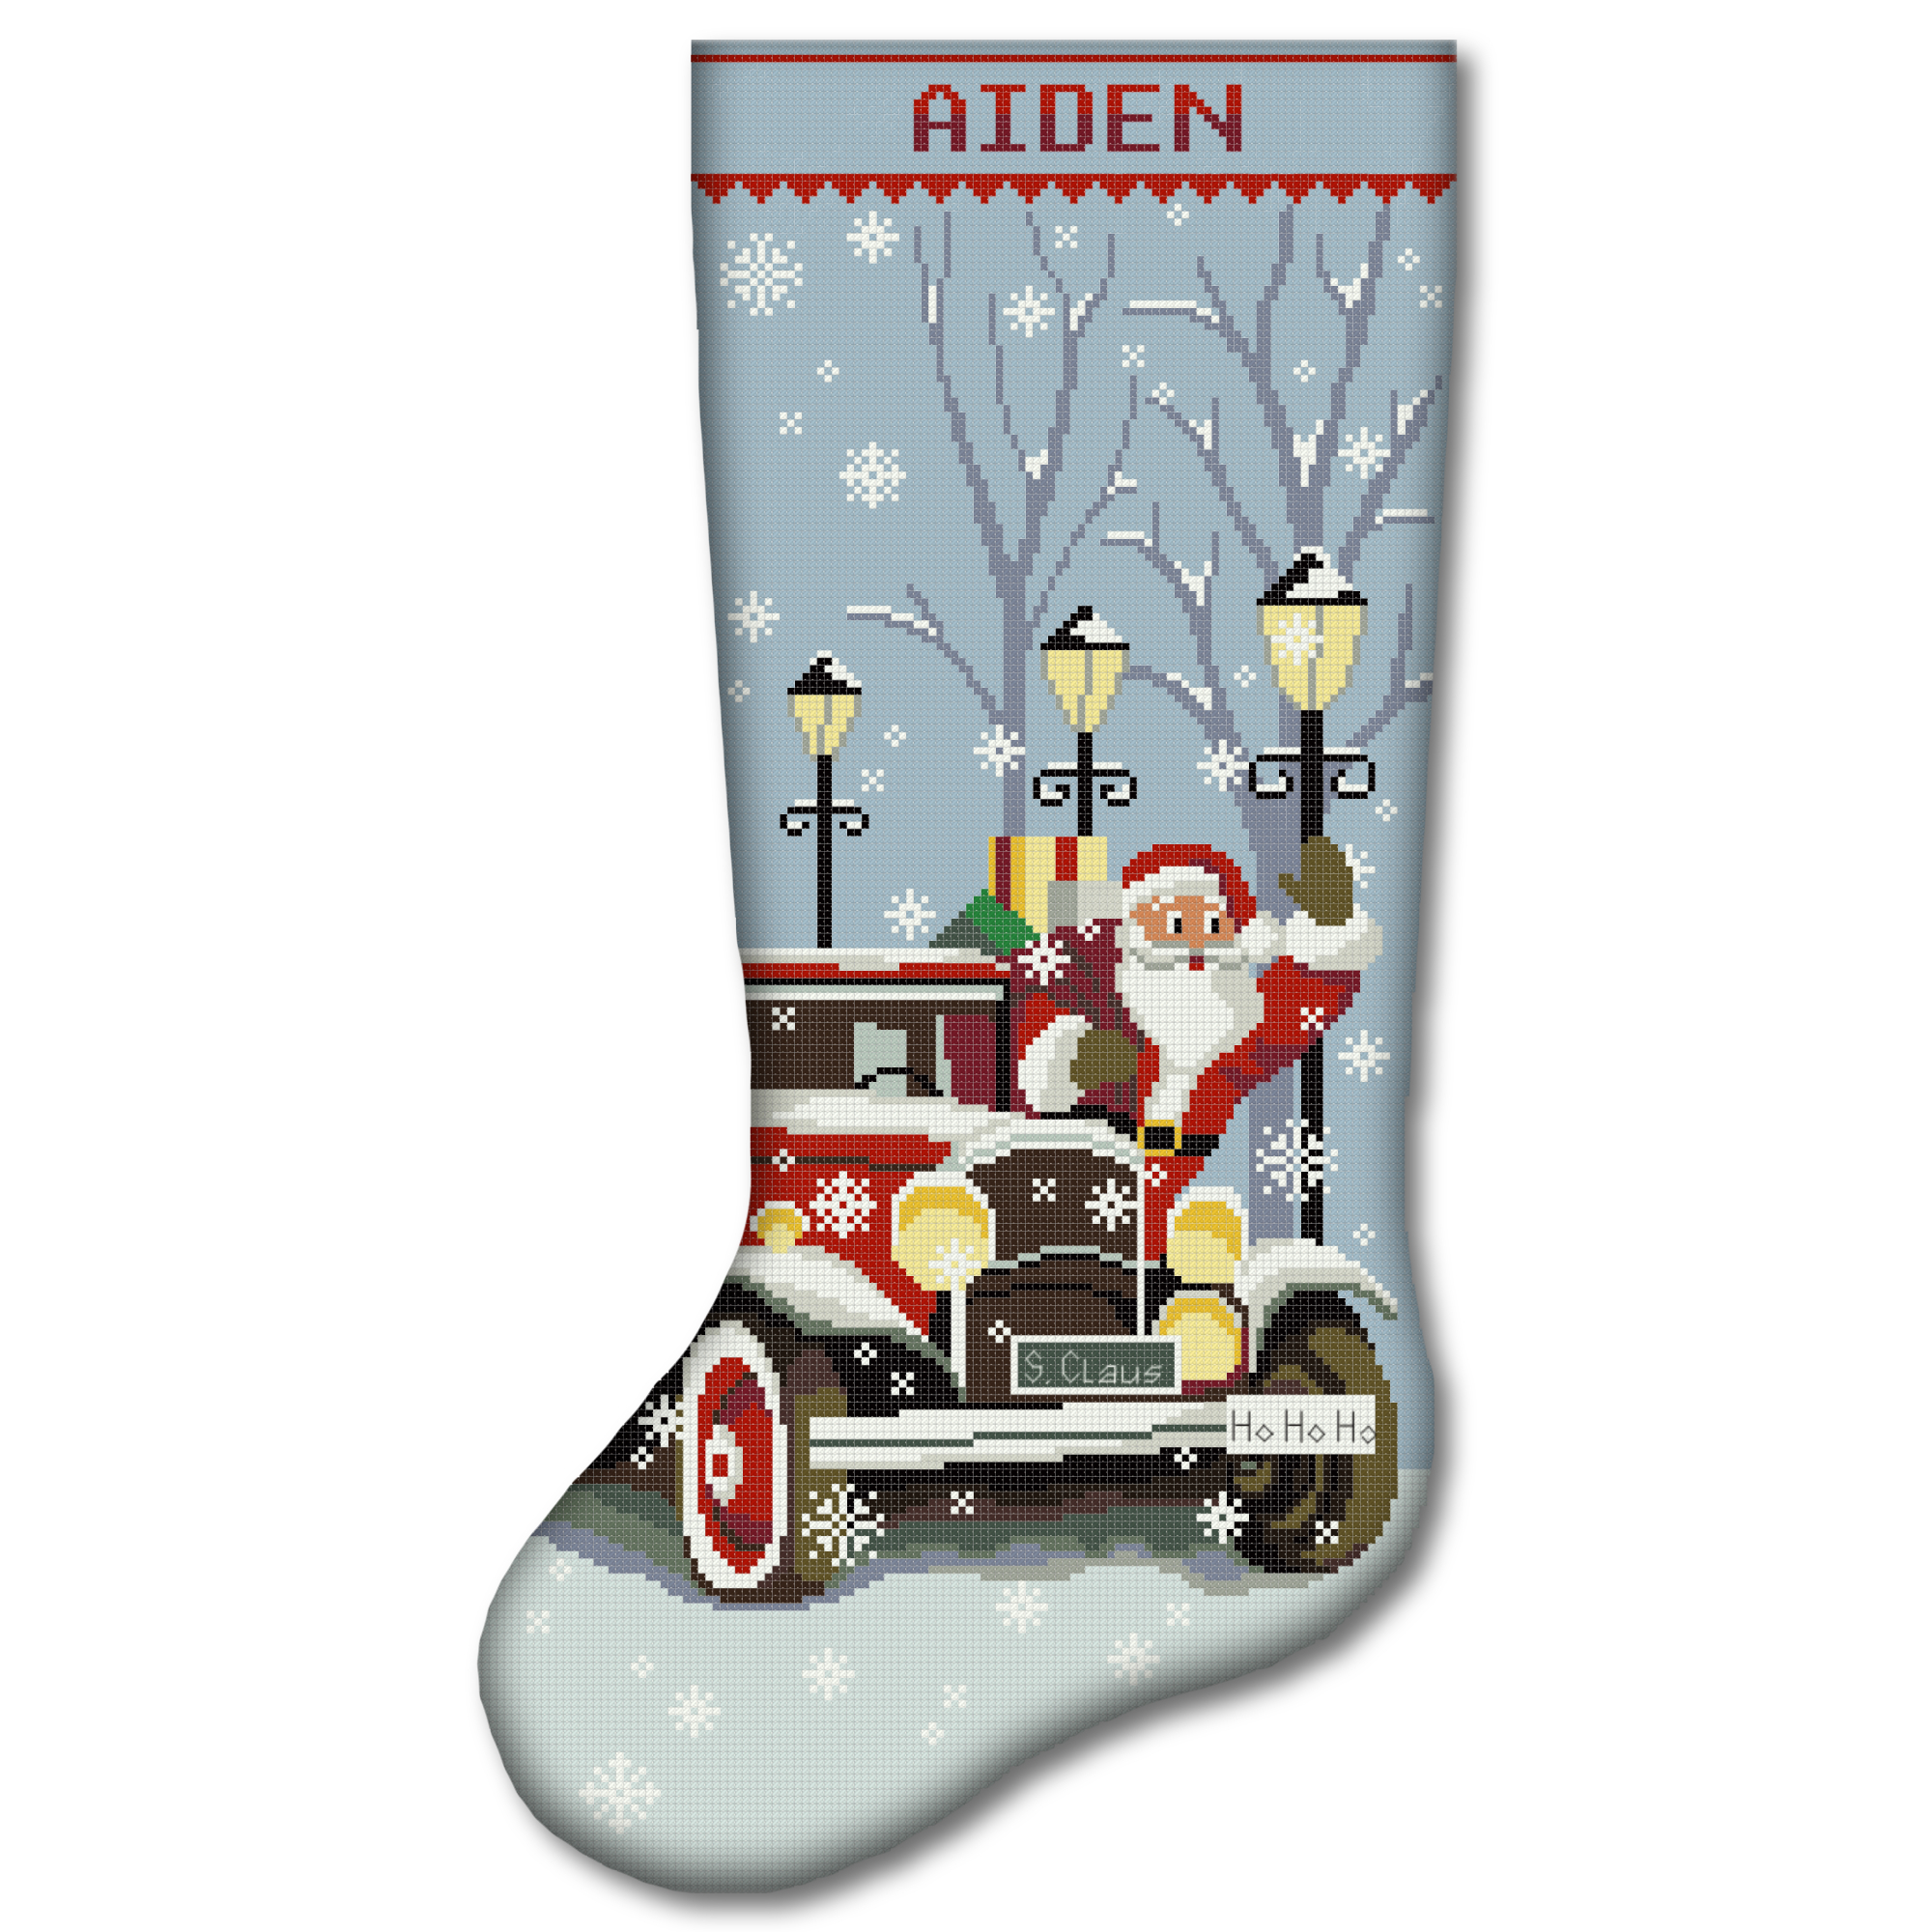
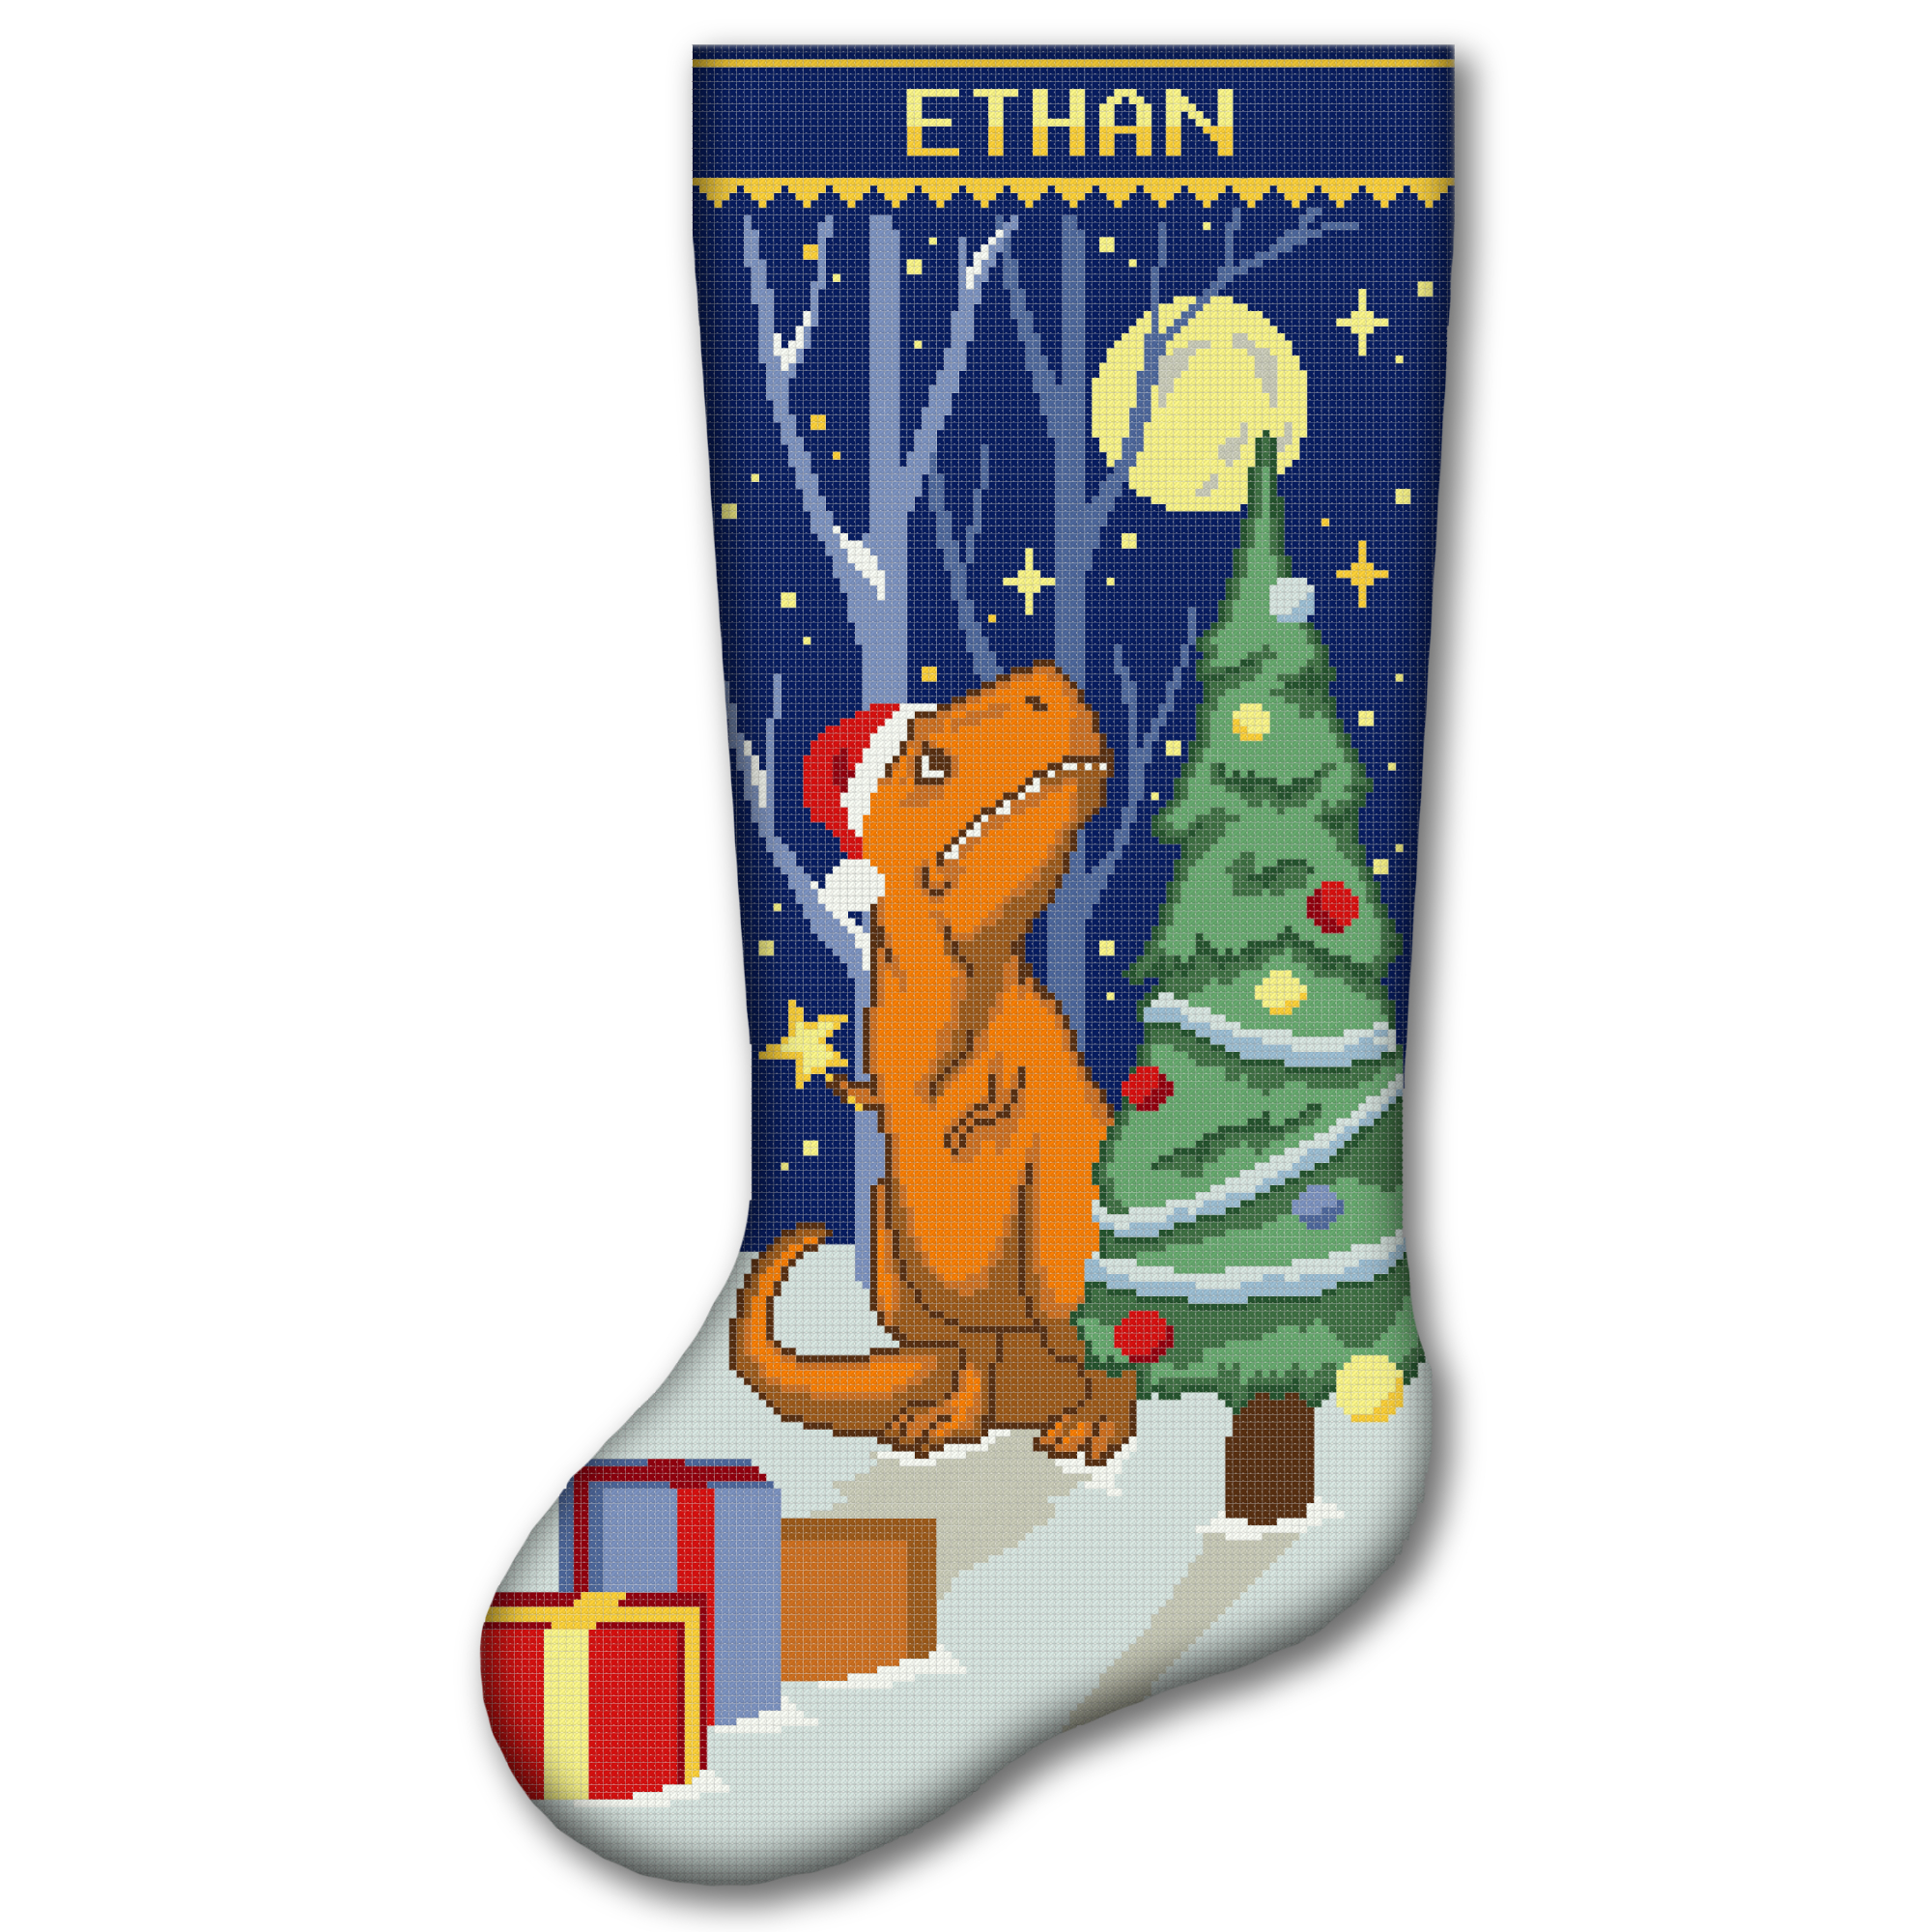
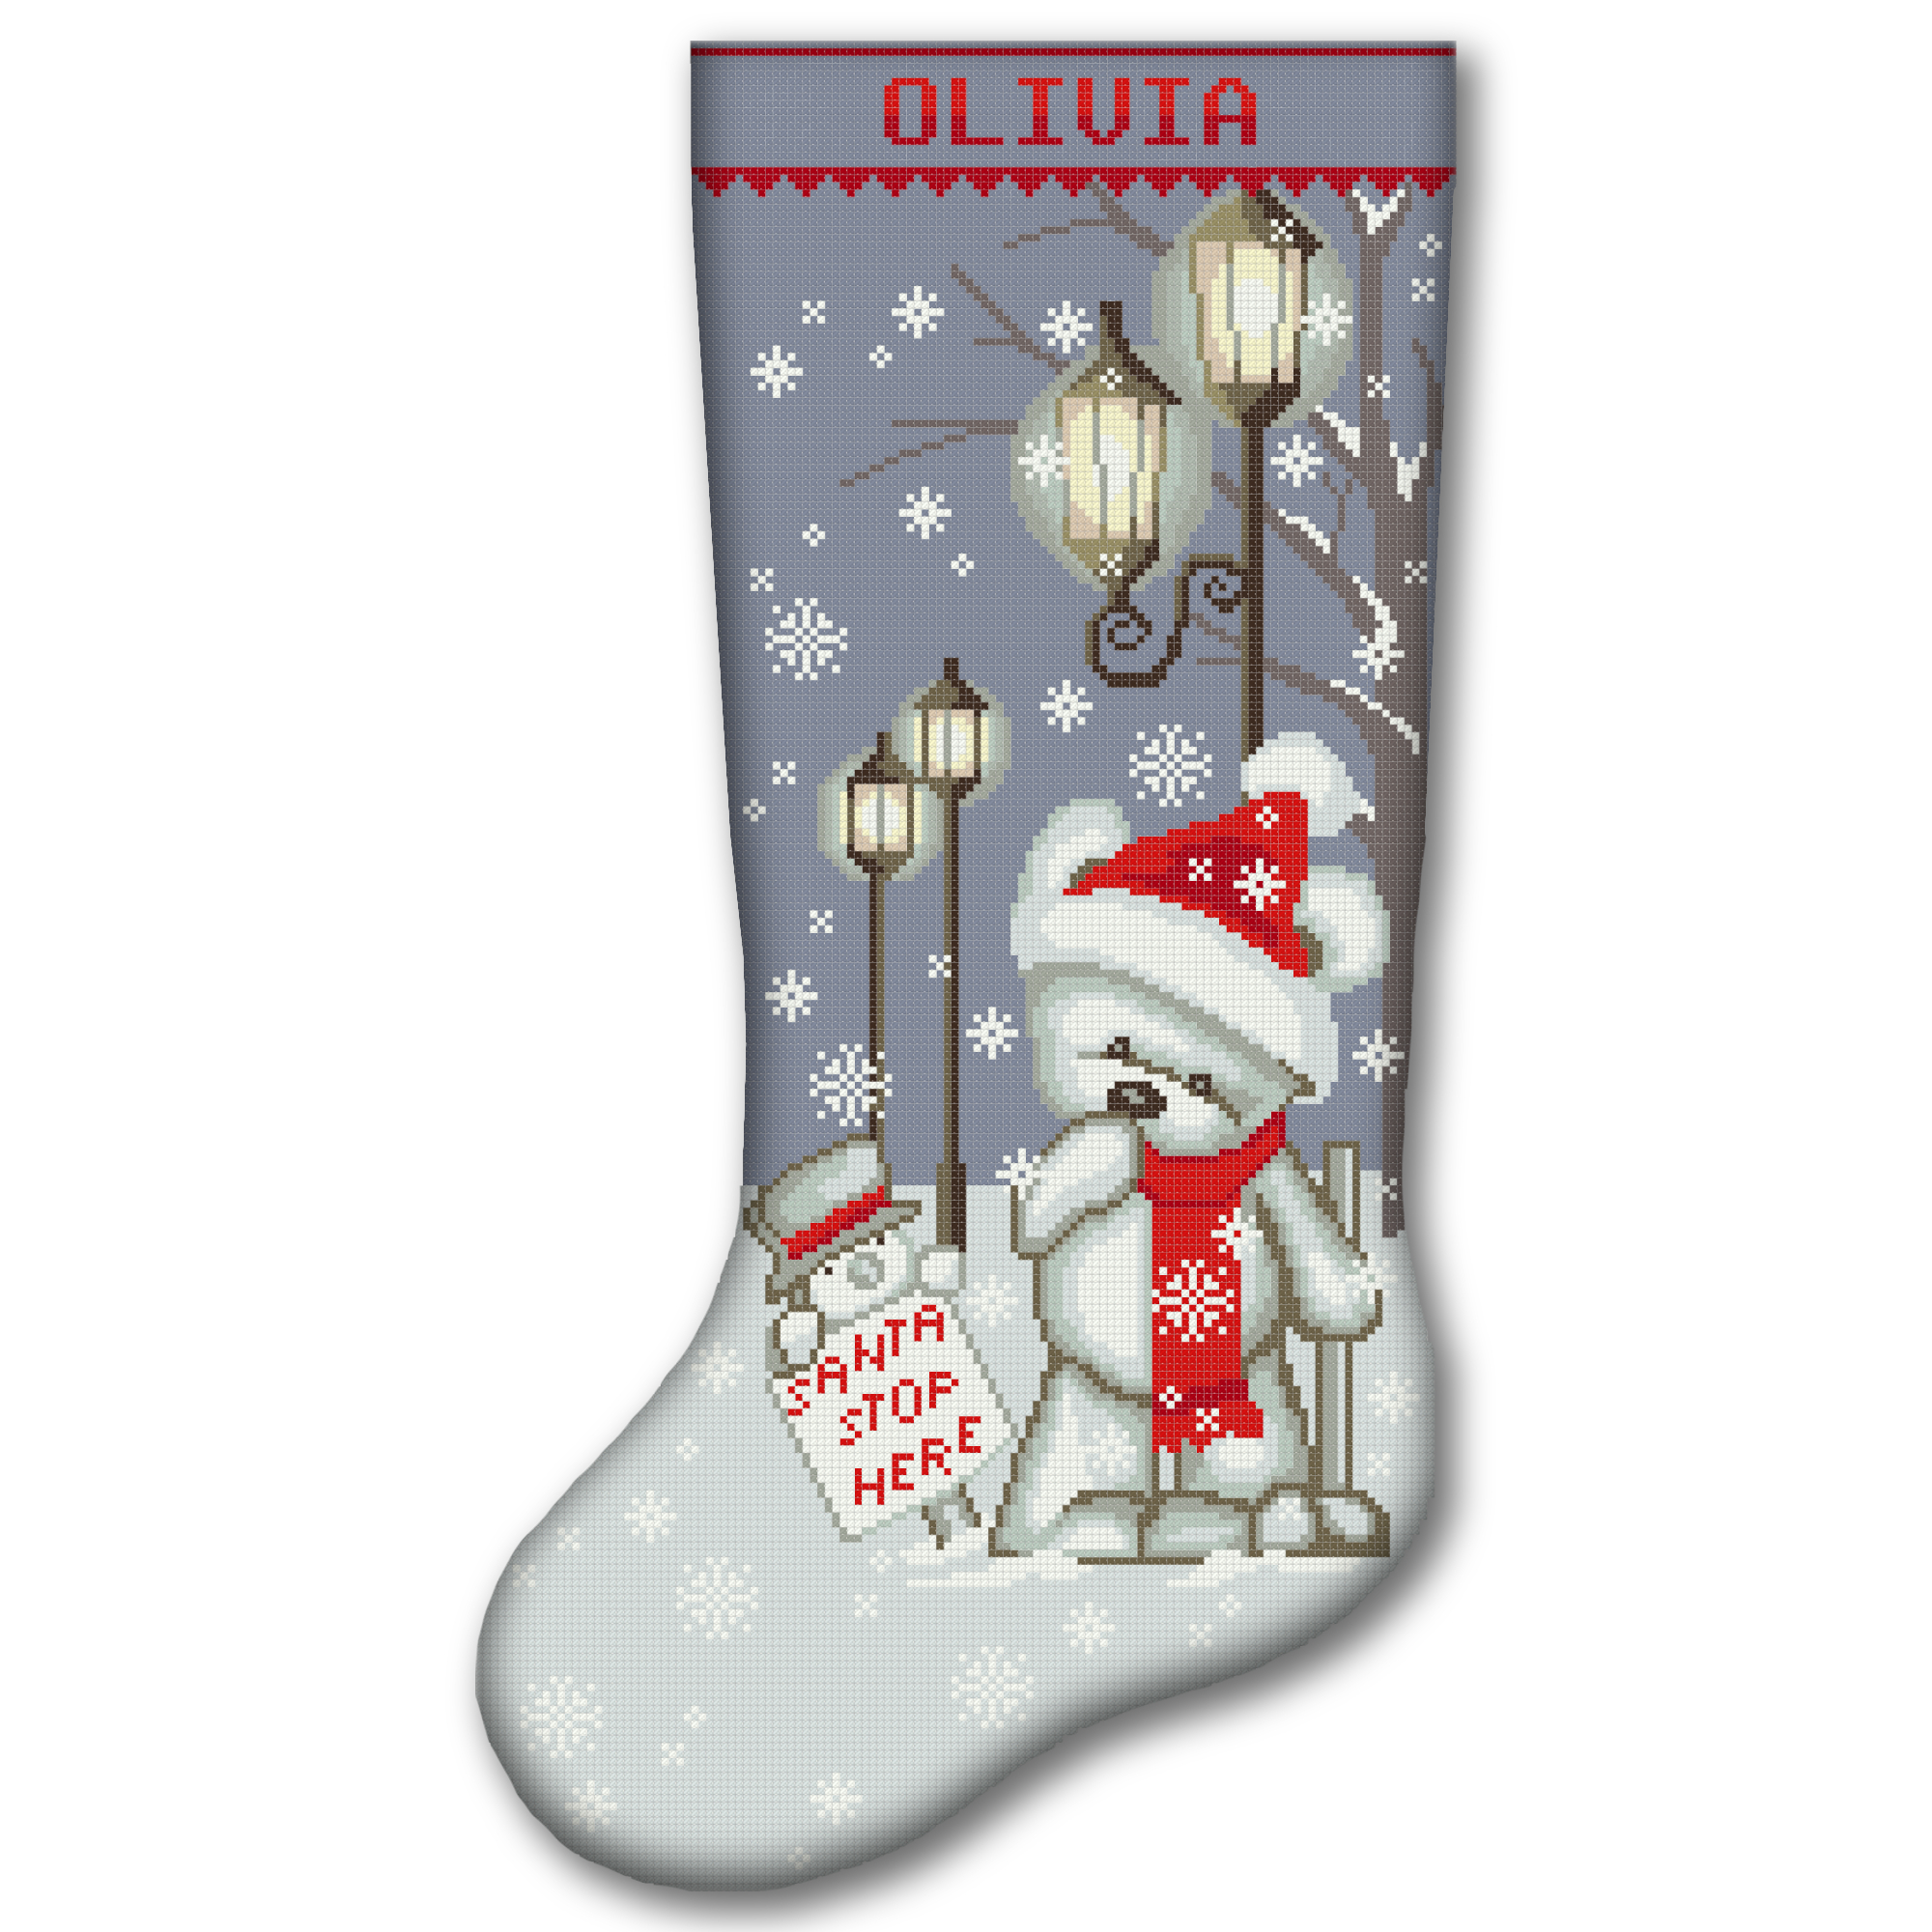
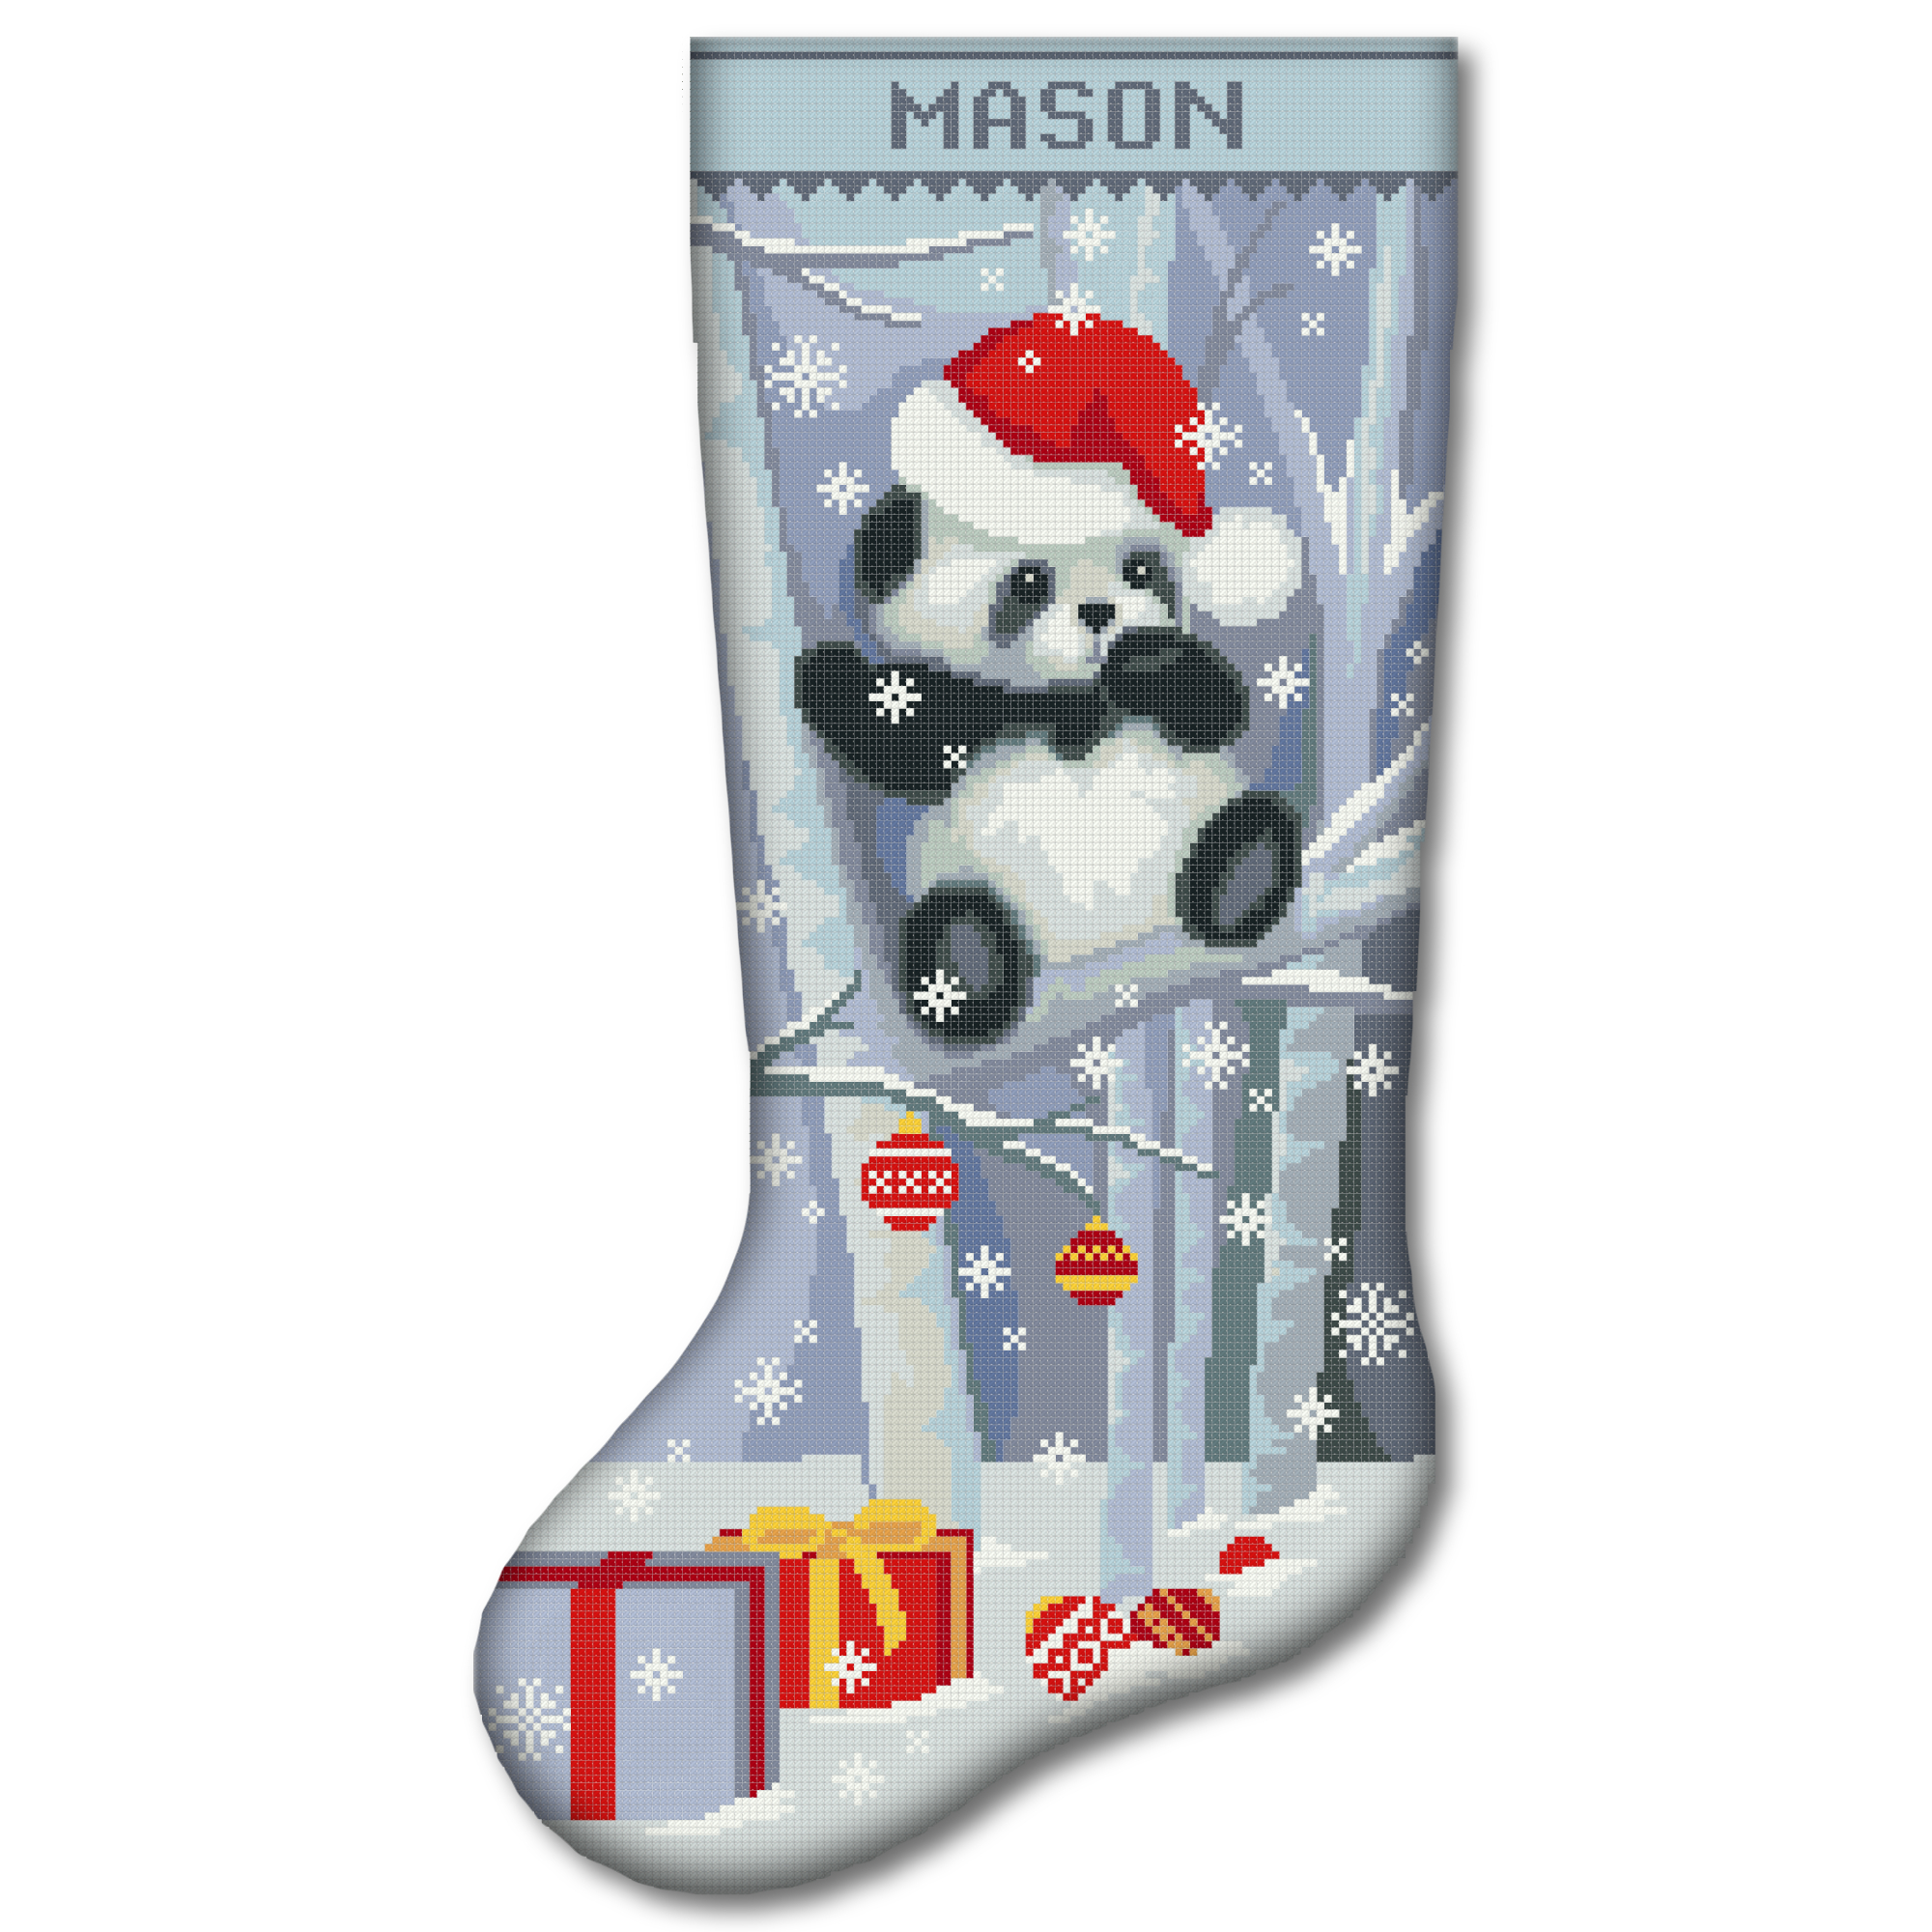
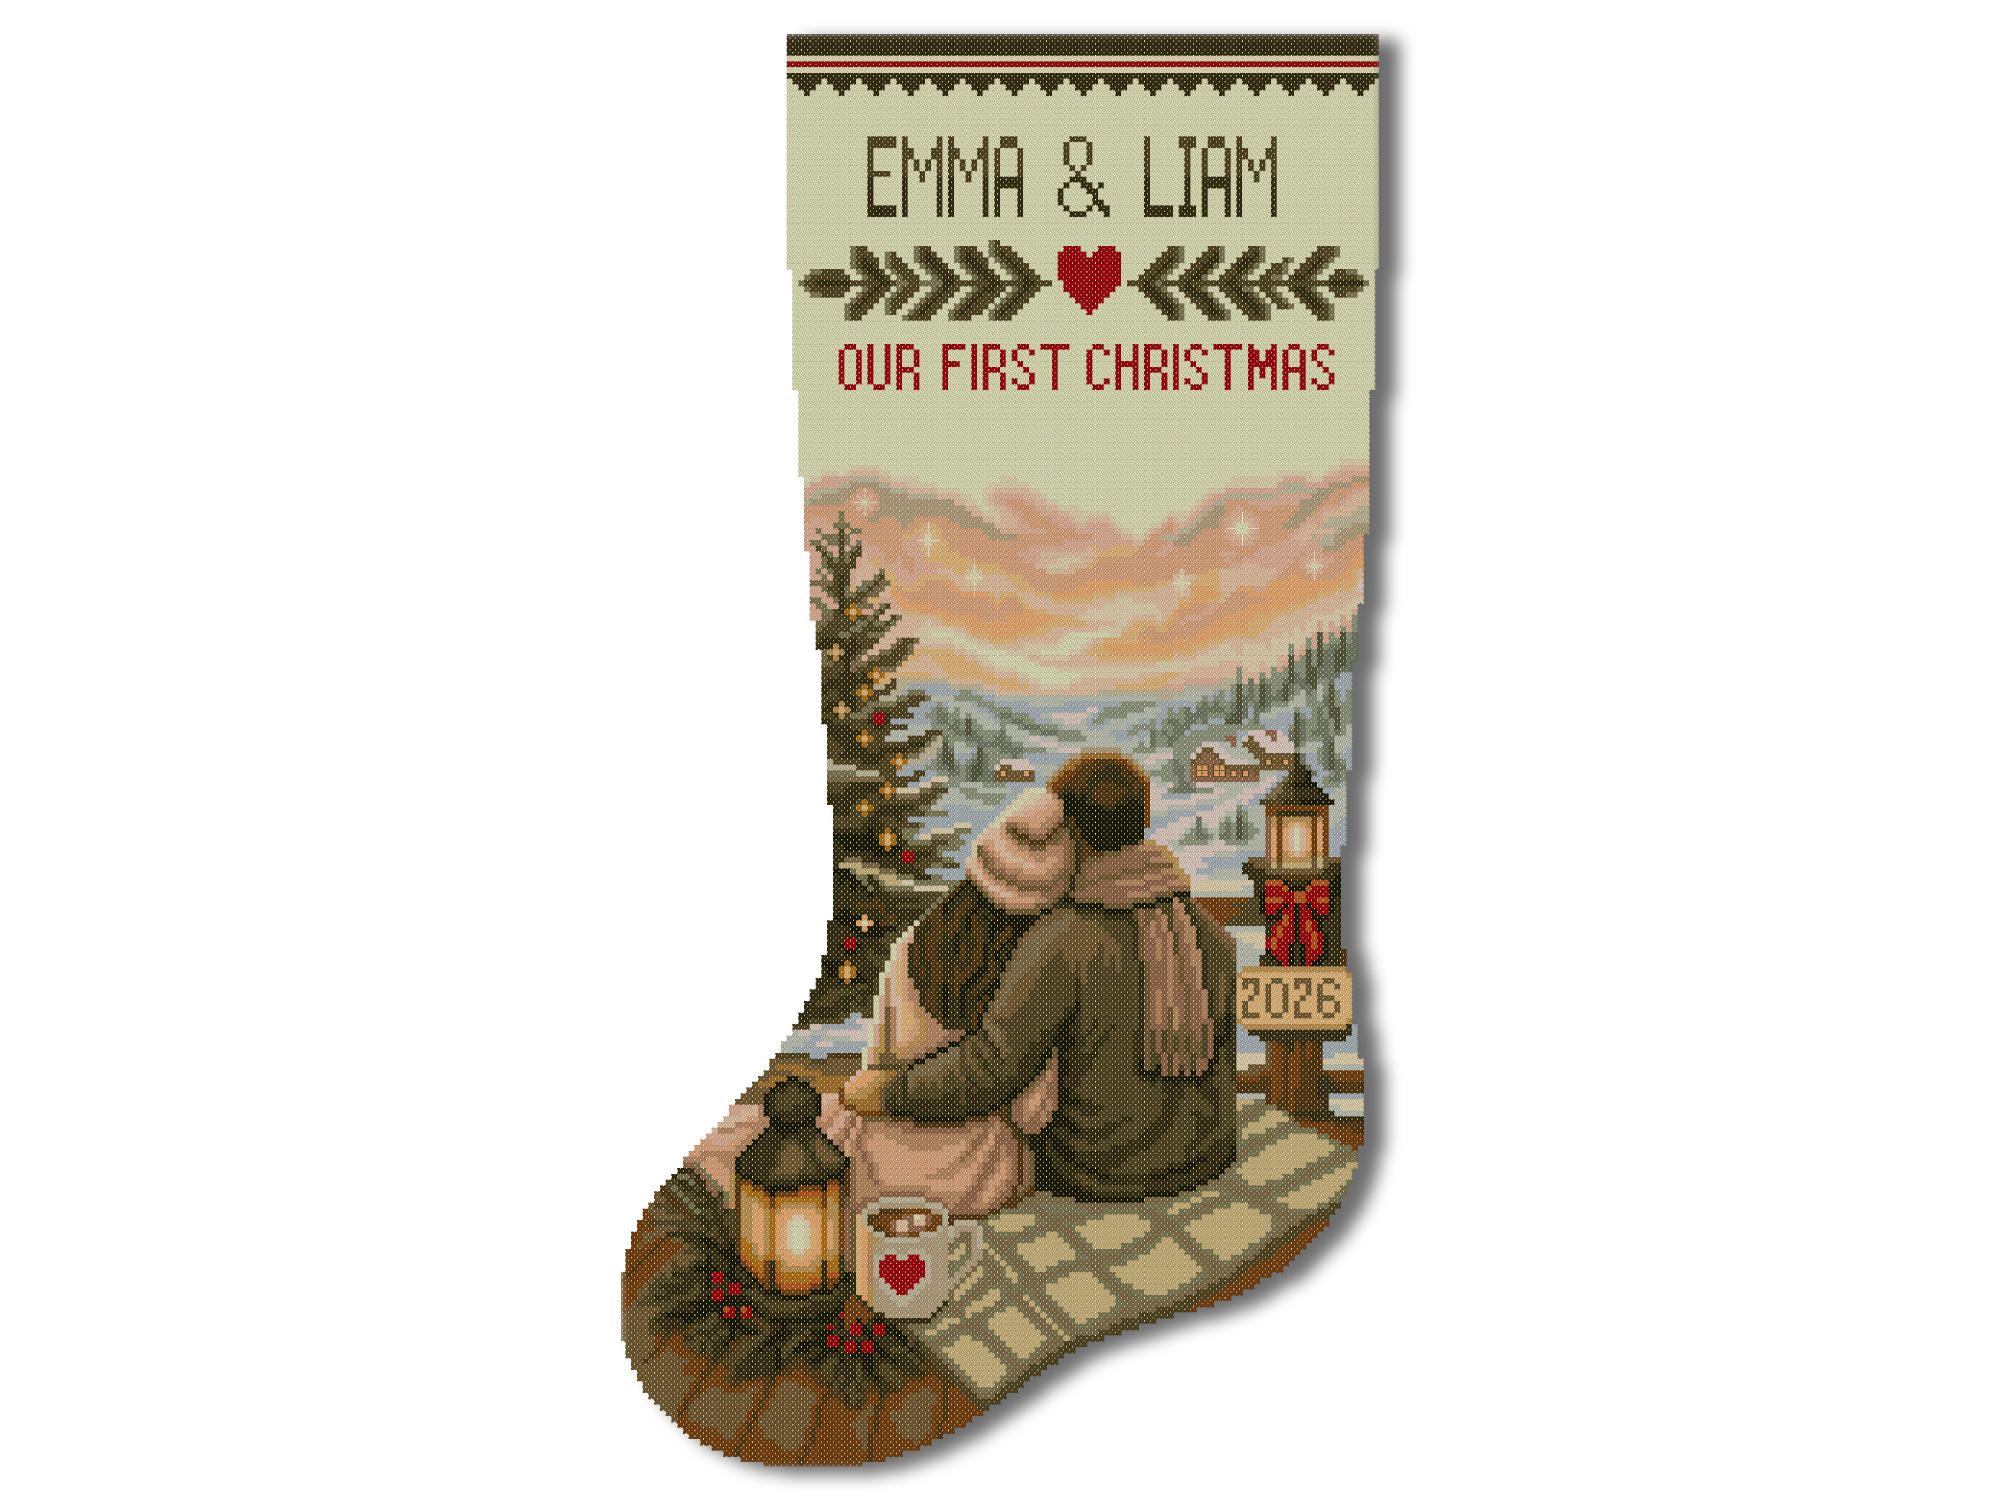
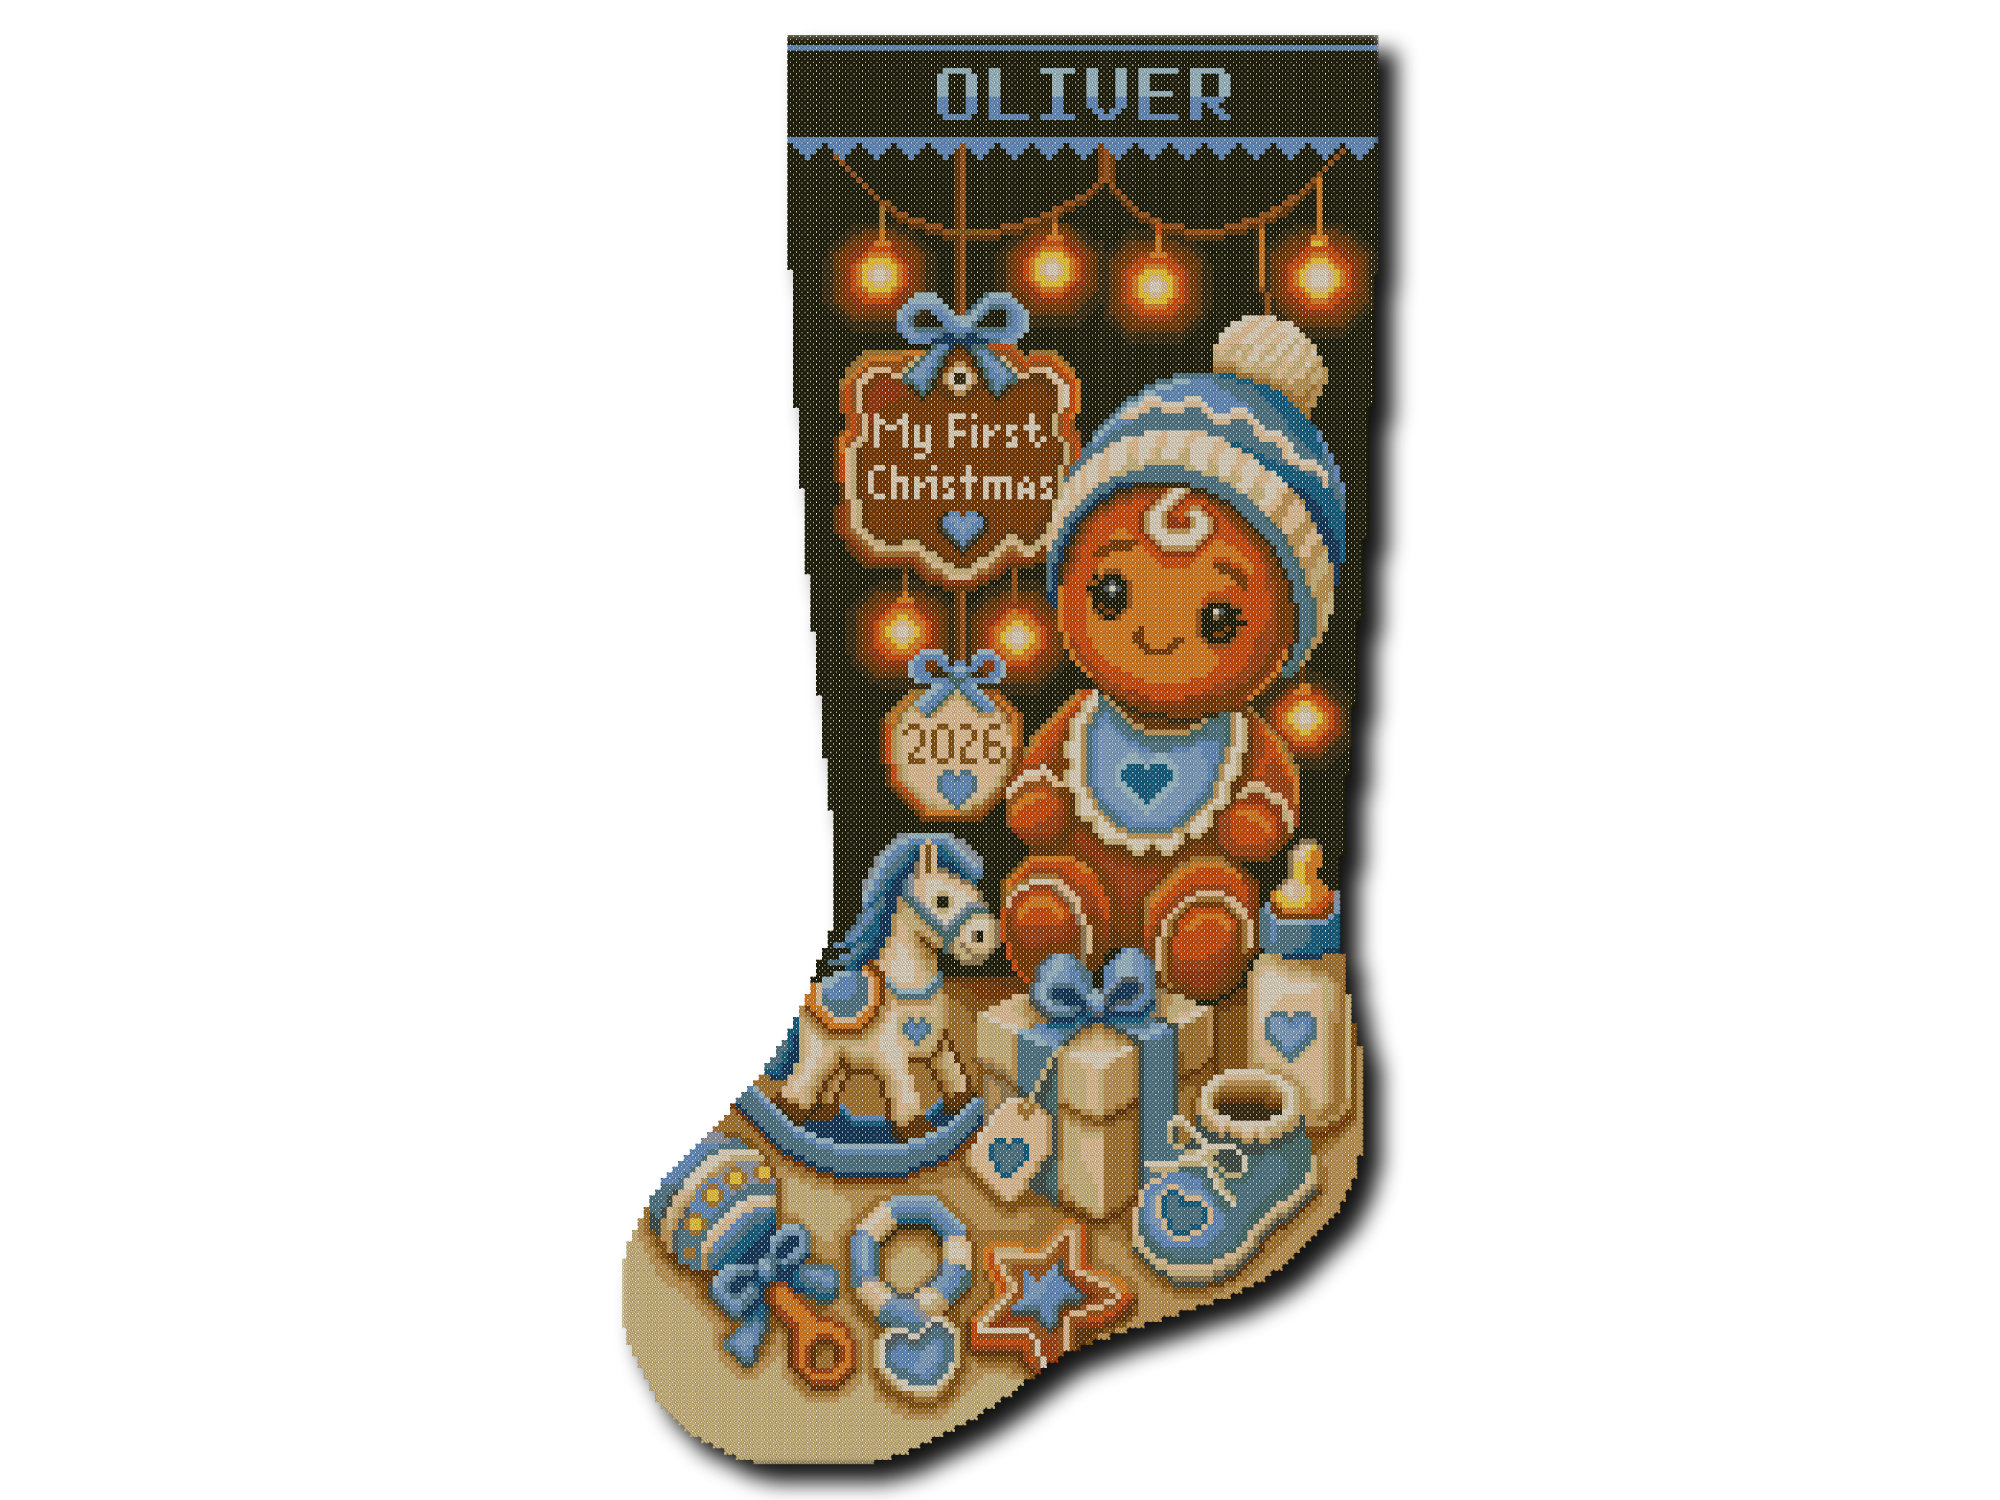
Choosing a beautiful cross stitch Christmas stocking pattern is exciting—but before buying fabric or making the first stitch, you need to know how large the finished project will be.
A pattern may show its size as 132 × 249 stitches, but what does that mean in inches or centimeters? Will the stocking be large enough to hang by the fireplace? How much extra fabric do you need for sewing? What happens if you use 16-count Aida instead of 14-count?
This cross stitch Christmas stocking size guide explains every measurement in simple terms. You will learn how fabric count changes the size, how to calculate the stitched area, how much seam allowance to leave and how to choose the best fabric for your project.
Quick answer: There is no single official size for every Christmas stocking. CrossStitchStyleArte full-size stocking kits create an approximately 18-inch or 46 cm stocking. A 132 × 249-stitch digital pattern measures approximately 9.4 × 17.8 inches or 23.9 × 45.1 cm when stitched on 14-count Aida, before considering the pattern-specific finishing instructions.
Is There a Standard Cross Stitch Christmas Stocking Size?
There is no universal Christmas stocking size used by every designer, pattern company or kit manufacturer.
One company may call a 14-inch stocking full size, while another may sell an 18-inch or 20-inch stocking under the same description. Words such as “small,” “regular,” “large” and “full size” can be helpful, but they are not exact measurements.
Before choosing a cross stitch stocking pattern, check:
- the stitch count;
- the recommended fabric count;
- the stitched width and height;
- the amount of extra fabric required;
- whether the listed size describes the embroidery or the finished sewn stocking;
- the width of the cuff if you want to add a name.
Exact measurements are more reliable than general size labels.
Four Christmas Stocking Measurements You Should Not Confuse
A Christmas stocking pattern can include several different measurements. They do not all describe the same thing.
1. Stitch Count
The stitch count tells you how many cross stitches wide and high the chart is.
For example:
132 × 249 stitches
This means the chart is 132 stitches wide and 249 stitches high.
Stitch count alone does not tell you the physical size. You must also know the fabric count.
2. Stitched Design Size
The stitched design size is the area covered by the chart on your chosen fabric.
The same 132 × 249-stitch design becomes larger on 11-count Aida and smaller on 18-count Aida.
This measurement does not automatically include extra working fabric, a sewing allowance or additional material for finishing the cuff.
3. Fabric Cut Size
The fabric cut size is the complete piece of fabric you need to purchase and prepare.
It includes:
- the stitched design area;
- working margins around the design;
- room for attaching a hoop, Q-snap or scroll frame;
- any fabric required for the cuff;
- the seam allowance specified by the pattern;
- additional space needed for cutting and finishing.
Never purchase a piece of fabric that is exactly the same size as the stitched design.
4. Finished Stocking Size
The finished stocking size describes the completed project after the embroidery has been cut, sewn, turned and finished.
The final measurement can be affected by:
- the pattern’s stocking shape;
- seam allowance;
- fabric count;
- finishing method;
- lining or batting;
- the way the cuff is constructed.
Always check whether a product description refers to the stitched area or the completed sewn stocking.
How Fabric Count Changes the Stocking Size
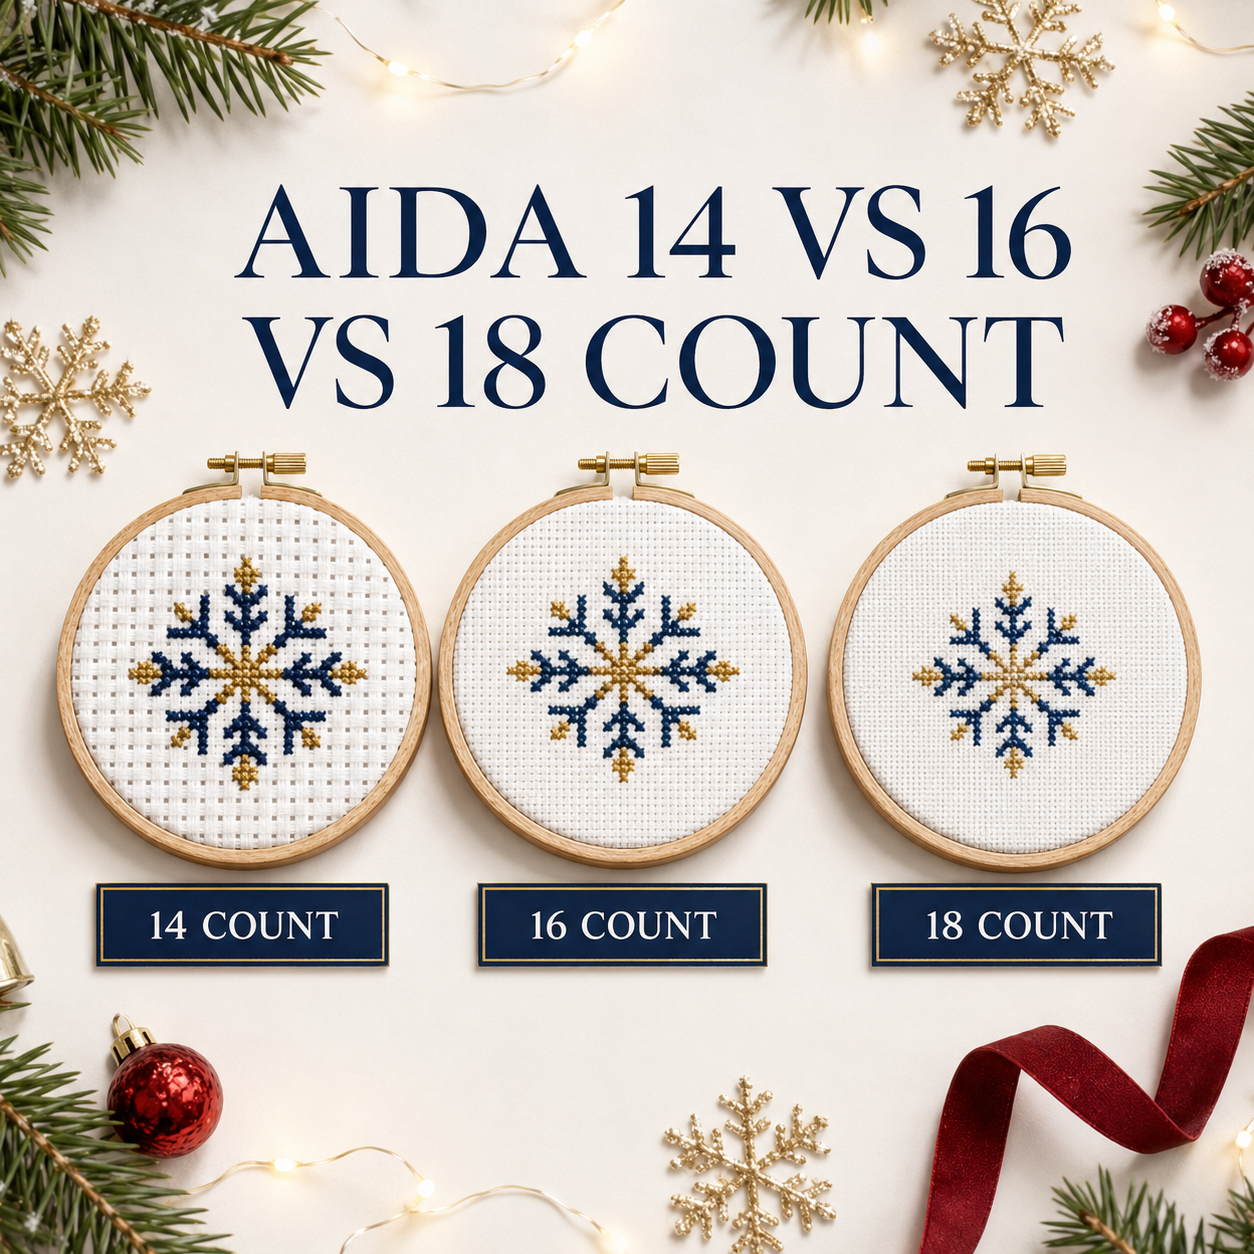
Aida count tells you how many fabric squares fit into one inch.
For example:
- 11-count Aida has 11 squares per inch;
- 14-count Aida has 14 squares per inch;
- 16-count Aida has 16 squares per inch;
- 18-count Aida has 18 squares per inch.
A higher count means smaller squares. Therefore, the same pattern becomes physically smaller as the fabric count increases.
The number of charted stitches does not change. Only the physical size of each stitch changes.
Simple Size Formula
To calculate the stitched design size in inches:
Design width in stitches ÷ fabric count = width in inches
Design height in stitches ÷ fabric count = height in inches
To convert inches to centimeters, multiply the result by 2.54.
Example: 132 × 249 Stitches on 14-Count Aida
Width:
132 ÷ 14 = 9.43 inches
Height:
249 ÷ 14 = 17.79 inches
The stitched area is therefore approximately:
9.4 × 17.8 inches
or
23.9 × 45.1 cm
You can perform this calculation automatically with the free Cross Stitch Fabric Calculator.
Cross Stitch Christmas Stocking Size Chart
The table below shows how a 132 × 249-stitch stocking design changes on common Aida counts.
| Fabric | Approximate stitched size | Result |
|---|---|---|
| 11-count Aida | 12 × 22.6 in / 30.5 × 57.5 cm | Very large stocking with large, easy-to-see squares |
| 14-count Aida | 9.4 × 17.8 in / 23.9 × 45.1 cm | Full-size stocking and a balanced beginner-friendly choice |
| 16-count Aida | 8.25 × 15.6 in / 21 × 39.5 cm | Smaller stocking with finer stitches |
| 18-count Aida | 7.3 × 13.8 in / 18.6 × 35.1 cm | Compact stocking with small, detailed stitches |
These measurements describe the stitched chart area. They do not automatically include extra working fabric or pattern-specific finishing allowances.
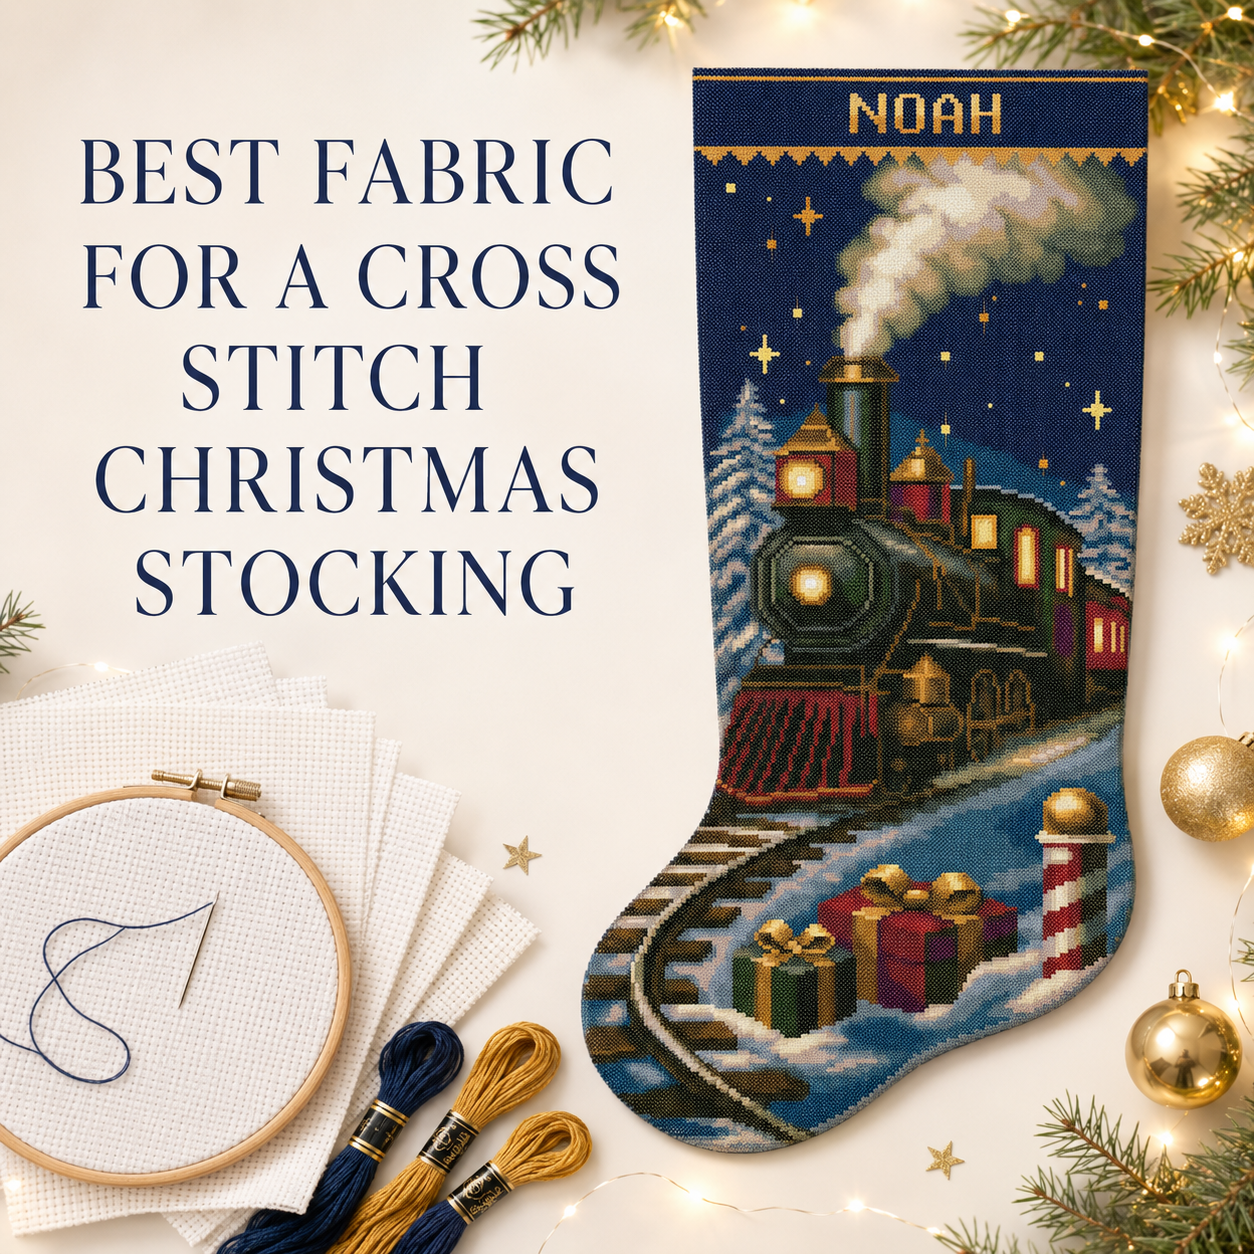
What Fabric Count Is Best for a Christmas Stocking?
The best fabric count depends on your experience, eyesight, preferred finished size and the amount of detail in the design.
11-Count Aida
Eleven-count Aida has large squares that are easy to see.
It may be suitable if:
- you prefer larger holes;
- you have difficulty seeing smaller fabric counts;
- you want an oversized stocking;
- you enjoy working with larger stitches.
However, a full-size pattern can become very large on 11-count fabric. It will also normally require more embroidery floss because each stitch covers a larger area.
14-Count Aida
Fourteen-count Aida is our recommended option for most full-size Christmas stockings.
It provides a practical balance between:
- visible fabric holes;
- comfortable stitching;
- clear design details;
- manageable thread coverage;
- enough room for a personalized name;
- a traditional full-size result.
CrossStitchStyleArte physical stocking kits use 14-count Aida and create an approximately 18-inch or 46 cm finished stocking.
For many beginners, 14-count Aida is easier to manage than finer 16- or 18-count fabric.
16-Count Aida
Sixteen-count Aida creates a smaller and slightly more detailed result.
Choose it if:
- you want a more compact stocking;
- you are comfortable working with smaller holes;
- you prefer finer-looking stitches;
- you need to reduce the finished dimensions without changing the chart.
Check that the name and small design details will remain easy to read.
18-Count Aida
Eighteen-count Aida produces an even smaller design.
It can work well for experienced stitchers who enjoy fine fabric, but it may be less comfortable for a first large project.
A long name stitched on 18-count fabric will be physically smaller, but the letters will still use the same number of chart squares.
What About Evenweave or Linen?
You can also stitch a Christmas stocking on evenweave or linen if the pattern and your experience allow it.
These fabrics are often stitched over two fabric threads.
For example:
- 28-count evenweave stitched over two threads creates approximately the same stitch size as 14-count Aida;
- 32-count evenweave stitched over two threads creates approximately the same stitch size as 16-count Aida;
- 36-count evenweave stitched over two threads creates approximately the same stitch size as 18-count Aida.
If you are a beginner, Aida is usually easier because its squares and holes are more clearly defined.
Read our comparison of Aida and evenweave fabric before changing the recommended fabric.
How Much Extra Fabric Do You Need?
Do not cut your fabric to the exact stitched dimensions.
You need extra material for two different purposes:
Working Margin
The working margin surrounds the design while you stitch.
It gives you space to:
- attach the fabric to a hoop or frame;
- handle the fabric without touching the stitched area;
- protect the embroidery from fraying;
- make small positioning adjustments;
- finish the project safely.
Seam Allowance
The seam allowance is the narrow area between the sewing line and the cut edge.
For most cross stitch Christmas stockings, a 1/2-inch or approximately 12 mm seam allowance is beginner-friendly and provides enough fabric around Aida, which can fray.
However, always follow the instructions included with your pattern. Some patterns already include seam allowance, while others show only the finished sewing line.
Do not add seam allowance twice.
The top edge may also require additional fabric for a cuff, facing, lining or folded finish. Follow the pattern-specific instructions instead of assuming that every edge needs the same amount.
For complete cutting and assembly instructions, read How to Finish Your Cross Stitch Christmas Stocking.
How to Calculate the Total Fabric Size
Follow these steps before purchasing fabric.
Step 1: Find the Stitch Count
Look for the width and height in the pattern description.
Example:
132 × 249 stitches
Step 2: Choose Your Fabric Count
Decide whether you will use 11-, 14-, 16- or 18-count Aida.
If you are unsure, 14-count Aida is a practical starting choice for a full-size stocking.
Step 3: Calculate the Stitched Area
Divide the width and height in stitches by the fabric count.
You can do this manually or use the Cross Stitch Fabric Calculator.
Step 4: Check the Pattern Instructions
Find out:
- whether the stocking outline is included;
- whether seam allowance is already included;
- how the cuff is finished;
- how much extra fabric the designer recommends;
- whether the stocking will have a lining.
Step 5: Add the Required Margins
Add enough fabric on every side for stitching, cutting and finishing.
It is safer to leave slightly more fabric than you expect to need. Extra fabric can be trimmed later. Fabric that has already been cut cannot be replaced.
How to Use the Cross Stitch Fabric Calculator
Our free calculator removes the need to perform the conversions yourself.
Enter:
- the design width in stitches;
- the design height in stitches;
- your chosen Aida count;
- the working margin required on each side;
- centimeters or inches as your preferred unit.
The calculator will show:
- the stitched design dimensions;
- the total fabric dimensions with margins;
- the measurements in both inches and centimeters.
Calculate My Cross Stitch Fabric Size
The calculator determines the required rectangular fabric area. You must still follow your pattern’s instructions for the stocking outline, cuff and sewing allowance.
How to Measure a Finished Christmas Stocking
When comparing a finished stocking with another family stocking, use the same measuring method every time.
Overall Height
Measure from the highest point of the cuff to the lowest point of the toe.
Lay the stocking flat and do not stretch the fabric.
Cuff Width
Measure straight across the top opening while the stocking is lying flat.
This is not the full circumference. If you need the approximate circumference, measure the flat width and multiply it by two.
Foot Length
Measure horizontally from the back of the heel to the furthest point of the toe.
Widest Point
Measure across the widest part of the stocking body or foot.
This measurement is useful if the stocking will hold gifts rather than being used only as decoration.
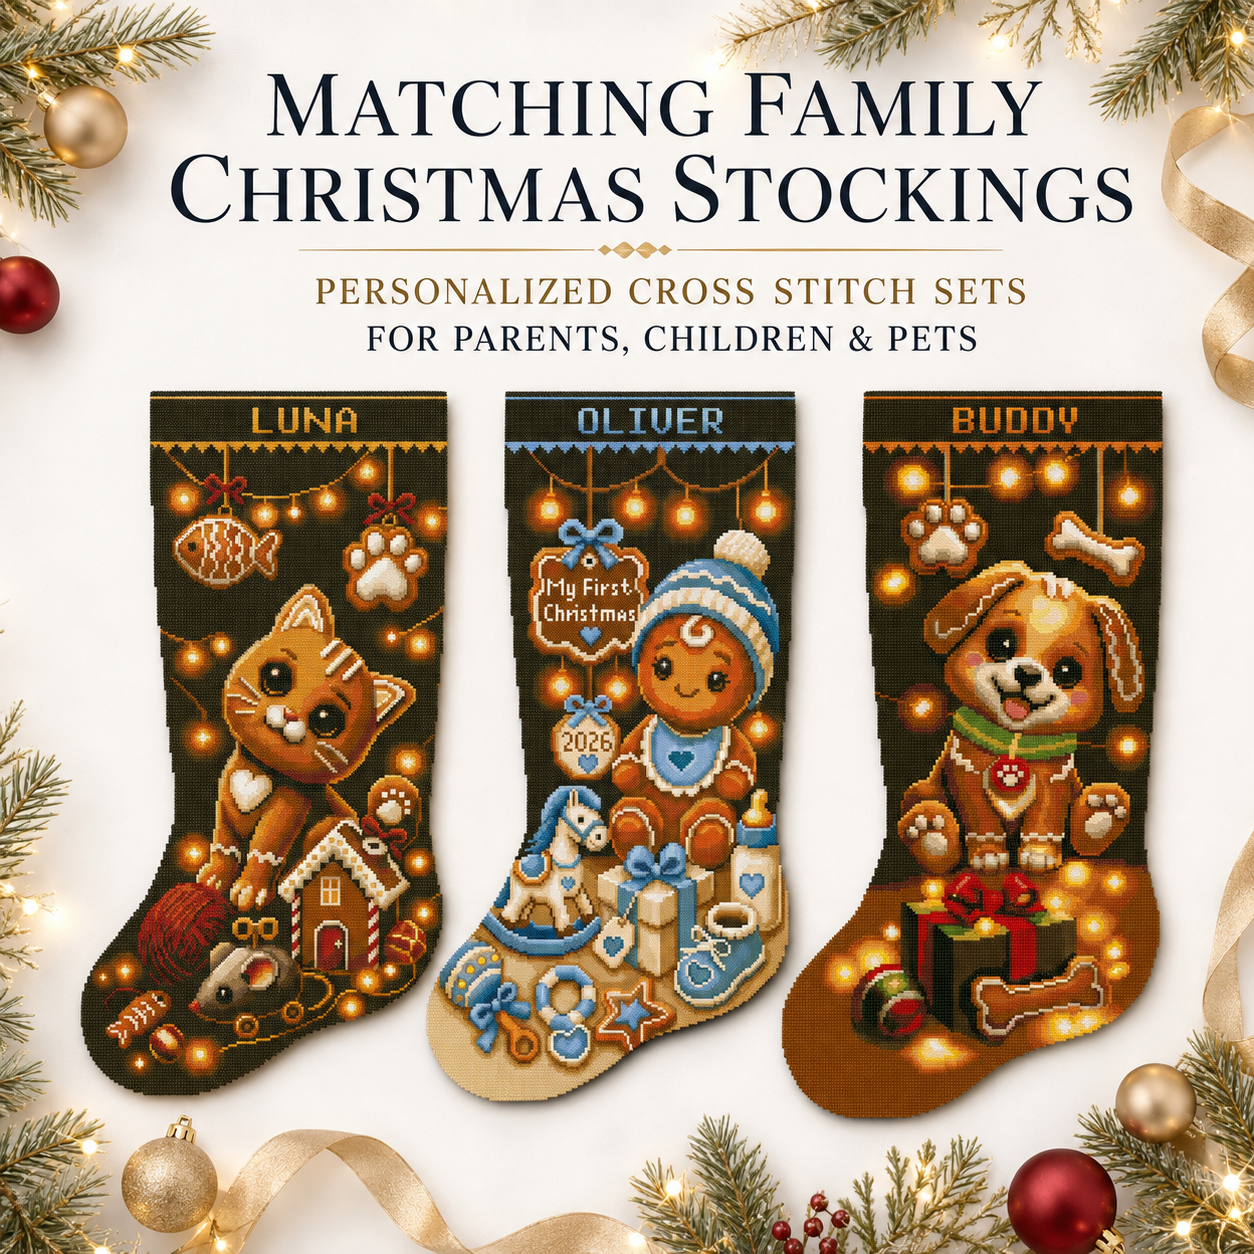
When making a matching family collection, use the same fabric count, pattern proportions and measuring method for every stocking.
Will a Personalized Name Fit on the Cuff?
The available cuff width is especially important when stitching a personalized Christmas stocking.
A long name needs more chart squares than a short name. The final physical width also depends on the fabric count.
Before stitching the name:
- Count the width of every letter.
- Include the spaces between letters.
- Measure the available cuff width in stitches.
- Find the center of the cuff.
- Calculate the correct starting position.
- Check the spelling before making the first stitch.
The free Christmas Stocking Name Centering Calculator helps you place the name evenly without guessing.
For longer names, you may need to:
- reduce the space between letters;
- choose a more compact alphabet;
- use smaller lettering;
- reposition nearby decorative elements if the pattern allows it.
Do not begin stitching the name until you have checked the complete width.
Digital Pattern Size vs Physical Cross Stitch Kit Size
The way you plan the size depends on whether you purchase a digital pattern or a physical kit.
Digital Christmas Stocking Pattern
A digital PDF pattern gives you more control over the finished size.
You choose:
- the fabric type;
- the fabric count;
- the fabric color;
- the working margins;
- the embroidery floss;
- the backing and lining materials.
This flexibility is useful, but it means that you are responsible for calculating and purchasing the correct amount of fabric.
Explore our personalized Christmas stocking cross stitch patterns or compare the special Baby’s First Christmas stocking patterns.
Physical Christmas Stocking Kit
A physical kit is easier if you do not want to calculate and purchase every material separately.
CrossStitchStyleArte 2-in-1 Christmas stocking kits include:
- pre-printed 14-count Aida for stamped cross stitch;
- blank 14-count Aida for counted cross stitch;
- embroidery floss with approximately 30% extra;
- backing fabric;
- two needles;
- printed charts;
- instructions;
- an alphabet for personalization;
- materials for one approximately 18-inch or 46 cm stocking.
The two Aida pieces provide two alternative stitching methods for the same design. They are not materials for making two stockings.
Learn more about what is included in a 2-in-1 Christmas stocking kit or explore all Christmas stocking cross stitch kits.
Full-Size Christmas Stocking Patterns to Explore
A full-size stocking can become a personalized Christmas decoration that returns every year.
Choose a design based on:
- the person who will receive it;
- the colors used in your Christmas decorations;
- your stitching experience;
- whether you prefer a digital pattern or a complete kit;
- how much time you have before Christmas.
Popular CrossStitchStyleArte options include:
- Baby’s First Christmas stocking patterns with a name and year;
- personalized digital Christmas stocking patterns;
- polar bear 2-in-1 Christmas stocking kit;
- reindeer 2-in-1 Christmas stocking kit;
- penguin 2-in-1 Christmas stocking kit.
Does Stocking Size Change Stitching Time?
Changing the fabric count changes the physical size of the stocking, but it does not change the number of charted cross stitches.
A 132 × 249-stitch pattern contains the same chart area whether it is stitched on 11-, 14-, 16- or 18-count Aida.
However, fabric count can still affect how quickly and comfortably you work:
- large holes may be easier to see;
- smaller holes may require more concentration;
- larger stitches use longer pieces of floss;
- very fine fabric can slow a beginner down;
- adding a lining, cuff or complex finish requires additional time.
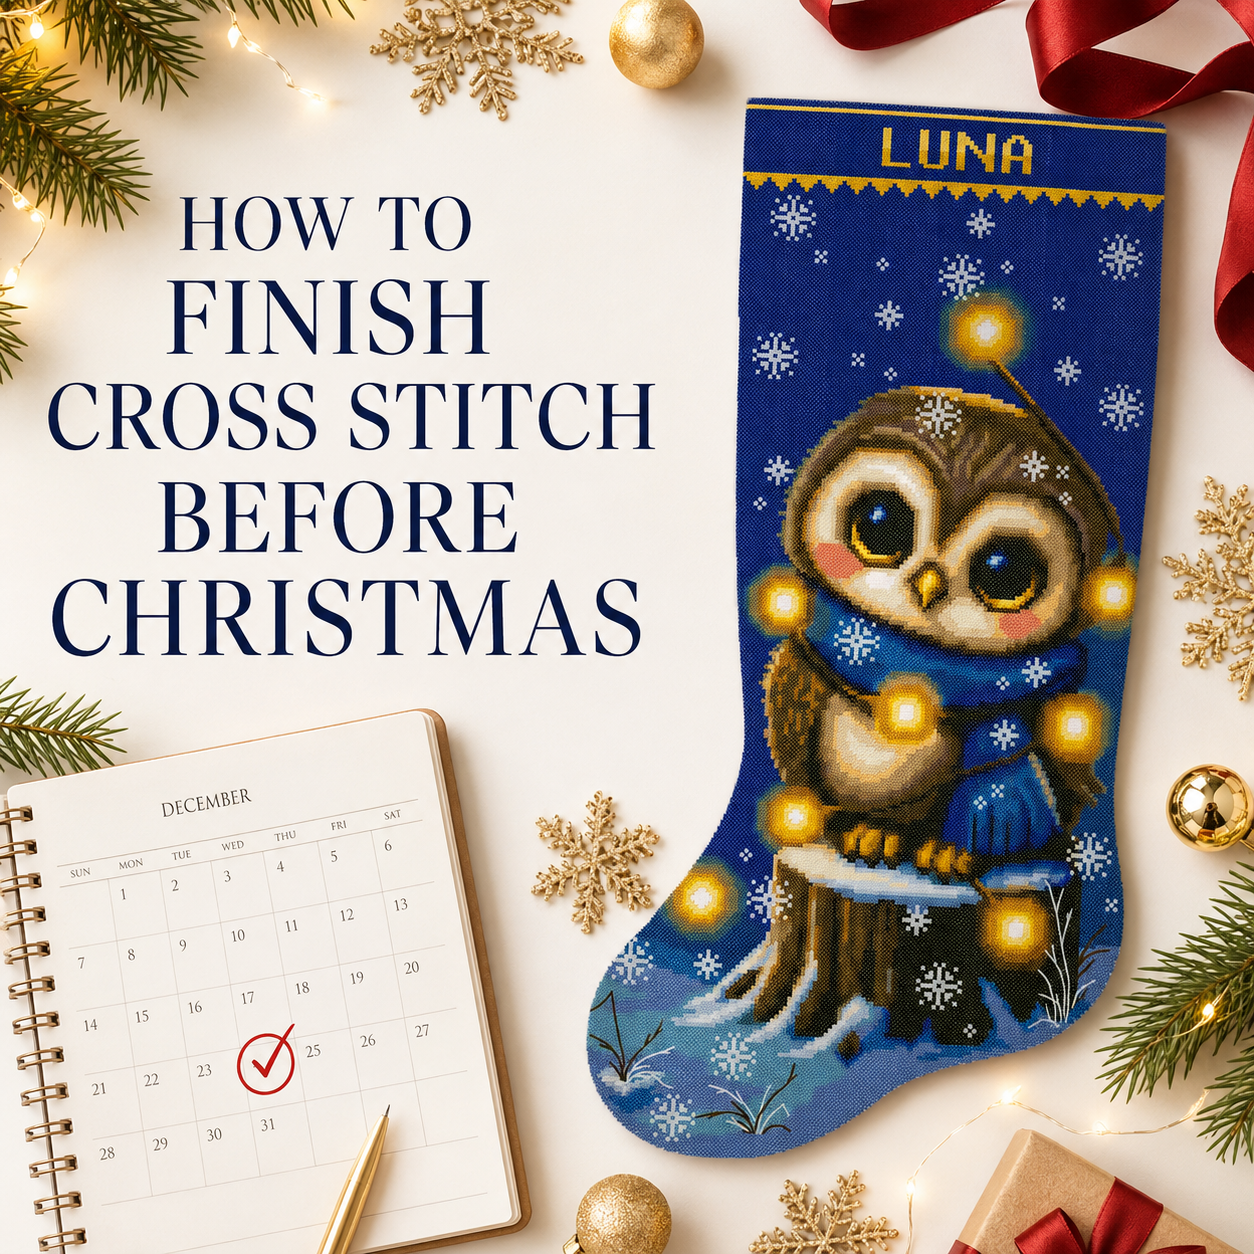
Use the Cross Stitch Time Calculator and Planner to estimate your total stitching time and plan a realistic completion date.
Remember to allow additional time for:
- personalization;
- backstitch;
- washing;
- drying;
- pressing;
- cutting;
- sewing;
- adding the lining and hanging loop.
Does Fabric Count Change Floss Usage?
Yes. The total stitch count remains the same, but larger stitches generally require more thread.
Floss usage also depends on:
- the number of strands;
- stitch tension;
- thread-tail length;
- carrying floss across the back;
- mistakes and restitching;
- full cross stitches, partial stitches and backstitch.
Use the Cross Stitch Thread Calculator to estimate how many skeins you may need.
If you already have partial skeins or floss on bobbins, the Floss Usage Calculator can help you check whether the remaining amount is likely to be enough.
Common Christmas Stocking Size Mistakes
Looking Only at the Stitch Count
Stitch count must always be considered together with fabric count.
Confusing the Stitched Area With the Fabric Size
The total fabric must be larger than the embroidery.
Forgetting the Seam Allowance
Never cut directly against the design or sewing line unless the pattern explicitly includes the allowance.
Adding the Seam Allowance Twice
Read the instructions before adding anything. Some patterns already include it.
Cutting the Fabric Before Checking the Name
A long personalized name may require additional planning or a different alphabet.
Mixing Fabric Counts in a Matching Set
Stockings from the same family collection may look mismatched if one is stitched on 14-count Aida and another on 18-count Aida.
Assuming Every “Full-Size” Stocking Is Identical
Always compare actual inches or centimeters.
Cutting Before Washing and Pressing
Complete all stitching first. If washing is required, wash, dry and press the embroidery before making the final cut.
Cross Stitch Christmas Stocking Size FAQ
What is a standard cross stitch Christmas stocking size?
There is no official universal standard. Always check the exact dimensions, stitch count and fabric count. CrossStitchStyleArte physical kits create an approximately 18-inch or 46 cm stocking.
How large is a 132 × 249-stitch pattern on 14-count Aida?
The stitched area measures approximately 9.4 × 17.8 inches or 23.9 × 45.1 cm.
Does changing the fabric count change the stitch count?
No. The chart still contains the same number of stitches. Changing the fabric count changes the physical size of those stitches and therefore the overall design size.
Is 14-count Aida suitable for a Christmas stocking?
Yes. Fourteen-count Aida offers a good balance between visible holes, comfortable stitching, design detail and a full-size finished result.
Can I use 16-count Aida instead of 14-count?
Yes, but the stocking will be smaller. A 132 × 249-stitch design measures approximately 8.25 × 15.6 inches or 21 × 39.5 cm on 16-count Aida.
How much fabric should I buy?
Calculate the stitched area, then add the working margins and any fabric required by the pattern for the cuff, cutting and sewing. Use the Fabric Calculator and follow the pattern-specific finishing instructions.
How much seam allowance should I leave?
If the pattern does not specify another amount, 1/2 inch or approximately 12 mm is a beginner-friendly seam allowance for Aida. Check whether the pattern already includes it before adding more.
Is the seam allowance the same as the working margin?
No. The working margin gives you room to hold and frame the fabric while stitching. The seam allowance is the smaller area between the sewing line and cut edge.
Will a long name fit on the stocking cuff?
It depends on the available cuff width, alphabet and letter spacing. Count the complete name in stitches and use the Name Centering Calculator before stitching.
Do CrossStitchStyleArte kits include enough fabric?
Yes. The physical kits include prepared fabric and backing materials for one approximately 18-inch or 46 cm stocking. Follow the included cutting and finishing instructions.
Plan the Size Before You Start
A few minutes of planning can prevent an expensive fabric mistake.
Before stitching:
- Check the stitch count.
- Choose the fabric count.
- Calculate the stitched dimensions.
- Add the required working margins.
- confirm whether seam allowance is included.
- Measure the personalized name.
- Read the finishing instructions before cutting.
Use the free Cross Stitch Fabric Calculator to calculate your dimensions, then choose a digital Christmas stocking pattern or a complete Christmas stocking cross stitch kit.
The right size begins with the right calculation. Once the fabric is prepared correctly, you can relax and enjoy creating a personalized Christmas stocking that will return to your family’s holiday display year after year.