How to Use a Stamped Cross Stitch Kit: Complete Step-by-Step Guide for Beginners
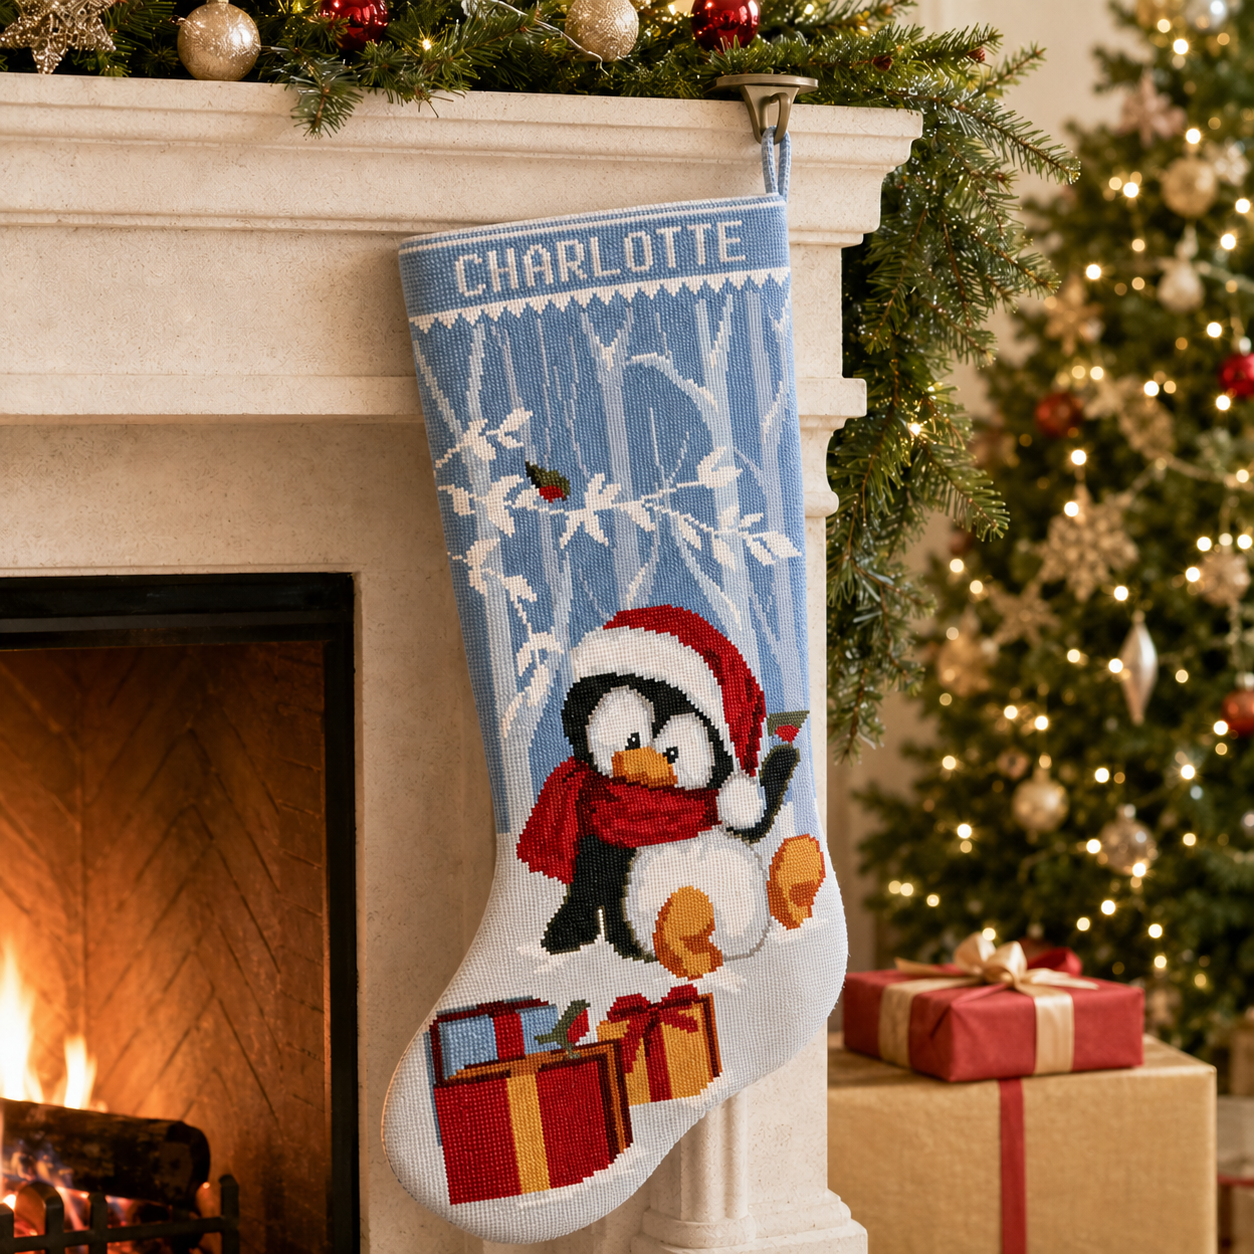
Learning how to use a stamped cross stitch kit is easier than it may look. The design is already printed on the fabric, so you do not have to count every square on a blank piece of Aida. You simply match each printed symbol with the correct thread color and stitch over the marked squares.
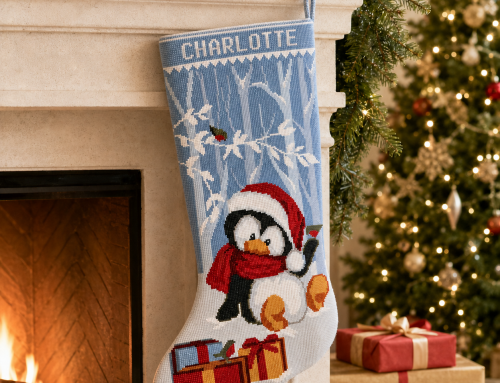
When all the stitching, backstitch, and personalization are complete, the washable printed design is removed in water. After several water changes, only your clean, colorful embroidery remains.
This step-by-step guide explains the entire process—from opening your kit and separating the floss to making your first stitch, correcting mistakes, removing the printed pattern, and finishing your project.
Quick Answer: How Do You Use a Stamped Cross Stitch Kit?
To use a stamped cross stitch kit:
- Check all the materials in the kit.
- Read the printed color key and paper chart.
- Match each symbol on the fabric with the correct floss.
- Separate the required number of strands.
- Thread the needle and secure the thread without a large knot.
- Stitch an X over every marked square.
- Add backstitch, the personalized name, and other details.
- Secure all thread ends.
- Wash the finished embroidery in clean water.
- Change the water repeatedly until it stays clear.
- Dry the embroidery flat.
- Press it from the back and complete the final assembly.
The most important rule is simple: do not wash the stamped fabric before finishing all the embroidery. The printed design is your stitching guide and is intended to disappear in water.
What Is a Stamped Cross Stitch Kit?
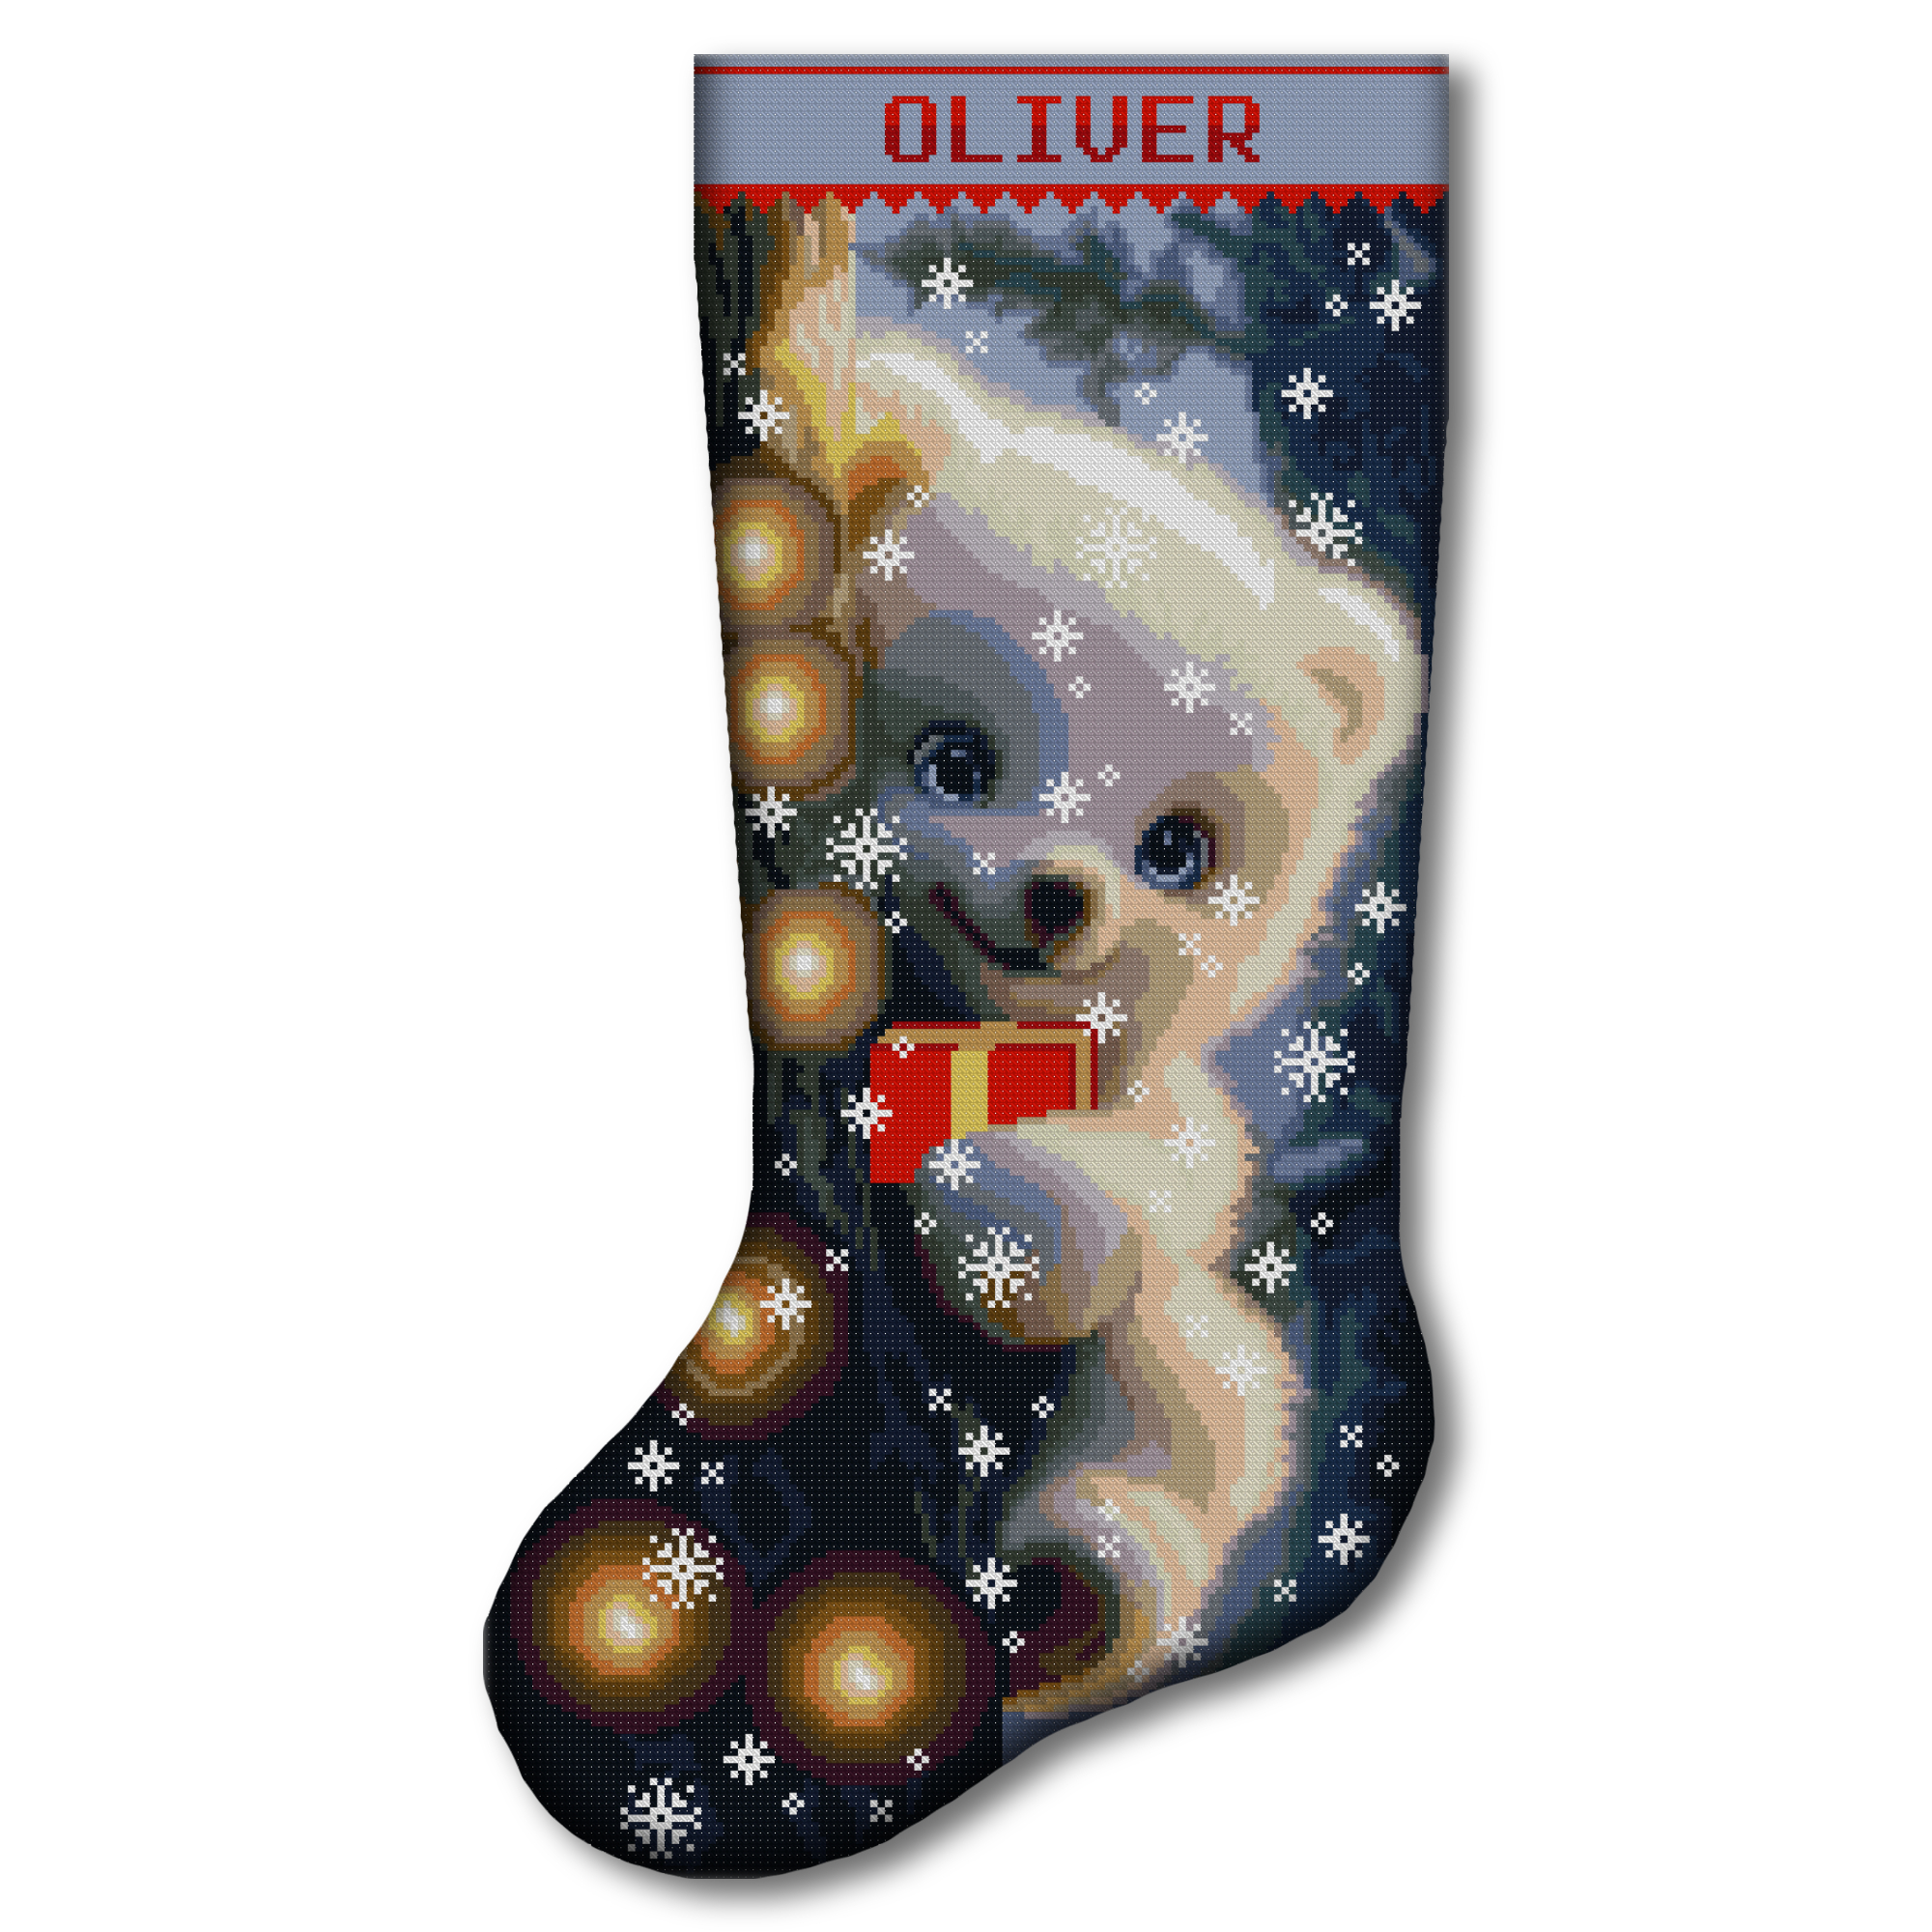
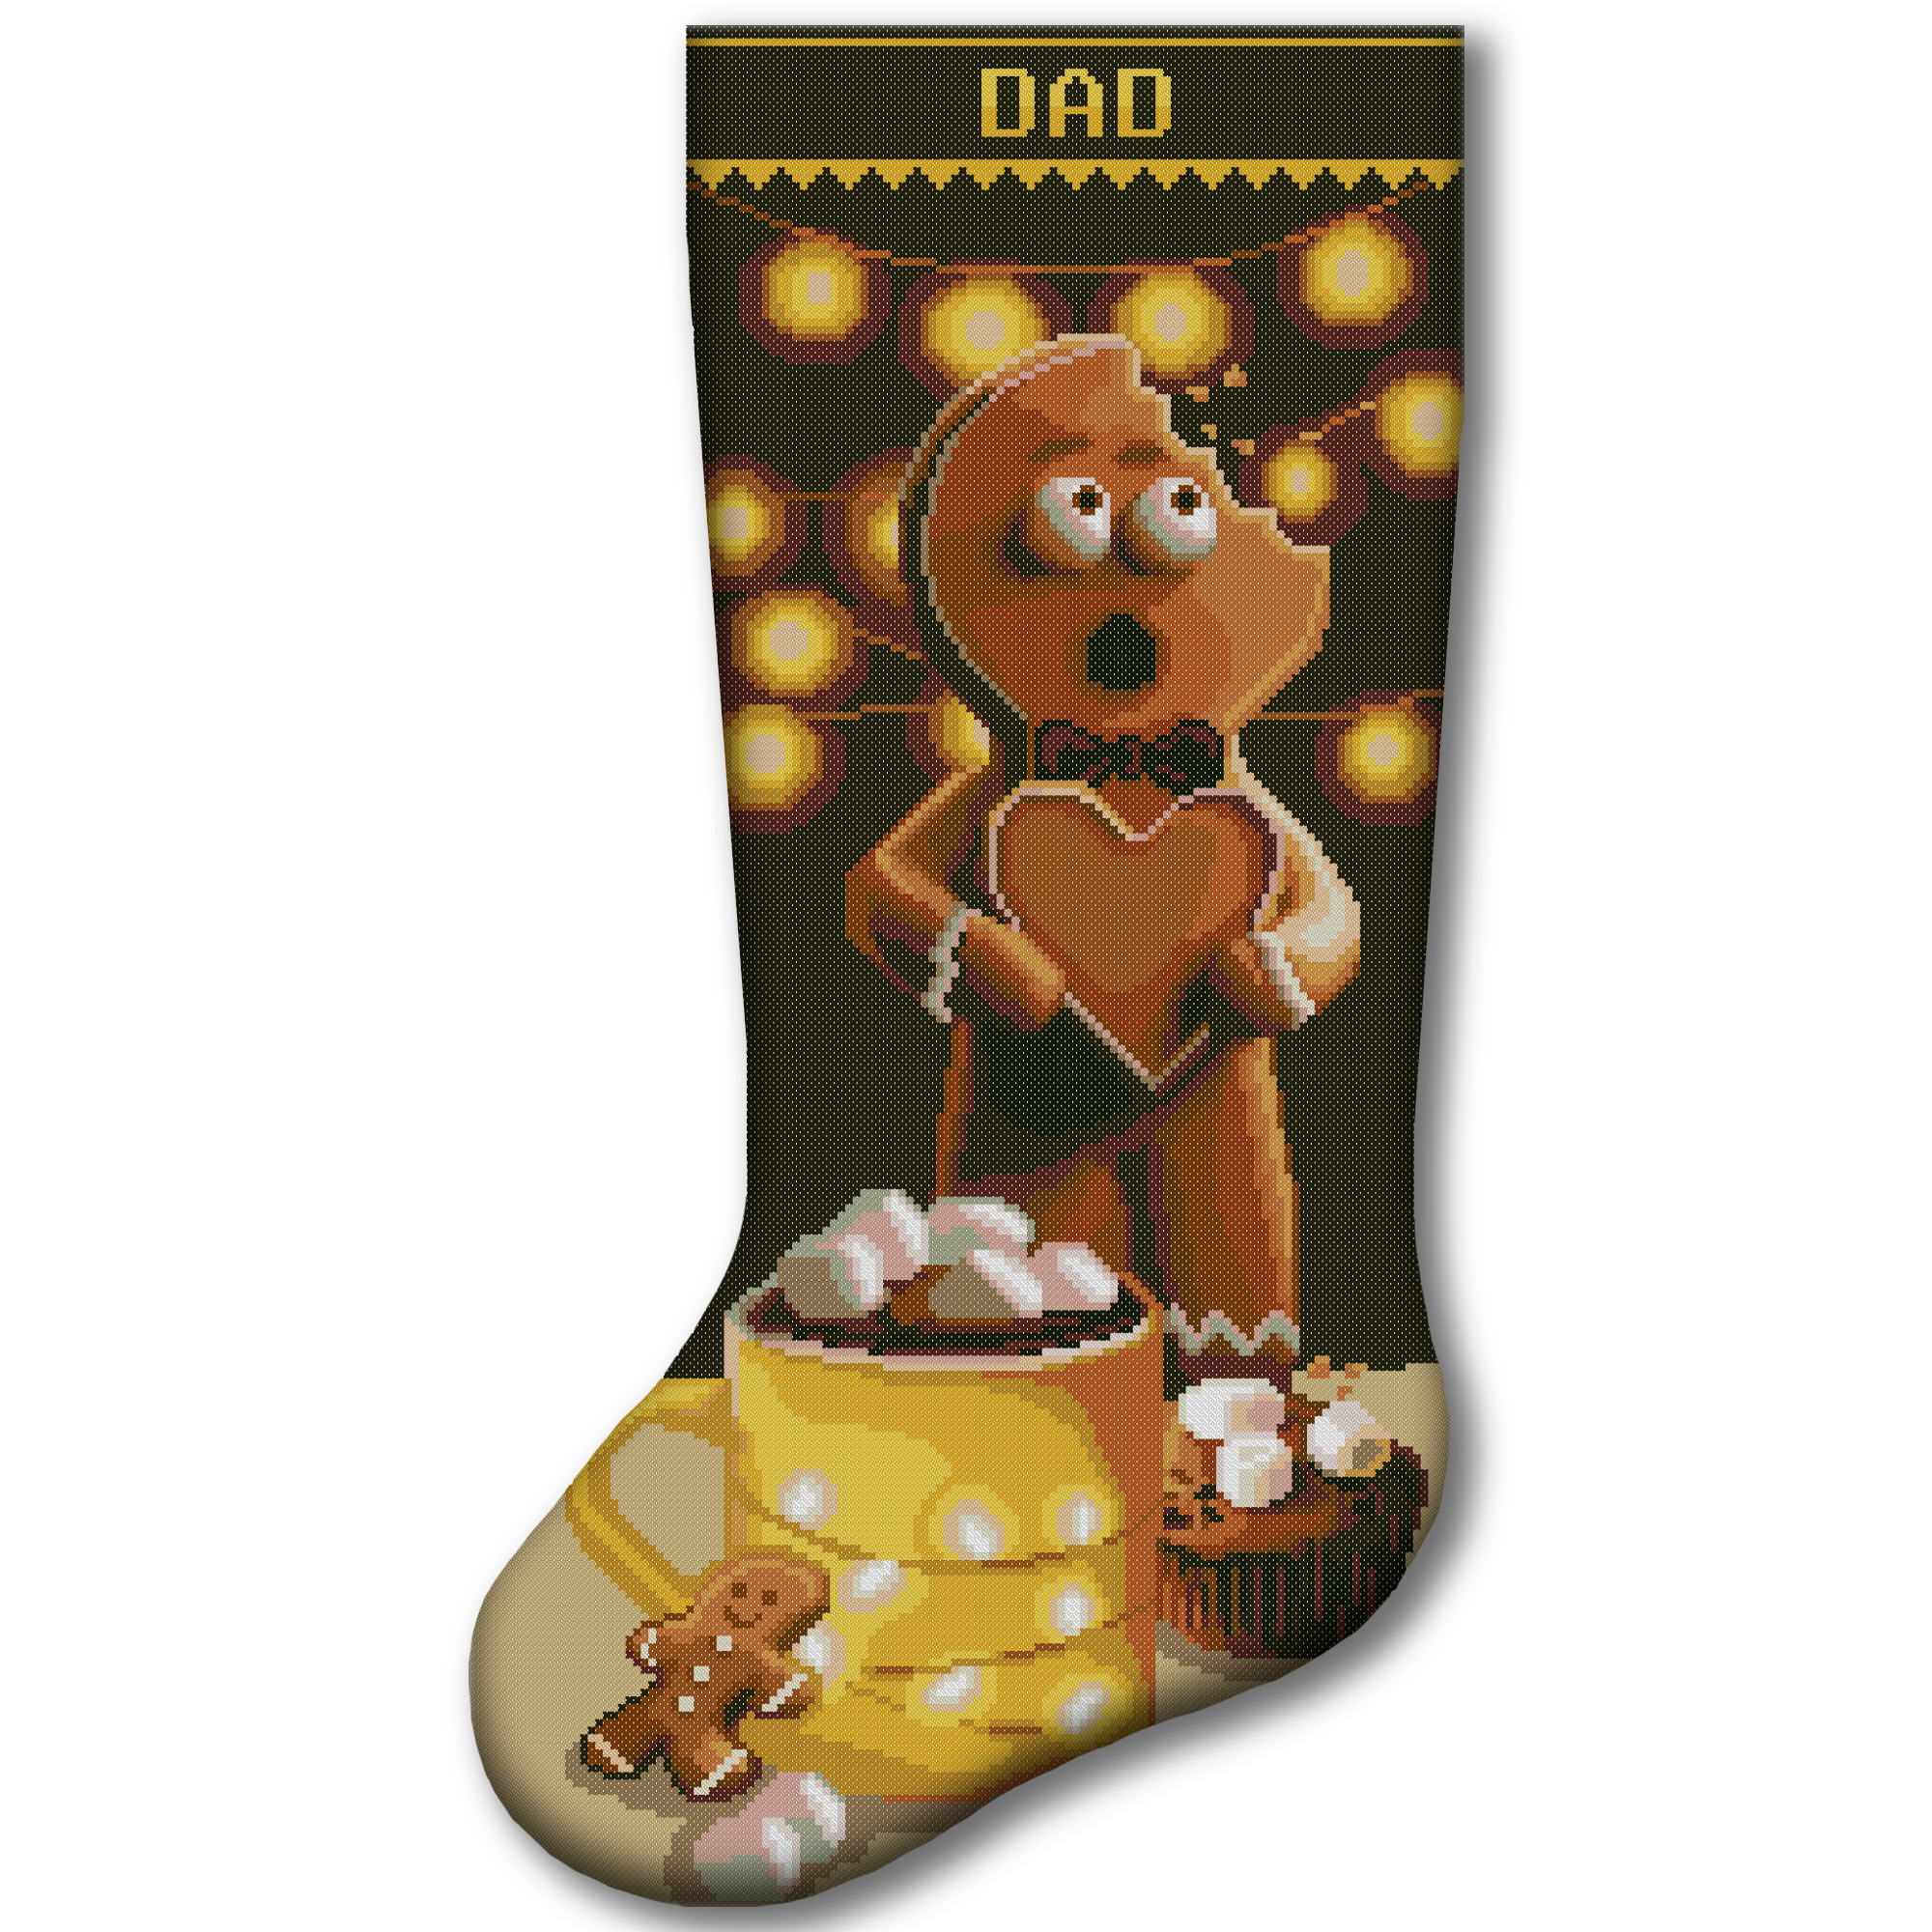
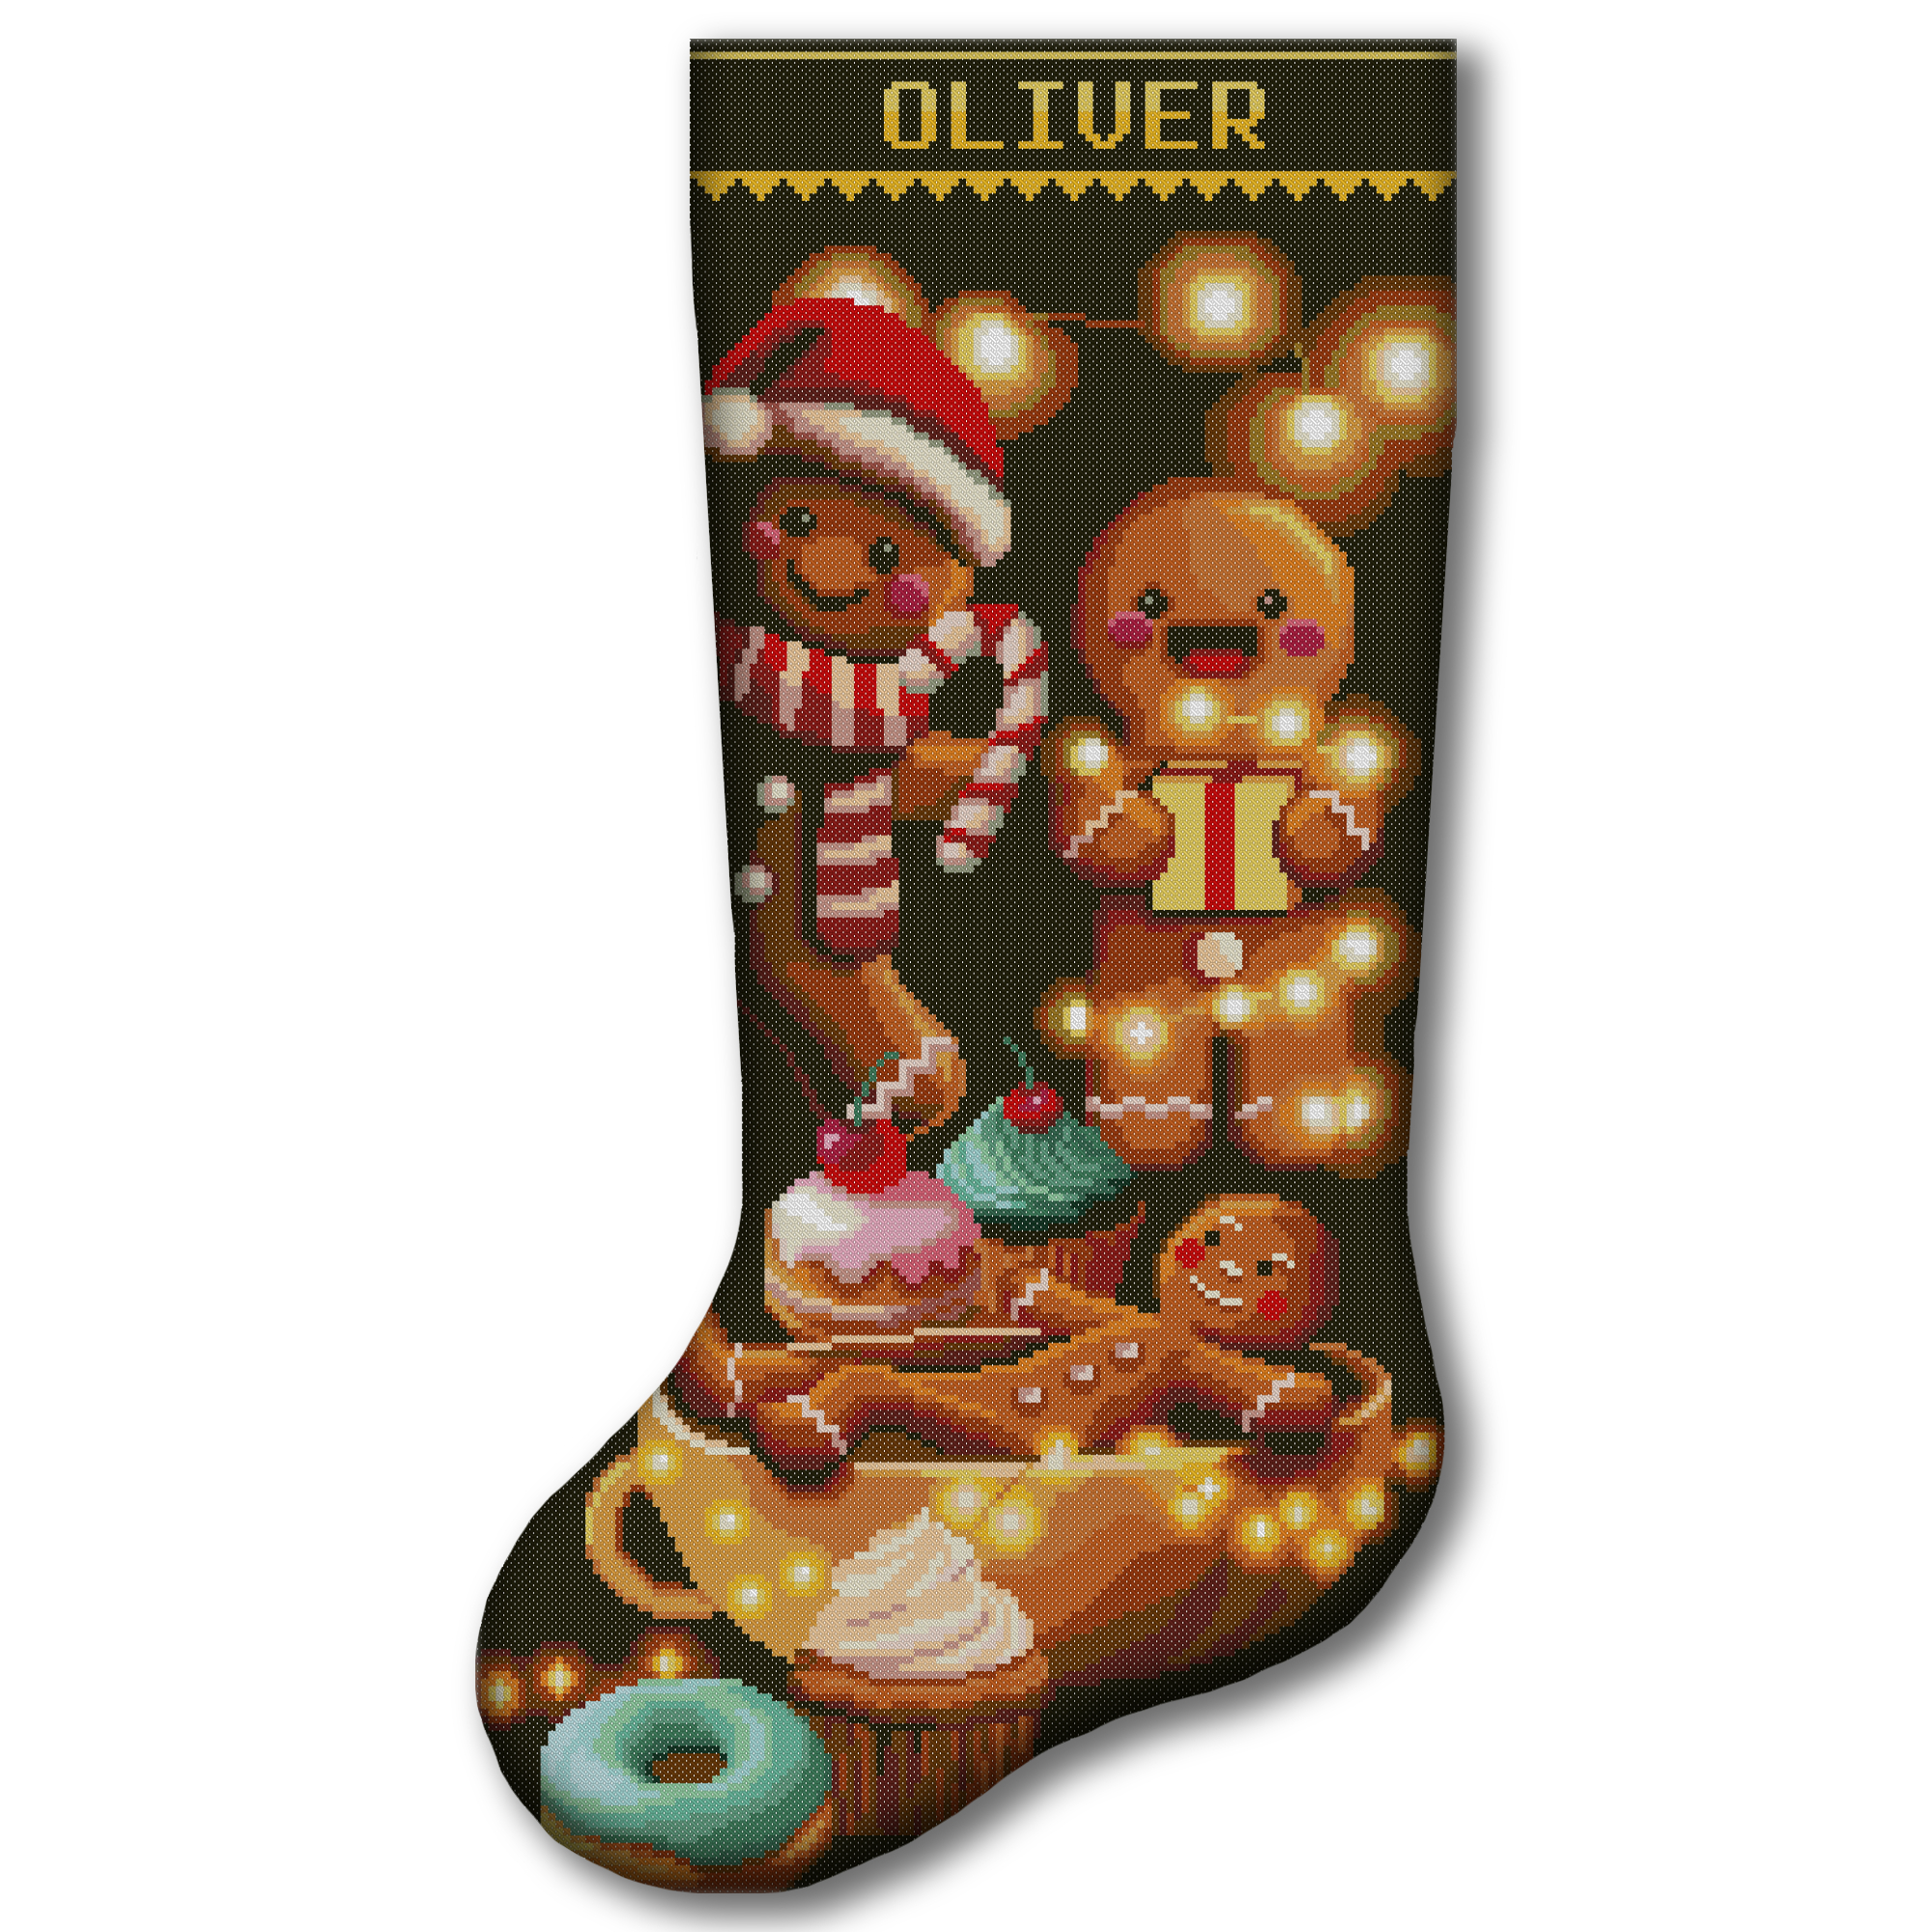
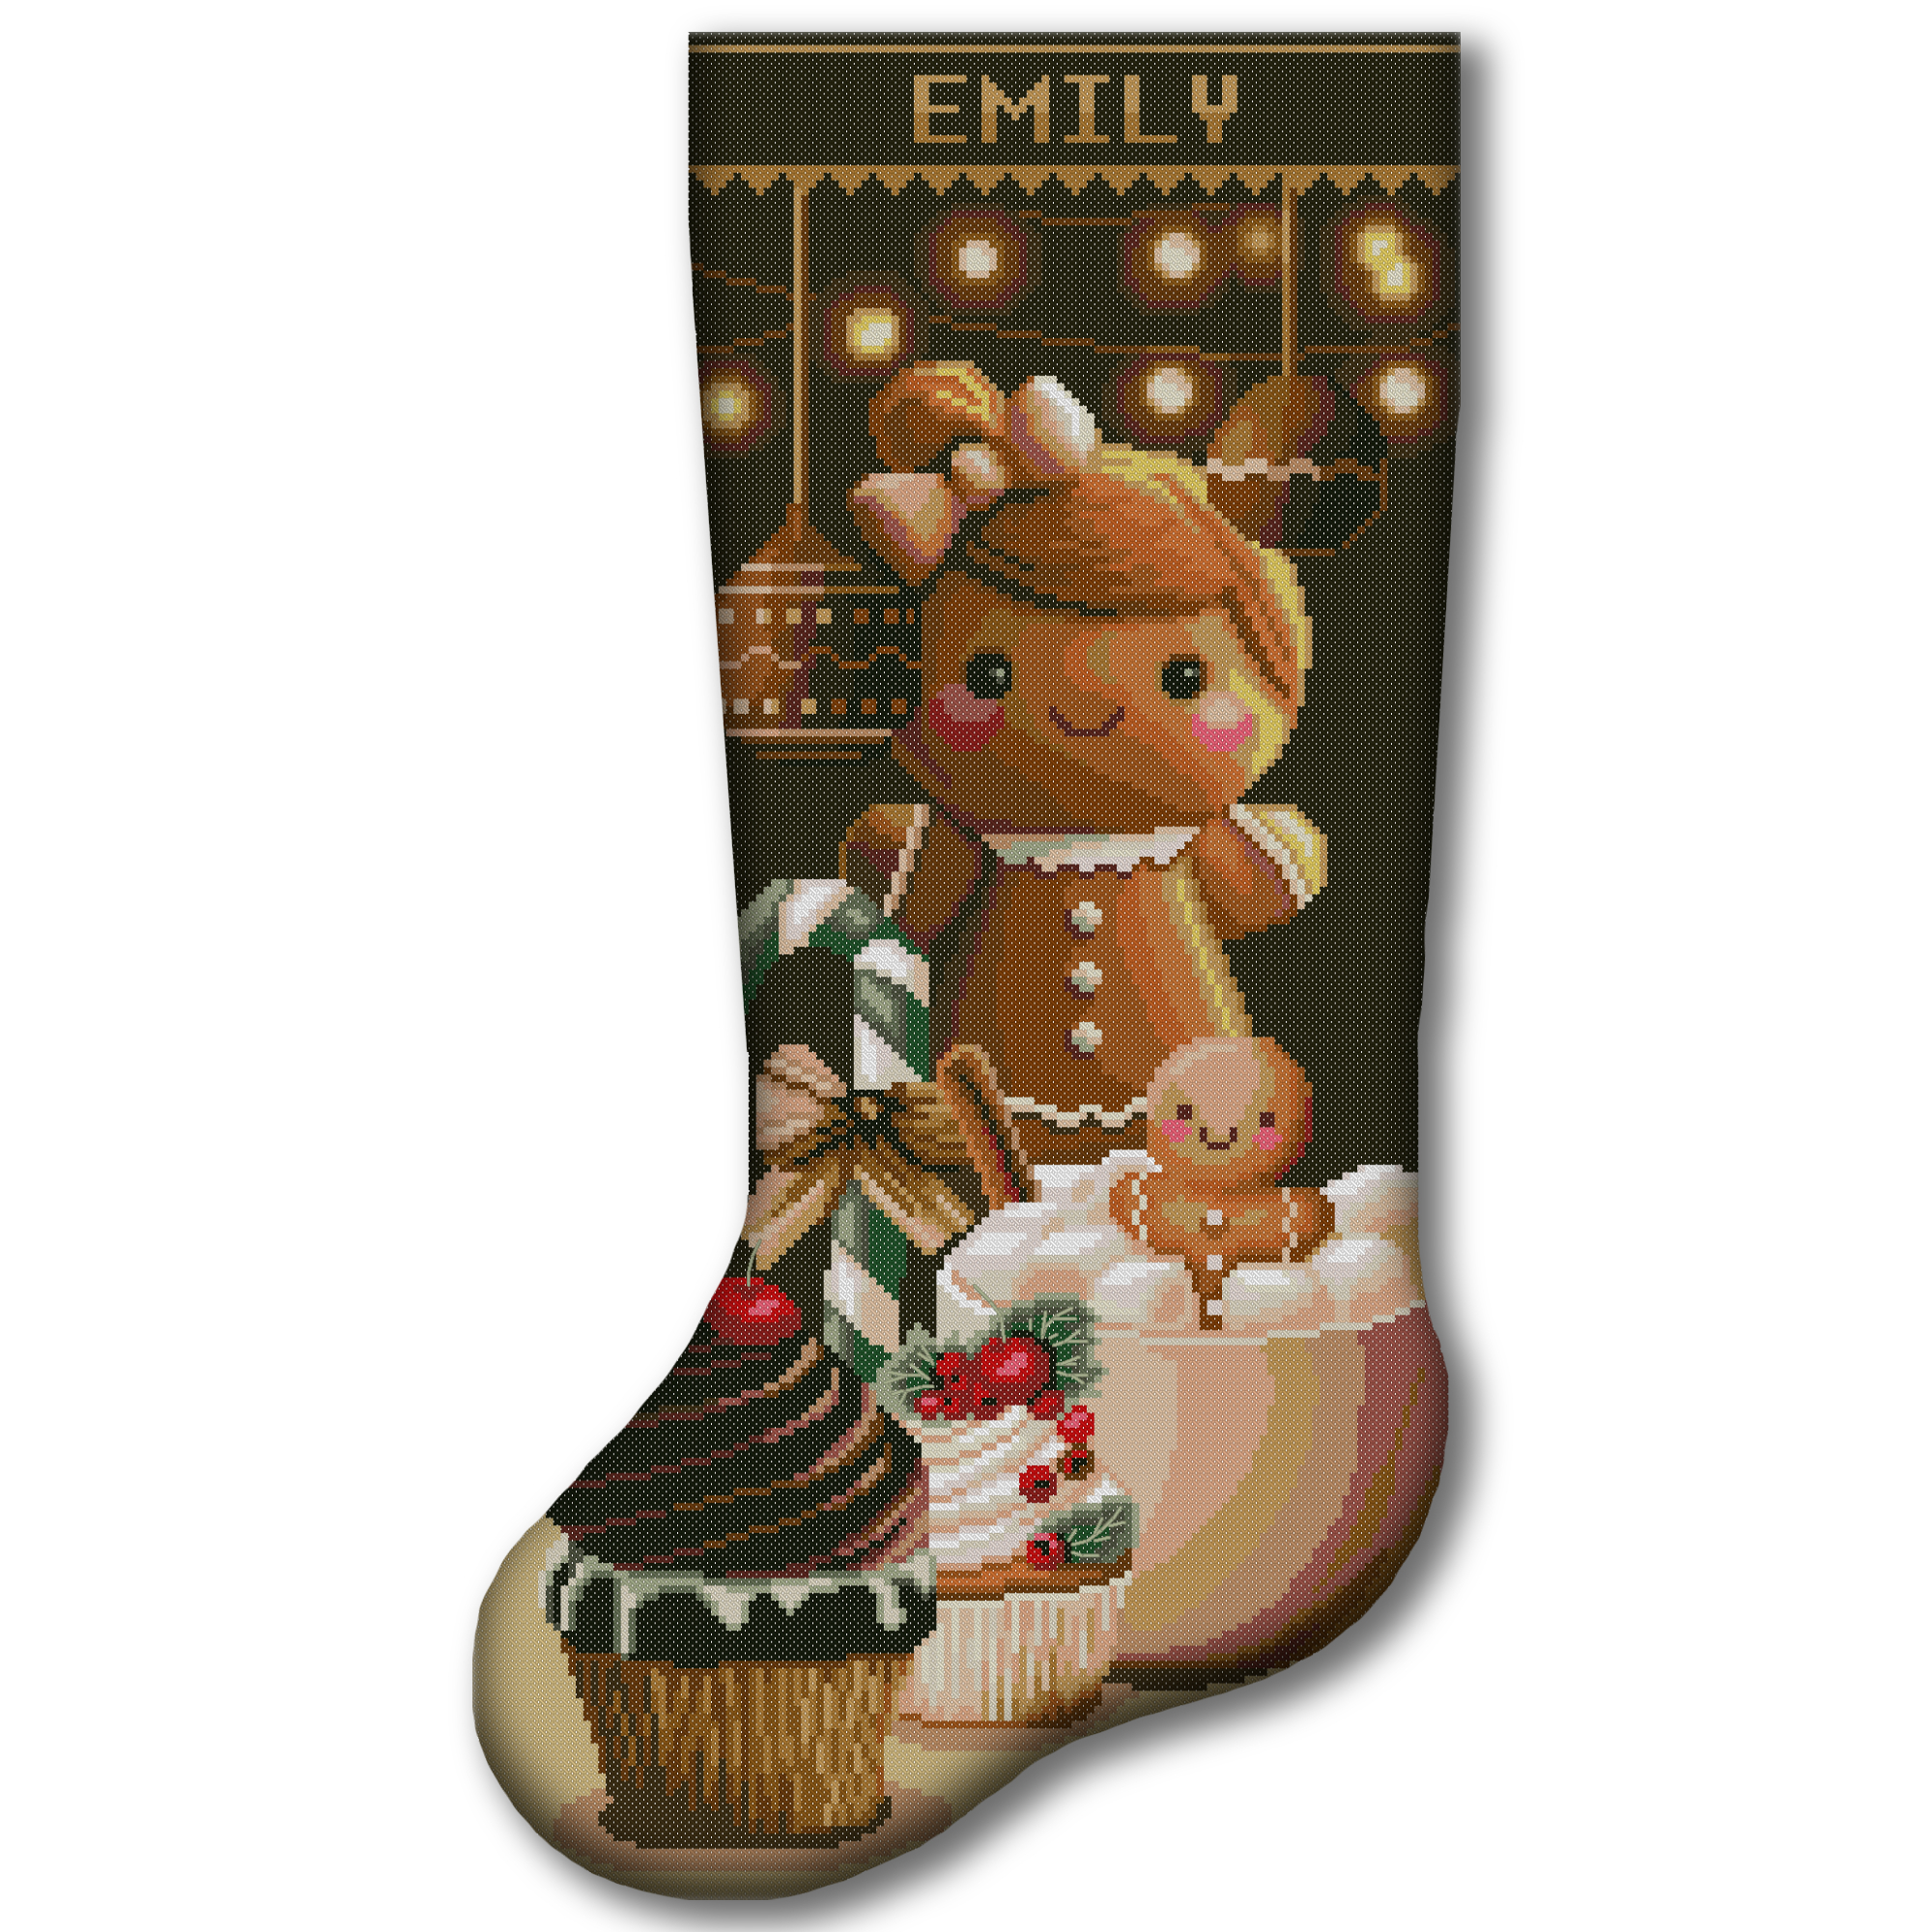
A stamped cross stitch kit contains fabric with the design printed directly on its surface. Each printed square, color, number, or symbol shows where a stitch should be placed.
Stamped cross stitch is similar to painting by numbers, but instead of paint, you use embroidery floss. The printed fabric helps you see:
- where each color belongs;
- where one section begins and ends;
- the shape of the finished design;
- where full cross stitches and other stitches should be placed.
Unlike counted cross stitch, stamped cross stitch does not require you to count every square from a blank starting point. You should still check the paper chart and color key, but the printed fabric provides a clear visual guide.
The printing on CrossStitchStyleArte stamped fabric is water-soluble. It remains visible while you stitch and is removed only after the entire project is complete.
If you are still choosing between the two methods, read our detailed comparison of stamped vs counted cross stitch Christmas stocking kits.
Is Stamped Cross Stitch Good for Beginners?
Yes. Stamped cross stitch is one of the easiest ways to learn cross stitch because the design is visible directly on the fabric.
It is especially suitable for:
- complete beginners;
- children learning with adult supervision;
- people who find large paper charts difficult to follow;
- stitchers who do not enjoy counting every square;
- anyone who wants a relaxing project;
- people creating their first large Christmas stocking;
- gift recipients who have never embroidered before.
A beginner still learns all the essential skills: threading the needle, separating floss, making neat crosses, controlling tension, changing colors, securing thread, and finishing a project.
The printed design simply makes it easier to know where every stitch belongs.
Ready to begin?
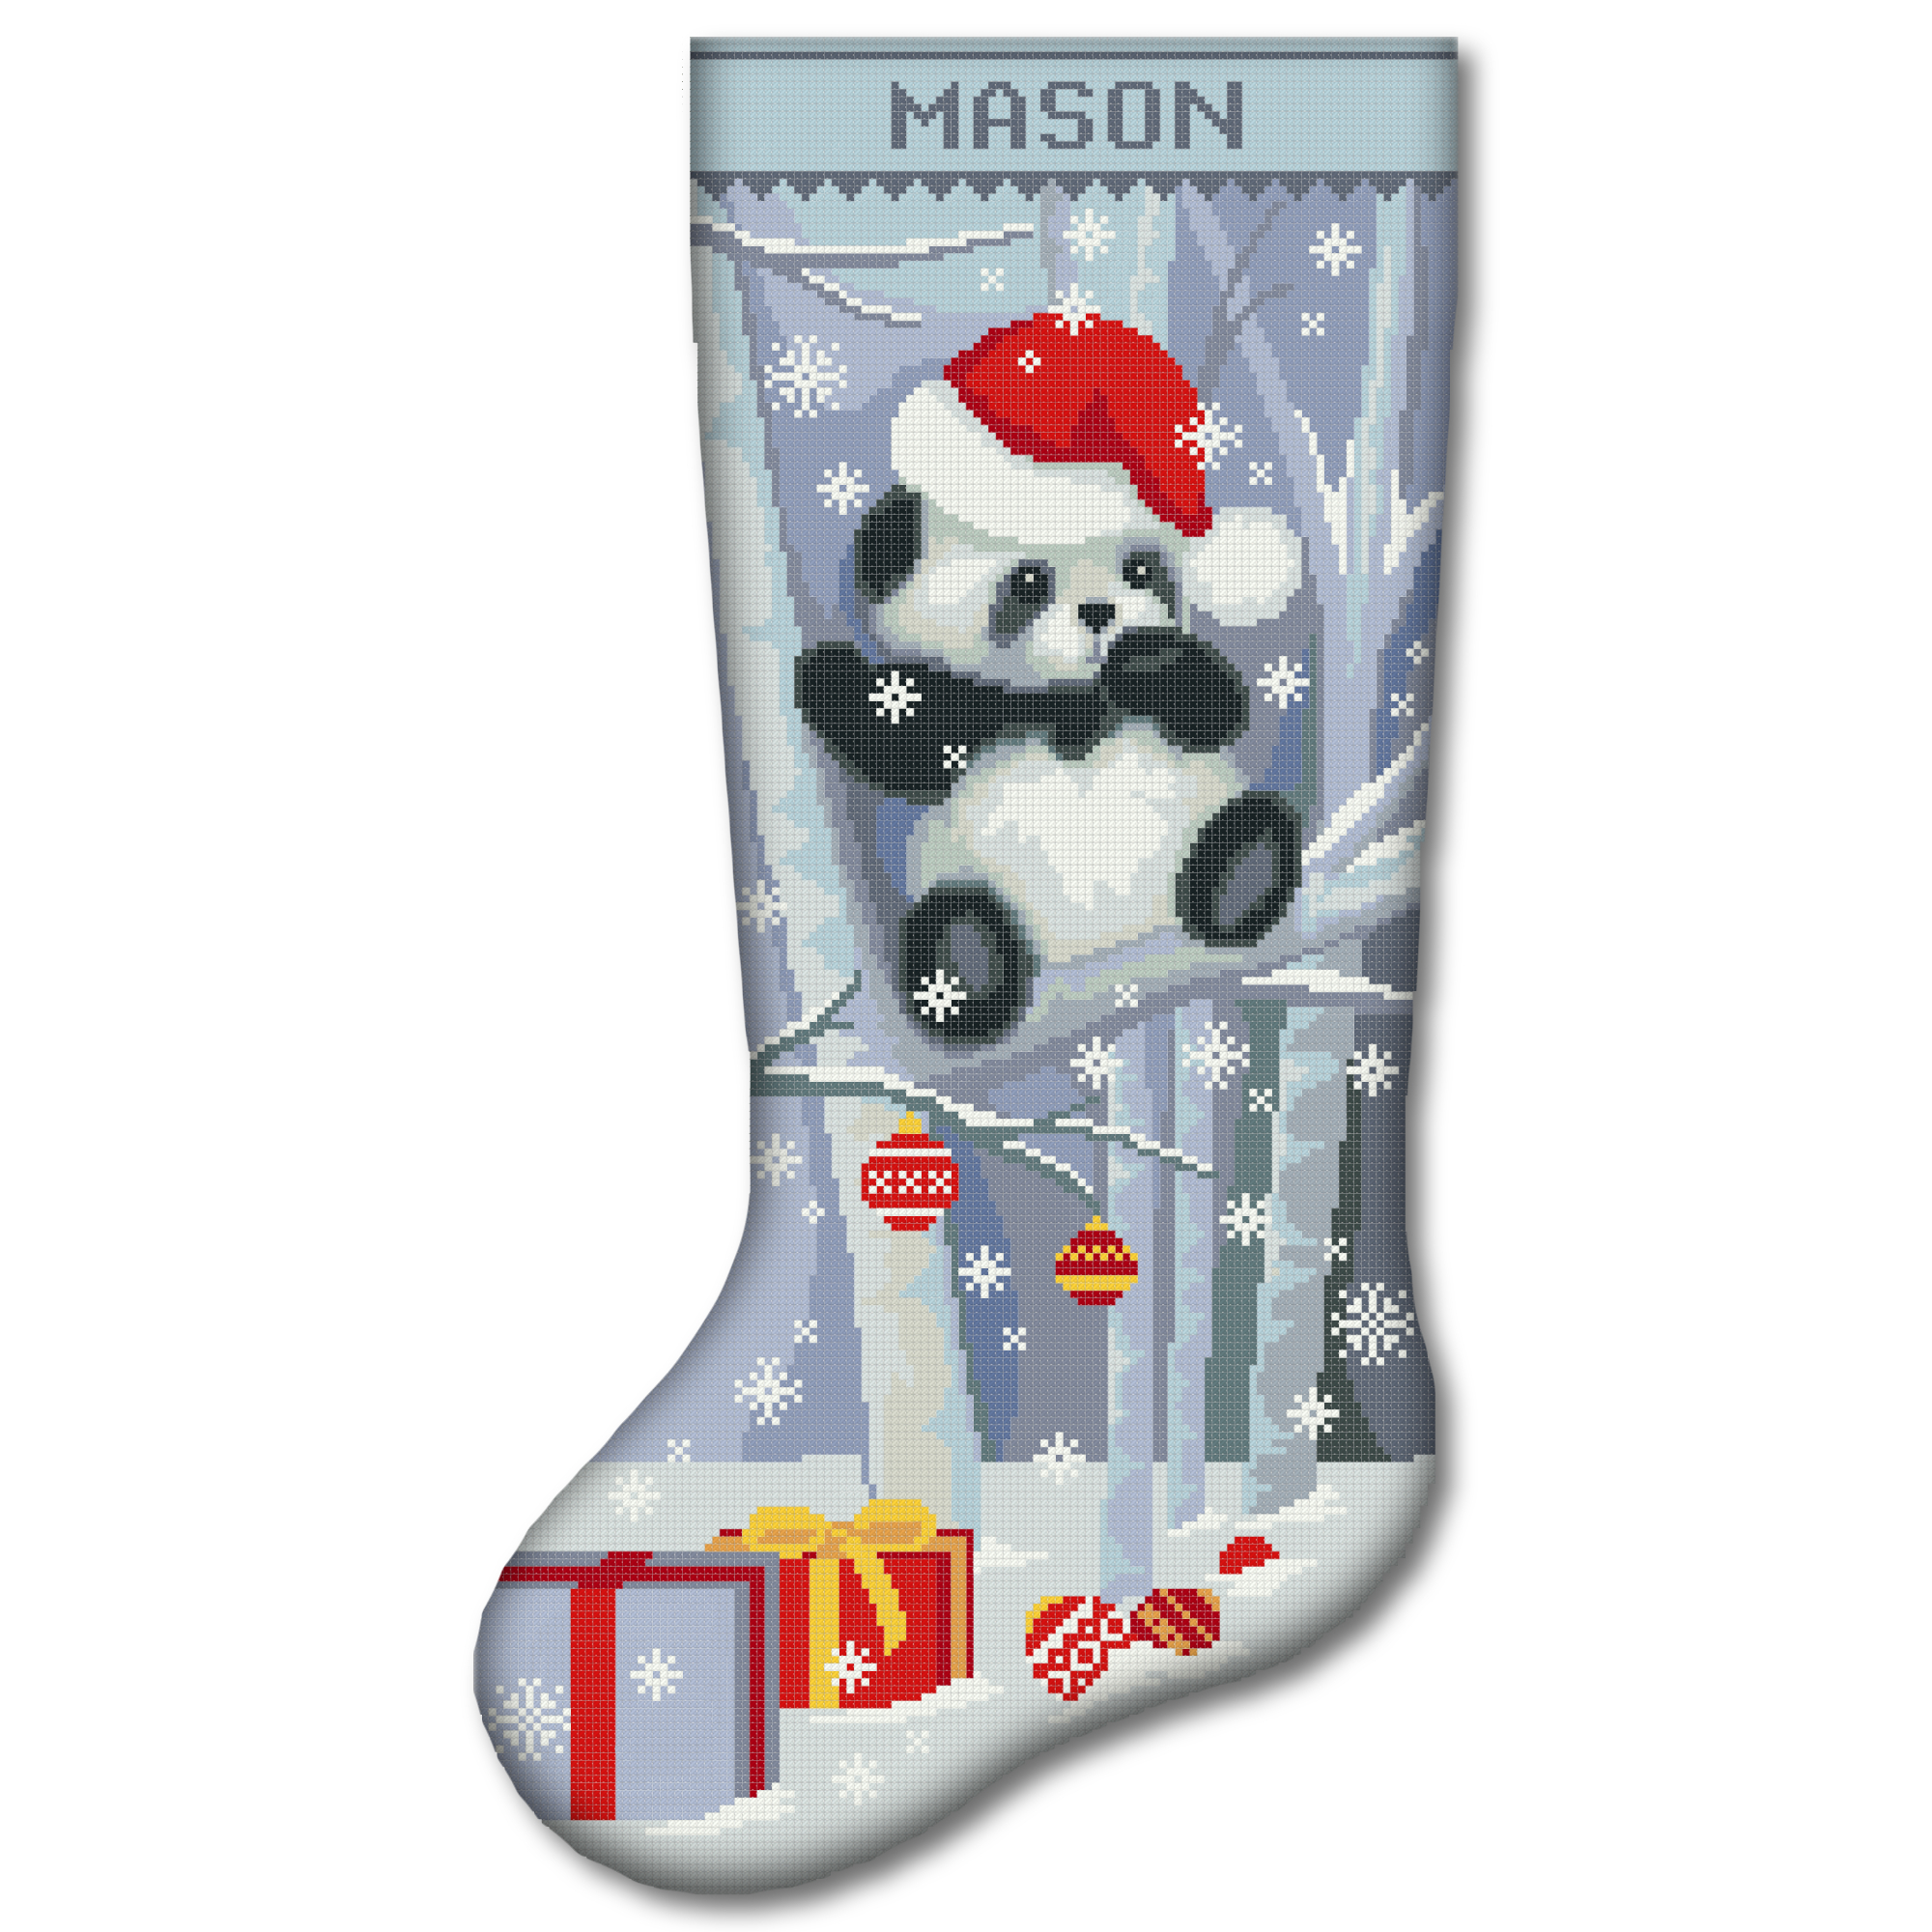
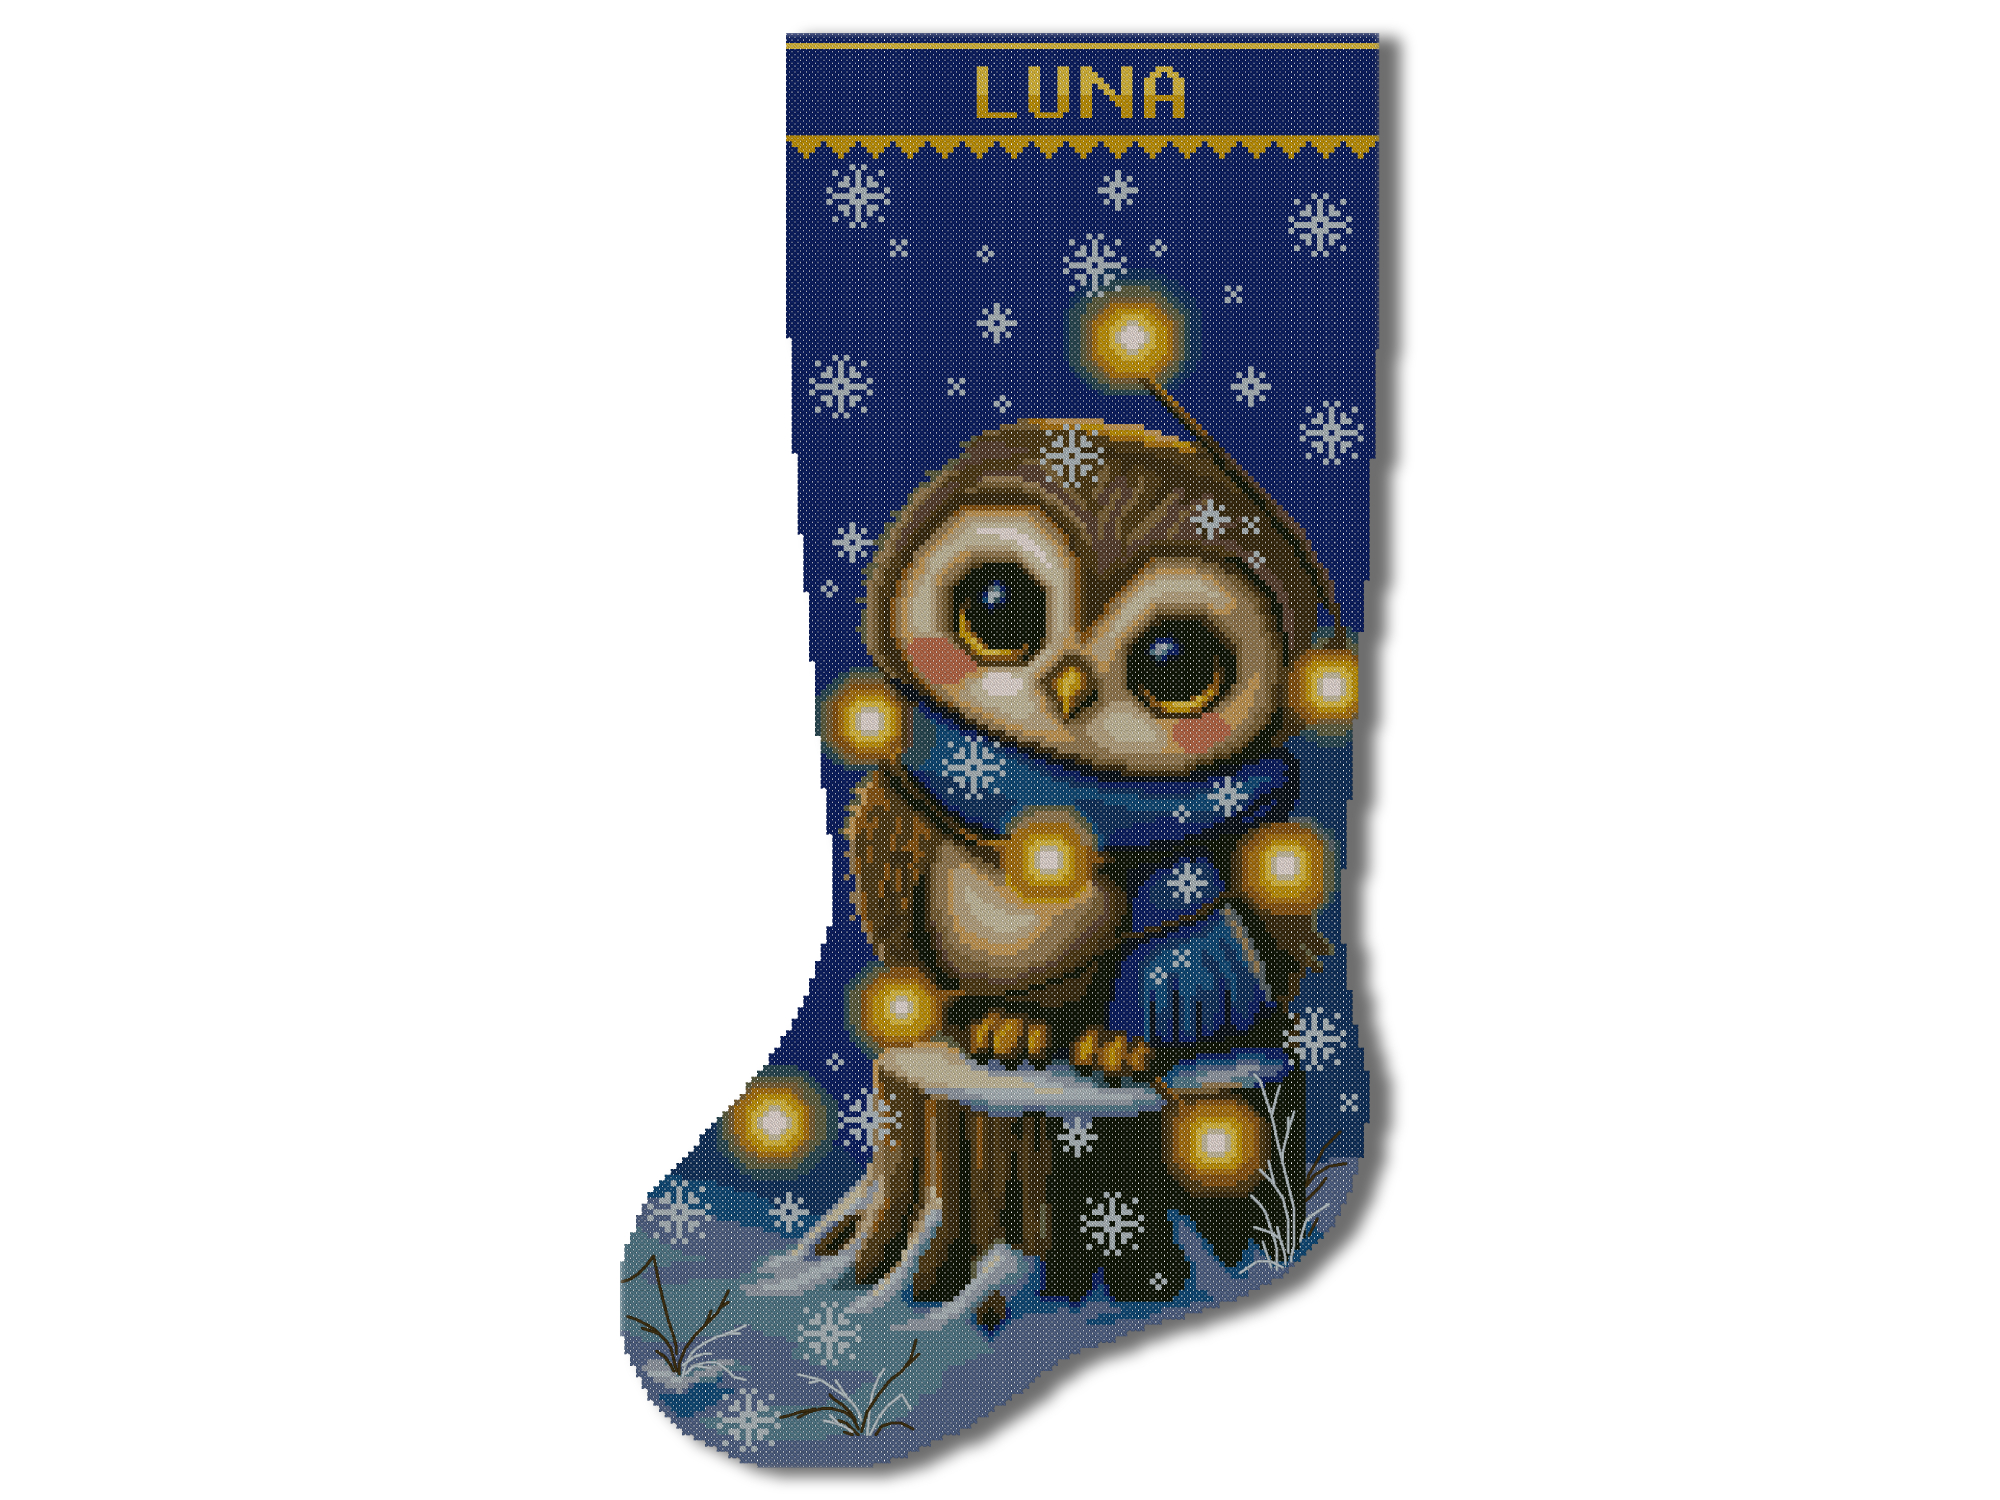
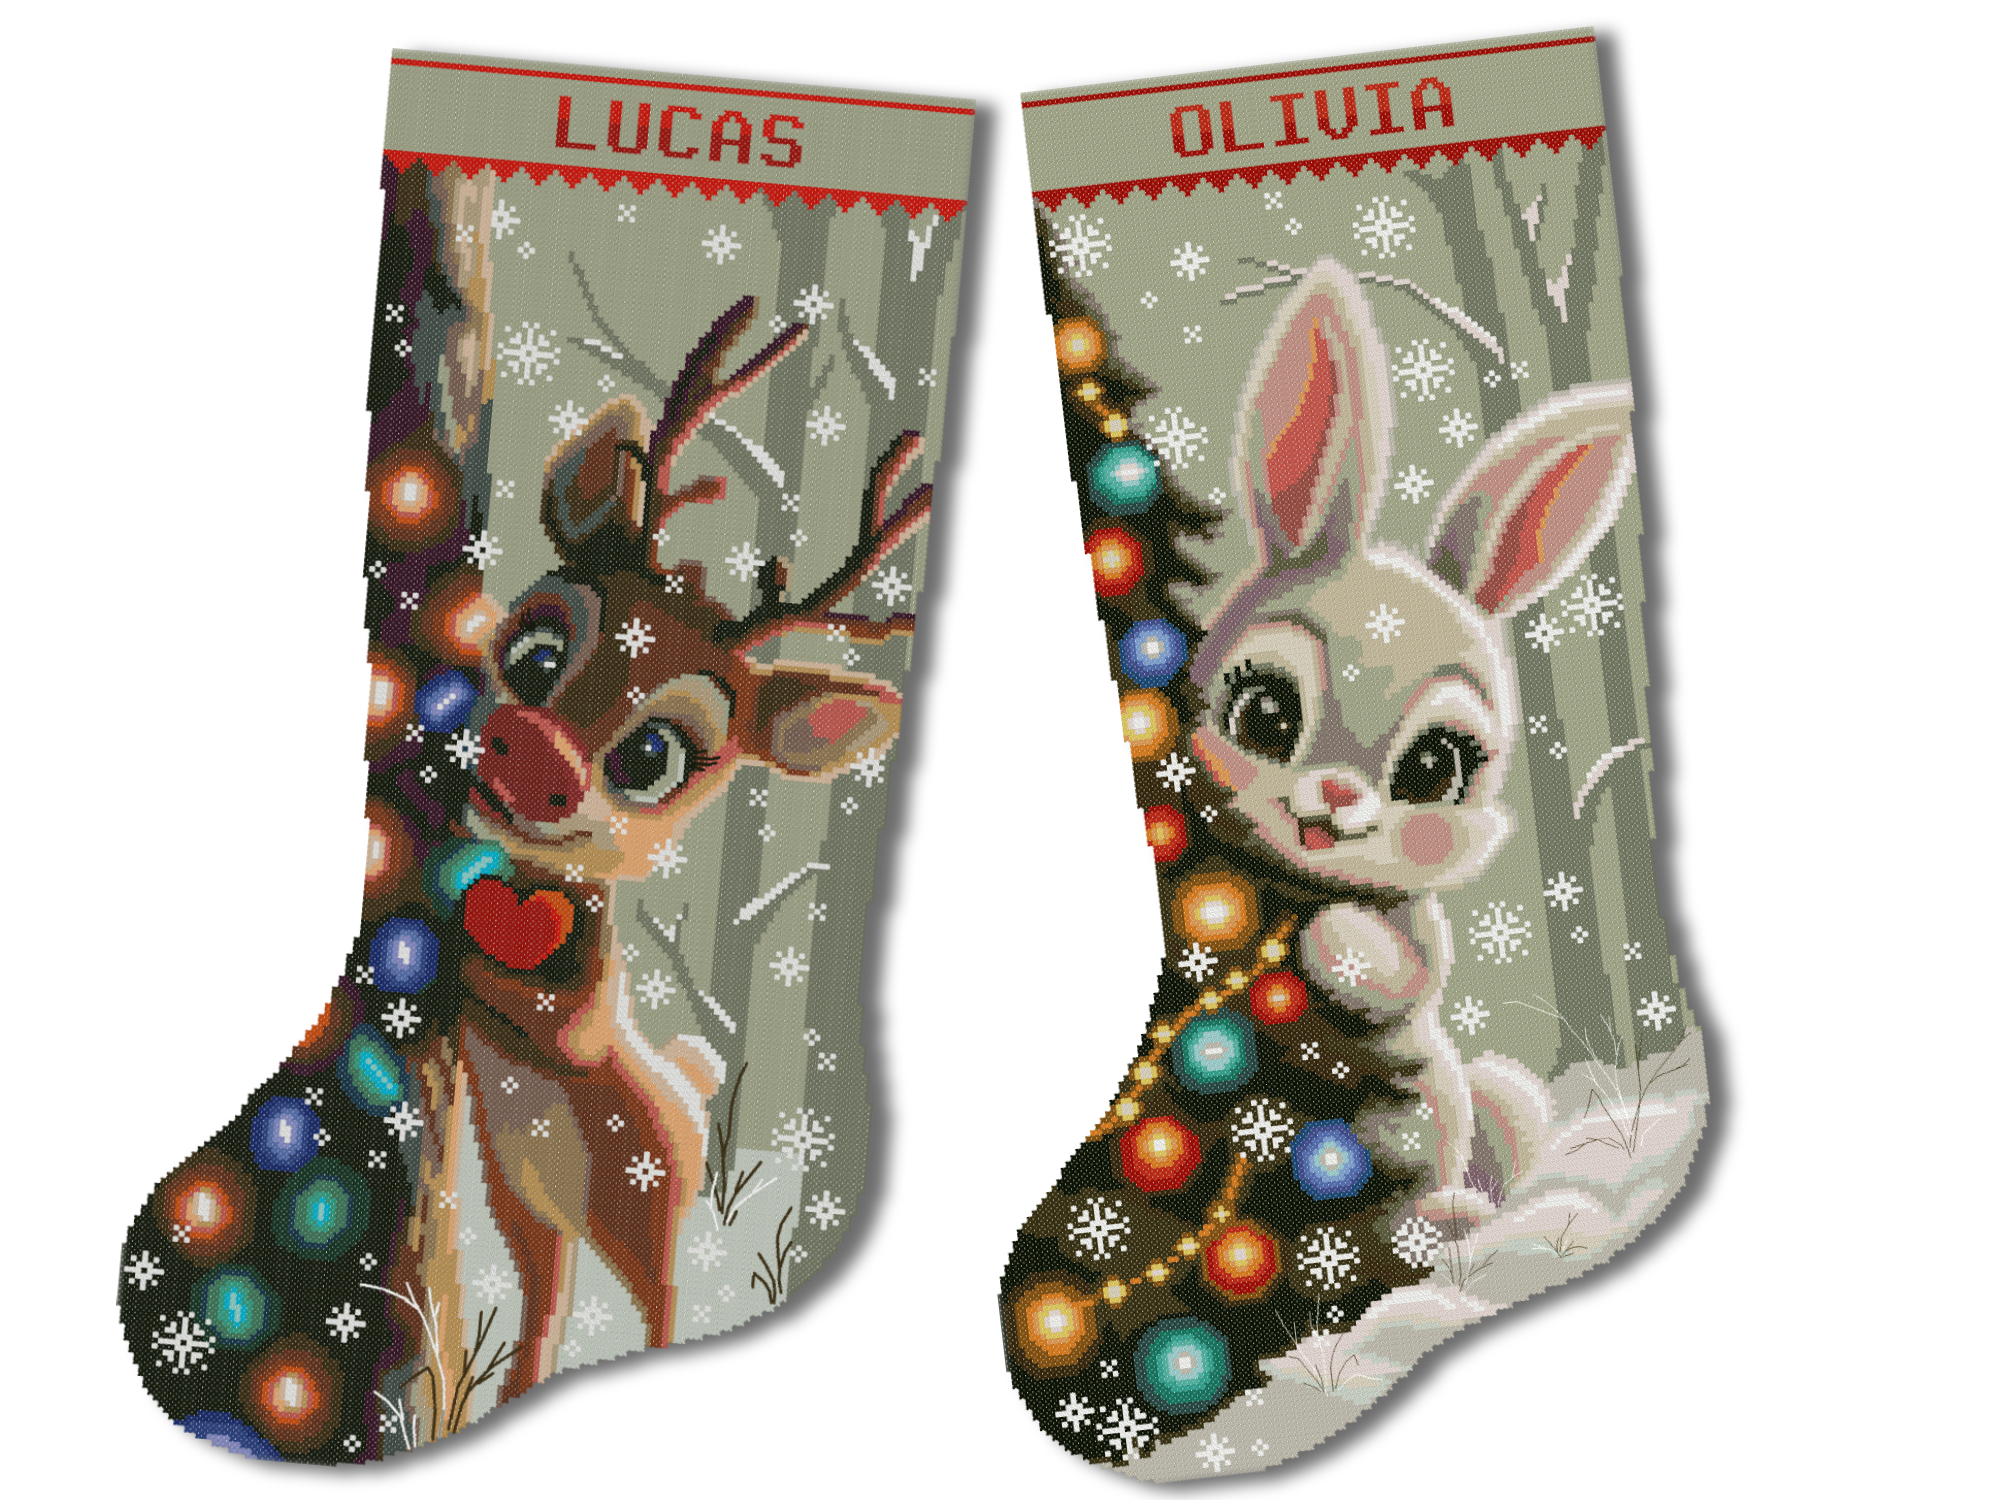
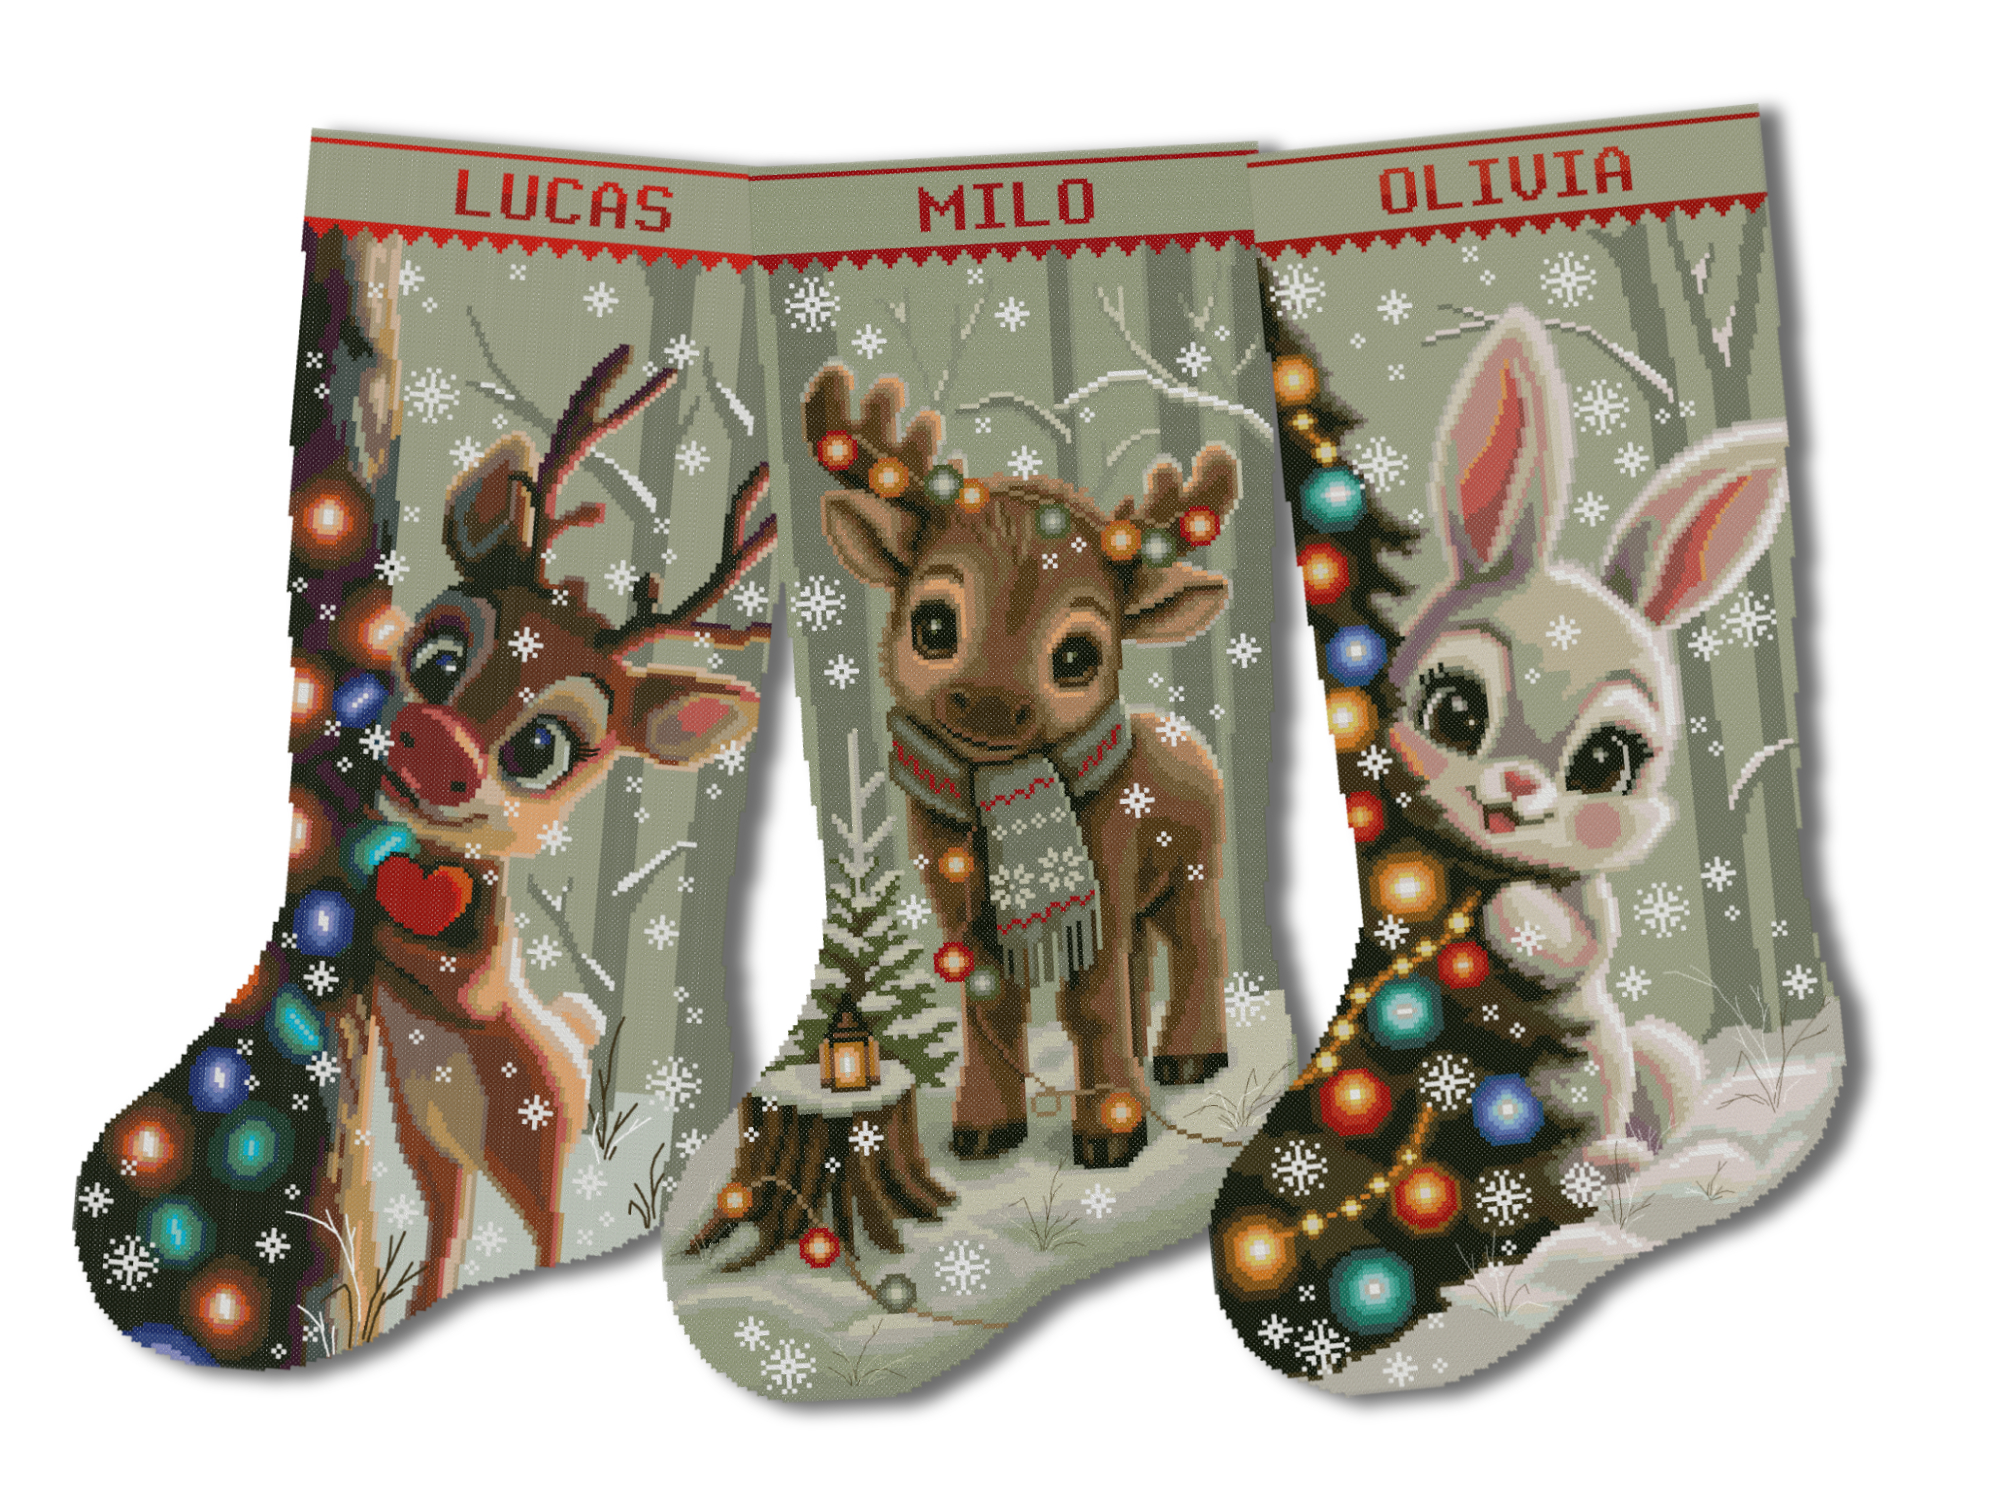
Explore our stamped Christmas stocking cross stitch kits created for beginners and experienced stitchers.
Can a Ten-Year-Old Use a Stamped Cross Stitch Kit?
Many ten-year-old children can learn stamped cross stitch if they are patient and interested in crafts. However, an adult should help with:
- using scissors;
- working with the needle;
- untangling difficult knots;
- washing the finished embroidery;
- ironing and sewing the finished stocking.
A tapestry needle has a rounded point, but it can still hurt if handled carelessly. Keep unused needles in a needle minder or secure container.
What Is Included in a Stamped Cross Stitch Kit?
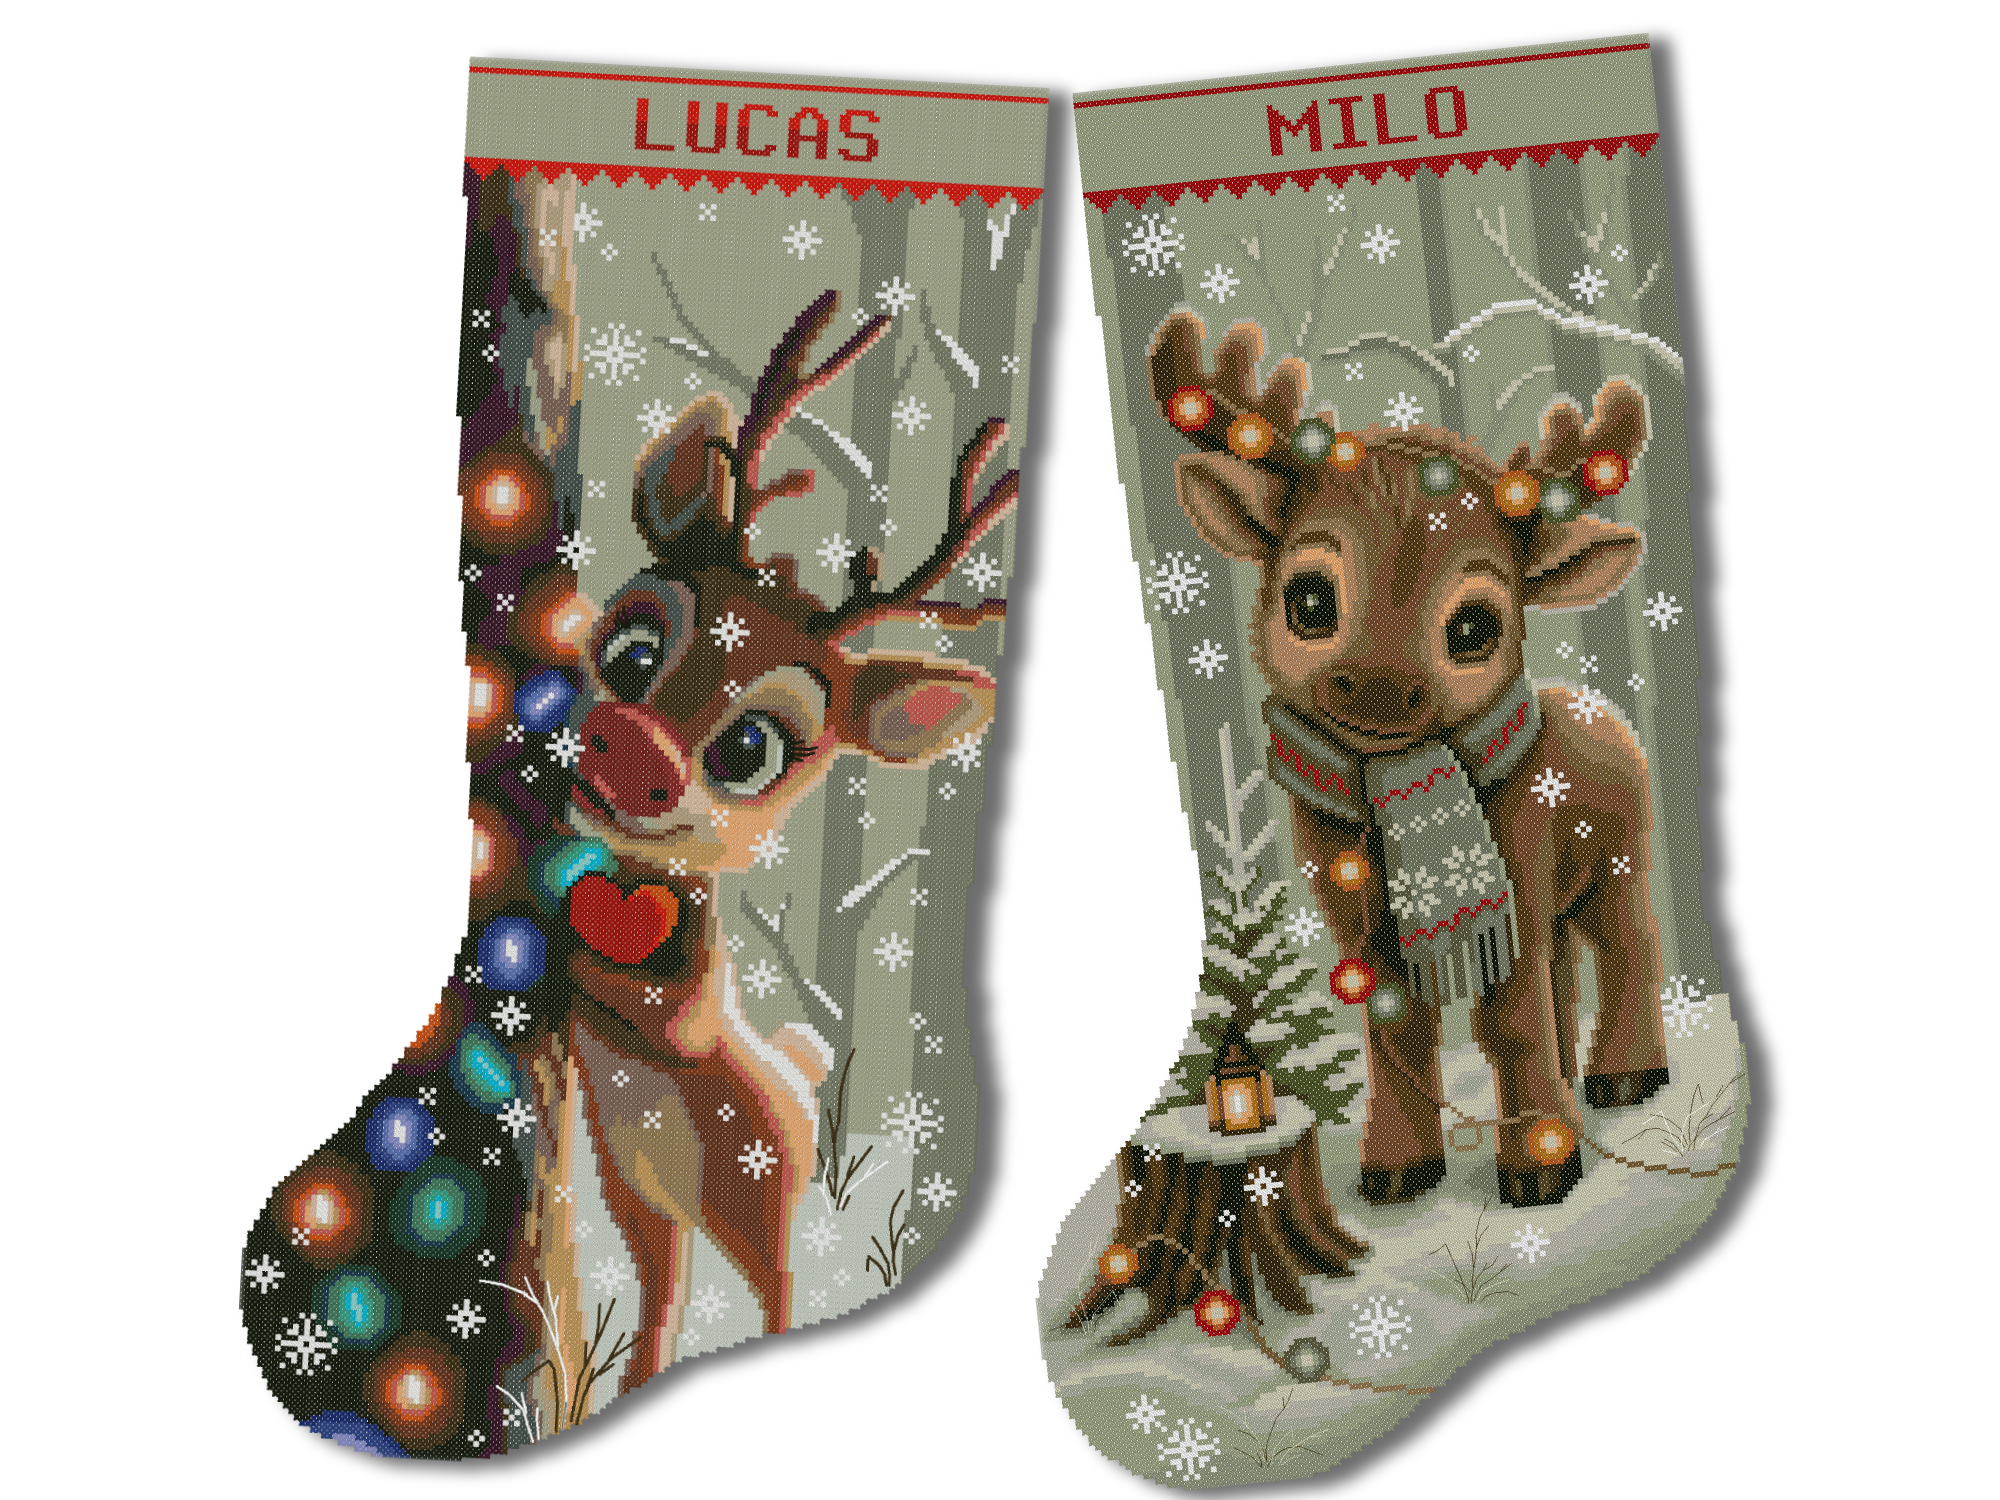
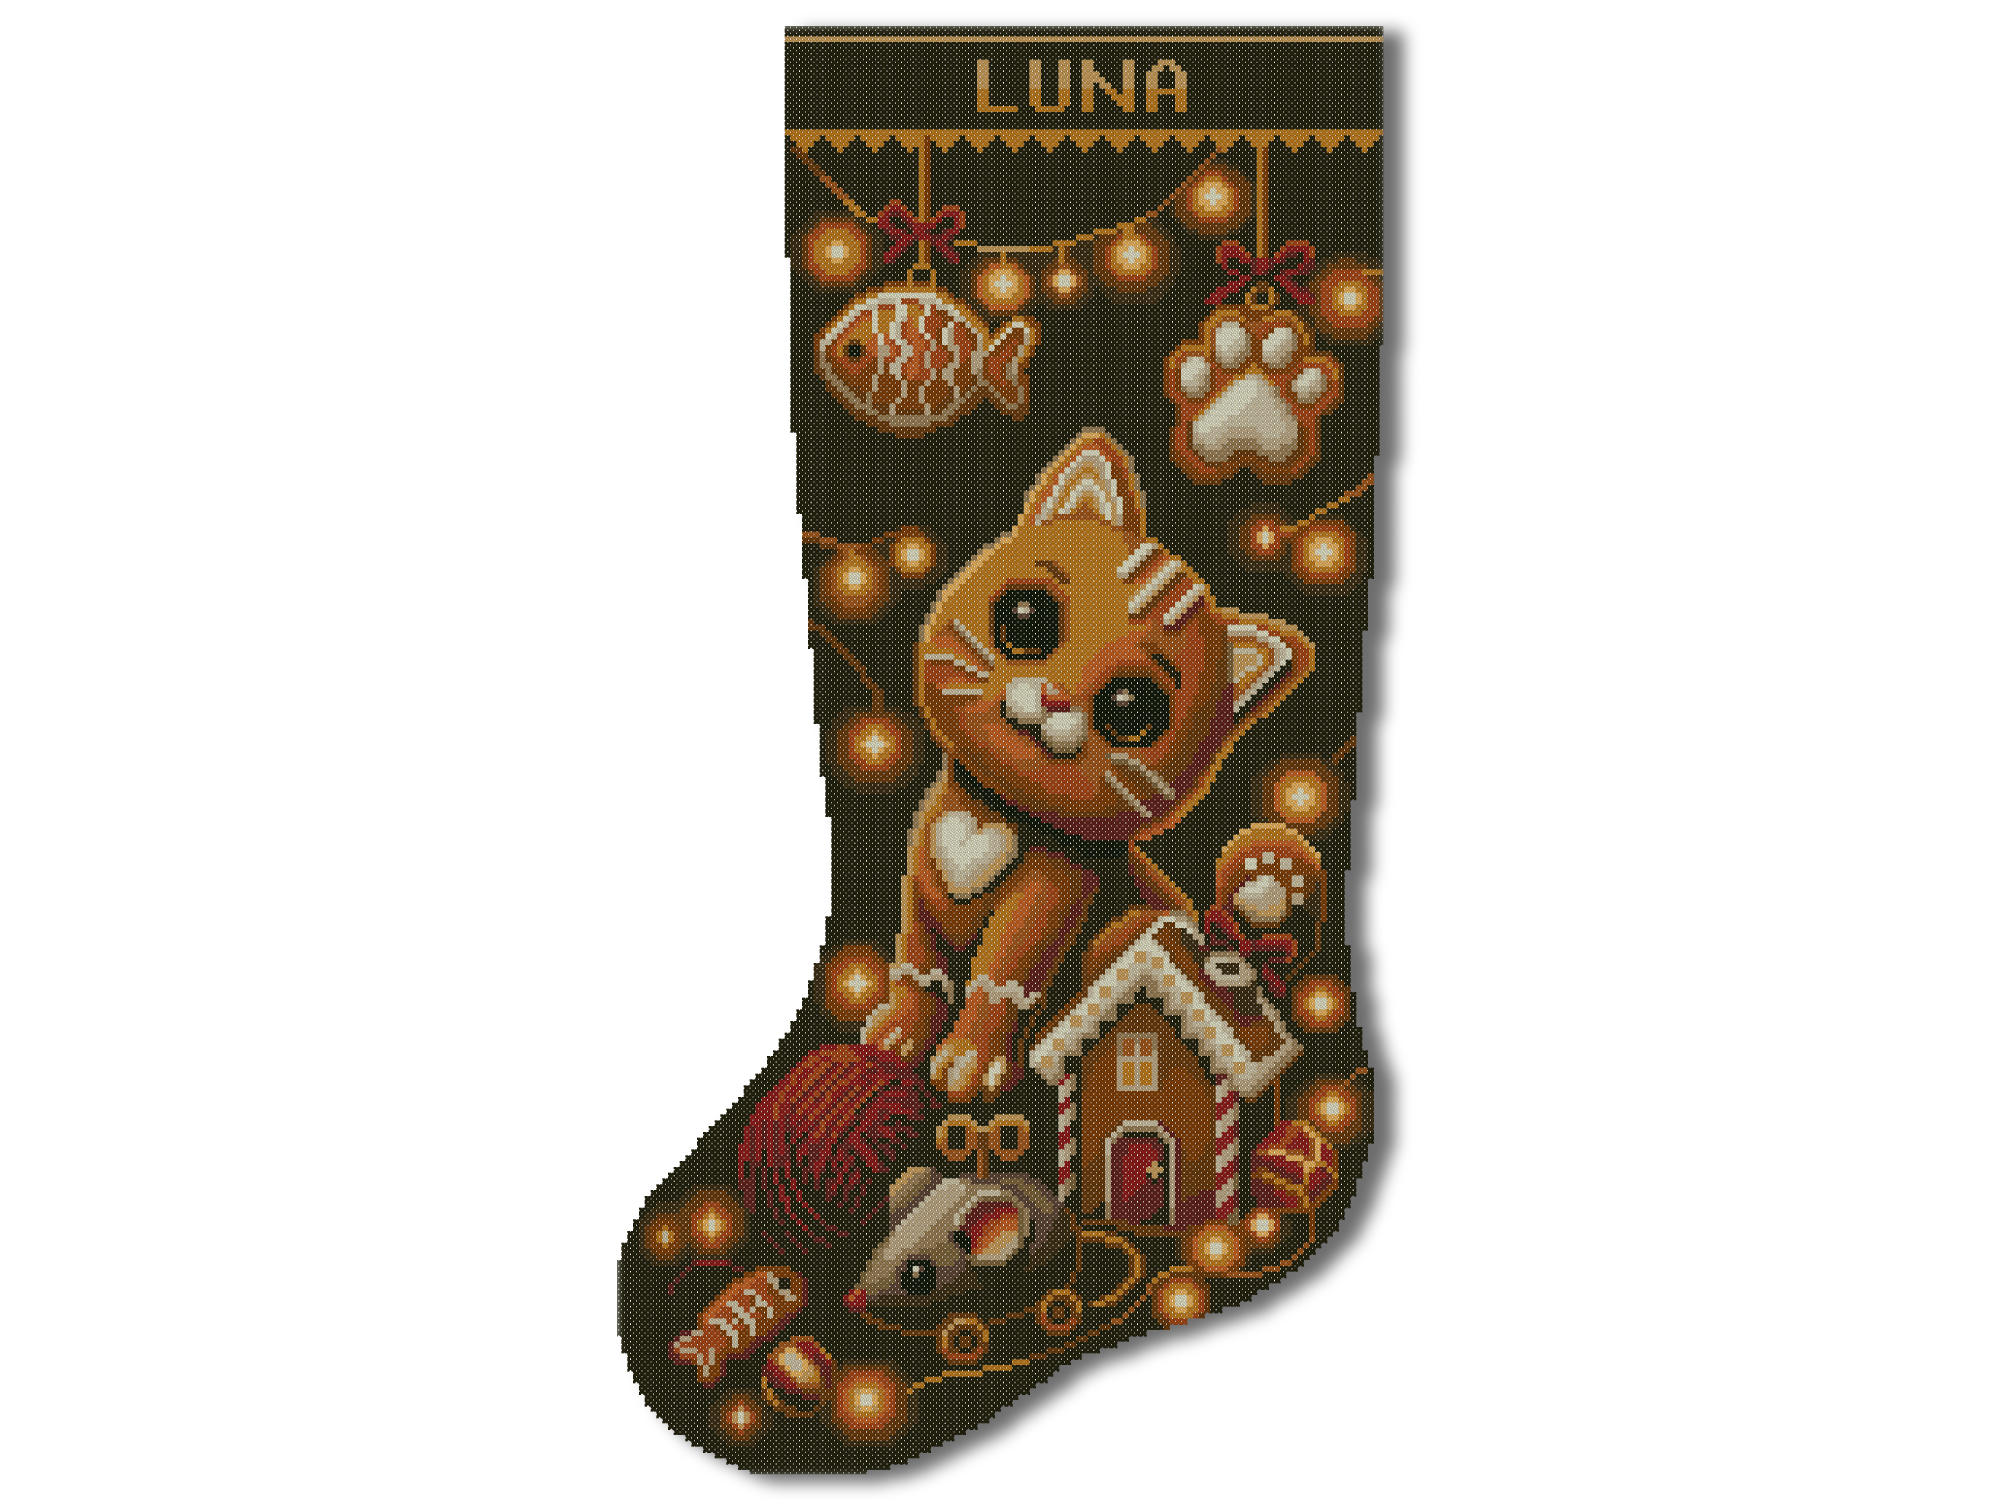
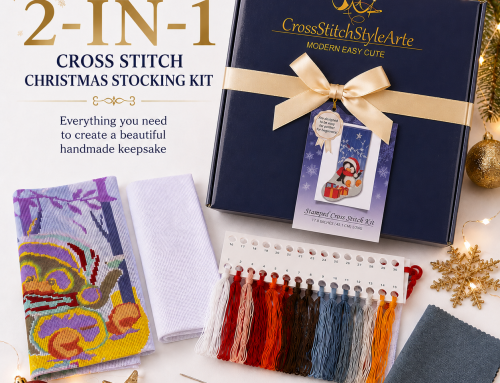
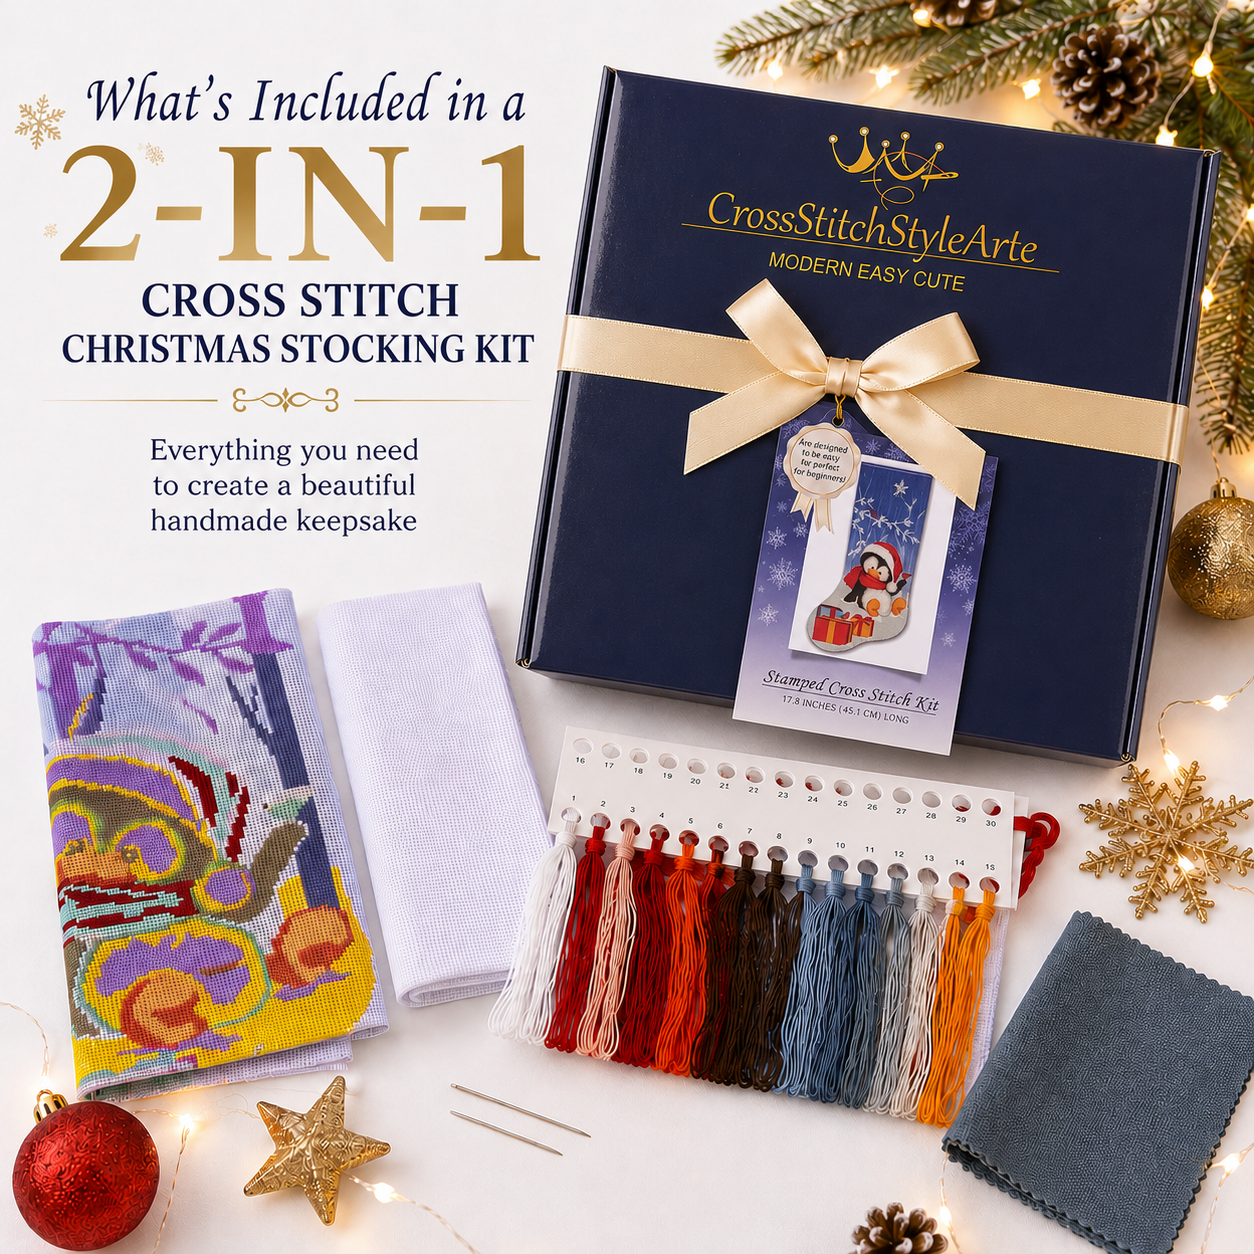
A CrossStitchStyleArte stamped Christmas stocking kit includes the main materials required to stitch and finish the stocking.
Depending on the selected kit, you receive:
| Kit item | What it is used for |
|---|---|
| Stamped 14-count Aida | The design is printed directly on this fabric |
| Presorted embroidery floss | Used to stitch every color in the design |
| Approximately 30% extra floss | Provides an additional allowance for normal thread use |
| Two tapestry needles | Used for cross stitch and outlining |
| Printed paper chart | Helps you confirm symbols, colors, and details |
| Color and symbol key | Matches the printed symbols with the correct floss |
| Alphabet chart | Used to personalize the stocking with a name |
| Instructions | Explain stitching and finishing |
| Backing fabric | Used to turn the embroidery into a real stocking |
| Hanging-loop materials | Used to hang the completed stocking |
You may also want:
- an embroidery hoop or frame;
- small embroidery scissors;
- a needle threader;
- a needle minder;
- a good lamp;
- a washable container for organizing floss.
A hoop is helpful but not required. Some people prefer holding the Aida in their hands, while others find that a hoop makes it easier to maintain even tension.
Our complete guide to 2-in-1 Christmas stocking kits explains every included material in more detail.
What Does “2-in-1” Mean?
A 2-in-1 Christmas stocking cross stitch kit gives you two ways to stitch the same design:
- stamped fabric for guided cross stitch;
- blank white 14-count Aida for counted cross stitch.
The kit gives you a choice between two stitching methods for one finished stocking. It does not mean that the kit contains enough materials to complete two identical stockings.
Before You Start: Five Important Rules
1. Do Not Wash the Fabric
The printed design is water-soluble. If you wash or soak the fabric before stitching, the symbols may fade or disappear.
Wash the project only after all embroidery and personalization are finished.
2. Keep Your Hands Clean and Dry
Wash and dry your hands before every stitching session. Hand cream, food, makeup, and moisture can leave marks on the fabric or floss.
Avoid stitching with wet hands because moisture may begin dissolving the printed guide.
3. Check the Entire Kit
Before starting, confirm that you have:
- stamped fabric;
- all required floss colors;
- needles;
- chart and color key;
- personalization alphabet;
- backing and finishing materials.
Do not remove labels from the floss organizer until you understand how the color numbers match the chart.
4. Read the Instructions First
Spend a few minutes looking through the instructions, chart, and color key. You do not need to memorize everything. You only need to understand how the symbols on the fabric match the floss.
5. Decide Where the Name Will Go
If the stocking will include a personalized name, plan it before washing or cutting the fabric. Check the spelling carefully.
Use our free Name Centering Calculator to find the correct starting position.
How to Read a Stamped Cross Stitch Pattern
A stamped design may use colors, symbols, numbers, or a combination of all three.
The basic rule is:
One printed square represents one cross stitch unless the chart shows a different stitch.
To identify the correct floss:
- Find a symbol on the stamped fabric.
- Find the same symbol in the paper chart or color key.
- Read the floss number or label beside that symbol.
- Select the matching thread from the floss organizer.
- Confirm the recommended number of strands.
- Stitch over every square containing that symbol.
Follow the Symbol, Not Only the Printed Color
The color printed on the fabric may not look exactly like the embroidery floss. Printing colors are used to make different areas easy to see. They are not always intended to reproduce the final thread color perfectly.
Always use the symbol, number, and color key to select your floss.
For example, a printed blue area might represent gray, pale blue, or another similar thread shade. The color key gives the final answer.
What If the Printing Touches a Grid Line?
Look at the symbol inside the square. Each cross stitch should use the four holes at the corners of one Aida square.
If a printed color appears slightly close to a neighboring square, do not move the stitch based only on the edge of the color. Use the grid and paper chart to confirm its correct position.
For more help understanding grids and symbols, read How to Read a Cross-Stitch Pattern.
How to Prepare the Fabric
Unfold the stamped Aida and place it on a clean, dry surface.
Do not iron the printed fabric before stitching. Water, steam, and unnecessary heat can affect the washable printing.
If you are using a hoop:
- Separate the two hoop rings.
- Place the smaller ring under the fabric.
- Position the larger ring over the fabric.
- Press the rings together.
- Tighten the screw.
- Pull the fabric gently until it feels smooth.
The fabric should be firm but not stretched out of shape. It does not need to feel extremely tight.
Place the hoop over a section you want to stitch first. For a large stocking, move the hoop as you complete different areas.
Where Should You Start a Stamped Cross Stitch Kit?
There is no single compulsory starting point.
For a first project, choose:
- a clearly printed area;
- a medium or large block of one color;
- an area that fits comfortably inside your hoop;
- a section away from complicated backstitch details.
You can begin near the top, in the center, or with a large background area. The most important thing is to know which symbol and floss color you are using.
Avoid beginning with scattered single stitches. A larger color block helps you practise making even crosses without changing thread too often.
How to Separate Embroidery Floss
Most embroidery floss is made from six separate strands twisted together. You usually do not stitch with all six strands at once.
For 14-count Aida, the common recommendation is:
| Stitch type | Typical number of strands |
|---|---|
| Full cross stitch | 2 strands |
| Half cross stitch | 1–2 strands |
| Backstitch | 1 strand |
| French knot | Follow the chart |
Always follow the instructions included with your specific design if they give a different number.
To separate floss:
- Cut a piece approximately 18–20 inches or 45–50 cm long.
- Hold the six-strand bundle near one end.
- Find one individual strand.
- Pull that strand upward slowly.
- Allow the remaining bundle to gather in your hand.
- Smooth the bundle again.
- Repeat until you have the required number of strands.
Pulling out one strand at a time reduces tangles.
Our complete guide to the correct number of floss strands explains strand use for different Aida counts and stitch types.
Do Not Use an Extremely Long Thread
A very long thread may seem convenient, but it can:
- form knots;
- become fuzzy;
- twist around itself;
- wear against the Aida;
- collect dirt;
- create uneven stitches.
A length of approximately 18–20 inches is comfortable for most beginners.
How to Thread the Needle
Place the required strands together and align their ends.
Then:
- Moisten or flatten the ends very lightly.
- Push the ends through the needle eye.
- Pull several inches through.
- Leave the working end longer than the short end.
If threading is difficult, use a needle threader.
Do not tie both ends together. Your thread should move freely through the fabric.
How to Start the Thread Without a Large Knot
Large knots can create bumps, catch on other threads, and make the back of the embroidery untidy.
Two simple starting methods work well for beginners.
Method 1: Stitch Over the Tail
- Bring the needle from the back to the front.
- Leave a short tail on the back.
- Hold the tail with one finger.
- Position it underneath the next few stitches.
- Continue stitching so that the new stitches secure the tail.
After several stitches, the tail should stay in place.
This method works with any number of strands.
Method 2: Loop Start
The loop start is useful when stitching with two strands.
- Cut one single strand twice your normal working length.
- Fold it in half.
- Thread both loose ends through the needle.
- Leave the folded loop at the other end.
- Bring the needle through the fabric, leaving the loop behind.
- Pass the needle through the loop on the back.
- Pull gently.
The thread is now secured without a knot.
How to Make a Full Cross Stitch
A full cross stitch looks like an X.
Each Aida square has four corner holes:
- lower left;
- lower right;
- upper left;
- upper right.
To make one cross stitch:
- Bring the needle up through the lower-left hole.
- Take it down through the upper-right hole.
- Bring it up through the lower-right hole.
- Take it down through the upper-left hole.
You have created one X.
The exact starting corner can be reversed. What matters is consistency.
All lower diagonal stitches should lean in the same direction, and all upper diagonal stitches should lean in the opposite direction.
For example:
- bottom stitch:
/ - top stitch:
\
This creates a neat and even surface.
Two Ways to Stitch a Row
You can complete one X at a time:
- Make the first diagonal.
- Make the second diagonal.
- Move to the next square.
Or you can stitch an entire row:
- Make all the lower diagonals in one direction.
- Return across the row.
- Add all the upper diagonals.
Both methods are correct. Choose the method that feels easiest, but keep the top stitches facing the same direction.
How Tight Should the Stitches Be?
Pull the thread until it lies smoothly on the fabric.
Do not pull so tightly that:
- the Aida holes become larger;
- the fabric puckers;
- the stitches look thin;
- the thread disappears into the fabric.
Do not leave the thread so loose that the stitches lift away from the fabric.
The stitch should sit flat and cover the printed square without changing the shape of the Aida.
How to Follow the Printed Design Step by Step
Use this simple routine for every color:
- Choose one printed symbol.
- Find that symbol in the color key.
- Select the matching floss.
- Separate the required strands.
- Thread the needle.
- Start in a clear area containing that symbol.
- Stitch all nearby squares with the same symbol.
- Check the chart regularly.
- Secure the thread when the area is complete.
- Continue with the next color.
Working with one color at a time reduces unnecessary thread changes.
However, do not travel across the entire stocking just to reach another distant square of the same color.
How Far Can You Carry Thread Across the Back?
Carrying thread means moving the floss behind the fabric from one stitched area to another without cutting it.
A short carry across two or three nearby squares is usually acceptable.
End the thread and restart when:
- the next area is far away;
- the thread would cross a large unstitched section;
- a dark thread would show behind a light area;
- the carried thread may become caught;
- the distance is longer than approximately three to five squares.
A neat back helps the finished embroidery lie flat and makes the stocking easier to assemble.
How to Change Colors
When one color section is complete:
- Turn the fabric over.
- Slide the needle under three or four completed stitches.
- Pull the thread through gently.
- Trim the remaining tail.
- Select the next floss color.
- Begin again using a loop start or by securing the tail.
Do not tie several large knots together on the back.
How to Make a Half Cross Stitch
A half cross stitch is one diagonal line instead of a complete X.
To make it:
- Bring the needle up through one lower corner.
- Take it down through the opposite upper corner.
All half stitches should lean in the same direction unless the chart says otherwise.
Only use half stitches where the legend specifically marks them.
How to Make Backstitch
Backstitch creates thin lines used for:
- outlines;
- facial features;
- small details;
- letters;
- decorative lines.
Backstitch is usually added after the full cross stitches are complete.
To make backstitch:
- Bring the needle up at one end of the line.
- Take it down at the next marked point.
- Bring the needle up one space ahead.
- Return it to the end of the previous stitch.
- Continue following the printed or charted line.
Use the strand number stated in the instructions. On 14-count Aida, backstitch is commonly worked with one strand.
Most CrossStitchStyleArte stocking designs use full cross stitch and backstitch as their main techniques. Do not add specialty stitches unless they appear in your chart.
How to Make a French Knot If Your Pattern Includes One
A French knot creates a small raised dot.
- Bring the needle to the front.
- Hold the floss gently with one hand.
- Wrap the floss around the needle as instructed by the chart.
- Insert the needle close to the original hole, but not into the exact same hole.
- Keep light tension on the floss.
- Pull the needle through slowly.
French knots can be difficult for a complete beginner. Practise on a spare piece of fabric first.
How to Personalize the Stocking With a Name
Complete the personalized name before washing the printed fabric.
To add a name:
- Find the center of the stocking cuff.
- Choose the letters from the included alphabet chart.
- Count the total width of the name.
- Include the spaces between letters.
- Calculate the correct starting square.
- Check the spelling.
- Stitch the name.
- Inspect the alignment before washing.
Our free Name Centering Calculator and step-by-step guide performs the calculation automatically.
Check the name twice. It is much easier to correct a spelling mistake before washing and sewing the stocking.
How to Finish and Secure the Thread
When the thread becomes short or the color area is complete:
- Turn the fabric to the back.
- Slide the needle under three or four nearby stitches.
- Pull the thread through gently.
- Make sure the front stitches remain flat.
- Trim the remaining tail.
Leave enough thread to secure it safely. Do not continue stitching until only a tiny end remains.
Common Stamped Cross Stitch Mistakes
Using All Six Floss Strands
Six strands may make the stitches too thick and difficult to pull through 14-count Aida.
Separate the number of strands stated in the instructions.
Choosing Floss by Printed Color Alone
The printed color may only be a visual guide. Match the symbol with the color key before stitching.
Washing the Fabric Too Early
Water removes the printed design. Finish all stitching, backstitch, and personalization before washing.
Pulling the Thread Too Tight
Tight stitches distort the fabric. Pull only until the thread lies smoothly.
Making the Top Stitches Face Different Directions
Mixed stitch directions reflect light differently and can make the surface look uneven. Keep every top diagonal consistent.
Carrying Dark Thread Behind Light Areas
Dark floss may show through the fabric. End the thread and restart closer to the next section.
Using Very Long Thread
Long floss becomes tangled and worn. Work with a manageable length.
Ignoring the Paper Chart
The stamped fabric is your main visual guide, but the paper chart helps confirm small details, outlines, and symbols.
Stitching With Wet or Dirty Hands
Moisture may affect the printed guide. Oils and dirt can also mark the fabric.
Cutting the Stocking Before Washing
Always wash, dry, and inspect the embroidery before cutting or assembling it. Once the fabric has been cut and sewn, removing remaining printed color becomes more difficult.
What Should You Do If You Make a Mistake?
Mistakes are normal, especially during a first project.
If you notice a wrong stitch:
- Stop stitching.
- Check the symbol and chart.
- Turn the fabric over.
- Carefully slide the needle under the incorrect stitch.
- Pull the floss out slowly.
- Remove any loose fibers.
- Restitch the square using the correct color.
A seam ripper can cut embroidery floss, but it can also damage the Aida. Beginners should use the needle tip to loosen stitches whenever possible.
If the mistake is very small and hidden inside a large color area, decide whether correcting it is necessary. A handmade project does not need to be mechanically perfect to be beautiful.
How to Avoid Knots and Tangled Floss
If the thread begins twisting:
- Stop stitching.
- Let the needle hang freely below the fabric.
- Allow it to spin until the twist disappears.
- Continue stitching.
If a knot forms:
- Do not pull it tighter.
- Place the fabric on a flat surface.
- Use the needle tip to loosen the knot.
- Pull one loop at a time.
Working with shorter floss and allowing the needle to untwist regularly prevents most knots.
How to Plan a Large Stamped Christmas Stocking
A Christmas stocking is larger than a small beginner sampler. Divide it into manageable sections.
For example:
- complete one hoop-sized area at a time;
- work with one main color during each session;
- stitch for 20–30 minutes instead of rushing;
- record completed sections on the paper chart;
- inspect the front and back after every session.
You can use our free Cross Stitch Time Calculator and Planner to estimate your stitching hours and create a realistic schedule.
Final Checklist Before Washing
Do not place the embroidery in water until you can answer yes to every question:
- Are all full cross stitches complete?
- Are all half stitches complete?
- Is all backstitch finished?
- Are any required French knots complete?
- Is the personalized name finished and spelled correctly?
- Have you checked the paper chart for missed stitches?
- Are all thread ends secure?
- Have you removed the needle and hoop?
- Have you trimmed only loose thread tails?
- Have you photographed the finished stitching for reference?
Check the project in bright natural light. Small unfinished squares are easier to see before the printed pattern disappears.
How to Wash a Stamped Cross Stitch Kit and Remove the Printed Pattern
The colored print on the fabric is designed to dissolve in water. Colored water during the first rinse is normal.
Do not panic if the water becomes blue, pink, green, or another color. This is usually the washable printed guide leaving the fabric.
What You Need
Prepare:
- a clean basin or large bowl;
- clean cool or slightly lukewarm water;
- several clean white towels;
- an optional dye-trapping or color-catcher laundry sheet;
- a clean flat drying surface.
Do not use:
- hot water;
- bleach;
- stain remover;
- fabric softener;
- a hard brush;
- aggressive detergent.
Step 1: Remove the Hoop and Needle
Take the fabric out of the hoop and check that no needles remain attached.
Step 2: Fill a Clean Basin With Water
Use cool or slightly lukewarm water. Avoid hot water.
The basin should contain enough water for the fabric to move freely without being folded into a tight bundle.
Step 3: Submerge the Entire Embroidery
Place the stitched fabric in the water. Make sure every printed area is wet.
Move it gently through the water with clean hands.
Do not scrub, twist, or rub the stitches.
Step 4: Allow the Printed Color to Dissolve
The water will begin changing color as the printed design dissolves.
Gently move the embroidery through the water to help the color leave the fabric.
Do not leave the project sitting for a long time in strongly colored water.
Step 5: Drain the Colored Water
When the water becomes colored, remove or support the embroidery and drain the basin.
Do not twist or wring the fabric.
Step 6: Refill the Basin With Clean Water
Fill the basin again and return the embroidery to the water.
Move it gently and watch the water.
If it becomes colored again, drain and refill the basin.
Step 7: Change the Water Several Times
Repeat the process as many times as necessary:
- Submerge the project.
- Move it gently.
- Drain the colored water.
- Refill with clean water.
- Rinse again.
You may need two, three, or more water changes. The exact number depends on the amount and color of the printed design.
Continue until:
- the water stays clear;
- the printed symbols have disappeared;
- no colored film remains on the white Aida;
- the embroidery looks clean.
Optional Trick: Use a Color-Catcher Sheet
Some stitchers place a dye-trapping or color-catcher laundry sheet in the basin. The sheet may help collect loose color released into the water.
If you use one:
- follow the instructions on the product package;
- use a new, clean sheet;
- keep it away from children and pets;
- do not treat it as a replacement for changing the water.
The most important step is still repeated rinsing in fresh water until the water remains clear.
Step 8: Check the Fabric Before Drying
Lift the embroidery and inspect it in good light.
If you can still see a faint printed mark:
- Return the embroidery to clean water.
- Move it gently.
- Change the water again.
- Continue until the mark disappears.
Do not allow a remaining printed tint to dry into the fabric.
Step 9: Remove Excess Water
Support the wet embroidery with both hands. Wet Aida becomes heavier and should not be pulled by one corner.
Place it flat on a clean white towel.
Roll the towel gently with the embroidery inside and press lightly. The towel will absorb excess water.
Do not wring or twist.
Step 10: Dry the Embroidery Flat
Unroll the towel and place the project flat on a second dry towel.
Straighten the edges and gently return the fabric to its correct shape.
Allow it to air-dry completely.
Do not:
- hang it while dripping wet;
- use a tumble dryer;
- place it on a radiator;
- use a hair dryer;
- dry it in strong direct sunlight.
What If the Printed Color Is Still Visible?
If a faint printed color remains after the first wash, repeat the clean-water rinse.
Do not use bleach or an aggressive stain remover. These products may damage the floss or fabric.
Continue changing the water until it remains clear. If a mark does not disappear, contact the kit seller before trying a strong cleaning product.
How to Iron the Finished Stamped Cross Stitch
Wait until the print has been removed and the embroidery is dry.
To press the project:
- Place a thick clean white towel on the ironing surface.
- Put the embroidery face down on the towel.
- Cover the back with a clean pressing cloth.
- Use a low or moderate temperature.
- Press gently from the back.
- Lift and reposition the iron instead of dragging it.
Placing the embroidery face down on a towel protects the raised stitches from being flattened.
Do not place the iron directly on the front of the embroidery.
How to Turn the Embroidery Into a Christmas Stocking
Wash, dry, and press the embroidery before cutting it.
Then you can:
- Check the finished shape.
- Add the required seam allowance.
- Cut the embroidered front carefully.
- Cut the backing fabric.
- Prepare an optional lining.
- Sew the front and back together.
- Add the hanging loop.
- Turn and press the finished stocking.
For complete sewing instructions, follow our guide: How to Finish a Cross-Stitch Christmas Stocking and Turn It Into a Real Stocking.
Frequently Asked Questions
Do I Wash a Stamped Cross Stitch Kit Before Stitching?
No. Washing removes the printed guide. Complete all cross stitches, backstitch, special details, and personalization before placing the fabric in water.
Will the Printed Pattern Disappear Completely?
Yes. The print on CrossStitchStyleArte stamped fabric is water-soluble. Change the water repeatedly until it remains clear and the printed guide has disappeared.
Why Does the Water Change Color?
The washable printing is dissolving and leaving the fabric. Colored water is expected during the first rinses. Drain it and continue rinsing in fresh water.
Can I Use a Color-Catcher Sheet?
You can use a dye-trapping laundry sheet as an optional helper if its product instructions allow it. However, you must still change the water several times until it stays clear.
Can I Machine-Wash Stamped Cross Stitch?
Hand washing gives you more control and is the recommended method for removing the printed design. A washing machine may twist, pull, or crease the embroidery.
How Many Strands Should I Use on 14-Count Aida?
Two strands are commonly used for full cross stitch and one strand for backstitch. Always follow the instructions and legend included with your kit.
Should I Follow the Printed Color or the Symbol?
Follow the symbol and color key. The printed color is a visual guide and may not match the final floss shade exactly.
Can I Use a Hoop?
Yes. A hoop can help maintain even tension. Do not stretch the Aida too tightly, and move the hoop as you complete different sections.
Can a Child Complete a Stamped Cross Stitch Kit?
A patient child around ten years old may be able to stitch a stamped design with adult supervision. An adult should help with scissors, needles, washing, ironing, and final assembly.
What Should I Do If I Run Out of Floss?
First, check whether you are using the correct number of strands. Avoid using all six strands or carrying thread across long distances. CrossStitchStyleArte kits include approximately 30% extra floss, but you can contact us if you experience a problem.
Is Stamped Cross Stitch Real Cross Stitch?
Yes. Every stitch is still made by hand. The printed fabric only shows where the stitches belong. The printing disappears after washing, leaving your handmade embroidery.
Is a Stamped Kit Easier Than a Counted Kit?
Stamped cross stitch is usually easier for beginners because the design is printed directly on the fabric. Counted cross stitch uses blank Aida and requires the stitcher to count squares from a paper chart.
Start Your First Stamped Cross Stitch Project
A stamped cross stitch kit allows you to concentrate on the enjoyable part of embroidery: choosing a color, making one neat X at a time, and watching the design appear.
You do not need previous experience. Follow the printed symbols, use the correct number of strands, keep the top stitches facing the same direction, and complete every detail before washing.
When the embroidery is finished, rinse it several times in clean water until the water remains clear. The printed guide will disappear, leaving a personalized handmade design that can become part of your family’s Christmas tradition.
Choose your next project:
- Shop Stamped Christmas Stocking Kits
- Explore 2-in-1 Stamped and Counted Kits
- Browse Personalized Christmas Stocking Patterns
- Visit Our Complete Christmas Stocking Guide Library