10 Essential Cross Stitch Tips for Beginners
Cross stitch is easier than it may look. You follow a chart, count the squares and make small X-shaped stitches on fabric. But a few simple mistakes—using too much floss, cutting the fabric too small or pulling the stitches too tightly—can make your first project frustrating.
These practical cross stitch tips for beginners will help you choose the right materials, understand your pattern, keep your stitches neat and correct mistakes without panic.
If you have never stitched before and want to learn the complete process from the beginning, read our complete cross stitch guide for beginners.
Quick Cross Stitch Guide for Beginners
For a comfortable first project, start with:
- A beginner-friendly pattern or stamped cross stitch kit;
- 14-count Aida fabric;
- A size 24 blunt tapestry needle;
- Two strands of embroidery floss for full cross stitches, unless the pattern says otherwise;
- A working thread approximately 18–20 inches or 45–50 cm long;
- A hoop or frame if it helps you control the fabric;
- Good lighting and a comfortable chair.
Remember one important rule: follow the instructions included with your specific pattern. The fabric, number of strands and stitch types may differ from one design to another.
1. Choose a Truly Beginner-Friendly Pattern
A small pattern is not always an easy pattern. A tiny design can still be difficult when it contains many similar colors, scattered single stitches, fractional stitches or complicated backstitch.
A good beginner pattern usually has:
- A clear color and symbol key;
- Mostly full cross stitches;
- A limited number of floss colors;
- Large areas of the same color;
- Few isolated stitches;
- Little or no complicated fractional stitching;
- Clear instructions;
- An image showing the finished design.
A stamped cross stitch project can be especially helpful for a complete beginner because the design is printed directly on the fabric. You can follow the printed symbols instead of counting every square on blank Aida.
Counted cross stitch is also suitable for beginners when the chart is clear and the design is not overly complicated. It requires more counting, but it gives you greater freedom to choose your own fabric and supplies.
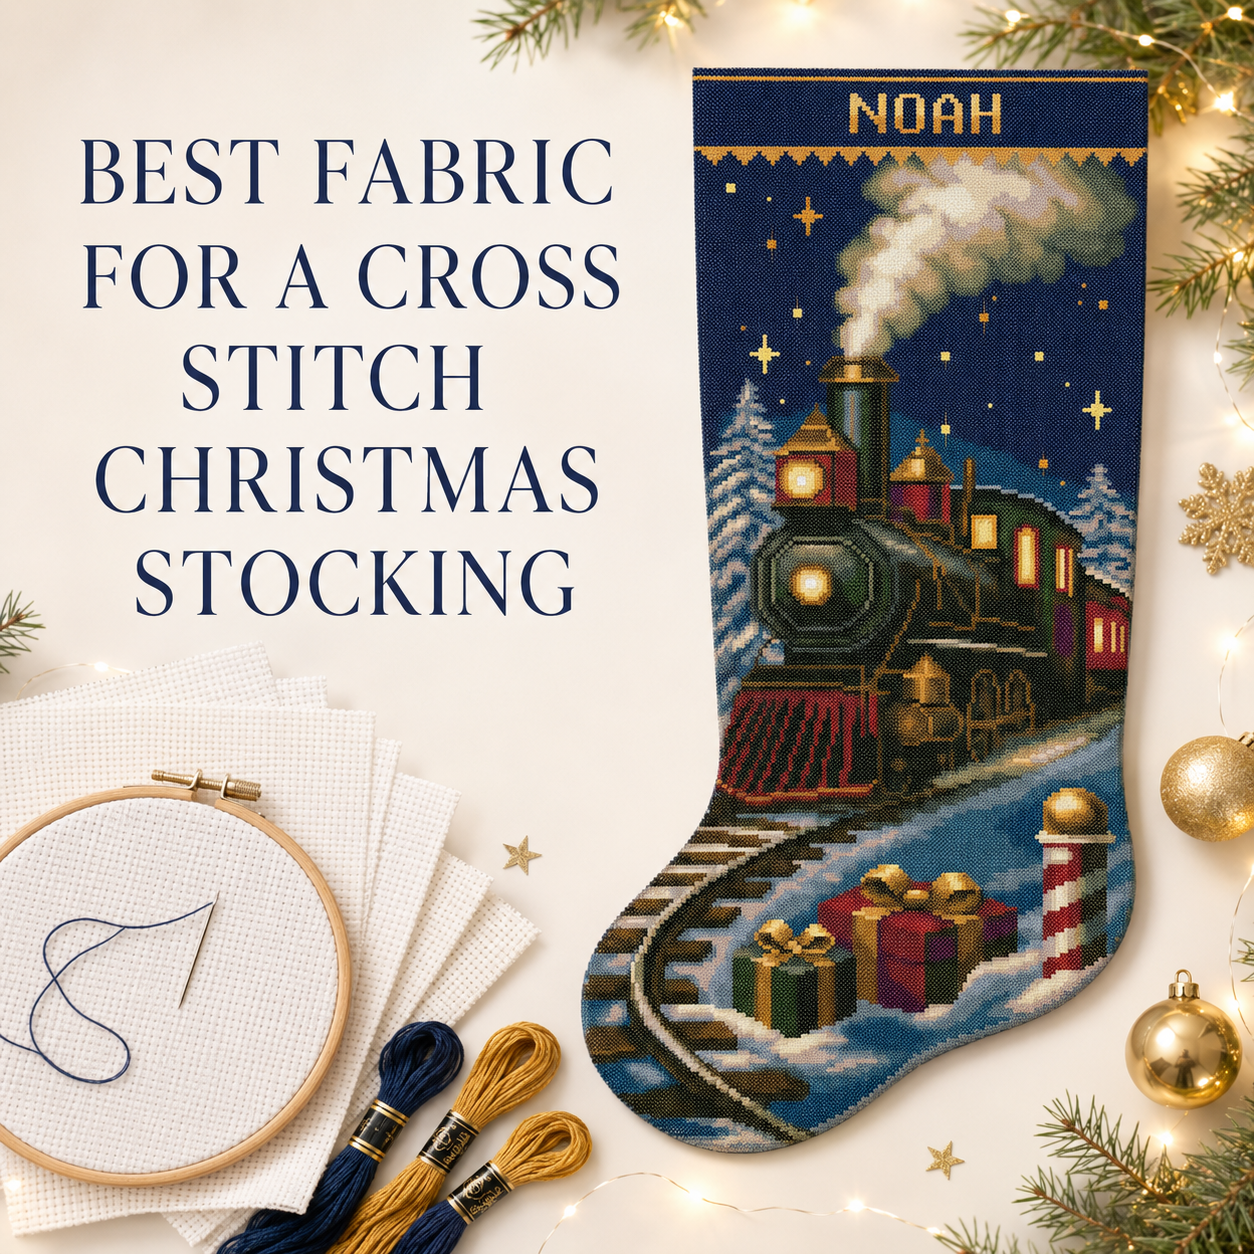
A large stamped Christmas stocking may be easier to follow than a much smaller counted design with dozens of scattered colors.
Not sure which project is right for you? Read our guide to choosing the best cross stitch kit for beginners.
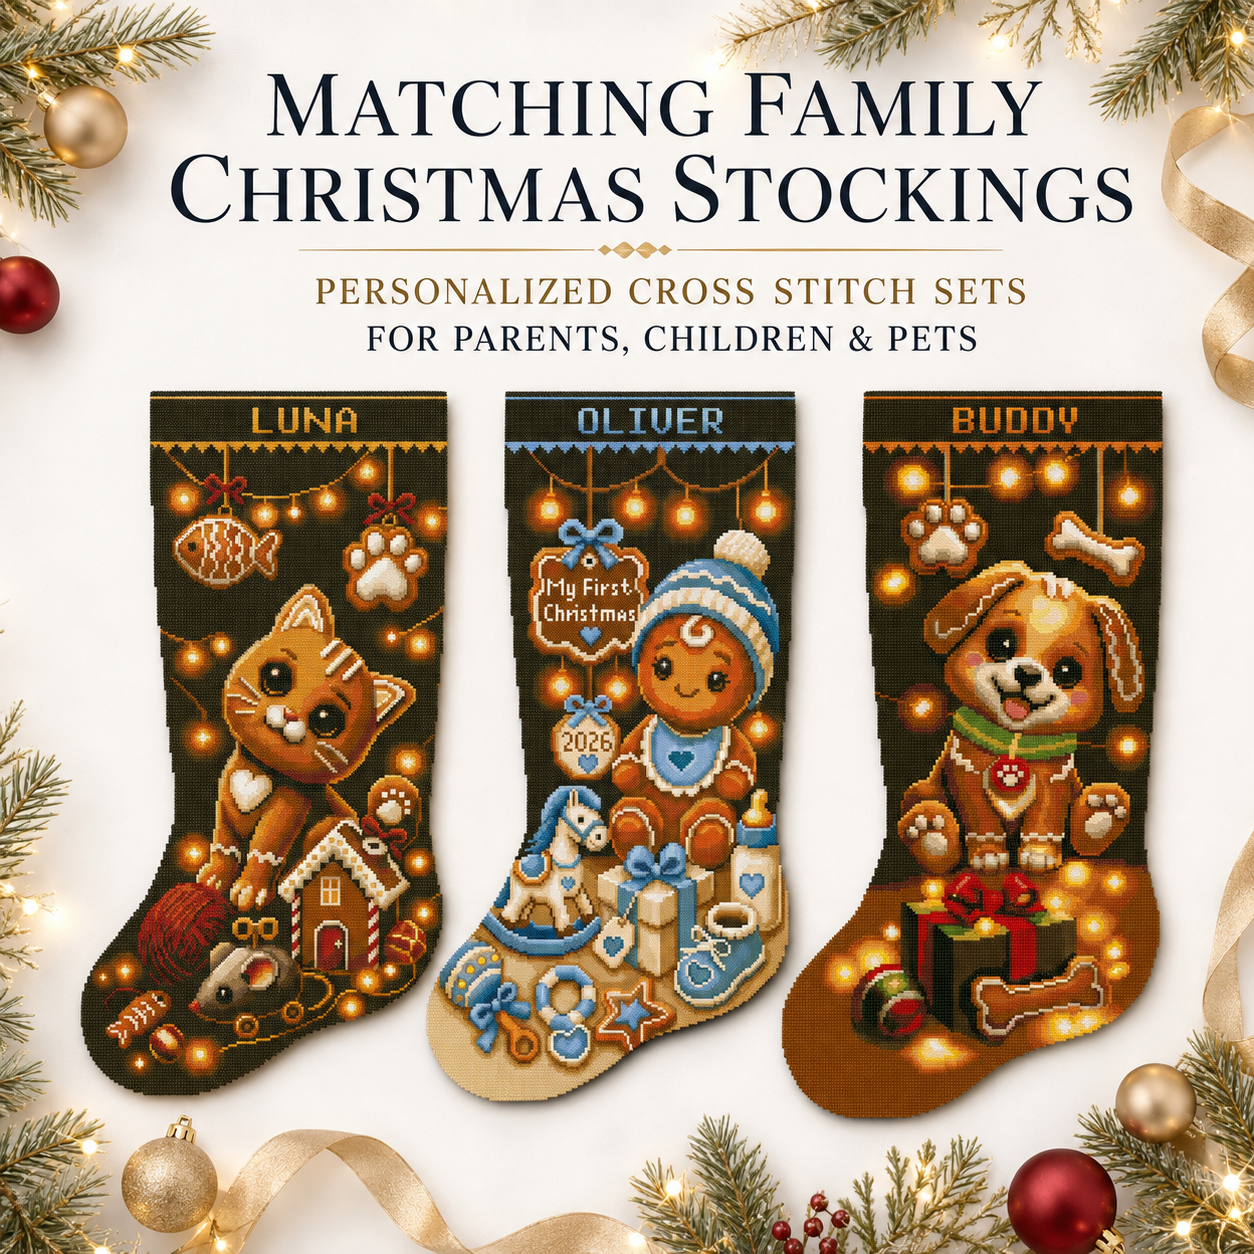
Ready to begin? Explore our beginner-friendly stamped and 2-in-1 cross stitch kits. The kits include the main fabric, floss, needles, charts, backing and instructions needed to create a personalized Christmas stocking.
2. Start With the Right Fabric, Needle and Hoop
The materials you choose can make your first project much easier.
Which Fabric Is Best for a Beginner?
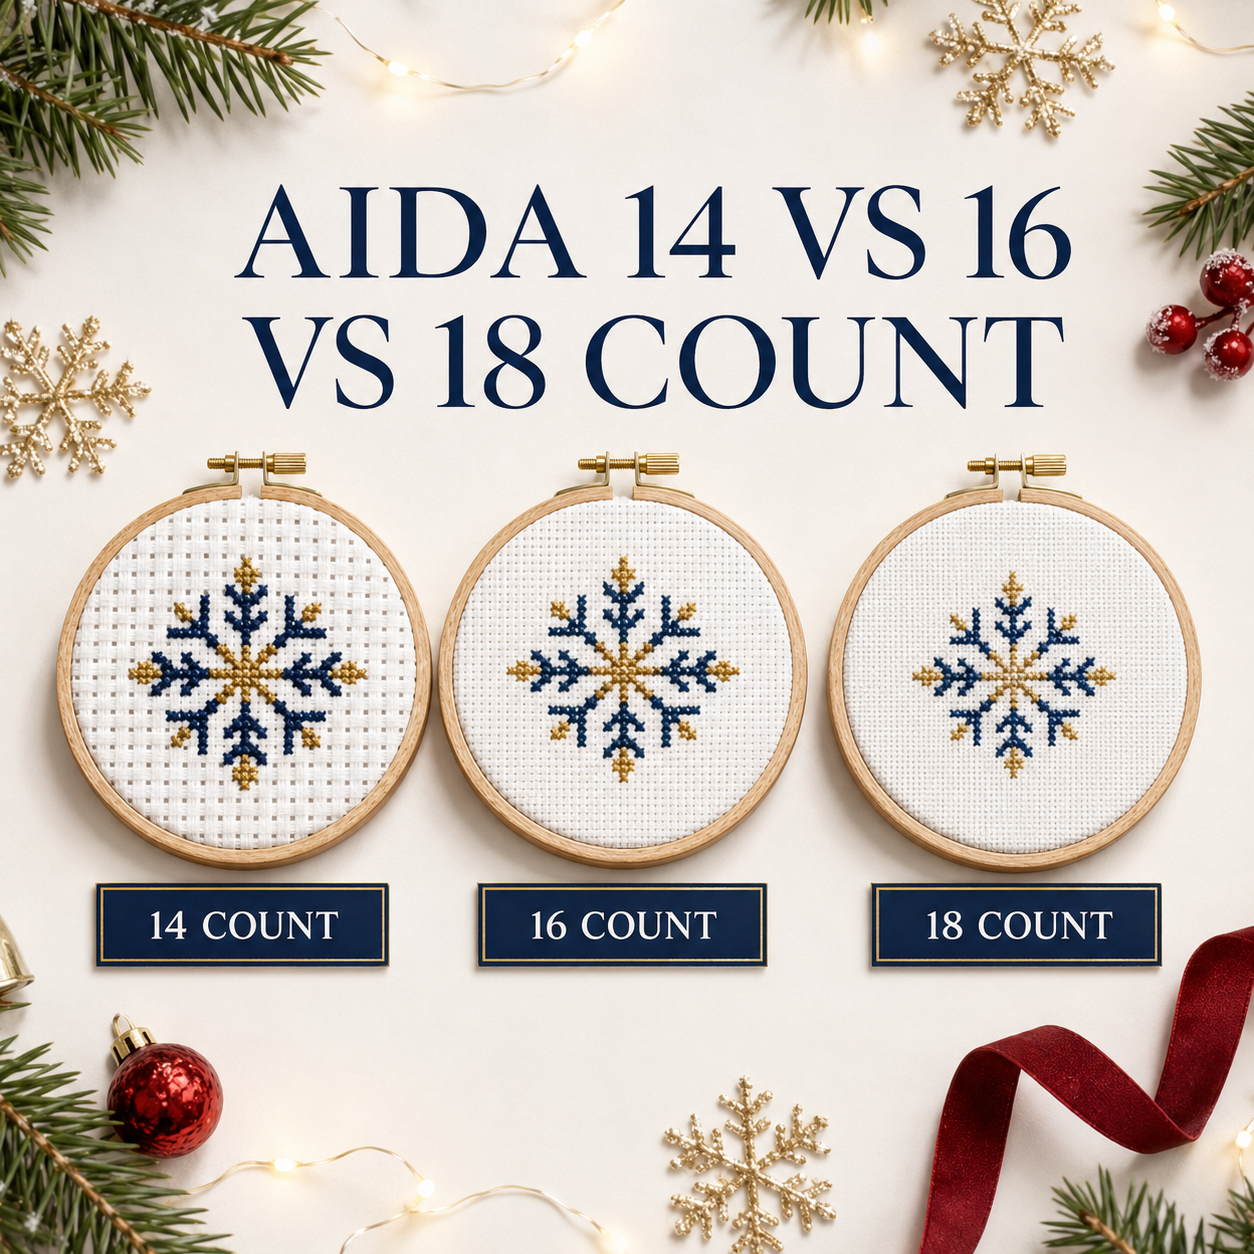
For most adult beginners, 14-count Aida is a practical choice. Its holes are easy to see, but the stitches are still small enough to create a detailed design.
The number 14 means that the fabric has 14 squares per inch.
If you have difficulty seeing the holes, 11-count Aida may feel more comfortable. Higher counts, such as 16 or 18, have smaller holes and create a smaller finished design.
Always check the fabric recommendation in your pattern before making a change. Using a different fabric count changes the final size of the design.
Which Needle Should You Use?
Cross stitch is usually worked with a blunt tapestry needle. The rounded tip passes through the existing holes without splitting the fabric threads.
A common starting guide is:
| Fabric | Suggested tapestry needle |
|---|---|
| 11-count Aida | Size 22 |
| 14-count Aida | Size 24 |
| 16-count Aida | Size 26 |
| 18-count Aida | Size 26 or 28 |
These are general recommendations. Use the needle size specified in your pattern or kit when one is provided.
Replace a needle if it becomes bent, rusty, rough or difficult to pull through the fabric.
Do You Need an Embroidery Hoop?
A hoop is helpful but not compulsory. It keeps the fabric smooth and may make the holes easier to see.
The fabric should feel firm, but it should not be stretched like a drum. Excessive tension can distort the Aida grid and make your stitches uneven.
Some stitchers prefer to hold firm Aida in their hands. You can try both methods and use the one that feels more comfortable.
3. Read the Pattern Before Making the First Stitch
A cross stitch pattern is like a map. Each square on the chart normally represents one square on the fabric, and each symbol represents a floss color or stitch type.
Before beginning:
- Look at the finished design.
- Find the chart and symbol key.
- Check the fabric count.
- Check the finished dimensions.
- Read how many strands of floss to use.
- Identify the full crosses, backstitch and any specialty stitches.
- Find the center marks or starting point.
- Check whether the chart is divided across several pages.
Do not choose a floss color only by looking at the chart background. Similar colors can be difficult to distinguish on a screen or printed page. Always match the chart symbol to the code in the color key.
For example, a pattern may show:
| Symbol | Floss color | Stitch type |
|---|---|---|
| ● | DMC 310 | Full cross stitch |
| ▲ | DMC 666 | Full cross stitch |
| — | DMC 310 | Backstitch |
Your symbols will vary, so always use the key included with your pattern.
If the chart is confusing, read our detailed guide on how to read a cross stitch pattern.
4. Calculate the Fabric Size Before Cutting
One of the most serious beginner mistakes is cutting the fabric before checking the required size.
The stitched area is calculated with this formula:
Design width in stitches ÷ fabric count = stitched width in inches
Use the same calculation for the height.
For example, a pattern that is 140 stitches wide on 14-count Aida will measure:
140 ÷ 14 = 10 inches
That is only the stitched area. You still need additional fabric around the design for holding, framing or sewing.
For many framed projects, approximately 2–3 inches or 5–7.5 cm on every side is a useful starting allowance. A Christmas stocking or another sewn project may need a different allowance, so always follow its finishing instructions.
You can avoid manual calculations by using our free Cross Stitch Fabric Size Calculator. Enter the design width and height in stitches, choose the fabric count and add the required margins.
Find the Correct Starting Point
For counted cross stitch, starting near the center is often the safest method for a beginner.
To find the fabric center:
- Fold the fabric gently from left to right.
- Mark the midpoint with a pin, removable thread or light crease.
- Fold the fabric from top to bottom.
- Mark where the two center lines meet.
- Find the matching center on the chart.
Do not make a hard permanent crease.
You do not always have to begin in the exact center, but starting from a corner requires careful measurement. A small measuring mistake can place the entire design too close to an edge.
For stamped cross stitch, follow the printed design and the kit instructions. You do not need to transfer the design from the chart to blank fabric.
5. Use the Correct Number and Length of Floss Strands
Standard embroidery floss normally contains six separate strands twisted together. Most cross stitch patterns do not use all six strands at once.
On 14-count Aida, a common recommendation is:
- Two strands for full cross stitch;
- One strand for backstitch.
However, your pattern may specify a different number. Always follow the included instructions.
How to Separate Embroidery Floss
- Cut a piece approximately 18–20 inches or 45–50 cm long.
- Hold the six-strand bundle near one end.
- Find one individual strand.
- Pull that strand upward slowly.
- Let the remaining bundle gather loosely in your hand.
- Smooth it again.
- Repeat until you have the required number of strands.
Pulling out one strand at a time reduces tangles and helps the strands lie more smoothly.
Our complete floss strand guide explains how fabric count and stitch type affect the number of strands.
Do Not Use an Extremely Long Thread
A very long thread may seem convenient, but it can:
- Twist;
- Form knots;
- Become fuzzy;
- Wear against the fabric;
- Collect dirt;
- Create uneven stitches.
A working length of approximately 18–20 inches is manageable for most beginners. Metallic floss may work better in shorter lengths because it can fray more easily.
If you need to estimate the total amount of floss for a project, use our free Cross Stitch Thread Calculator.
If your pattern lists one brand but you own another, check the nearest alternatives with our Cross Stitch Floss Converter. Converted colors may be close rather than perfectly identical, so compare the actual floss whenever possible.
6. Secure the Thread Without Large Knots
Large knots can create bumps, pull through the Aida holes and prevent the finished work from lying flat.
A neat way to begin with two strands is the loop start.
Simple Loop Start
- Cut one long strand of floss.
- Fold it in half.
- Thread the two loose ends through the needle.
- Leave the folded loop at the other end.
- Bring the needle from the back to the front of the fabric.
- Make the first diagonal stitch.
- Pass the needle through the loop on the back.
- Pull gently to secure it.
The loop start works when you need an even number of strands created by folding the floss.
Another simple method is to leave a short tail on the back and cover it with the first several stitches. Hold the tail in place while working so that the new stitches secure it.
To finish a thread:
- Bring the needle to the back.
- Slide it under three to five nearby stitches.
- Pull gently.
- Trim the remaining tail.
Do not force a thick bundle under a small number of stitches. The back should remain reasonably flat, but it does not need to look perfect.
7. Keep Every Top Stitch Facing the Same Direction
Each full cross stitch is made from two diagonal stitches.
You may make the first diagonal like this:
/
Then complete the cross with the second diagonal:
\
The direction you choose is not the important part. Consistency is what matters.
All bottom stitches should face one direction, and all top stitches should face the other direction. When the top stitches match, the surface reflects light evenly and the finished design looks smoother.
When working a row, you can:
- Make the first half of every cross across the row.
- Return in the opposite direction to complete the crosses.
You may also complete one X at a time. Both methods are acceptable. Use the method that helps you count correctly and keep the stitch direction consistent.
Check the direction regularly while learning. It is easier to correct one stitch immediately than to remove an entire section later.
8. Use Gentle, Even Thread Tension
A cross stitch should lie smoothly on the fabric without pulling the holes out of shape.
If the thread is too loose:
- The stitch may look untidy;
- The floss may catch on other objects;
- Individual crosses may appear uneven.
If the thread is too tight:
- The fabric may pucker;
- The Aida holes may become stretched;
- The design may look distorted;
- The thread may sink into the fabric.
Pull only until the floss lies flat. Do not pull until the fabric bends.
Your tension will become more consistent with practice. The first few stitches do not need to be perfect.
Let the Needle Untwist
Floss naturally twists while passing through the fabric.
If the thread begins to curl or knot:
- Stop stitching.
- Hold the project safely.
- Let the threaded needle hang freely.
- Wait a few seconds.
The needle will rotate and allow the floss to untwist.
You can also smooth the strands gently before completing the next stitch.
9. Count Carefully and Mark Your Progress
Miscounting one square can move an entire section out of position.
Use this simple rule:
Count twice, stitch once.
Before beginning a new color area:
- Find the symbol on the chart.
- Match it to the correct floss code.
- Count the distance from a completed section.
- Count again from another direction when possible.
- Make the first stitch.
- Check its position before continuing.
Work in manageable sections rather than jumping randomly around the pattern.
You can mark completed stitches on:
- A printed working copy;
- A tablet with a PDF annotation tool;
- A cross stitch pattern app;
- A photocopy of the original chart.
Do not permanently mark the only copy of a pattern unless you can print or download it again.
Keep the Floss Organized
Write both the floss code and the chart symbol on your organizer. Do not rely only on color because several shades may look almost identical.
Keep needles in a needle minder or secure container. Never leave a loose needle in a chair, bed, carpet or unfinished project.
For a large design, plan realistic stitching sessions instead of rushing. Our Cross Stitch Time Calculator can estimate the required hours and help you plan a completion date.
10. Correct Mistakes Calmly and Protect Your Project
Every stitcher makes mistakes. An incorrect stitch does not mean the project is ruined.
If you notice a mistake:
- Stop and check the chart.
- Identify where the incorrect section begins.
- Turn the work to the back.
- Carefully slide the needle under the wrong stitches.
- Pull the floss out one stitch at a time.
- Avoid cutting the Aida fabric.
- Recount before stitching the section again.
Do not pull aggressively. If the thread has become fuzzy after removal, replace it with a fresh piece.
Sometimes a tiny mistake does not affect the rest of the design. You may choose to leave it. But an error that changes the position of another section is easier to correct immediately.
Add Backstitch After the Main Crosses
Backstitch is normally added after the main full cross stitches are complete. It creates outlines, facial features, lettering and small details.
Use the strand number shown in your pattern. One strand is common on 14-count Aida, but the design instructions take priority.
If you have never made this stitch, follow our illustrated guide on how to backstitch in cross stitch.
Keep the Fabric Clean
Before every stitching session:
- Wash and dry your hands;
- Keep food and drinks away;
- Avoid using hand cream immediately before stitching;
- Store the project in a clean bag or container;
- Cover the project when you are not working;
- Keep it away from pets and young children.
Important Rule for Stamped Cross Stitch
Do not wash water-soluble stamped fabric before all stitching, backstitch and personalization are complete. Water may remove the printed symbols you still need.
Read our complete stamped cross stitch kit guide before beginning a printed project.
Helpful Free Cross Stitch Tools for Beginners
A few minutes of planning can prevent expensive and frustrating mistakes.
Cross Stitch Fabric Size Calculator
Use the Fabric Size Calculator to convert stitch dimensions into inches or centimeters and add the necessary margins.
Cross Stitch Thread Calculator
Use the Thread Calculator to estimate how much embroidery floss you need based on the number of stitches, fabric count and number of strands.
Floss Usage Calculator
Already have leftover floss? The Floss Usage Calculator can help you check whether the thread in your stash is enough.
Cross Stitch Floss Converter
Use the Floss Converter to find close alternatives between DMC, Anchor, Cosmo, Madeira and Sullivans.
Cross Stitch Time Calculator
Use the Time Calculator and Project Planner to estimate the total stitching time and create a realistic schedule.
Stocking Name Centering Tool
If you are personalizing a Christmas stocking, use our Name Centering Calculator to calculate where the first letter should begin.
Choose Your First Cross Stitch Project
The best first project is one that makes you want to pick up the needle again tomorrow.
Choose a Complete Cross Stitch Kit
A kit is a convenient option when you do not want to purchase every material separately.
Explore our stamped and 2-in-1 Christmas stocking cross stitch kits.
A stamped kit provides a printed guide directly on the fabric. A 2-in-1 kit includes both printed and blank 14-count Aida, allowing you to choose between stamped and counted cross stitch.
Choose a Digital Pattern
A digital pattern is suitable if you already own fabric and embroidery floss or prefer choosing your own materials.
Browse our digital cross stitch patterns or explore the complete collection of personalized Christmas stocking cross stitch patterns.
Before starting a digital pattern, check the stitch count, fabric recommendation, DMC color list and finished dimensions.
Frequently Asked Questions About Cross Stitch for Beginners
Is 14-count Aida good for beginners?
Yes. Fourteen-count Aida is one of the most practical choices for adult beginners because the holes are easy to see and the fabric creates a detailed but manageable stitch size.
If you have difficulty seeing the holes, 11-count Aida may be more comfortable.
How many strands of floss should a beginner use?
Two strands are commonly used for full cross stitches on 14-count Aida. One strand is often used for backstitch.
These are general recommendations. Always follow the strand instructions included with your pattern.
Do I have to start cross stitch in the center?
No, but starting near the center is a safe method for a first counted cross stitch project. It reduces the risk of placing the design too close to one edge.
Stamped cross stitch does not require the same center-start method because the design is already printed on the fabric.
Should beginners use a hoop?
A hoop is optional, but it can help hold the fabric steady and maintain even tension. Do not stretch the fabric excessively.
Some stitchers prefer holding firm Aida in their hands. Try both methods and choose the one that feels comfortable.
Is it normal to make mistakes in cross stitch?
Yes. Beginners and experienced stitchers both make counting and color mistakes. Stop, check the chart and remove incorrect stitches gently.
One mistake does not ruin the entire project.
How long should embroidery floss be?
A working length of approximately 18–20 inches or 45–50 cm is comfortable for most cotton embroidery floss.
Longer thread is more likely to twist, knot and become worn.
Can a child learn cross stitch?
Many children can learn simple cross stitch with adult supervision. Choose fabric with clearly visible holes, a blunt tapestry needle, a simple pattern and short stitching sessions.
Needles and scissors must always be handled safely.
Start Simple and Enjoy Every Stitch
You do not need expensive equipment or years of experience to begin cross stitching. Choose a clear pattern, prepare the correct materials and concentrate on one square at a time.
Your first stitches may not look perfect. That is normal. With every row, your counting, tension and confidence will improve.
Start with a project you genuinely like, follow the chart carefully and enjoy watching a picture appear one small X at a time.