Every cross stitcher makes mistakes. A stitch may land in the wrong square, a thread may knot, or the fabric may start to pucker. This does not mean that you are bad at cross stitch. It simply means that you need to stop, find the cause and choose the safest solution.
This practical guide explains the most common cross stitch mistakes, how to recognise them, how to fix them and how to prevent them. The instructions are simple enough for a complete beginner, but the troubleshooting tips are useful for experienced stitchers too.
The most important rule is this: do not keep stitching when something looks wrong. Five minutes spent checking your work can save hours of unpicking later.
Cross Stitch Mistakes: A Quick Troubleshooting Guide
| What you see | Most likely cause | What to do first |
|---|---|---|
| The motif no longer matches the chart | A miscount or a stitch in the wrong square | Stop and find the last section that matches the chart |
| The fabric is puckering | Thread or fabric tension is too tight | Remove the hoop and inspect the most recent stitches |
| Loops appear on the front | Thread tension is too loose or the floss is tangled | Turn the work over and gently release the tangle |
| Some crosses look darker or thicker | Too many strands or doubled thread | Check how many strands are actually in the needle |
| Tiny knots form on the back | The floss is too long or twisted | Stop, untangle it and use a shorter length |
| Empty fabric shows through unevenly | Inconsistent tension or strand count | Compare the affected stitches with a correct section |
| A dark carried thread is visible from the front | The floss was carried behind an unstitched area | End the thread and restart closer to the next group |
1. Cutting the Fabric Too Small
The problem
The design fits, but there is not enough fabric left for a hoop, frame, seam or Christmas stocking finish. In a more serious case, part of the design does not fit at all.
Why it happens
The stitch dimensions were treated as inches or centimetres, the wrong fabric count was used, or finishing margins were forgotten.
How to fix it
If you have not started stitching, cut a new piece of fabric. If the project is already partly stitched, stop before trimming anything else. Measure the remaining fabric and decide whether you can use a smaller frame or a different finishing method. Adding fabric may help with handling or finishing, but it does not invisibly replace missing design area.
How to prevent it
Calculate the stitched size first, then add a border on every side. The required border depends on the finish: a simple frame needs less extra fabric than a sewn stocking or a professionally laced piece.
Use the free Cross Stitch Fabric Calculator before cutting. It converts the chart dimensions into the correct fabric size and lets you include a finishing allowance.
2. Starting in the Wrong Place or Turning the Fabric the Wrong Way
The problem
The design is not centred, the top margin is too small, or a stocking toe points in the wrong direction.
Why it happens
The fabric orientation and starting point were not checked before the first stitch.
How to fix it
Stop and measure the space around the entire design. If everything still fits, you may be able to continue and adjust the final framing. If an important part will run off the fabric, restarting early is safer than trying to squeeze or move later sections of the chart.
How to prevent it
Before stitching:
- Mark the top of the fabric with a removable thread or small temporary clip.
- Find the fabric centre and the chart centre.
- Check the finished width and height.
- For a stocking, confirm the direction of the toe and the position of the name area.
For a complete stocking workflow, see How to Cross Stitch a Christmas Stocking.
3. Choosing the Wrong Fabric Count
The problem
The finished design is much larger or smaller than expected, or the coverage looks different from the model image.
Why it happens
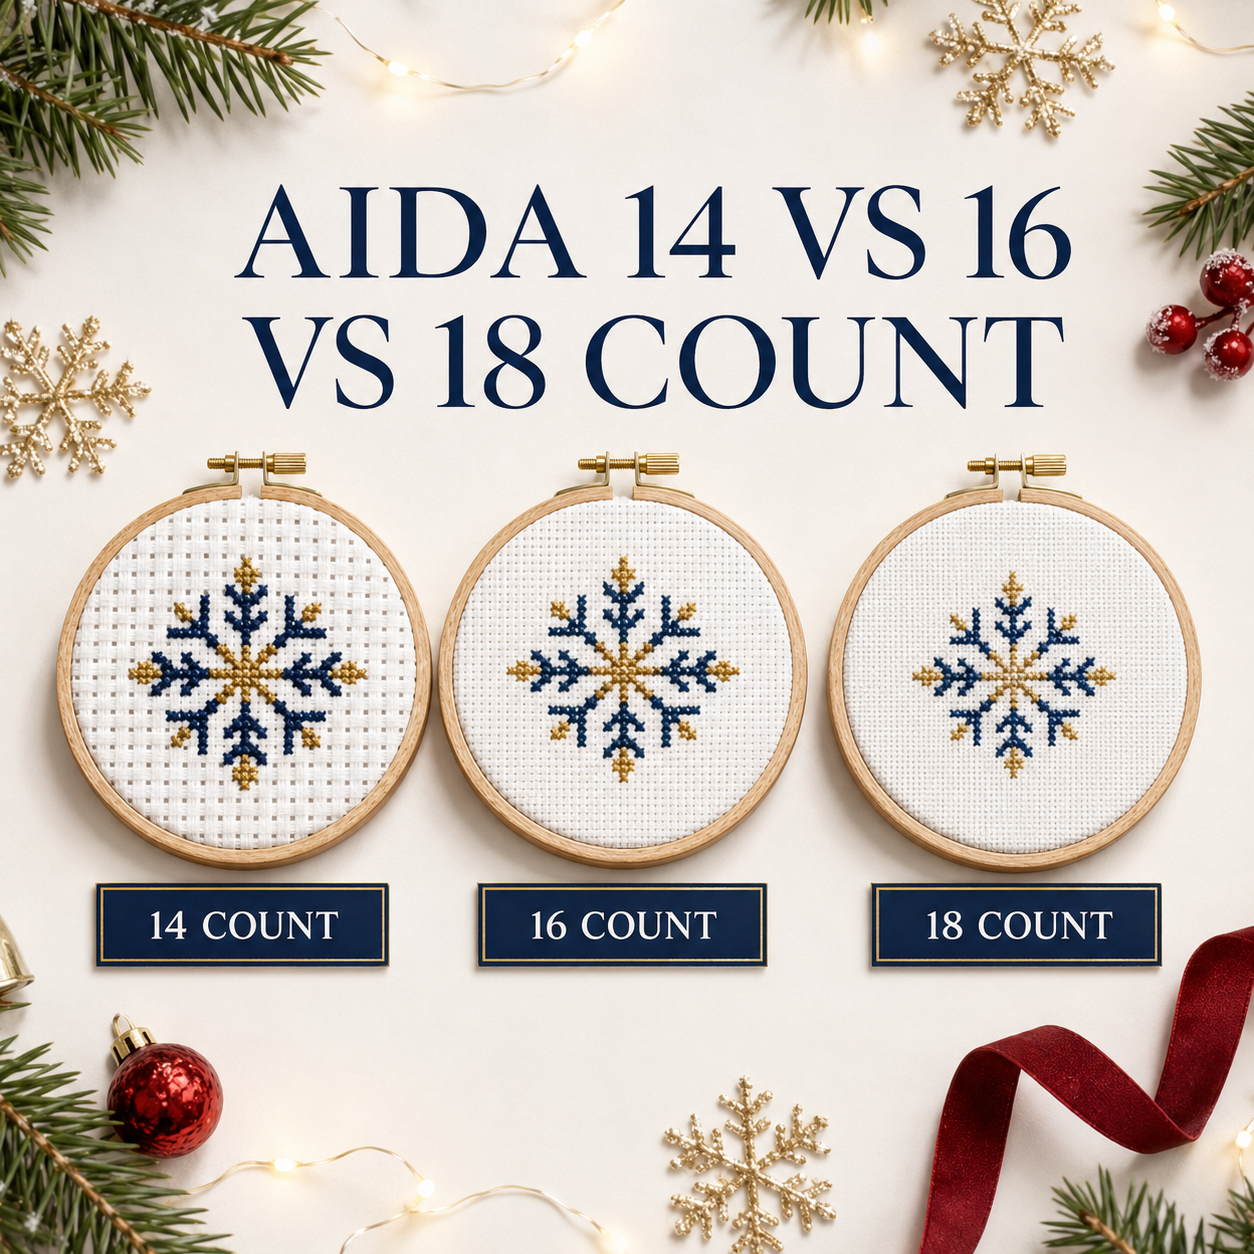
Fabric count tells you how many fabric squares or threads fit into one inch. A chart with the same number of stitches becomes larger on a lower count and smaller on a higher count.
How to fix it
The chart itself does not change. If you have only stitched a small area and the final size is unsuitable, restart on the intended fabric. If the design fits and you like the result, you can continue, but recalculate the finished measurements and thread requirements.
How to prevent it
Read the chart information before buying fabric. If you are unsure about Aida, evenweave or linen, use our beginner-friendly guide to cross stitching on different fabric types.
4. Using the Wrong Number of Floss Strands
The problem
The stitches are too bulky, too thin or difficult to pull through the fabric. Sometimes a beginner threads the needle with all six strands from the skein.
Why it happens
Standard embroidery floss is divisible. The six strands are meant to be separated and recombined in the quantity requested by the pattern.
How to fix it
Check the pattern instructions. If only a few stitches use the wrong number of strands, remove and restitch them. If a large area is already complete, compare its coverage with the rest of the project before deciding; a consistent section may be less distracting than a patchwork of different thicknesses.
How to prevent it
Cut a manageable length, separate the strands one at a time, then place the required number together. Make a small test on spare fabric if you are changing the fabric count or using a new type of thread.
To estimate the amount you need, use the Cross Stitch Thread Calculator. To check whether the leftover floss in your stash is enough, use the Floss Usage Calculator.
5. Stitching with Floss That Is Too Long
The problem
The thread twists, knots, frays or becomes fuzzy before you finish it.
Why it happens
A long thread seems convenient because it needs less rethreading, but every trip through the fabric adds friction.
How to fix it
Do not pull a knot tighter. Place the work on a table, loosen the knot with the tip of a needle and gently separate the loop. If the floss is badly worn, end it securely and replace it.
How to prevent it
A length of approximately 45–50 cm (18–20 inches) is comfortable for many cotton-floss projects. Use a shorter length for metallic or delicate thread. When the thread begins to look thin or fuzzy, replace it instead of forcing it through several more stitches.
6. Crossing Stitches in Different Directions
The problem
Some top legs slope / while others slope \. Light reflects differently from these stitches, so the surface can look untidy even when the colours are correct.
Why it happens
The stitch direction changes when the fabric is rotated or when the stitcher begins a new row without checking the previous crosses.
How to fix it
Correct a small visible section by removing and restitching the reversed crosses. If the variation is isolated and nearly invisible from normal viewing distance, leaving it may be safer than disturbing a large finished area.
How to prevent it
Choose one direction for the lower leg and one for the upper leg, then use the same order throughout the project. A temporary mark at the top of the fabric helps when you turn your work.
For more help with stitch formation, read Mastering the Perfect Cross Stitch.
7. Pulling the Stitches Too Tight
The problem
The fabric puckers, its holes look enlarged, or the crosses appear squeezed into the weave.
Why it happens
The floss is pulled until it is under tension instead of being allowed to rest on the fabric.
How to fix it
Remove the hoop or loosen the frame and inspect the most recent stitches. If the fabric distortion comes from a small new area, unpick and restitch it with gentler tension. Washing cannot reliably repair severe puckering, so do not depend on finishing to hide the problem.
How to prevent it
Pull only until the floss lies flat. The stitch should cover the fabric without bending it. Hold the hoop firmly, but do not stretch the fabric so tightly that its weave becomes distorted.
8. Leaving Stitches Too Loose
The problem
The crosses form loops, catch on the needle or sit above the fabric instead of resting on it.
Why it happens
A tangle on the back, uneven pulling or an overly loose working thread prevents the stitch from settling.
How to fix it
Turn the work over. If the stitch is recent, gently pull the correct section of floss from the back until the loop disappears. Never yank the thread. Restitch a loose cross if it cannot be adjusted cleanly.
How to prevent it
Check the back every few stitches, especially after changing direction. Let the needle hang freely from time to time so the floss can untwist.
9. Miscounting the Pattern
The problem
A motif is shifted, two sections do not meet, or later stitches no longer align with the chart.
Why it happens
Long jumps, similar symbols, fatigue and large unmarked chart areas make counting difficult.
How to fix it
- Stop stitching immediately.
- Find a completed landmark that definitely matches the chart.
- Count from that point to the first incorrect stitch.
- Remove only the stitches that depend on the wrong position.
- Recount before starting again.
Do not add random stitches to make two incorrect sections meet. This often creates a second problem.
How to prevent it
Work in small sections, mark completed rows on a working copy and count from two directions when placing an isolated group. Good lighting and regular breaks also reduce errors.
10. Confusing Similar Symbols or Colours
The problem
The correct shape is stitched in the wrong colour, especially where two symbols or shades look almost identical.
Why it happens
The key was read too quickly, floss was stored without labels, or colours were compared only by appearance on a screen.
How to fix it
Check the symbol and floss code, not just the colour name. If the wrong shade changes an outline, face, letter or focal area, restitch it. In a random background or textured area, compare the real visual effect before removing a large section.
How to prevent it
Label every colour with its brand and number. Keep similar shades in separate organiser slots and highlight easily confused symbols with different marks on your working chart.
A clear chart is part of a successful project. Our guide to what makes a quality cross stitch pattern explains what to check before you start.
11. Carrying Thread Too Far Across the Back
The problem
Dark threads show through empty fabric, long floats snag, and the back becomes difficult to finish neatly.
Why it happens
It feels faster to travel to the next group of the same colour than to end and restart the thread.
How to fix it
If the carried thread is visible or crosses a large unstitched space, carefully remove that section and restart closer to the next group. A short carry behind nearby stitches is usually harmless; there is no single maximum distance that works for every fabric, colour and finish.
How to prevent it
Look at what lies between the two groups. Carrying behind dense stitches is safer than carrying a dark colour behind open white fabric. When in doubt, end the thread and restart.
12. Making Knots or Bulky Thread Starts
The problem
Hard lumps form on the back, the finished piece does not lie flat, or knots pull through to the front.
Why it happens
The starting thread was tied, a tangle went unnoticed, or too many thread tails were secured in the same place.
How to fix it
Loosen a fresh knot with a needle tip. If it cannot be opened, cut only the thread—not the fabric—then secure the remaining tails beneath nearby stitches. Avoid pulling hard because the knot may tighten or distort the front.
How to prevent it
Use a loop start when the strand setup allows it, or secure the tail beneath several stitches on the back. Finish threads in different directions so one small area does not become bulky.
13. Ignoring Twisted or Tangled Floss
The problem
The strands coil around one another, the crosses look rope-like, or small loops appear on the back.
Why it happens
The needle naturally rotates while stitching. Long floss and repeated direction changes make twisting worse.
How to fix it
Stop as soon as the thread resists. Let the needle hang until the floss untwists. If a loop has formed on the back, loosen it before making the next stitch.
How to prevent it
Separate strands individually, use a shorter working length and let the needle unwind regularly. When using several strands, you can gently guide them so they lie side by side instead of twisting into a cord.
14. Using the Wrong Needle
The problem
The needle widens the fabric holes, splits the floss, frays the thread or is uncomfortable to pull through.
Why it happens
The needle is too large, too small or too sharp for the fabric and thread combination.
How to fix it
Change to a blunt tapestry needle that passes through the fabric holes without force. Cross stitch needles are commonly available in sizes 22–26; a lower number means a larger needle. Both size 24 and size 26 may work on 14-count Aida depending on the number of strands and personal comfort, so test rather than following one rigid rule.
How to prevent it
The needle should hold the selected strands comfortably but should not enlarge the holes. Replace a bent, rough or damaged needle before it harms the fabric or floss.
15. Adding Backstitch at the Wrong Time
The problem
Cross stitches cover the outline, backstitch lines disappear, or the final details do not match the chart.
Why it happens
Backstitch was added before the main cross stitches or the line was interpreted as a row of full crosses.
How to fix it
Follow the pattern’s order. In most projects, complete the cross stitches first and add backstitch afterward. If a line has been covered, remove and restitch only the affected section when possible.
How to prevent it
Read the stitch key and special instructions before beginning. Trace each backstitch line from one chart intersection to the next rather than guessing its route.
If you are using a printed design, our guide on how to use a stamped cross stitch kit explains the correct stitching and washing order.
16. Washing, Ironing or Cutting the Project Too Soon
The problem
Marks become permanent, colours bleed, stitches flatten, or the finishing margin is accidentally removed.
Why it happens
The fabric is cut before final measurements, the iron touches the front, or care instructions are not checked.
How to fix it
Stop before applying more heat or cutting more fabric. Check the manufacturer’s instructions for the fabric and floss. If the piece can be washed, use a gentle method, do not wring it, and roll it in a clean towel to remove excess water. Press from the reverse on a soft towel so the stitches are not crushed.
For stamped fabric, complete all stitching before washing away the printed guide. Never iron an unfinished stamped design because heat may set the ink.
How to prevent it
Finish and inspect all stitches, secure the thread ends, test uncertain materials and confirm the final template before trimming the fabric.
17. Trying to Make the Back Perfect—or Fixing Every Tiny Difference
The problem
The project becomes stressful, large areas are repeatedly unpicked, or the fabric is damaged while correcting details that were barely visible.
Why it happens
Beginners often believe that every back must look identical or that a handmade piece must have no variation at all.
How to fix it
Judge the project from normal viewing distance. Fix mistakes that affect the design, structure or durability. Leave harmless differences that cannot be seen and will not come loose.
How to prevent it
Use this simple rule:
Usually fix:
- a shifted motif or counting error;
- a wrong colour in an important area;
- missing stitches;
- loose loops or unsecured thread ends;
- severe puckering;
- an incorrect name, date or stocking placement.
Often safe to leave:
- a slightly different stitch that disappears at normal viewing distance;
- a back that is secure but not perfectly tidy;
- a tiny tension variation that does not distort the fabric.
Cross stitch should be careful, not frightening. A secure and beautiful front matters more than an invisible back that looks like a machine made it.
How to Remove Incorrect Cross Stitches Safely
When a mistake must be corrected, work slowly:
- Place the project on a clean, well-lit surface.
- Identify the first and last incorrect stitches.
- Turn the work over and locate the same thread path on the back.
- Use a blunt needle to lift the floss. If cutting is necessary, use fine embroidery scissors and cut only the floss.
- Remove a small section at a time instead of pulling a long thread through the fabric.
- Secure any remaining thread tails beneath sound stitches.
- Recount the chart and fabric before restitching.
If you are unsure whether a stitch is wrong, take a clear photo and compare it with the chart before cutting anything.
A Five-Minute Check Before Every Stitching Session
This quick routine prevents many cross stitch mistakes:
- Confirm that the fabric is facing the correct way.
- Check the symbol, floss brand and colour number.
- Count the strands in the needle.
- Find a reliable stitched landmark on the chart.
- Make sure the floss is not fuzzy or too long.
- Check that the previous crosses face the same direction.
- Inspect the back for loops before continuing.
If you are planning a large project, the free Cross Stitch Time Calculator and Project Planner can turn the total stitch count into a realistic schedule. Short, comfortable sessions often produce fewer mistakes than stitching while tired.
Choose a Pattern That Helps You Avoid Mistakes
A beginner-friendly pattern should not make you guess. It should have a readable grid, an organised colour key, clear stitch instructions and enough information to prepare the correct fabric and floss.
Explore our digital cross stitch patterns if you want downloadable designs you can start planning immediately. For a project with the materials prepared for you, browse the 2-in-1 Christmas stocking kits or stamped Christmas stocking kits.
The 2-in-1 option is especially useful when you want the freedom to choose between following a printed fabric guide and working from a counted chart. Choose the method that feels clear and enjoyable for you—not the method someone else says you must use.
Frequently Asked Questions About Cross Stitch Mistakes
Do I have to remove every wrong cross stitch?
No. Remove it when it changes the design, shifts another section, affects a name or outline, creates a visible colour error, or may come loose. A tiny harmless variation can often stay.
Can I correct a miscount without unpicking?
Only when the change does not distort the motif or affect neighbouring stitches. Do not “fill the gap” automatically. First compare the surrounding section with the chart from two directions.
Why does my cross stitch fabric pucker?
The usual causes are thread tension that is too tight, fabric stretched too tightly in the hoop, knots on the back or poor washing and pressing. Remove the hoop and identify the cause before continuing.
Why do my stitches look uneven?
Check the number of strands, stitch direction, thread twist and tension. Also make sure you are using the same fabric holes and the correct needle for the whole section.
Is it bad to have knots on the back of cross stitch?
An accidental knot should be removed when possible because it can create a lump, waste thread or pull to the front. Secure starts and ends by weaving the tail beneath existing stitches or by using a suitable loop start.
How can I make fewer counting mistakes?
Work in small areas, mark completed sections, use clear landmarks and stop when tired. Counting the same placement from a second direction is especially helpful for isolated colour groups.
Can beginners use stamped cross stitch kits?
Yes. The printed guide can make placement easier because you follow symbols on the fabric. Read Stamped vs Counted Cross Stitch Kits to compare both methods before choosing.
Final Thought: Stop, Check and Fix Only What Matters
The best stitchers are not people who never make cross stitch mistakes. They are people who notice a problem early, understand why it happened and correct it without damaging the project.
When something looks wrong, stop. Check the chart, thread, fabric and tension. Then decide whether the mistake affects the design or only your idea of perfection. With a clear pattern, organised supplies and the right planning tools, each project becomes easier—and every correction teaches you something useful for the next one.
Continue learning in Stitching Insights or choose your next project from our cross stitch patterns and kits.
FEATURED IMAGE METADATA
File name: common-cross-stitch-mistakes-how-to-fix-them.png
Alt text: Close-up of a misplaced cross stitch being corrected on white Aida fabric
Media title: 17 Common Cross Stitch Mistakes and How to Fix Them
Caption: Learn how to identify, fix and prevent the most common cross stitch mistakes.
Description: A square editorial image showing one misplaced cross stitch being carefully removed from white Aida fabric, created for the guide to common cross stitch mistakes and safe corrections.