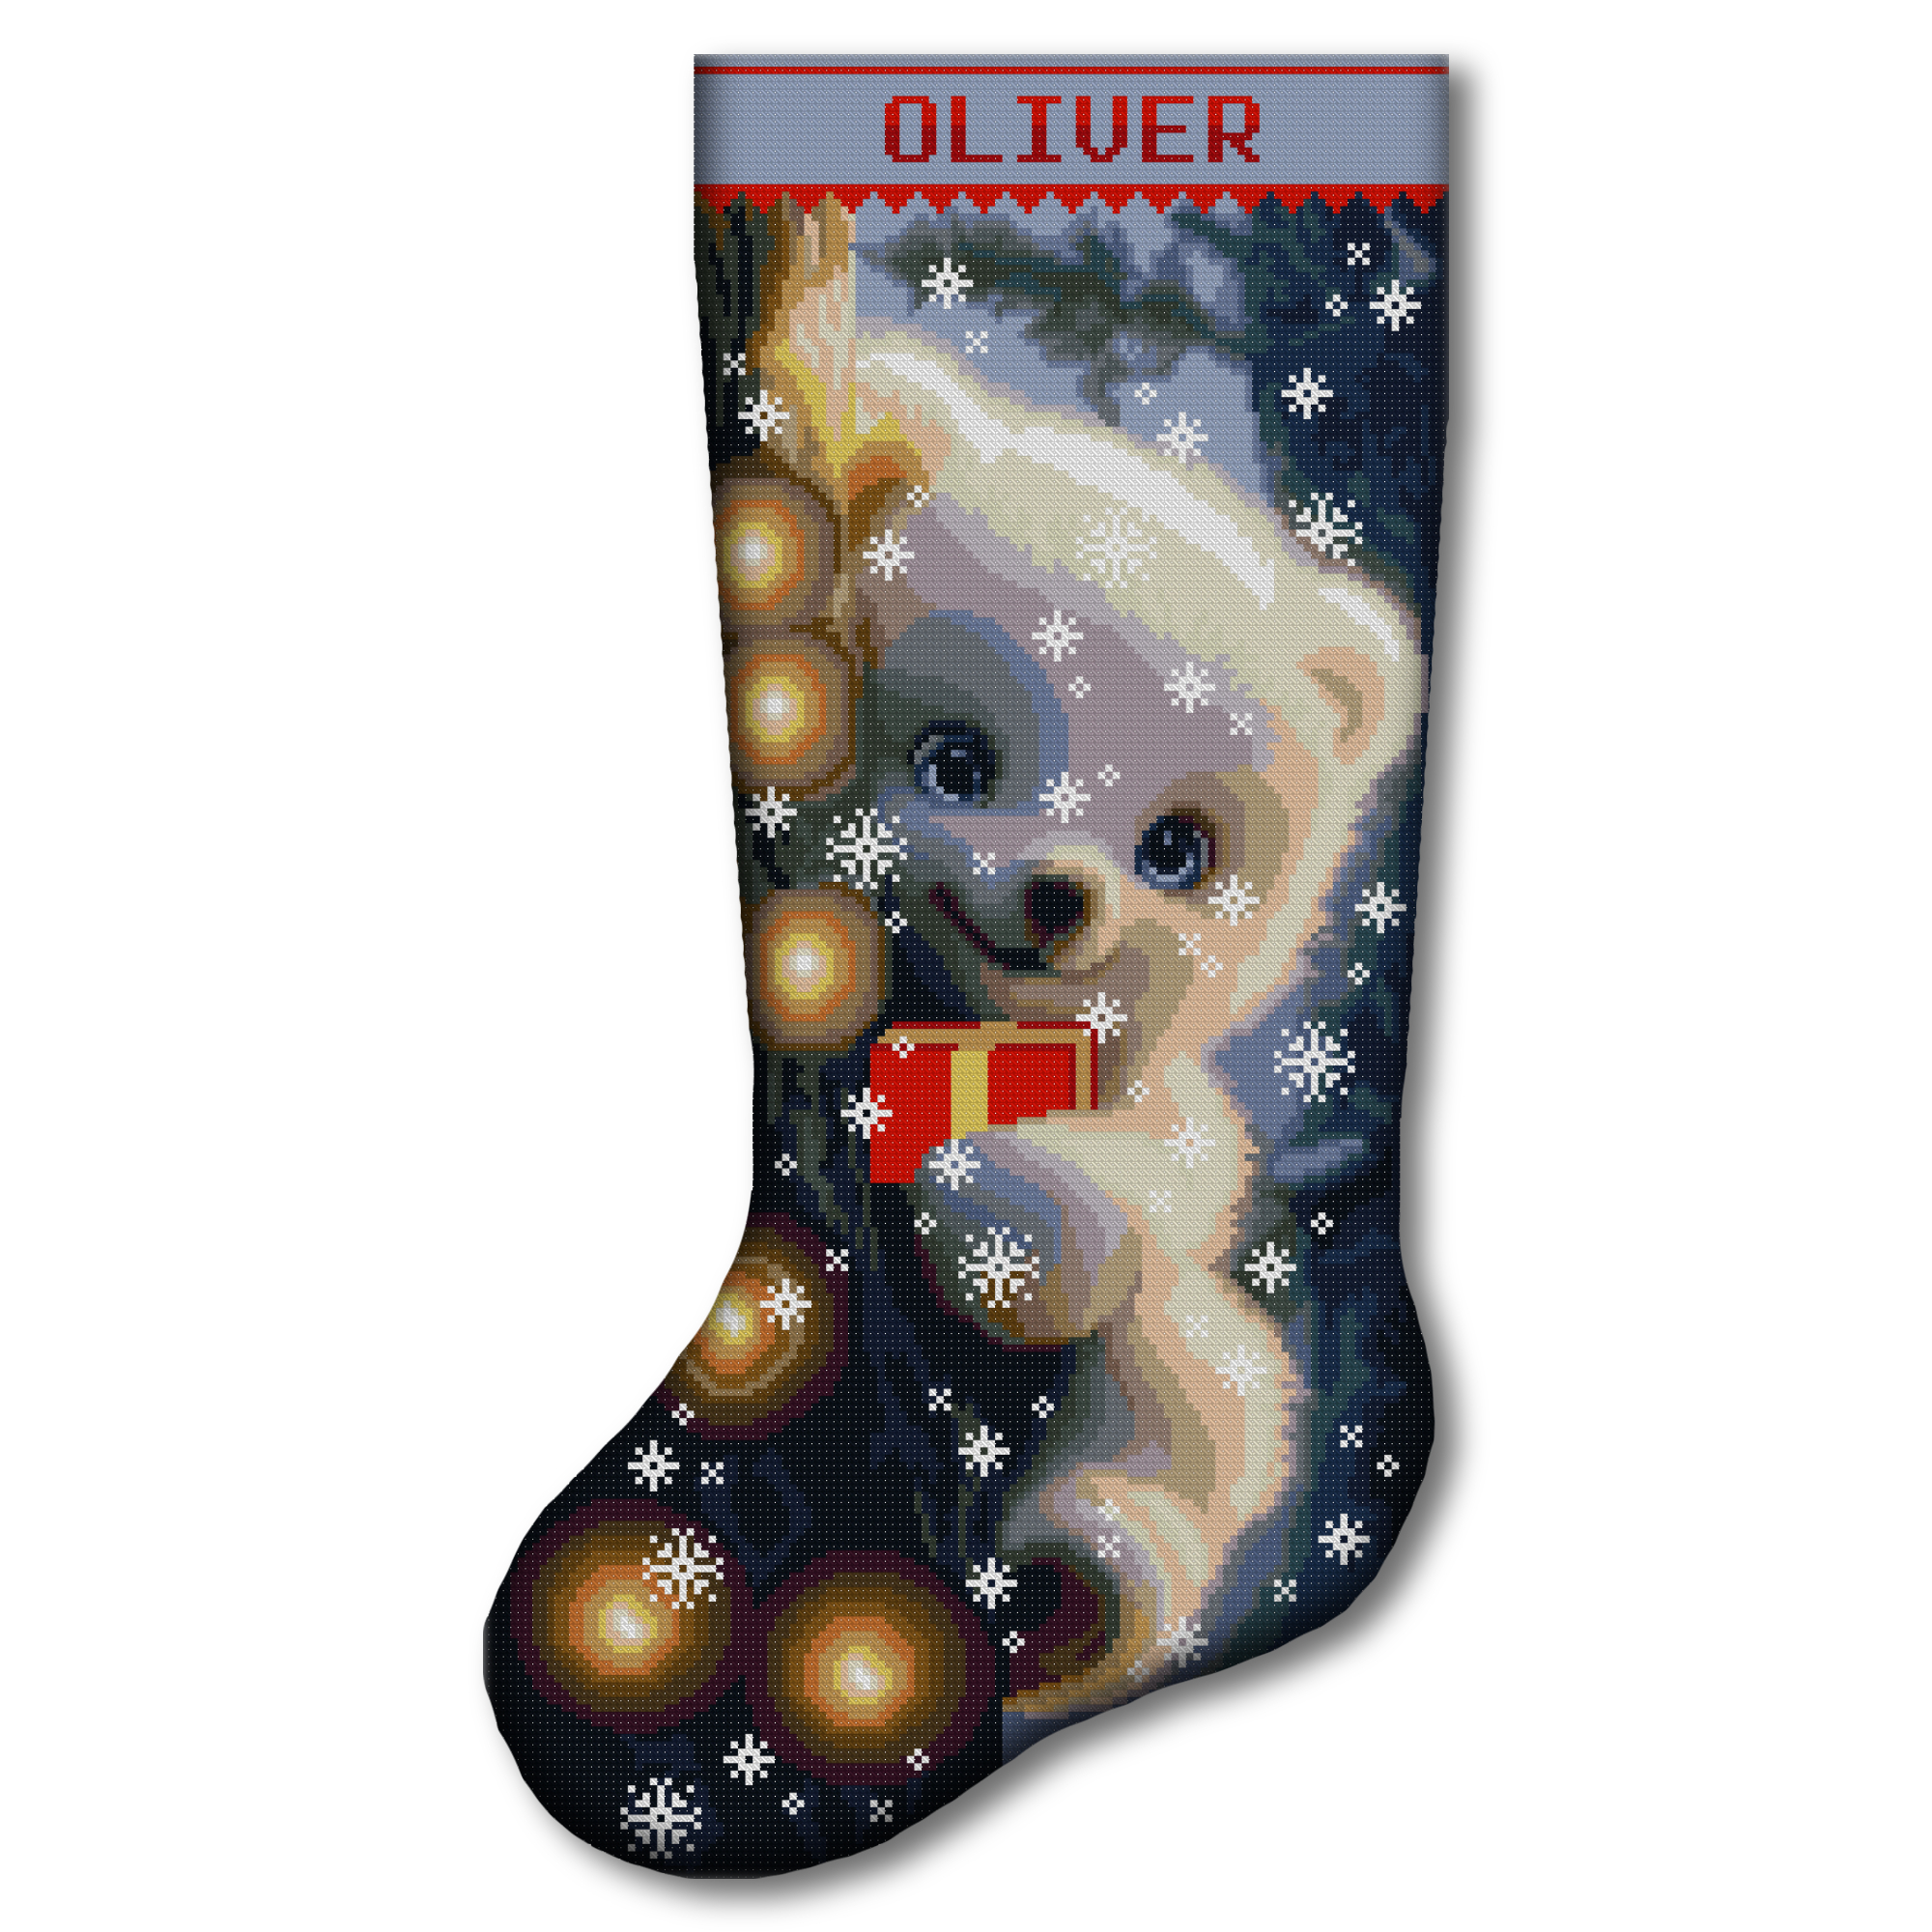
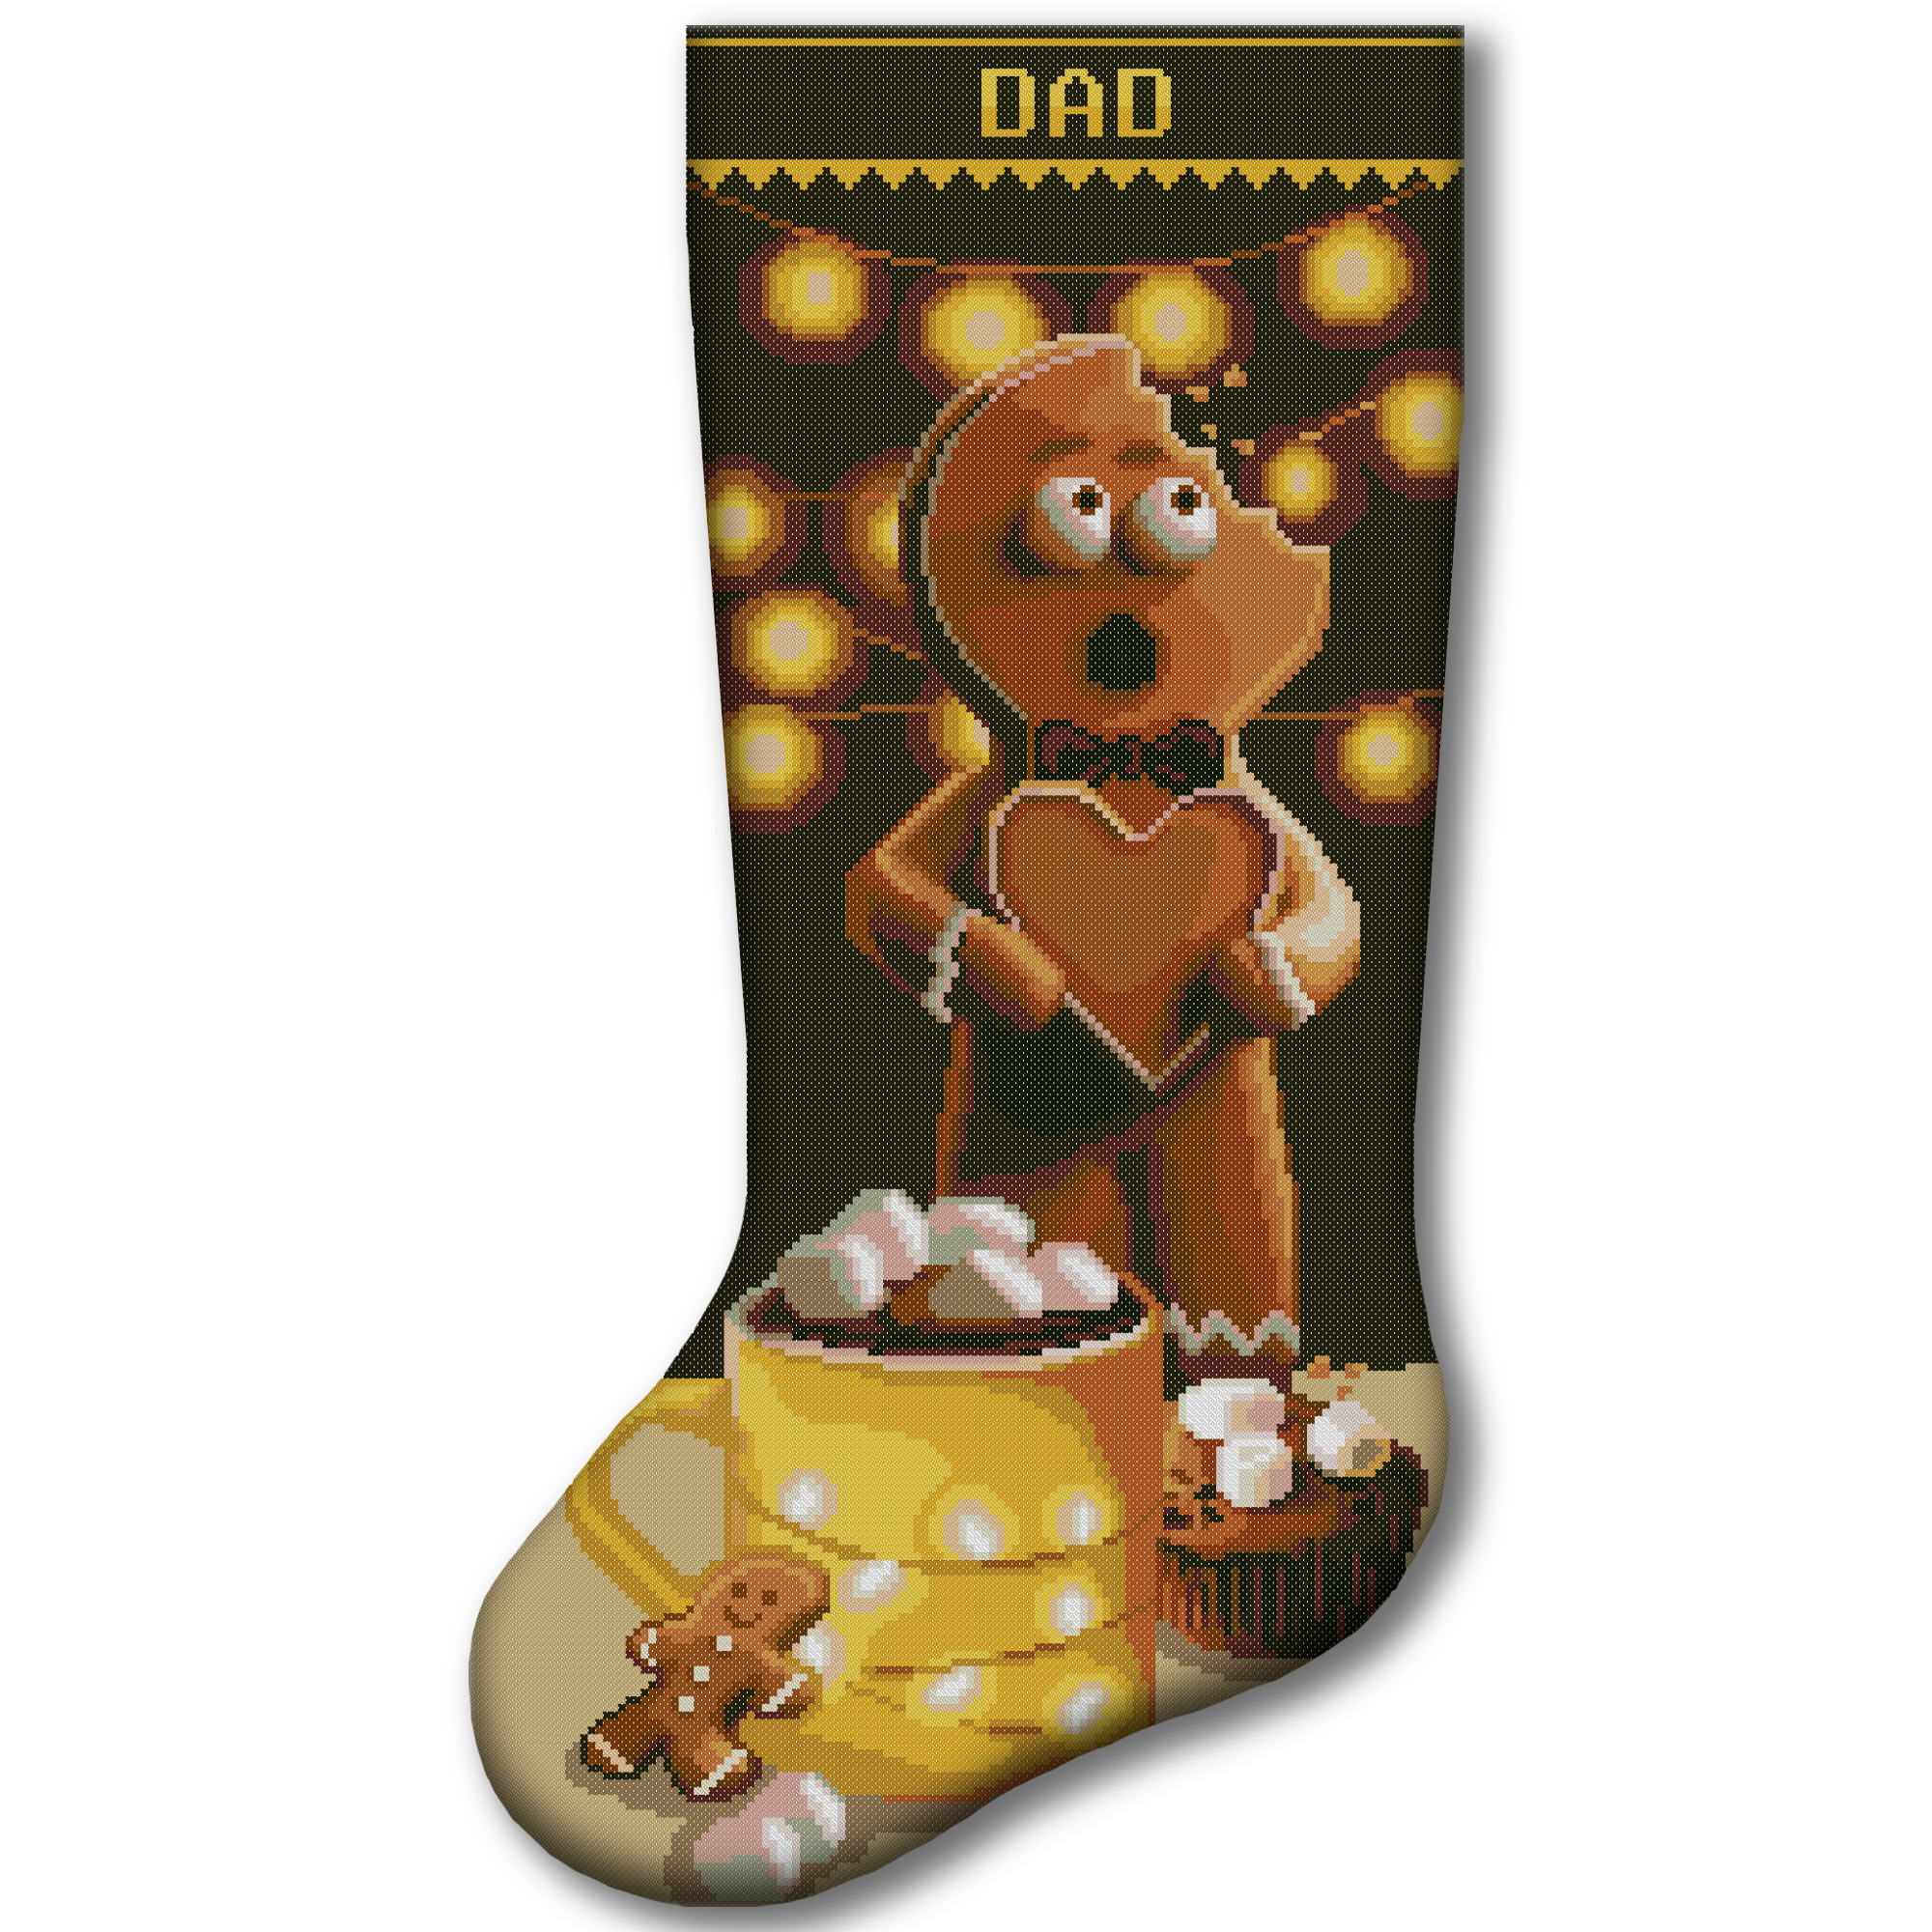
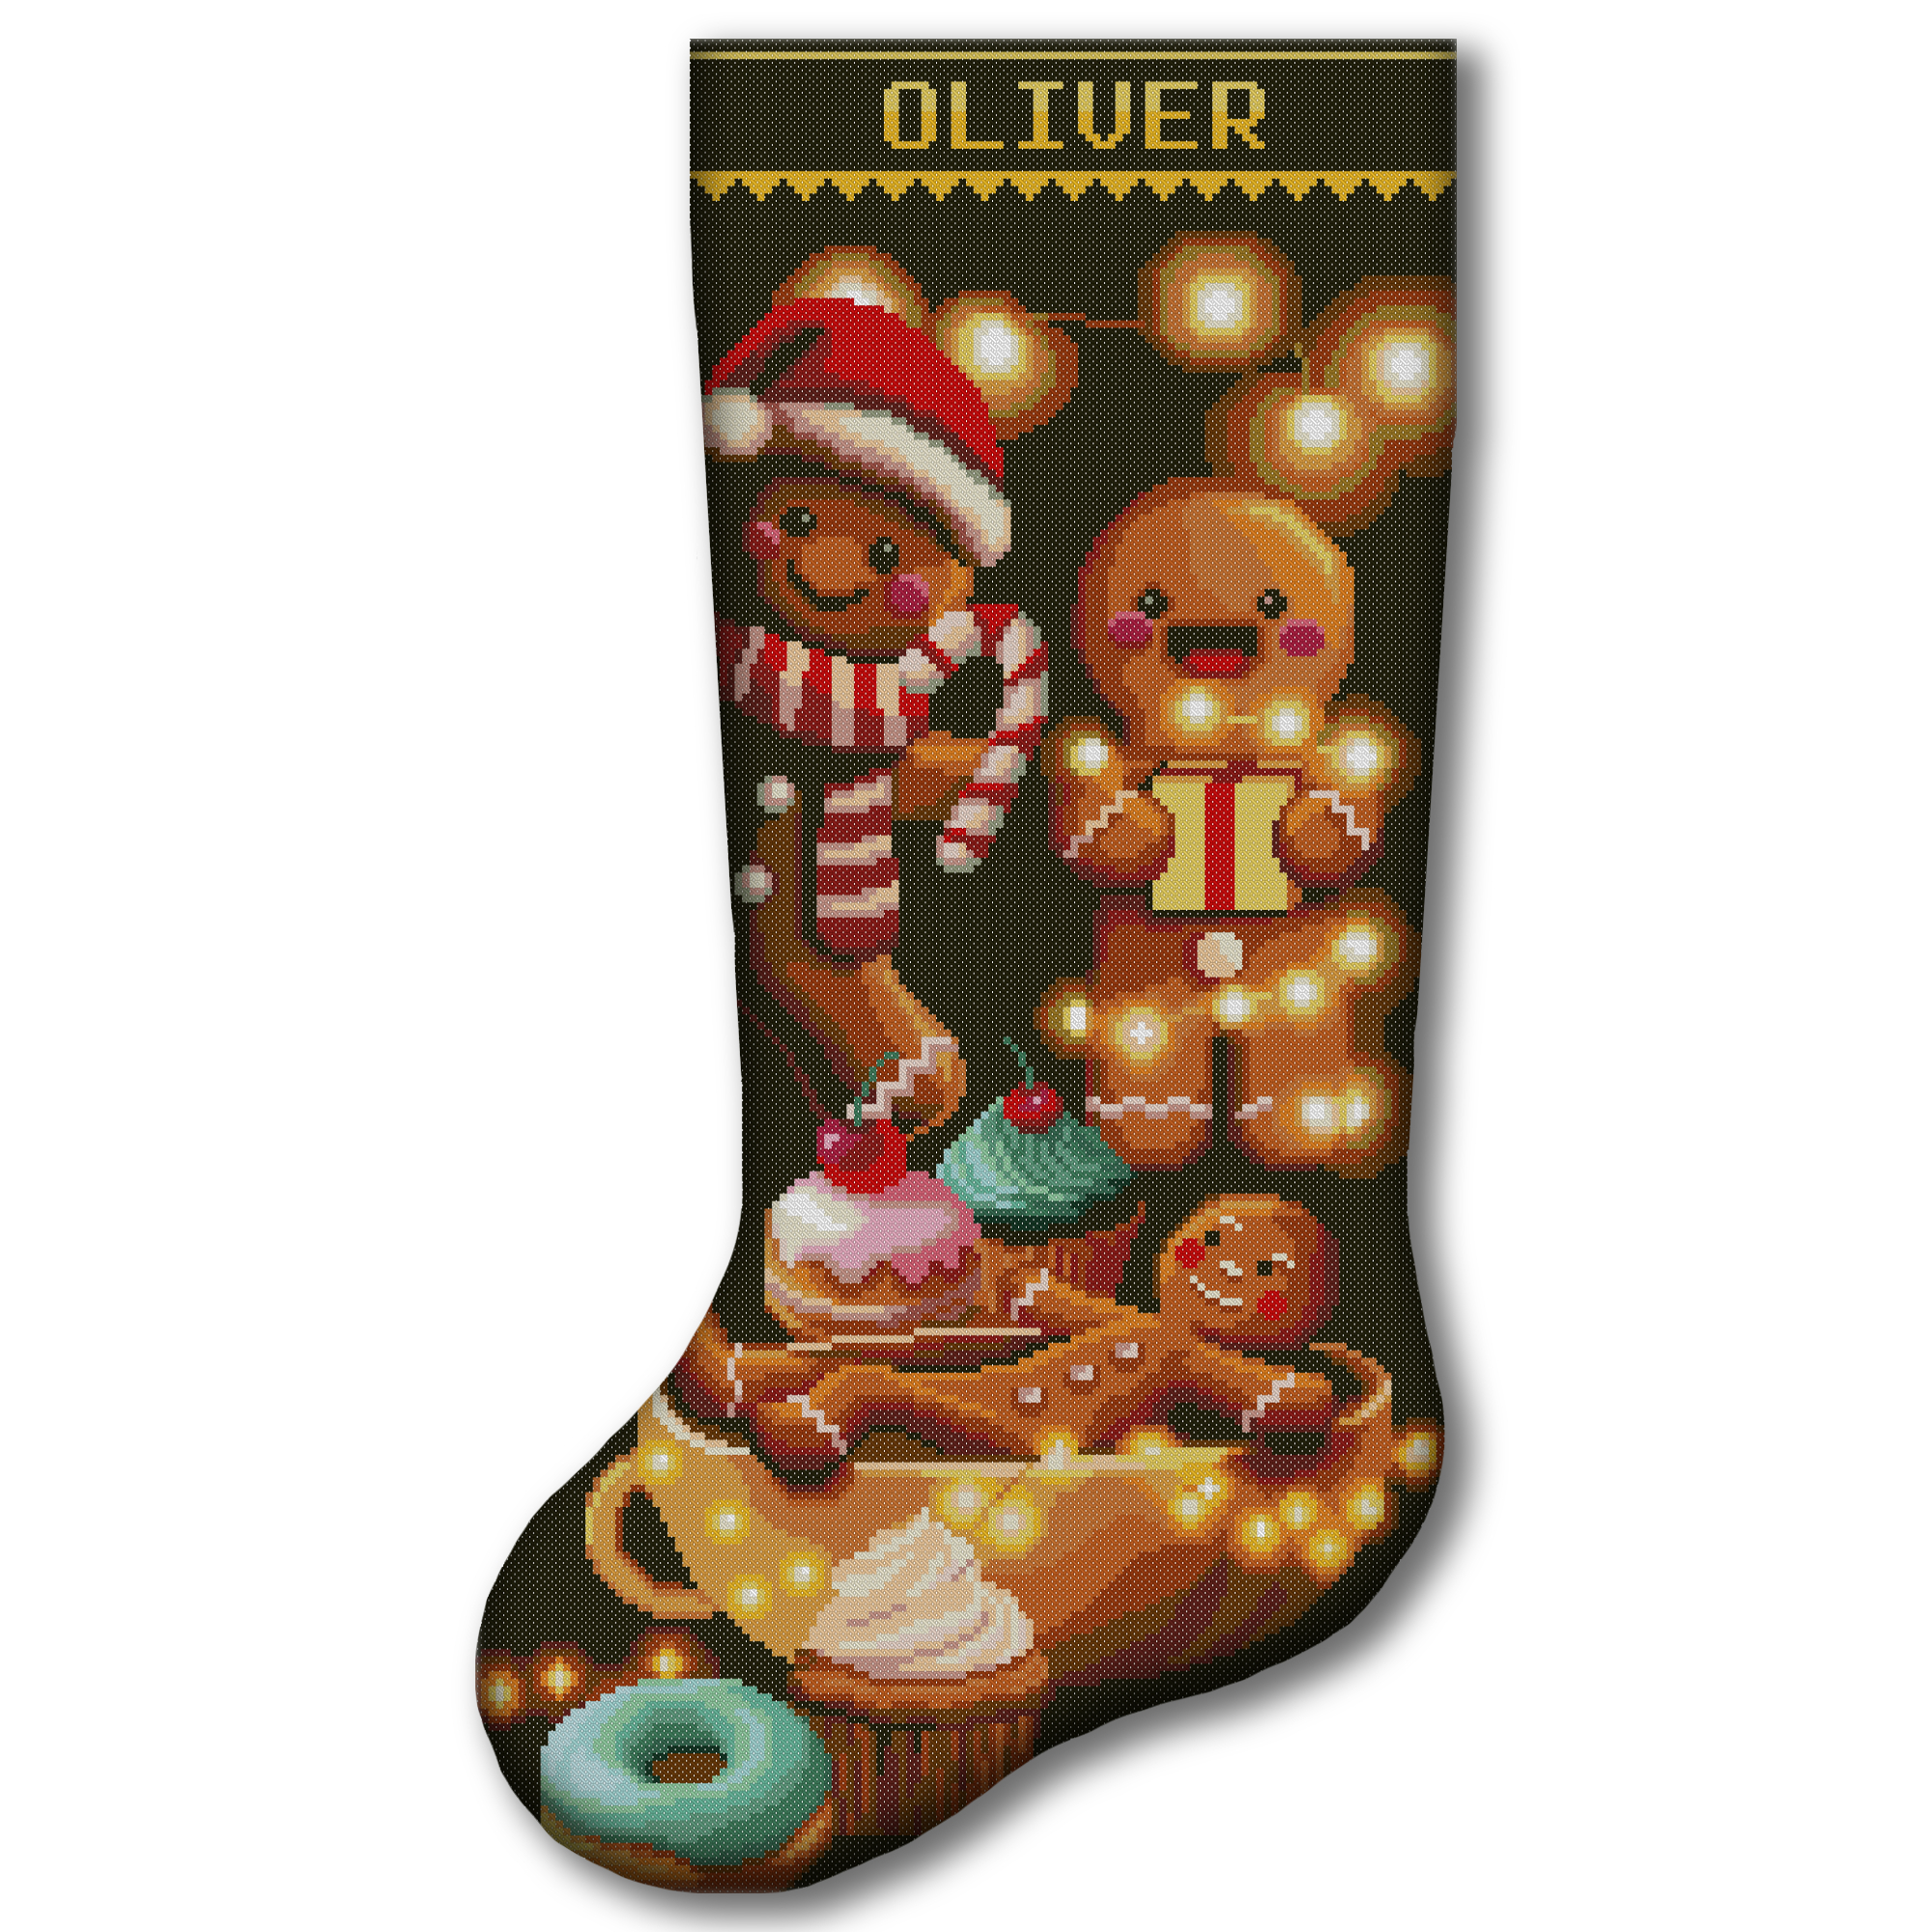
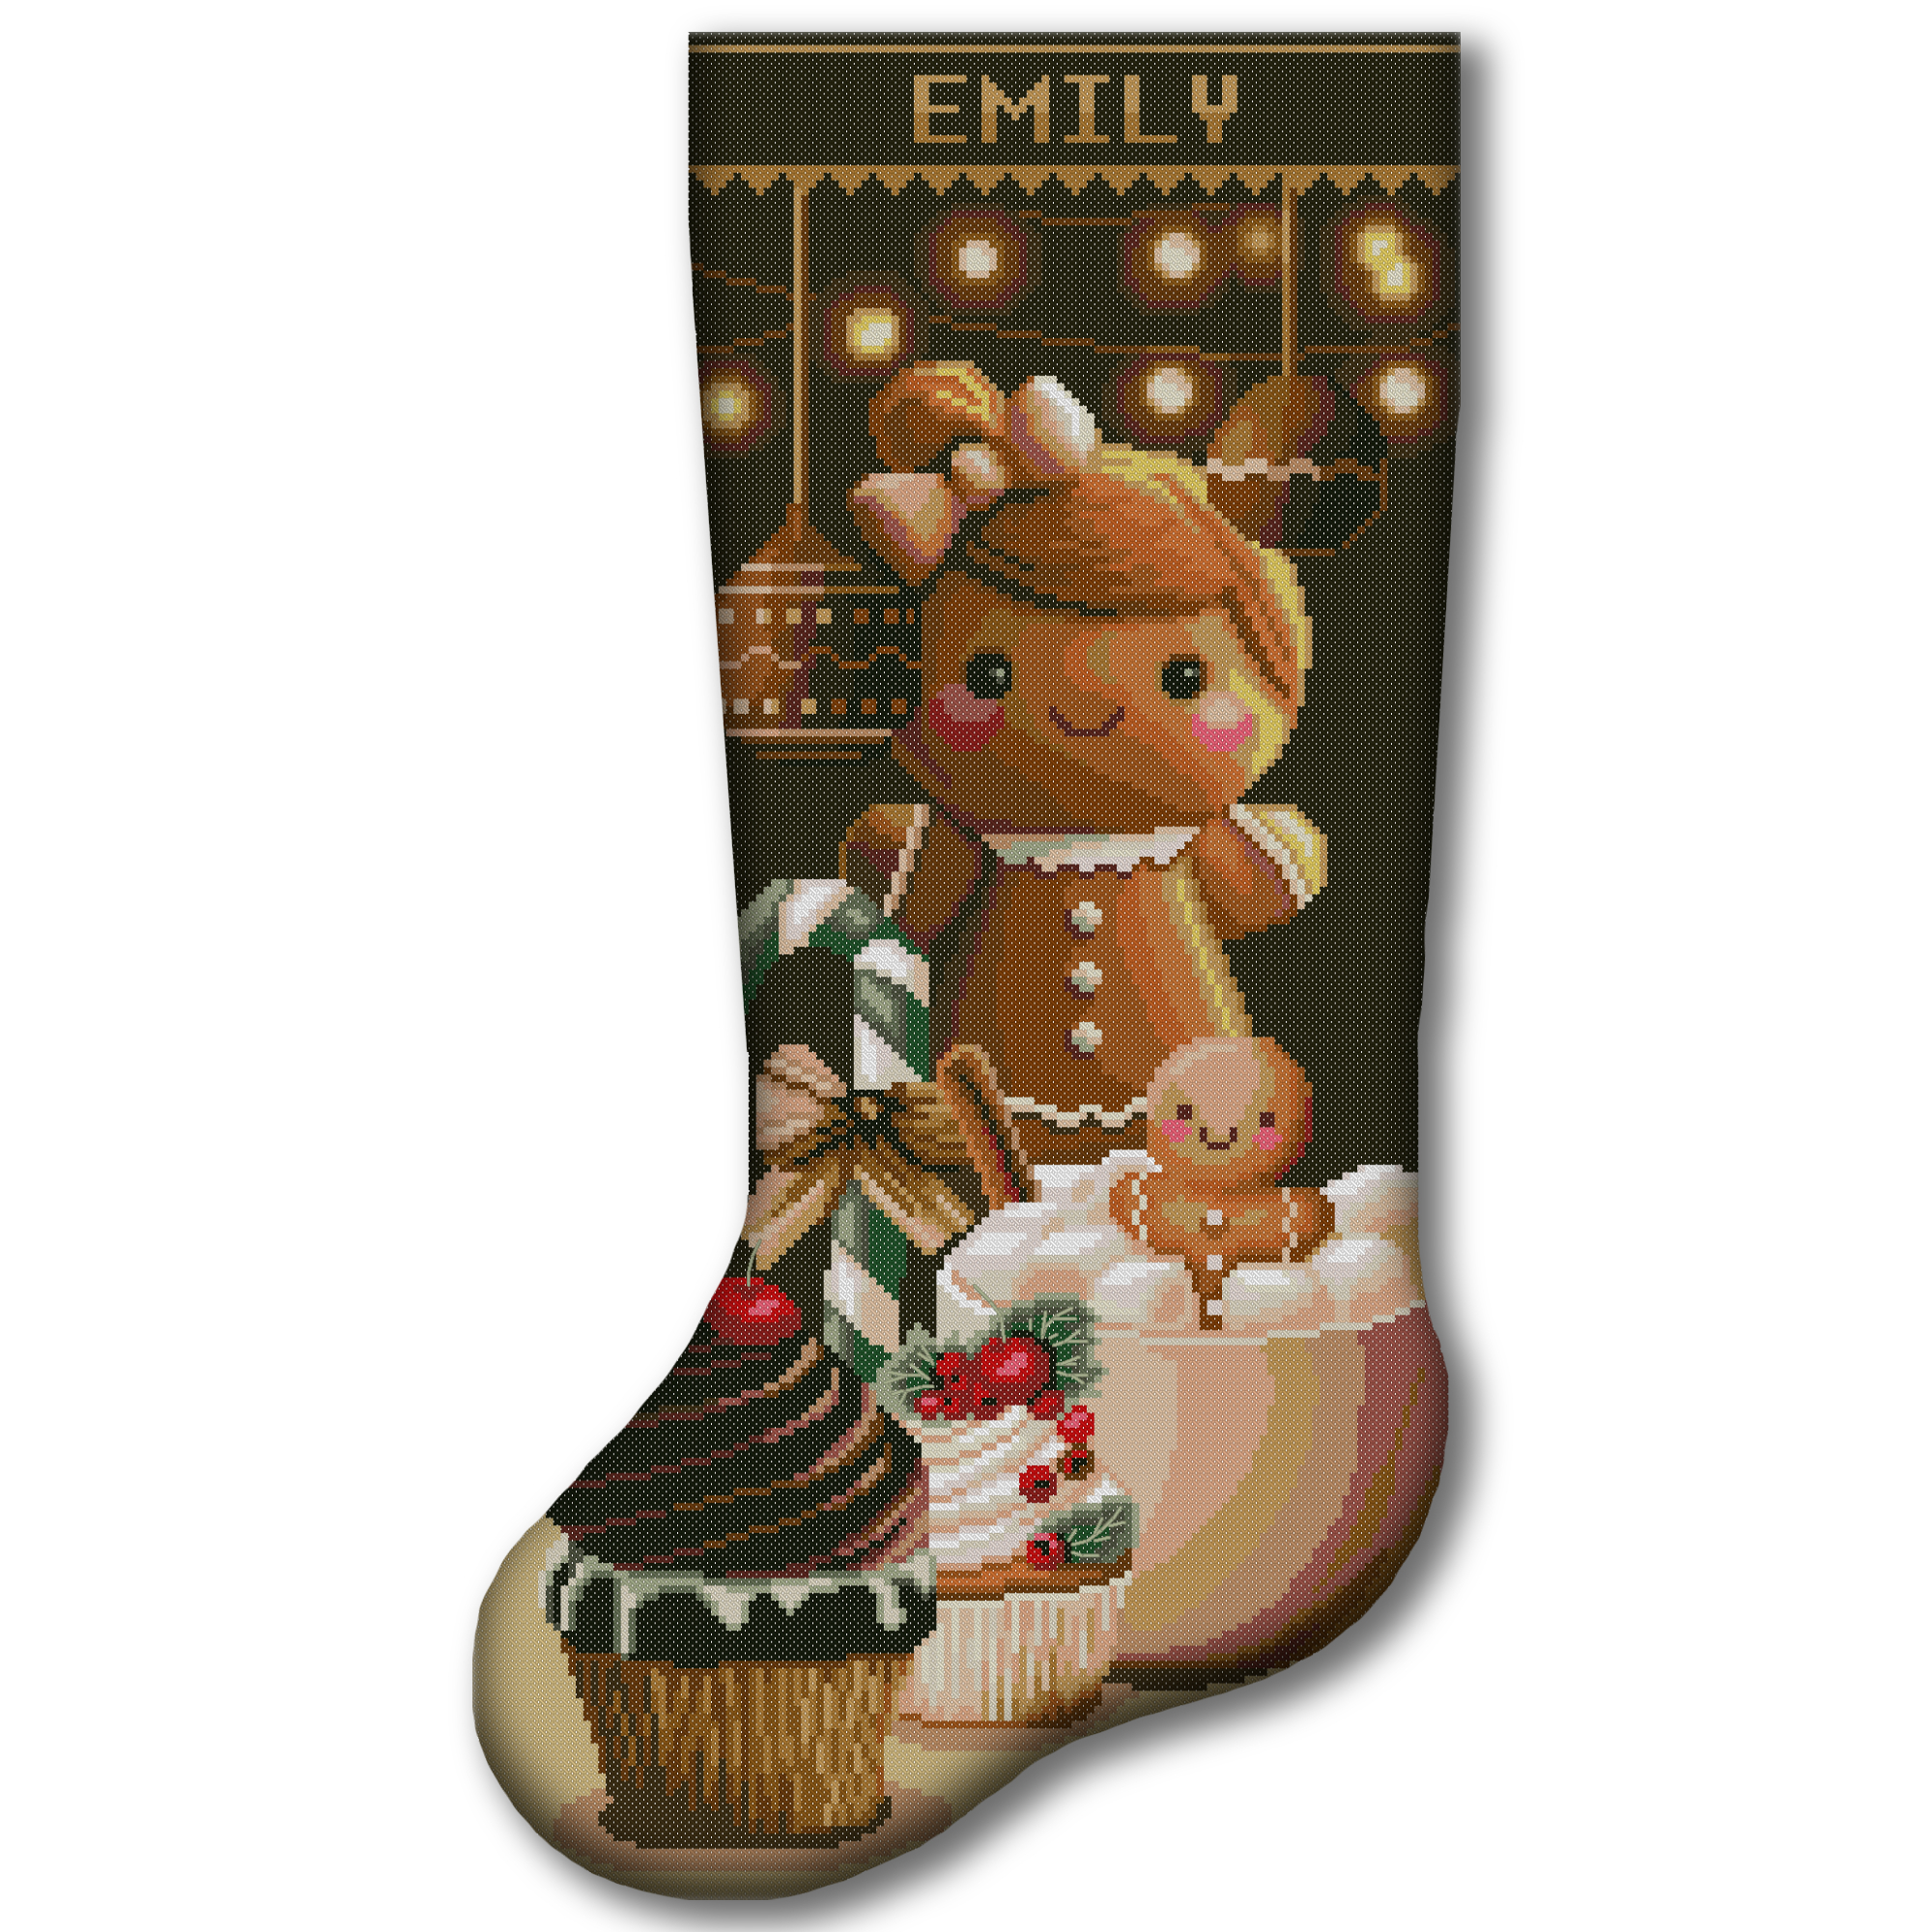
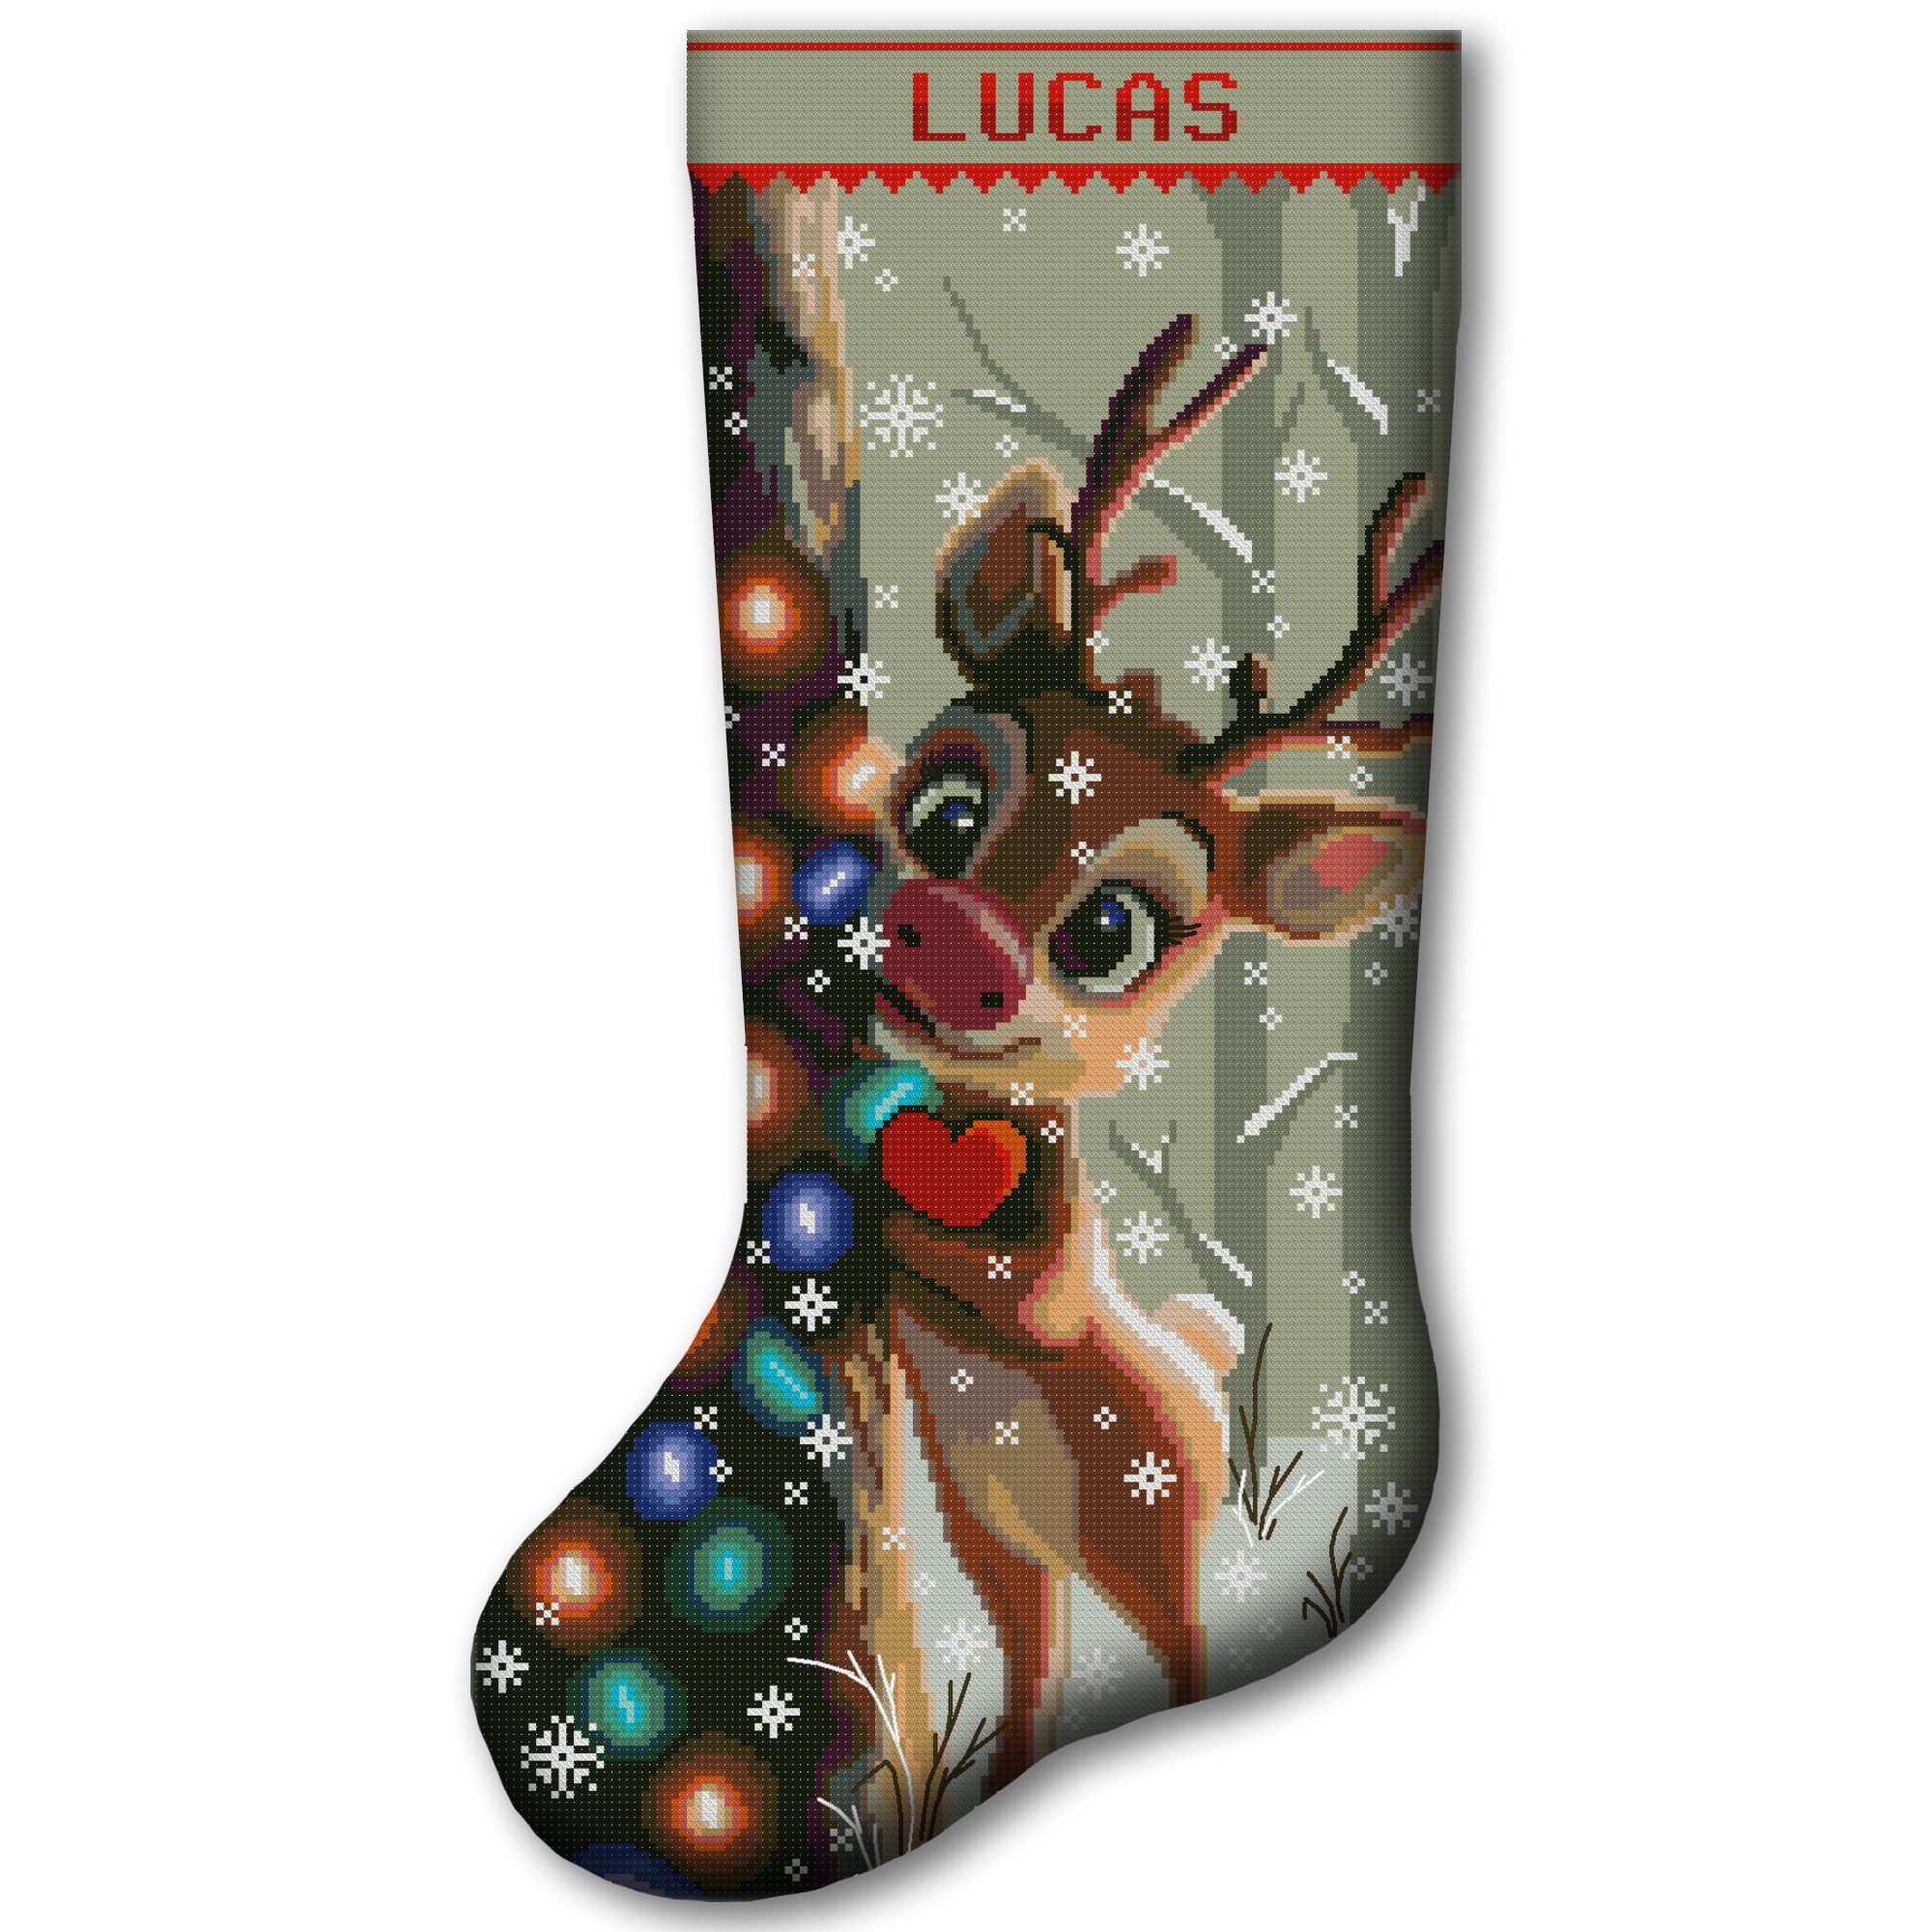
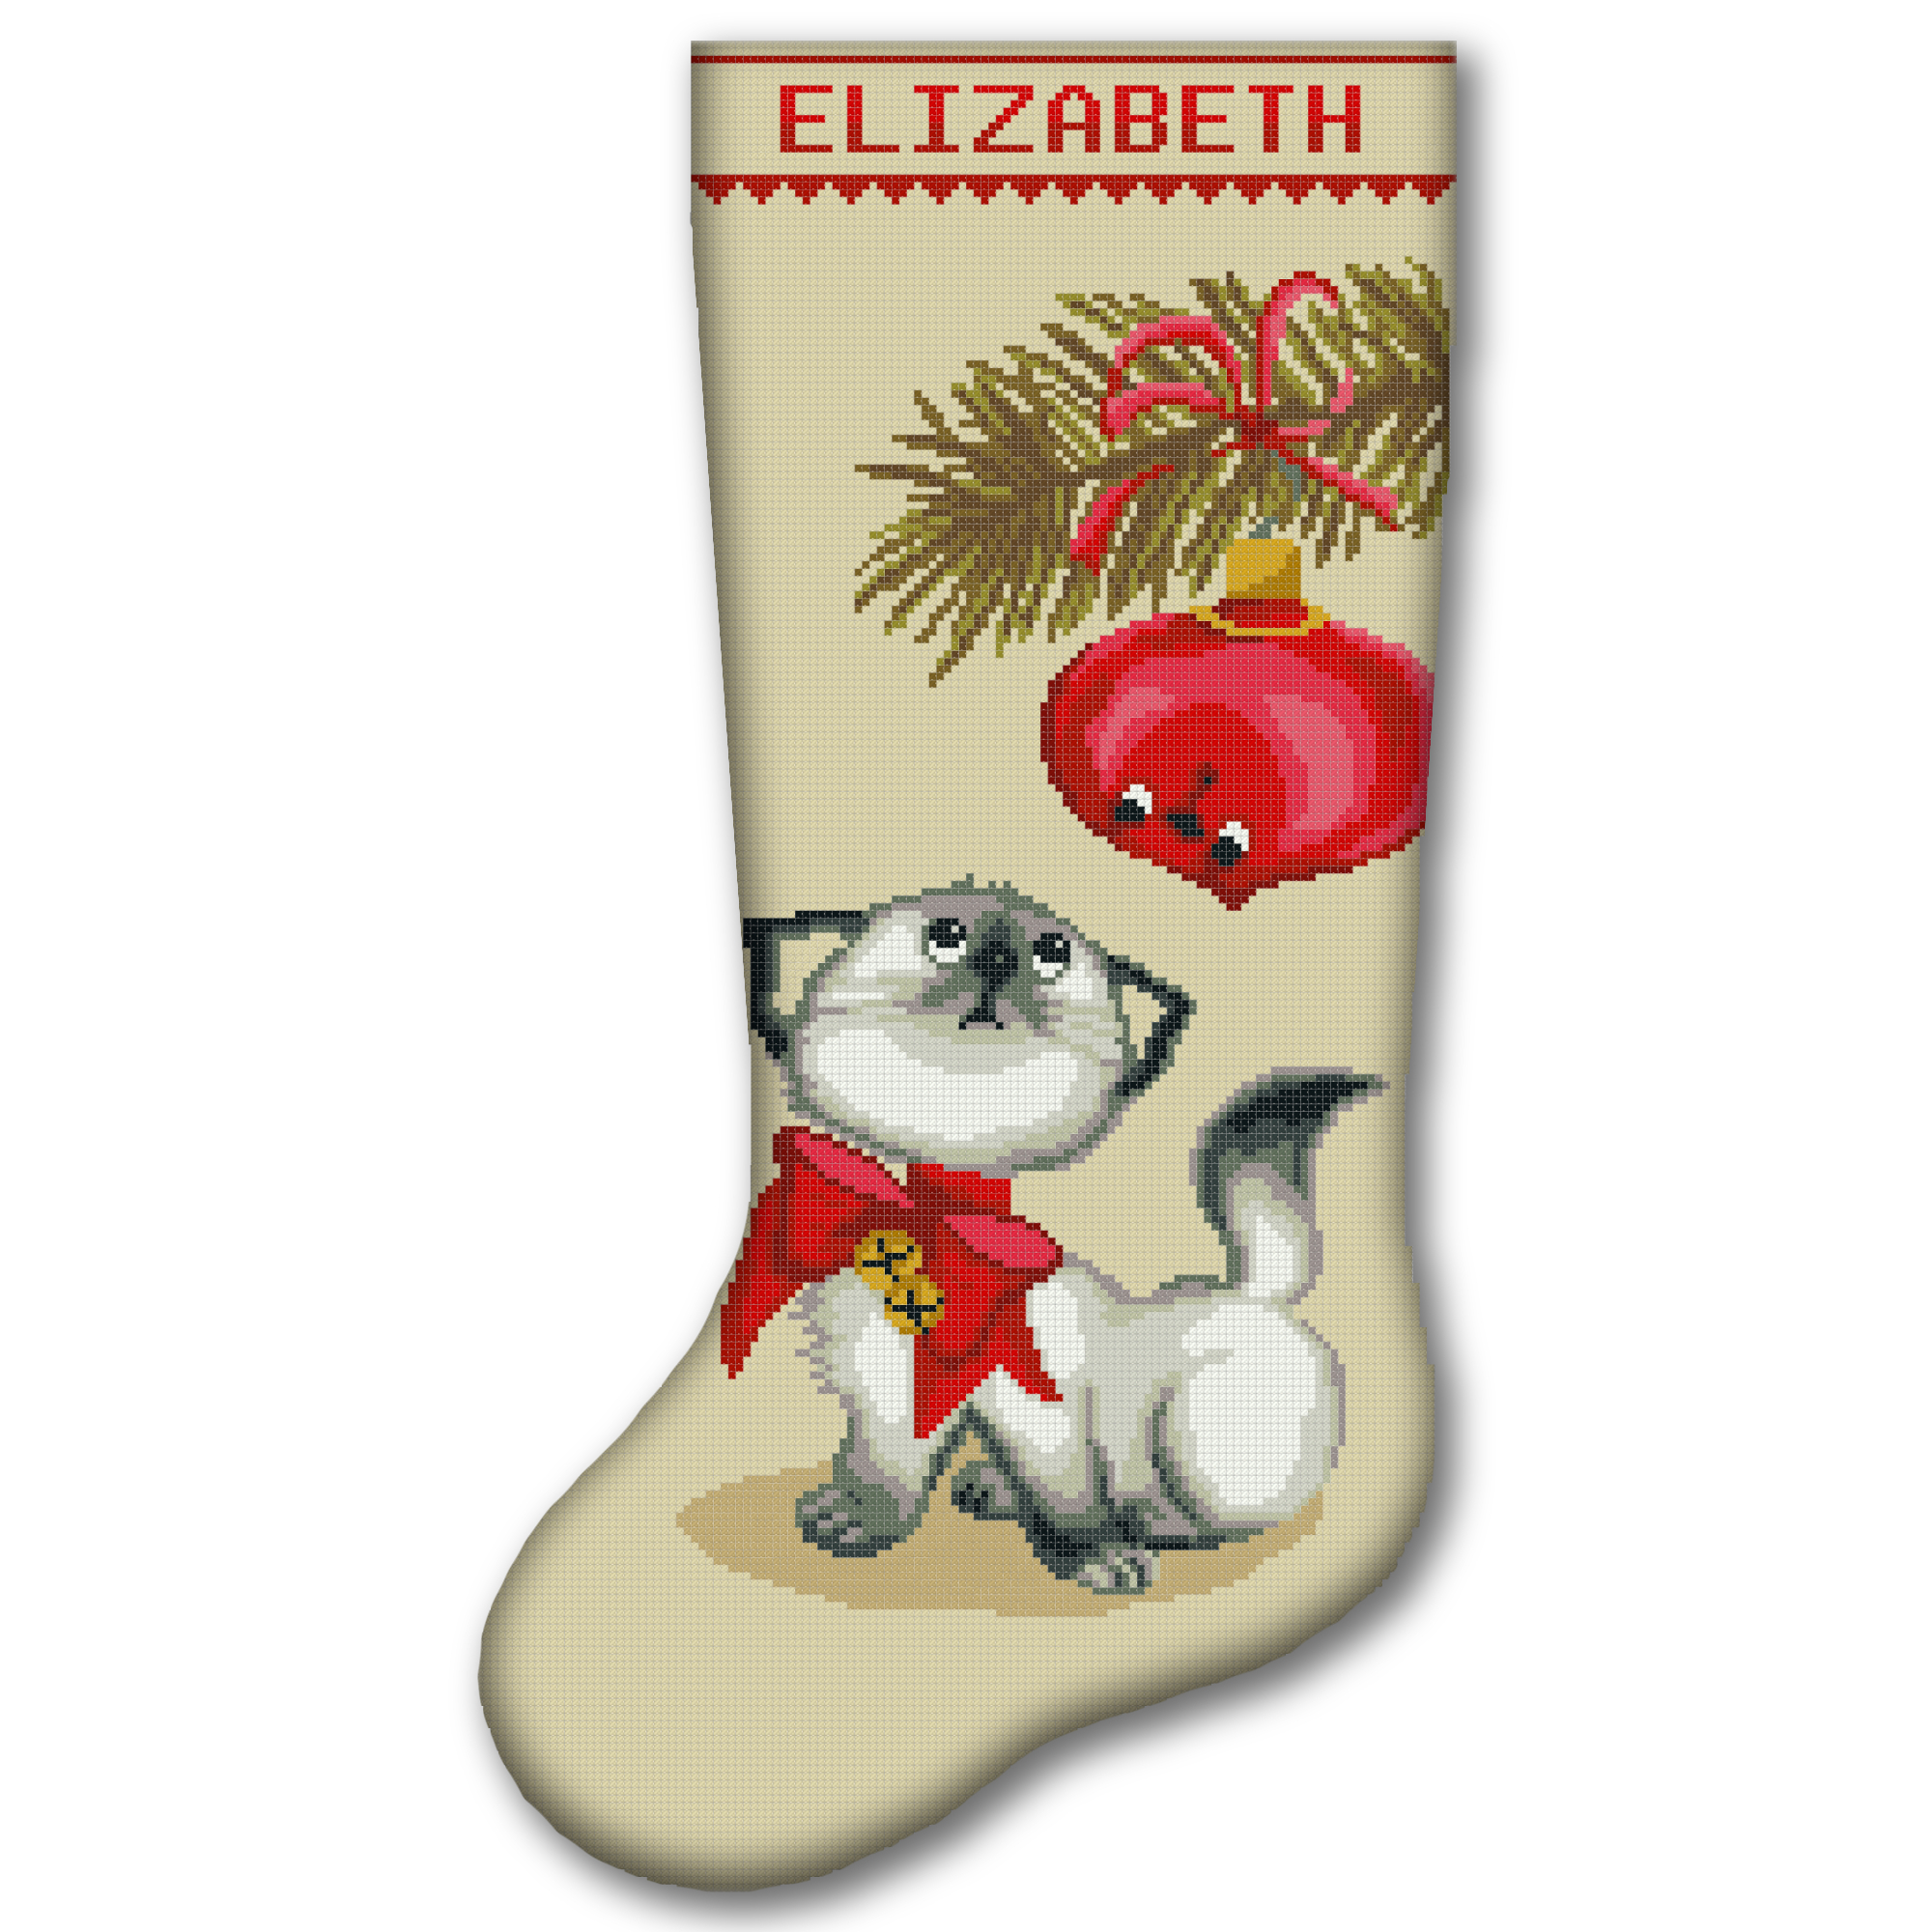
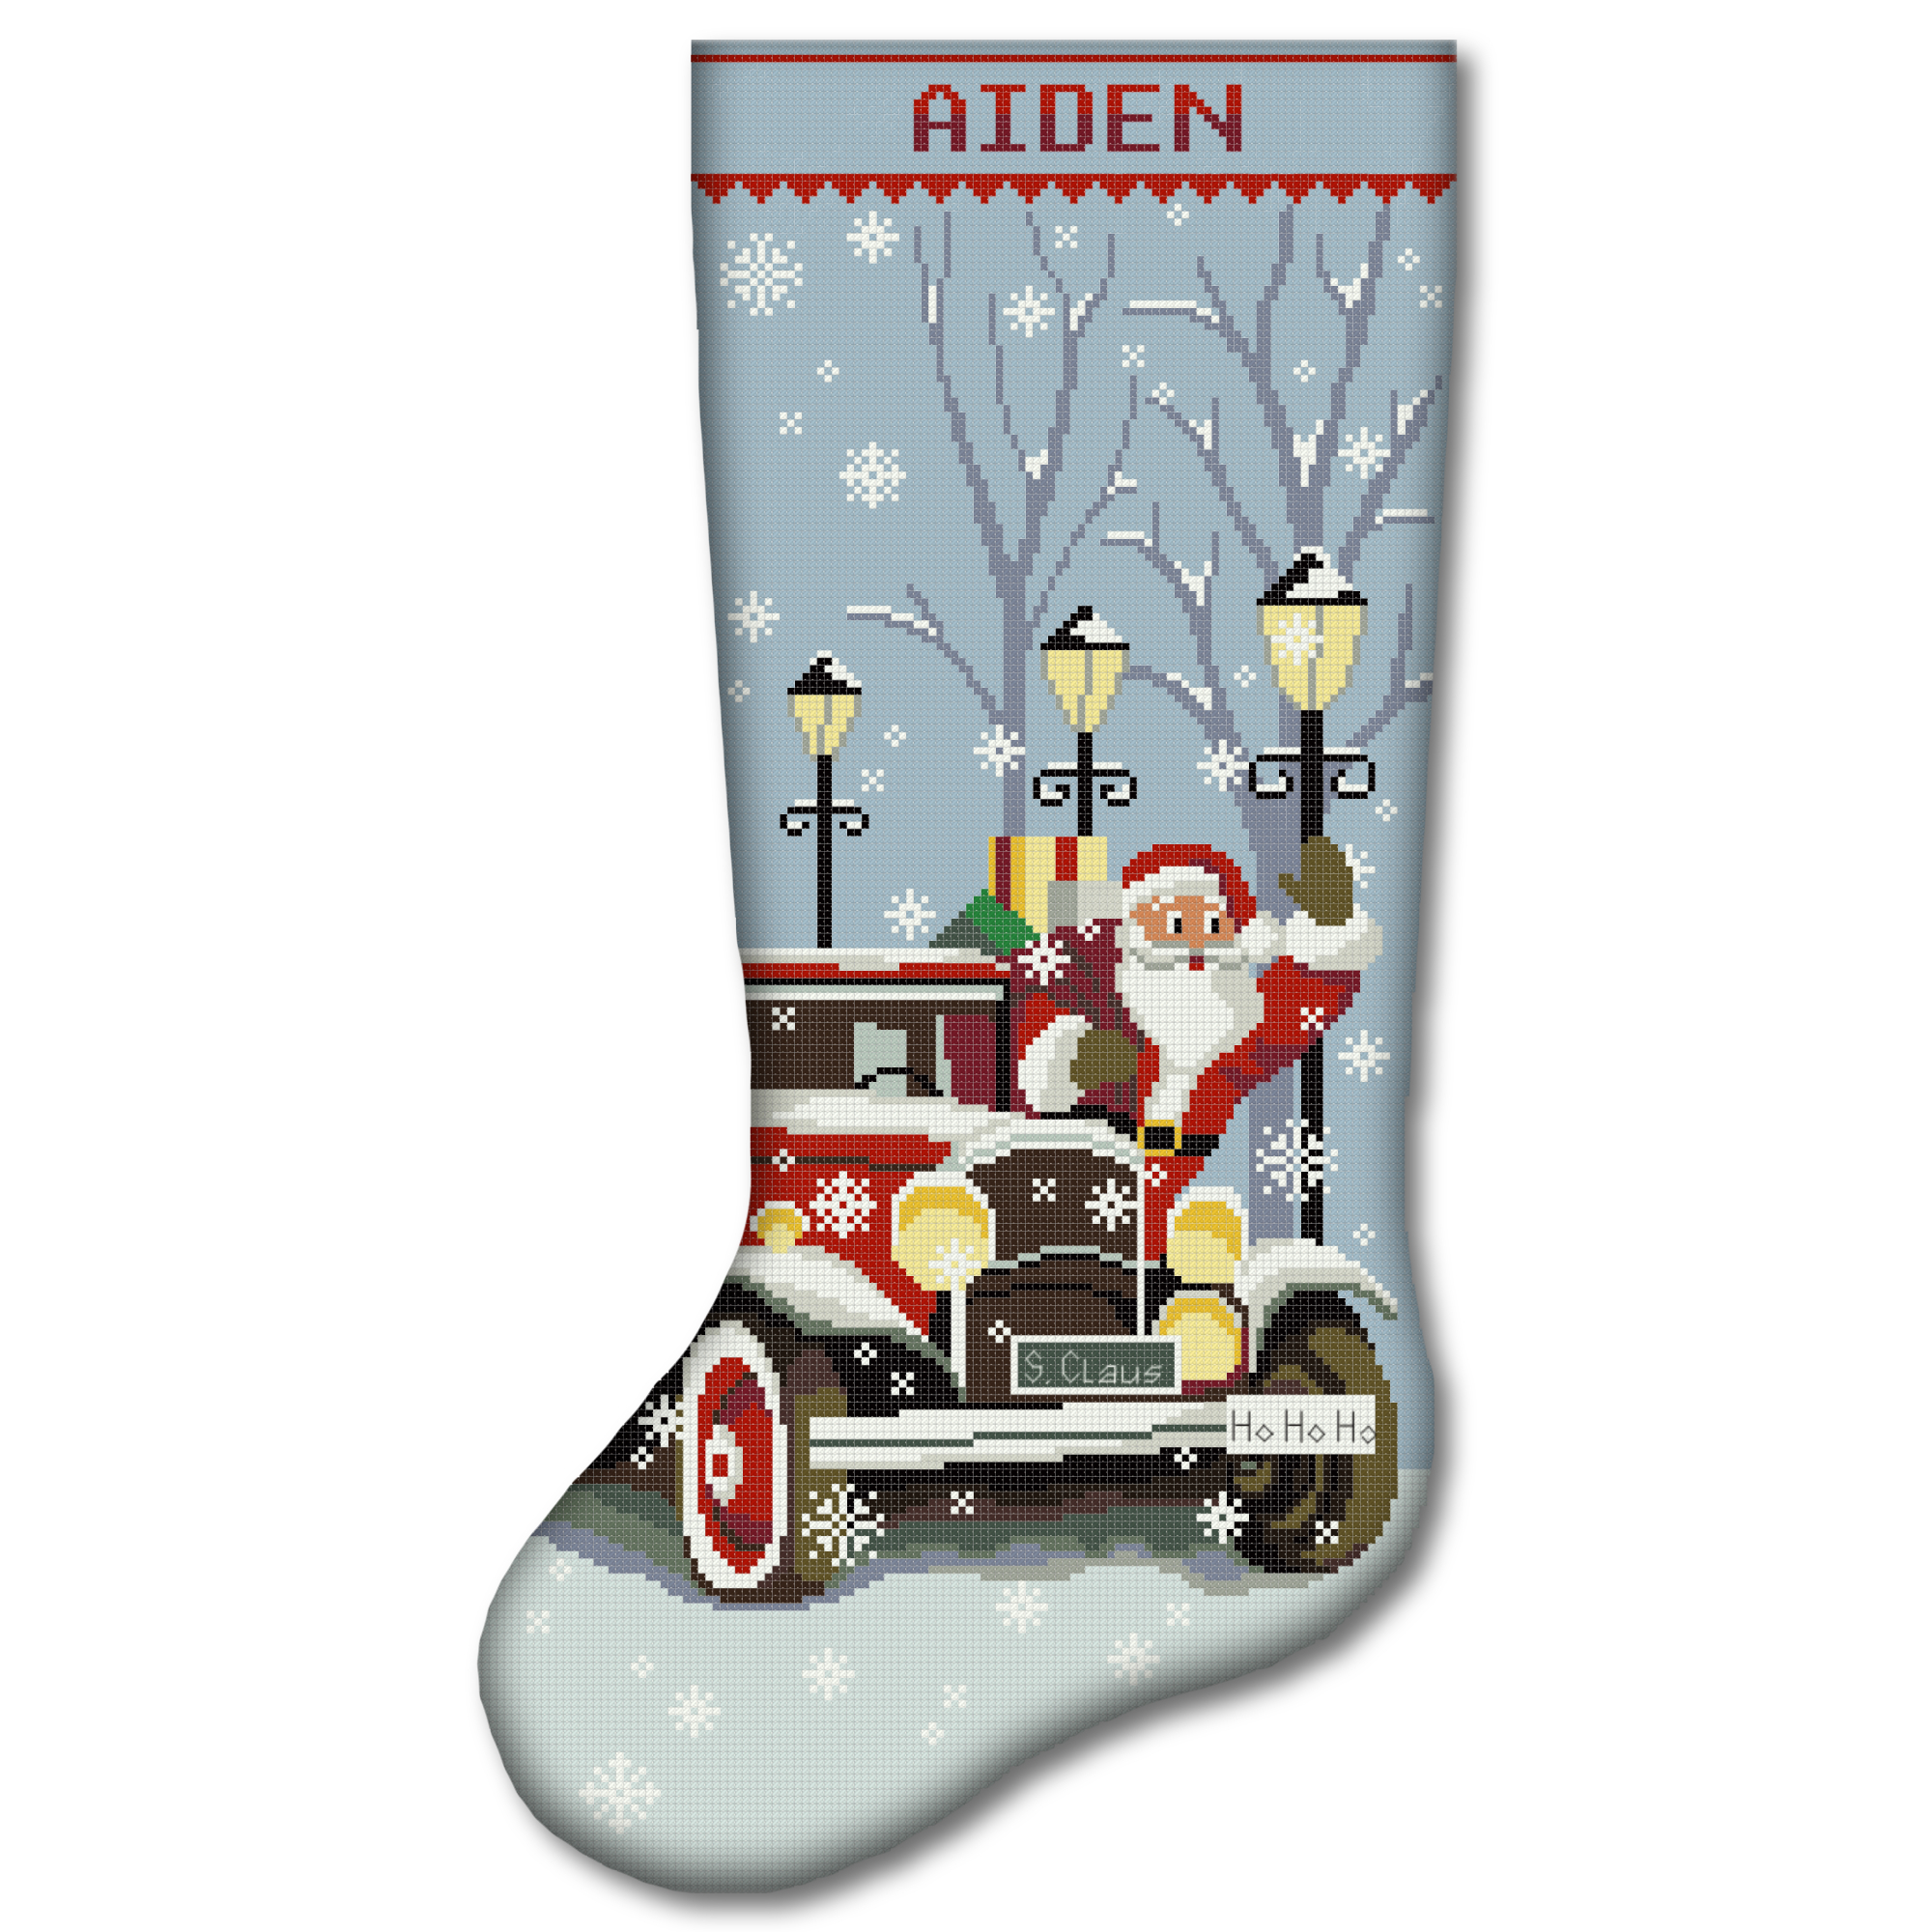
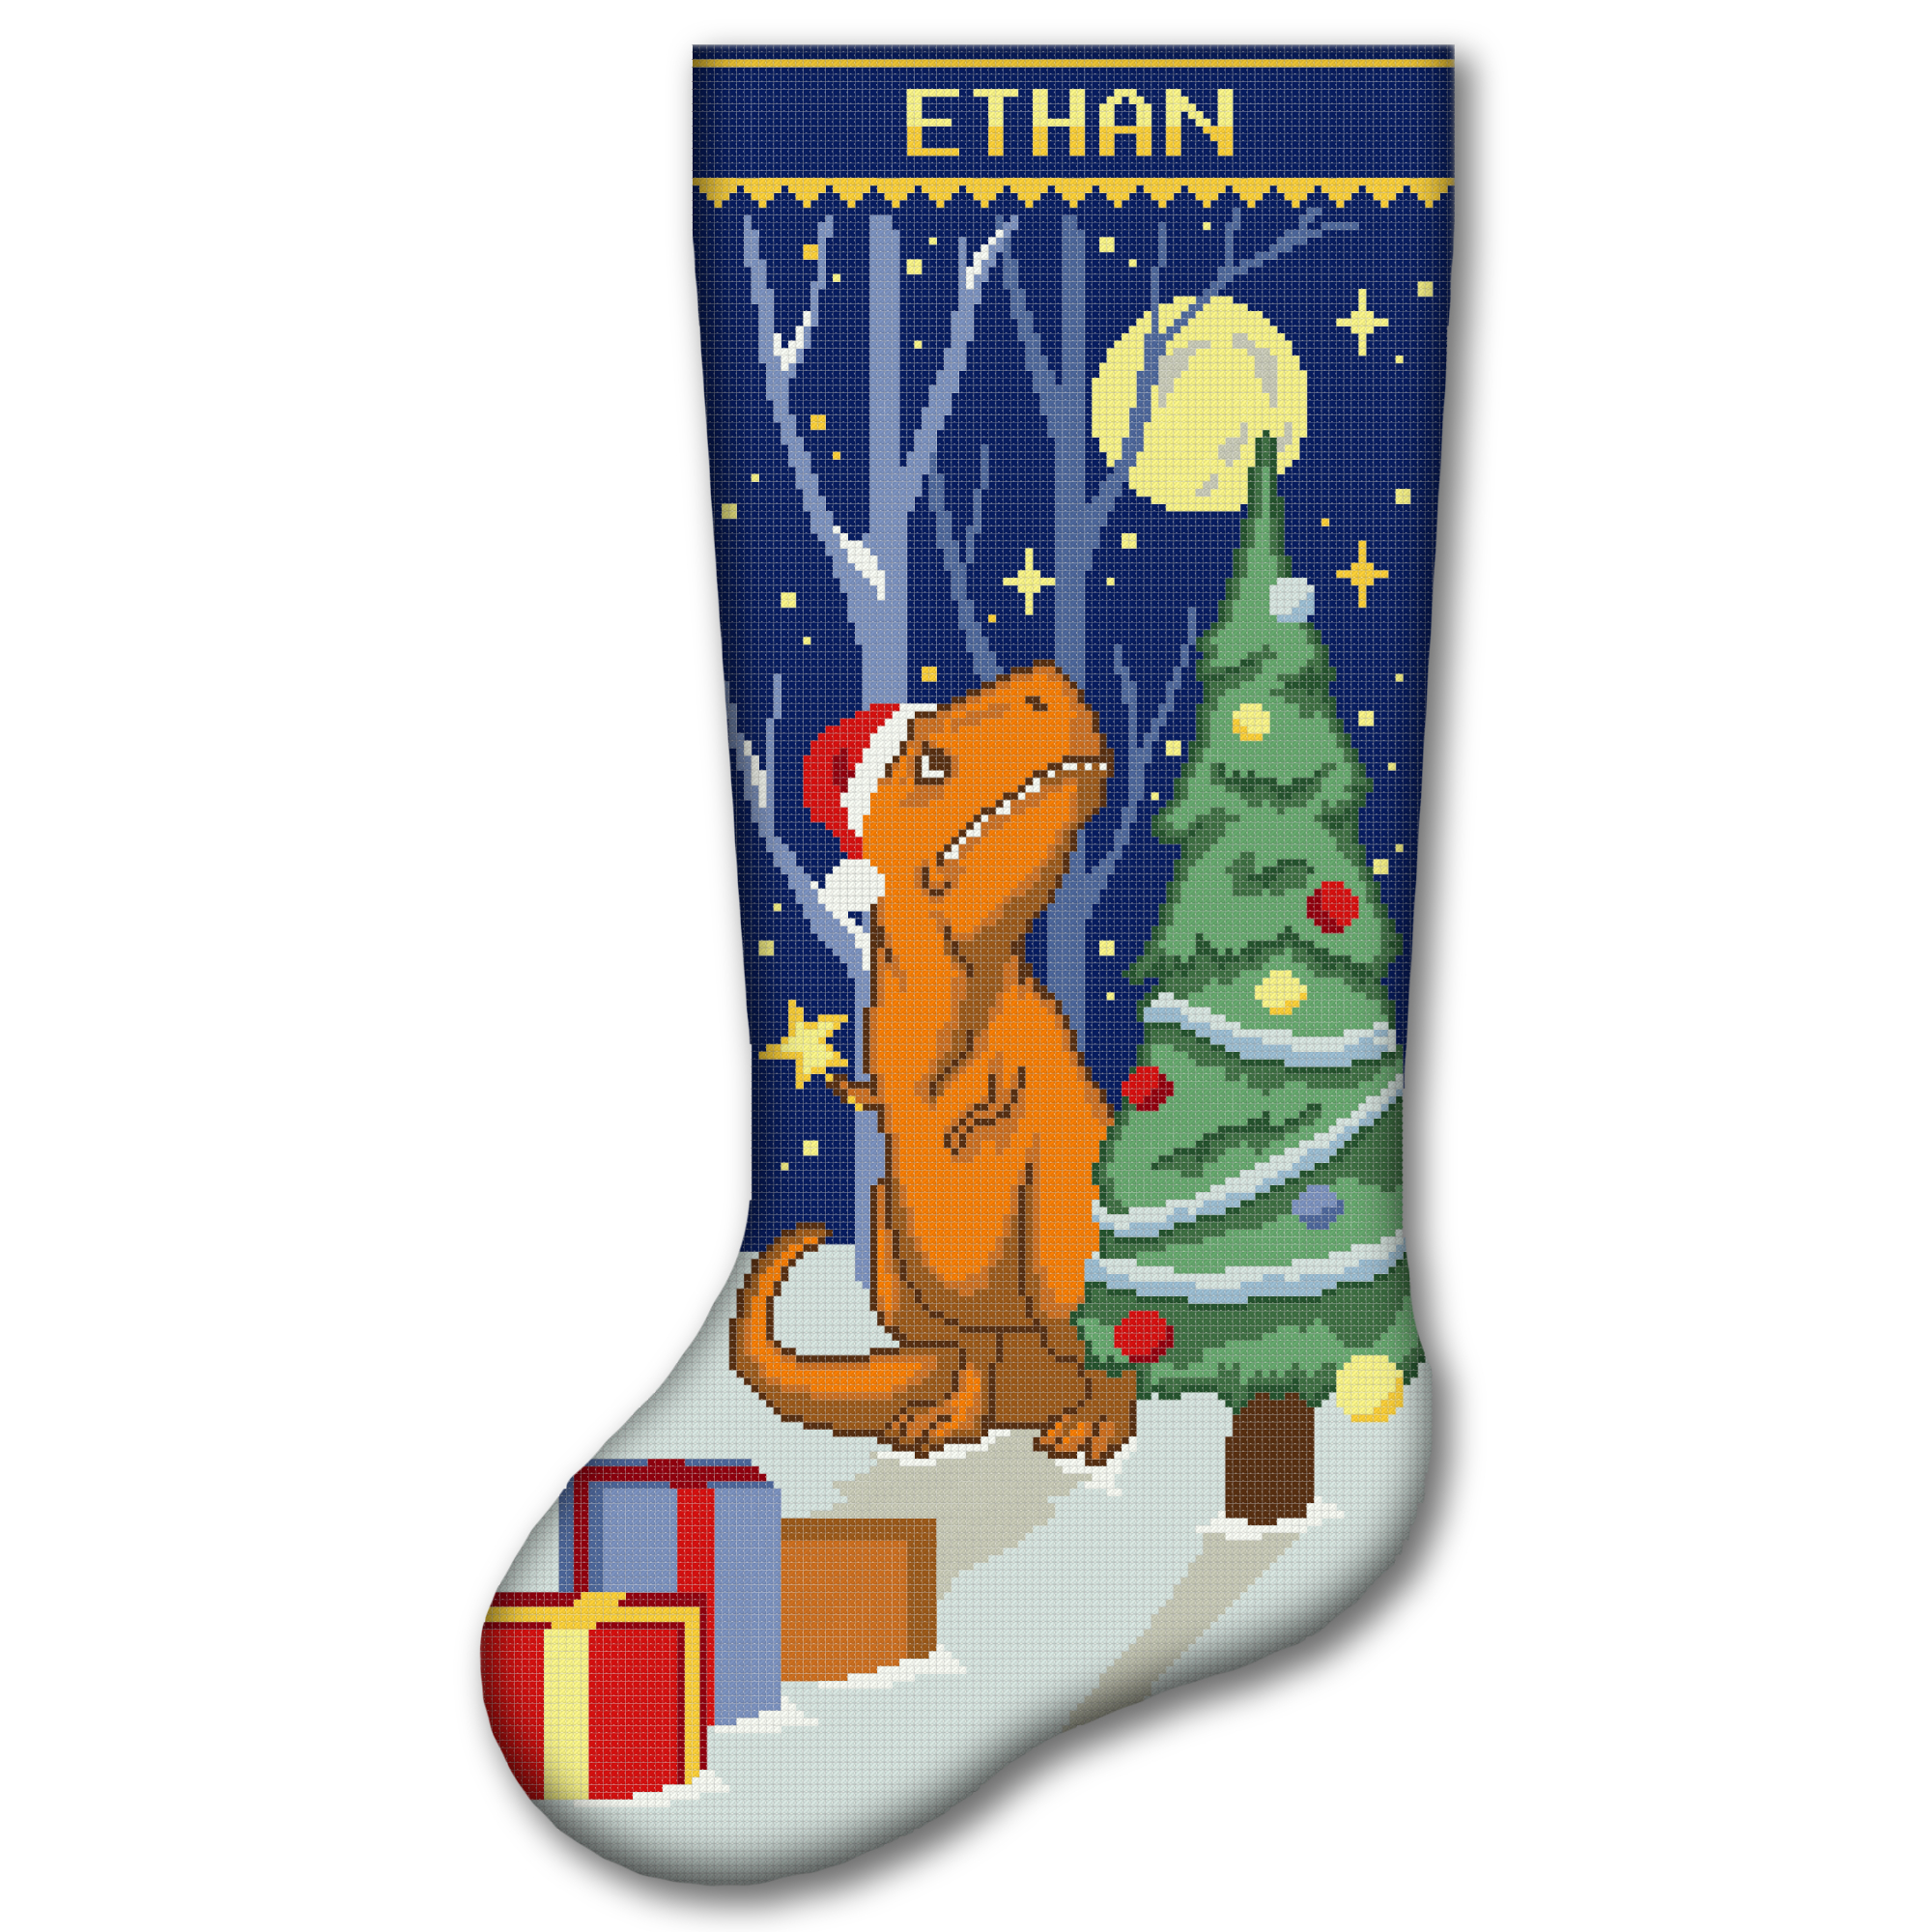
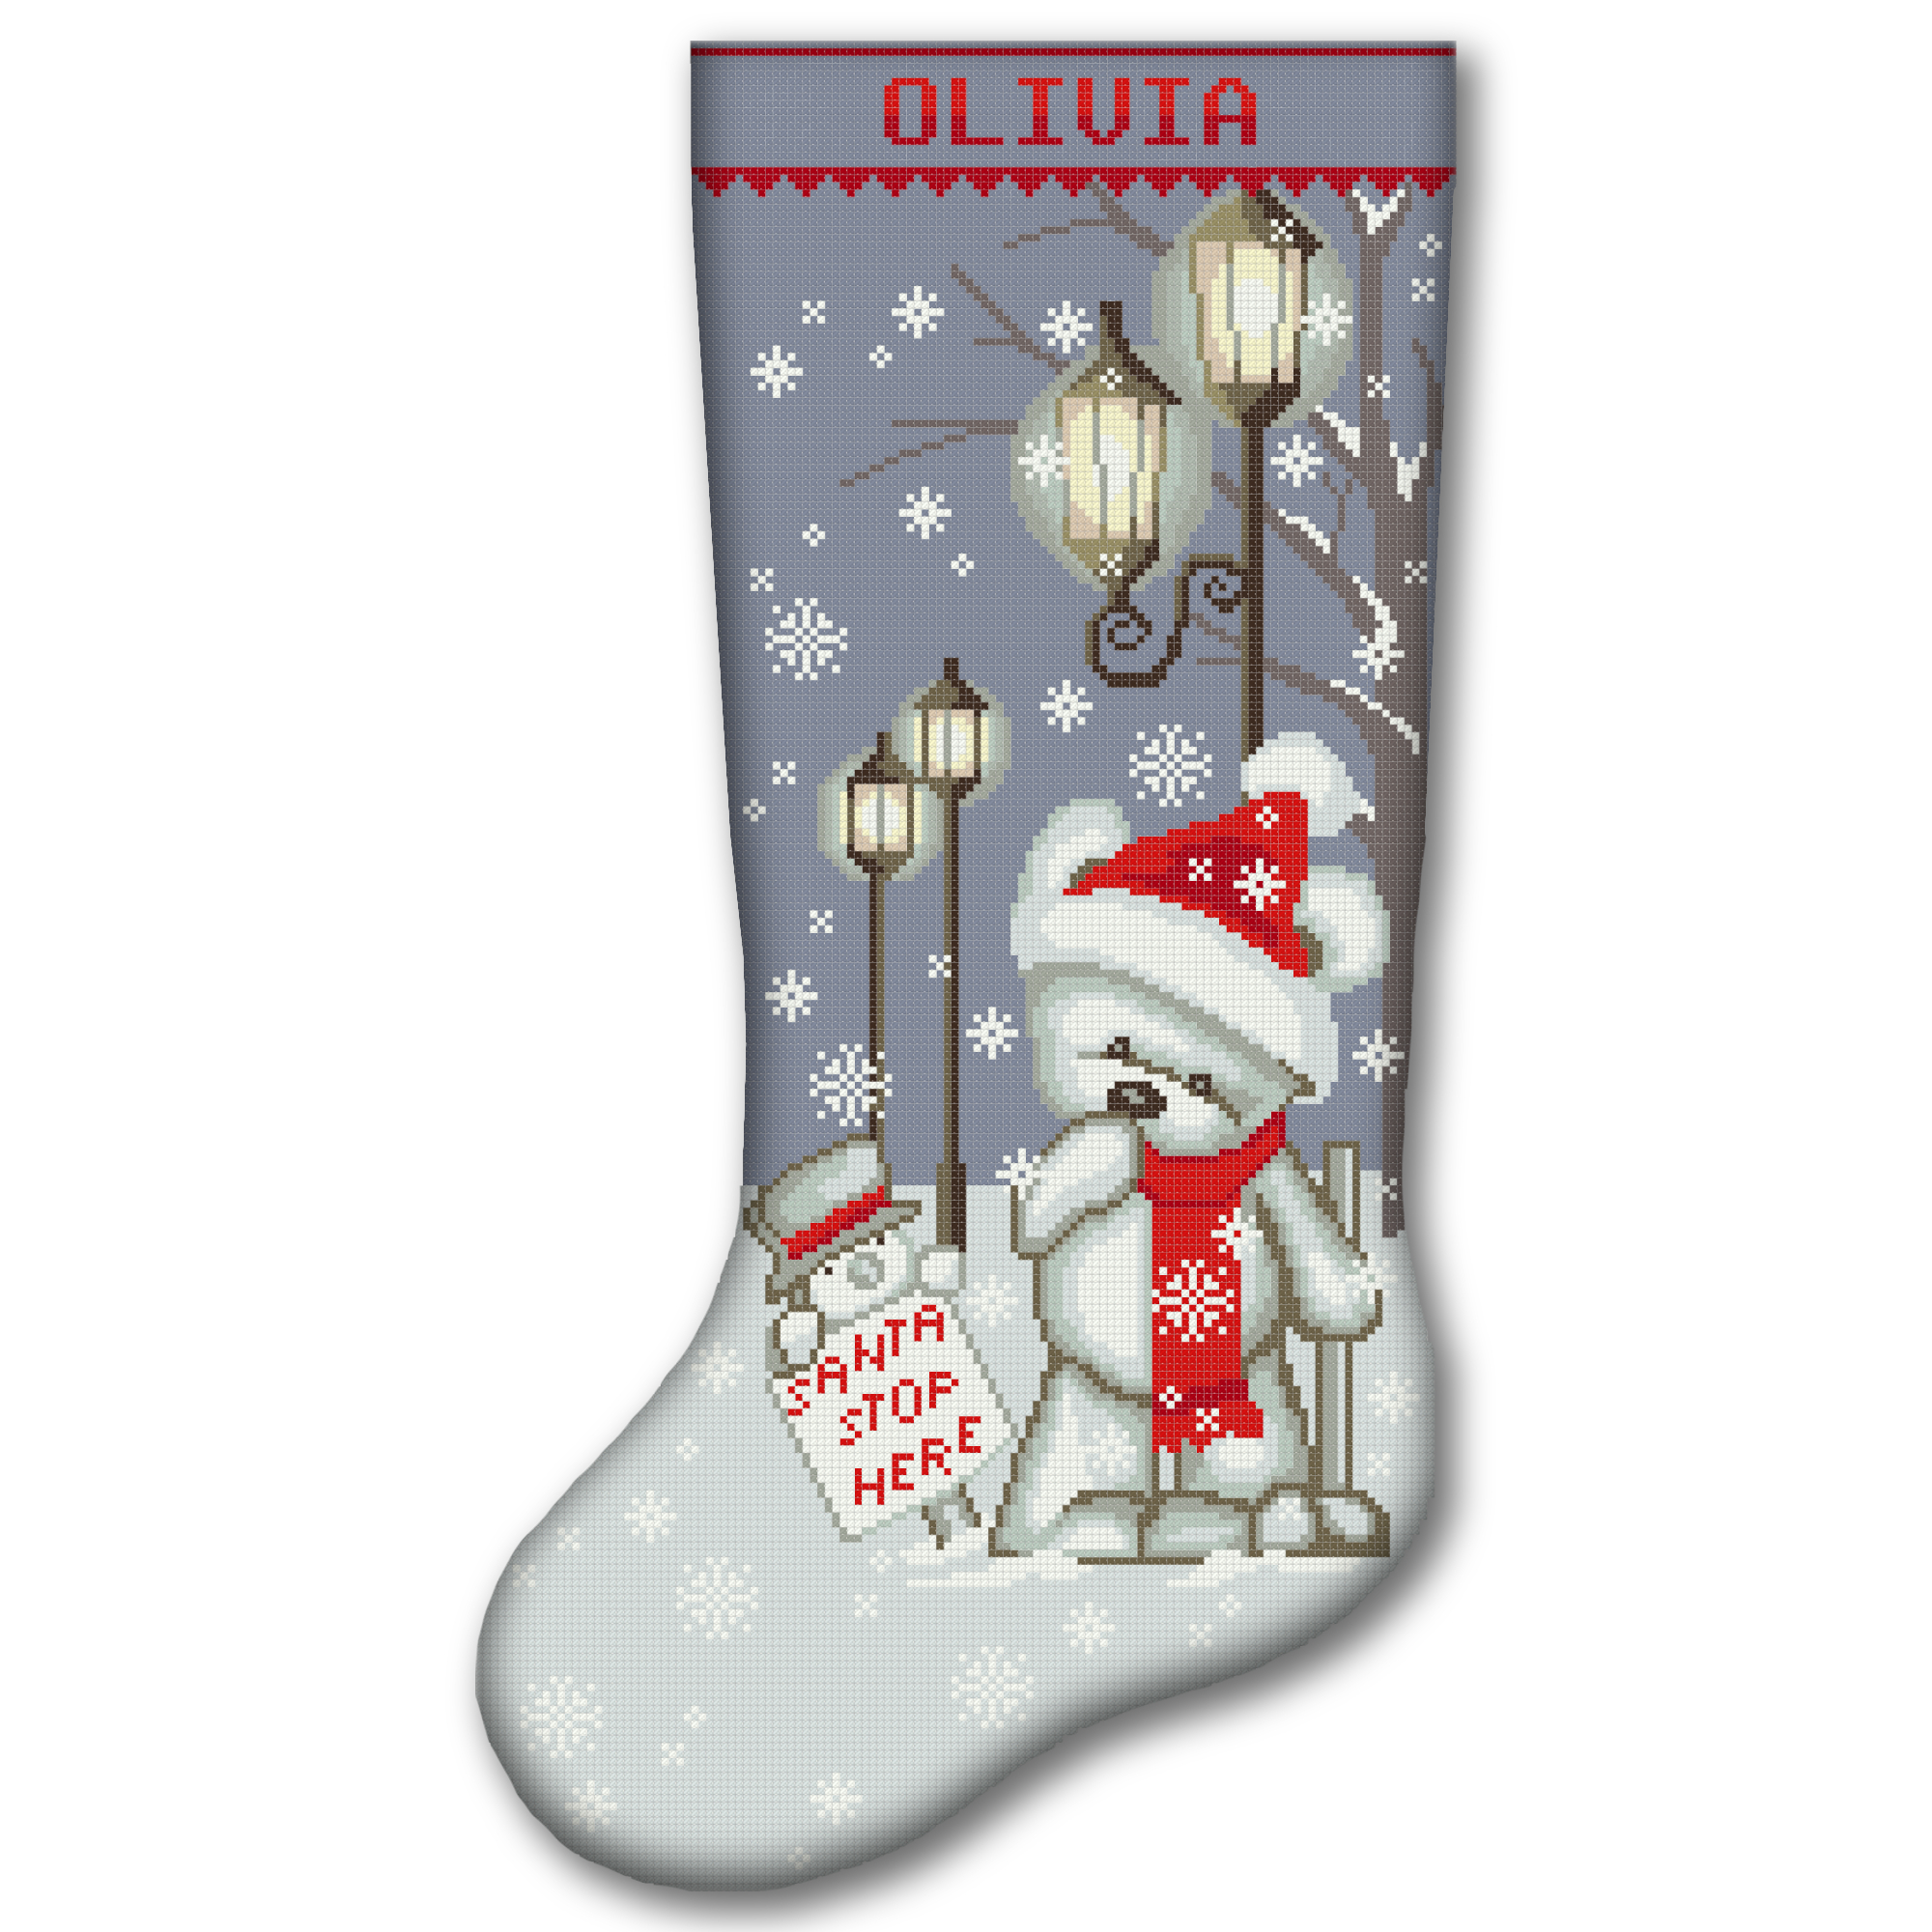
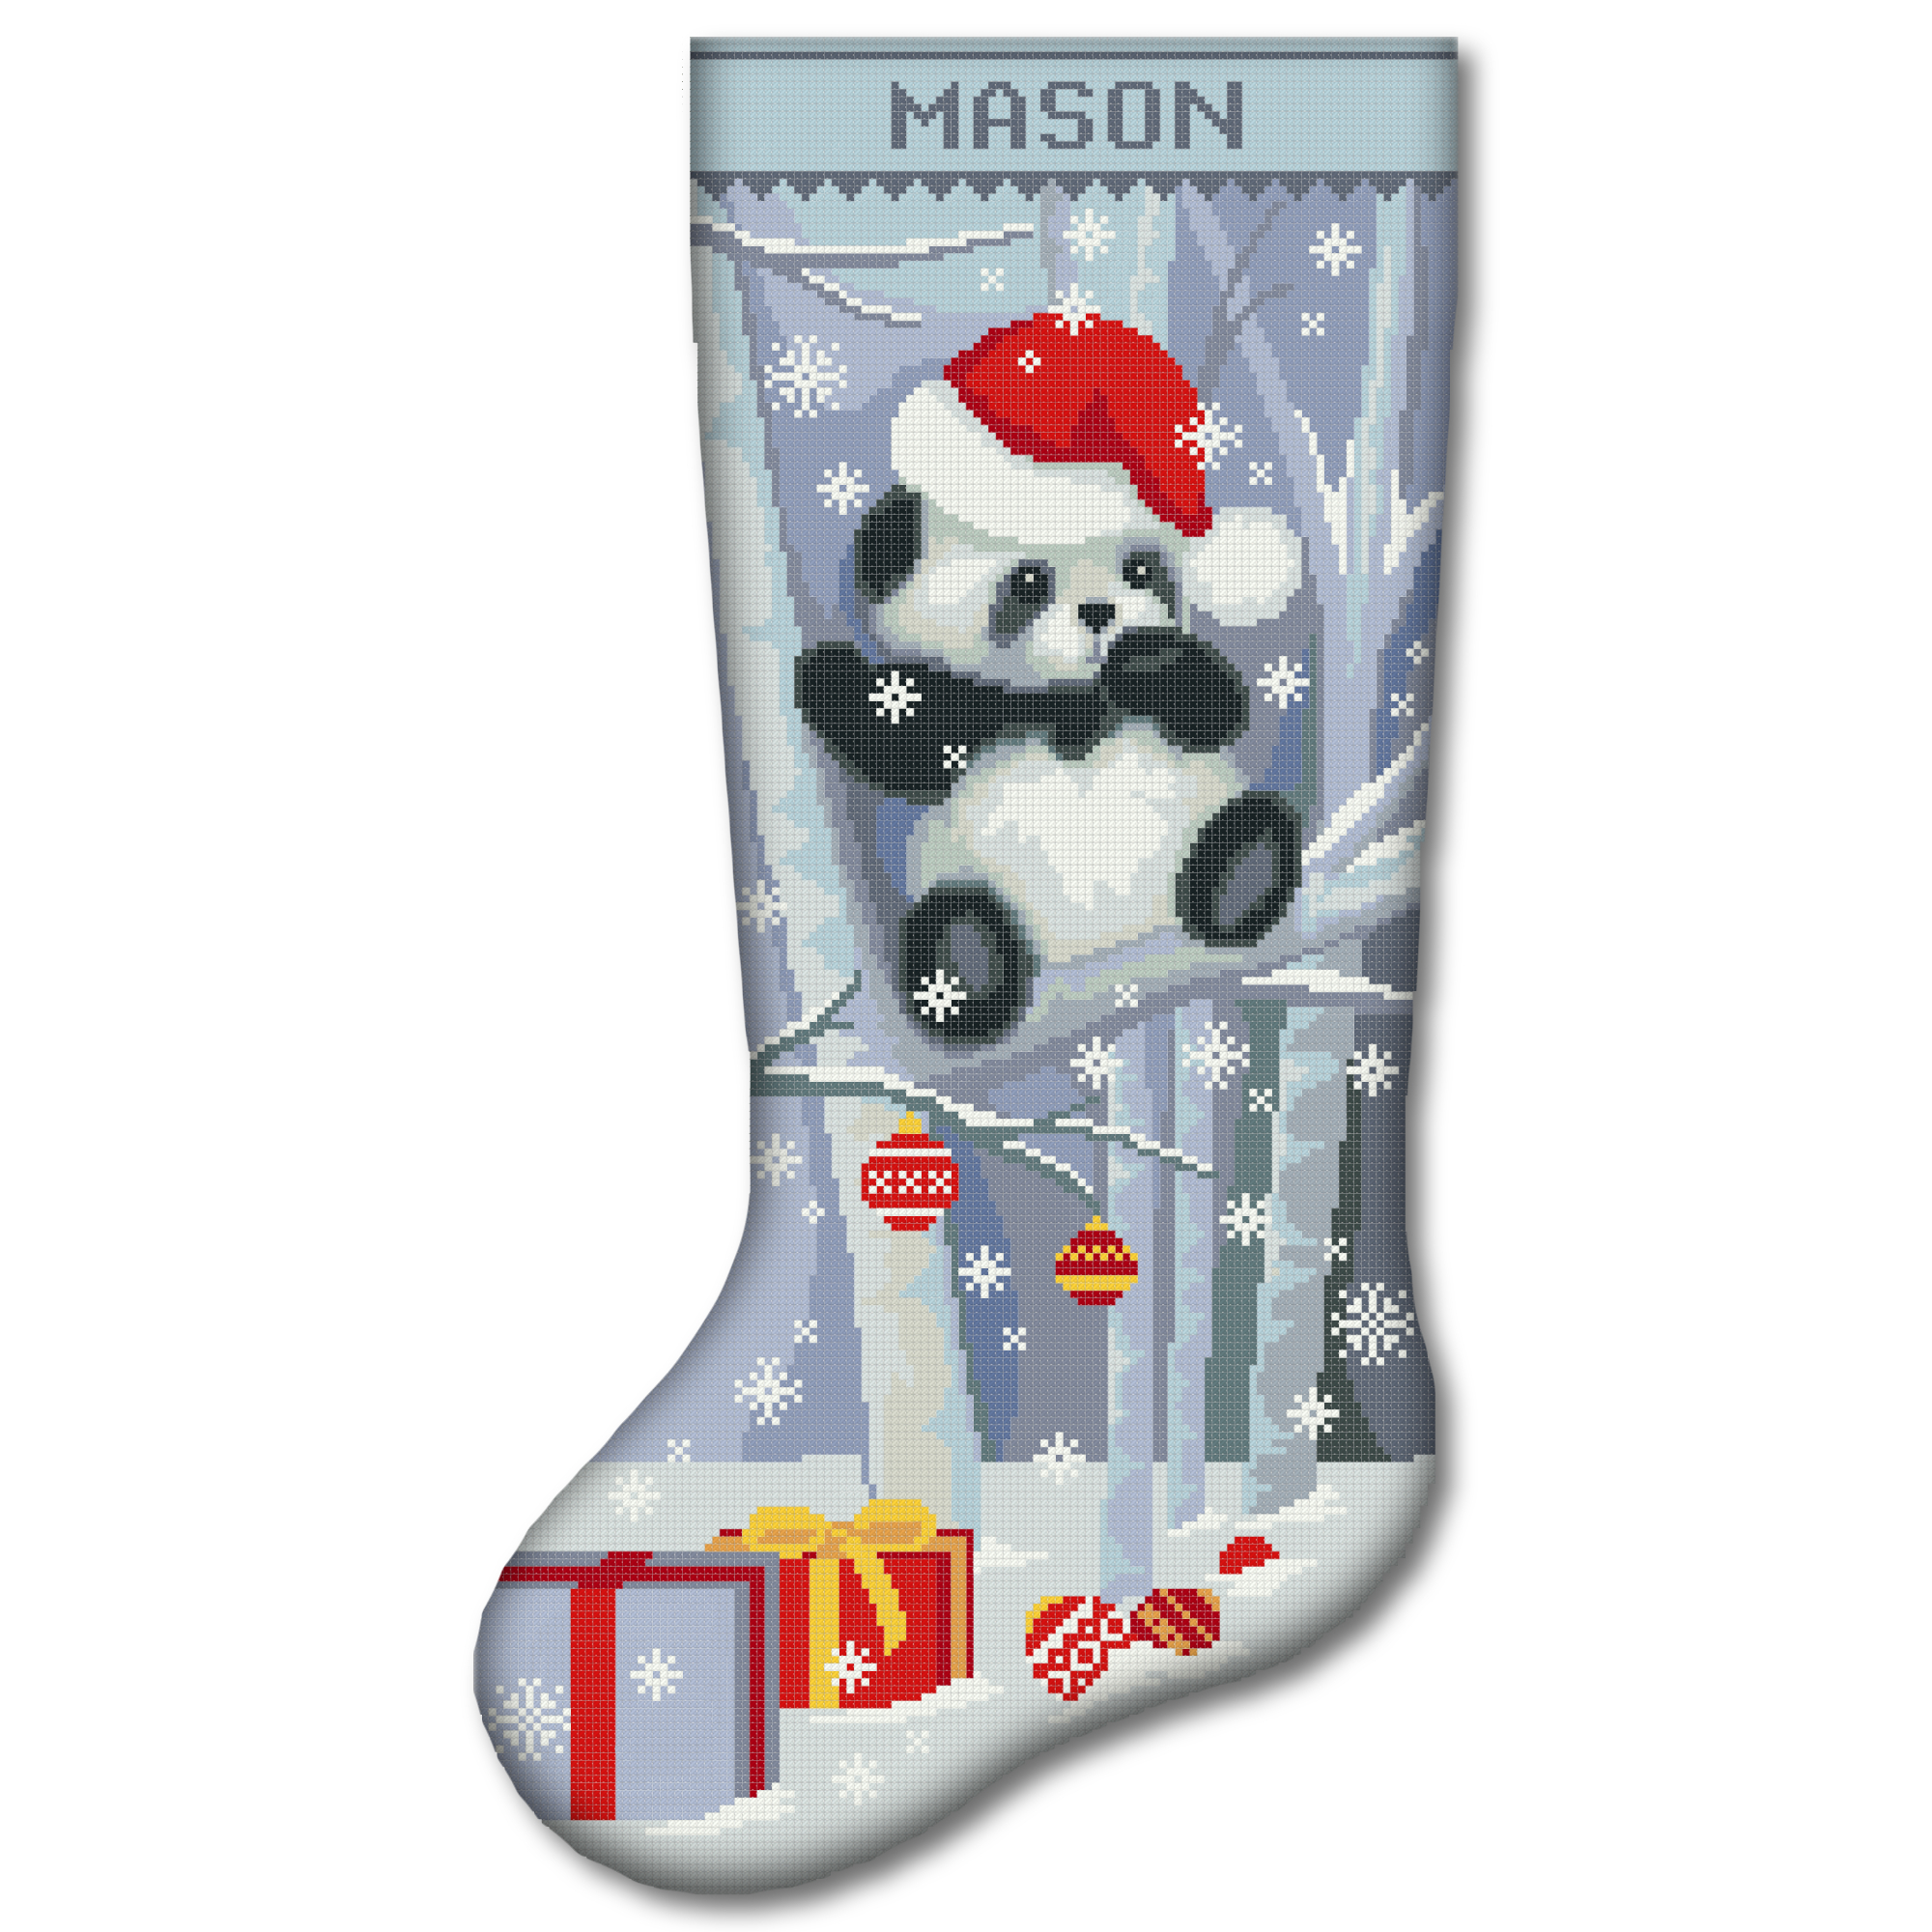
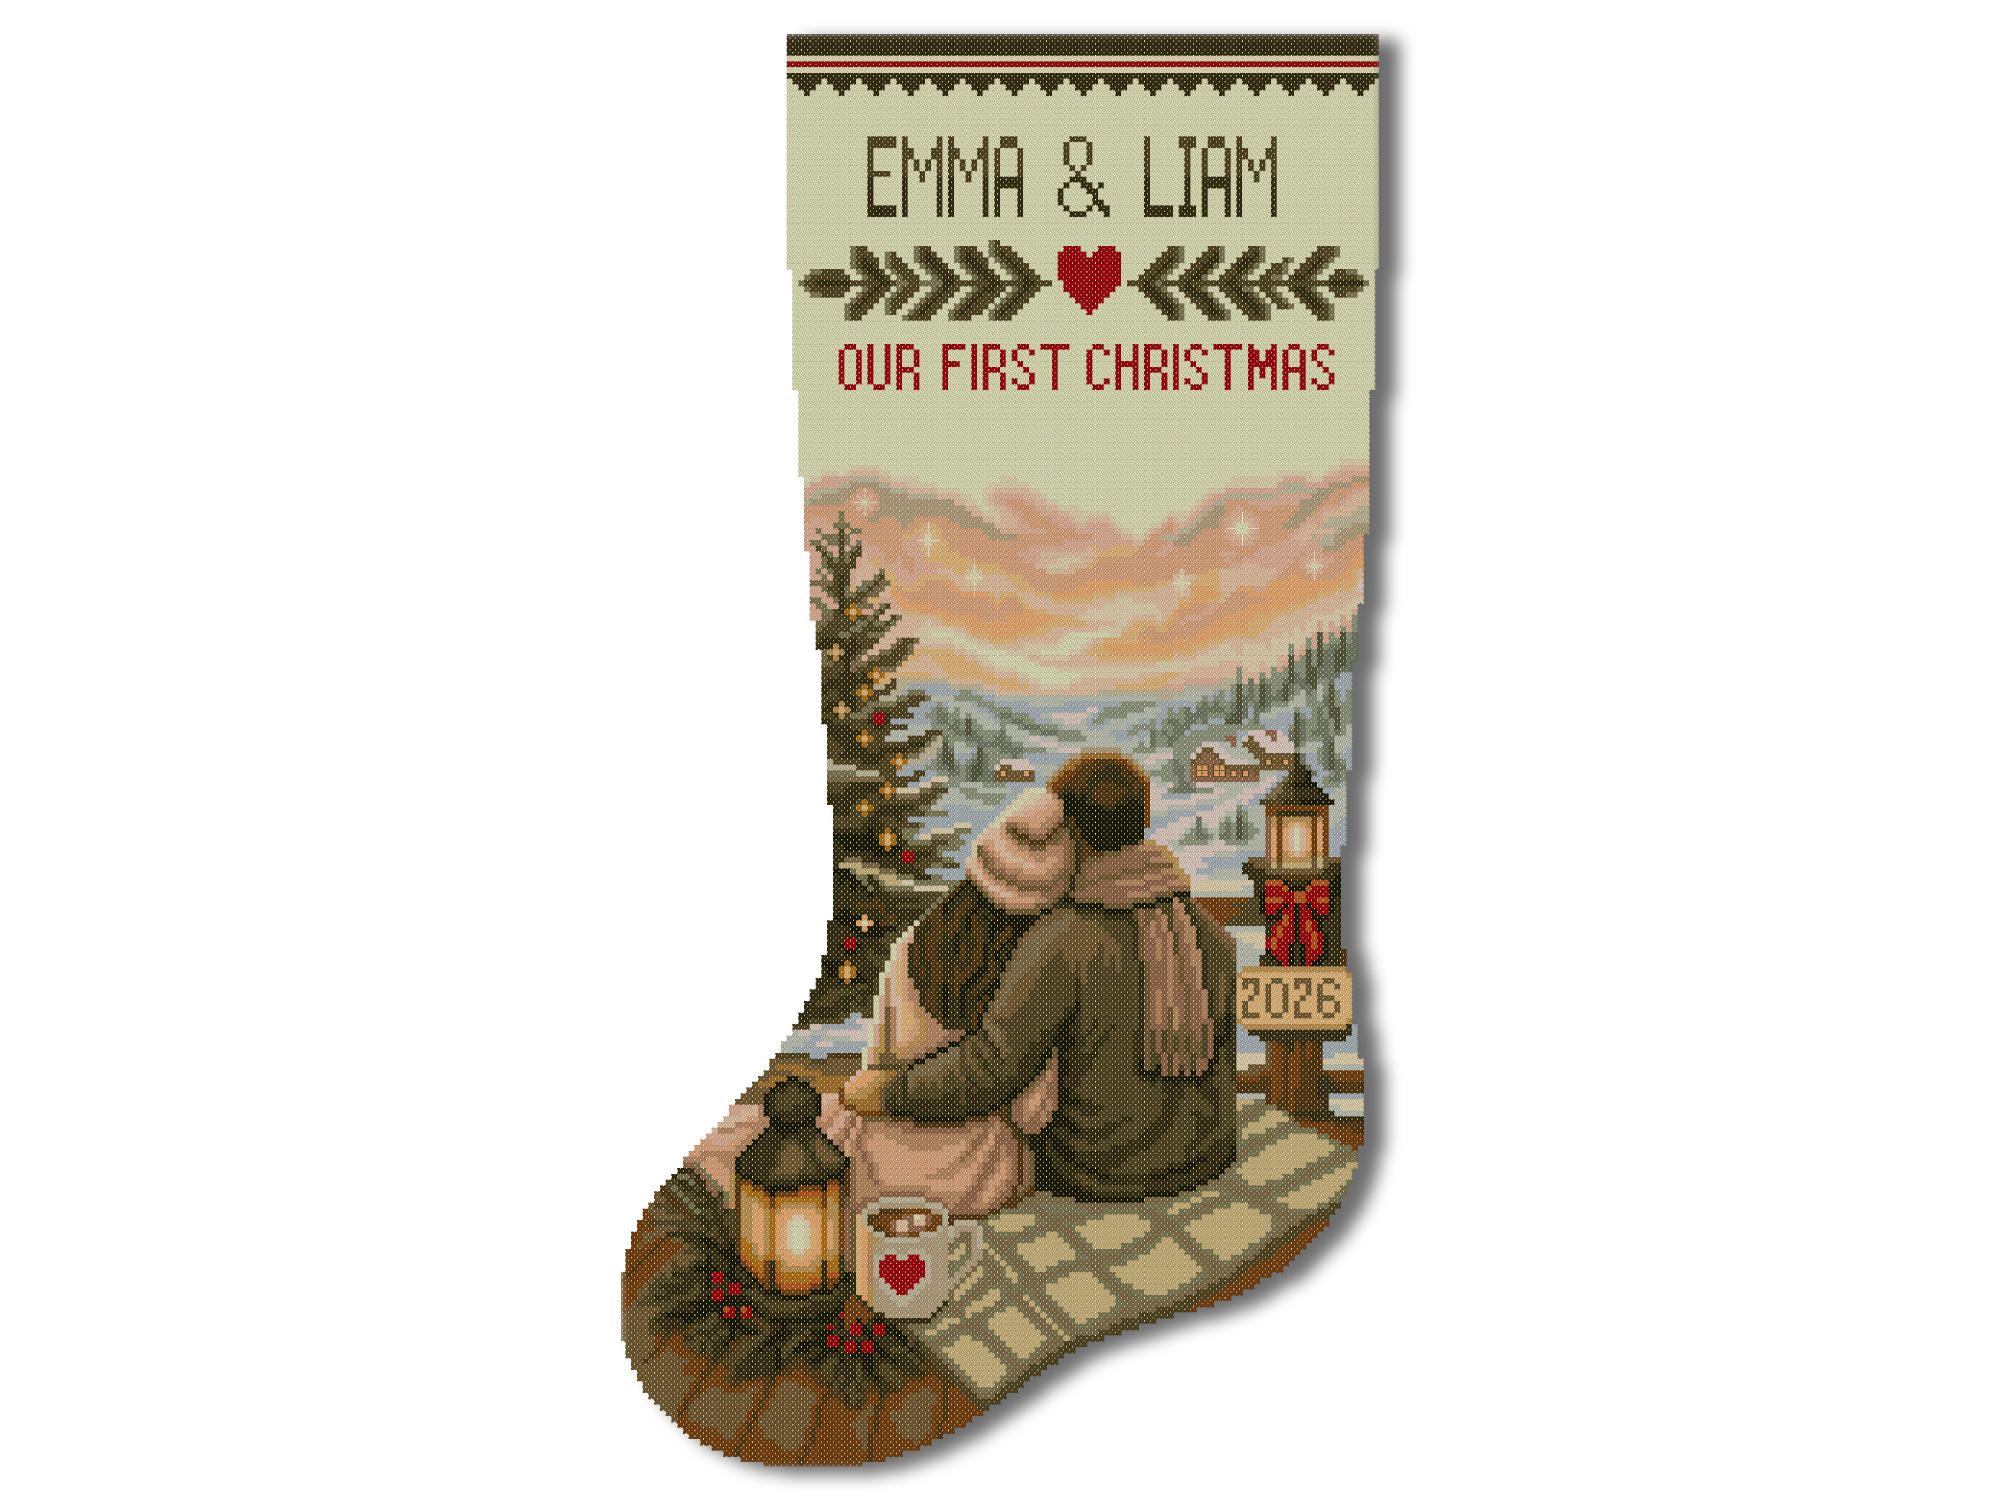
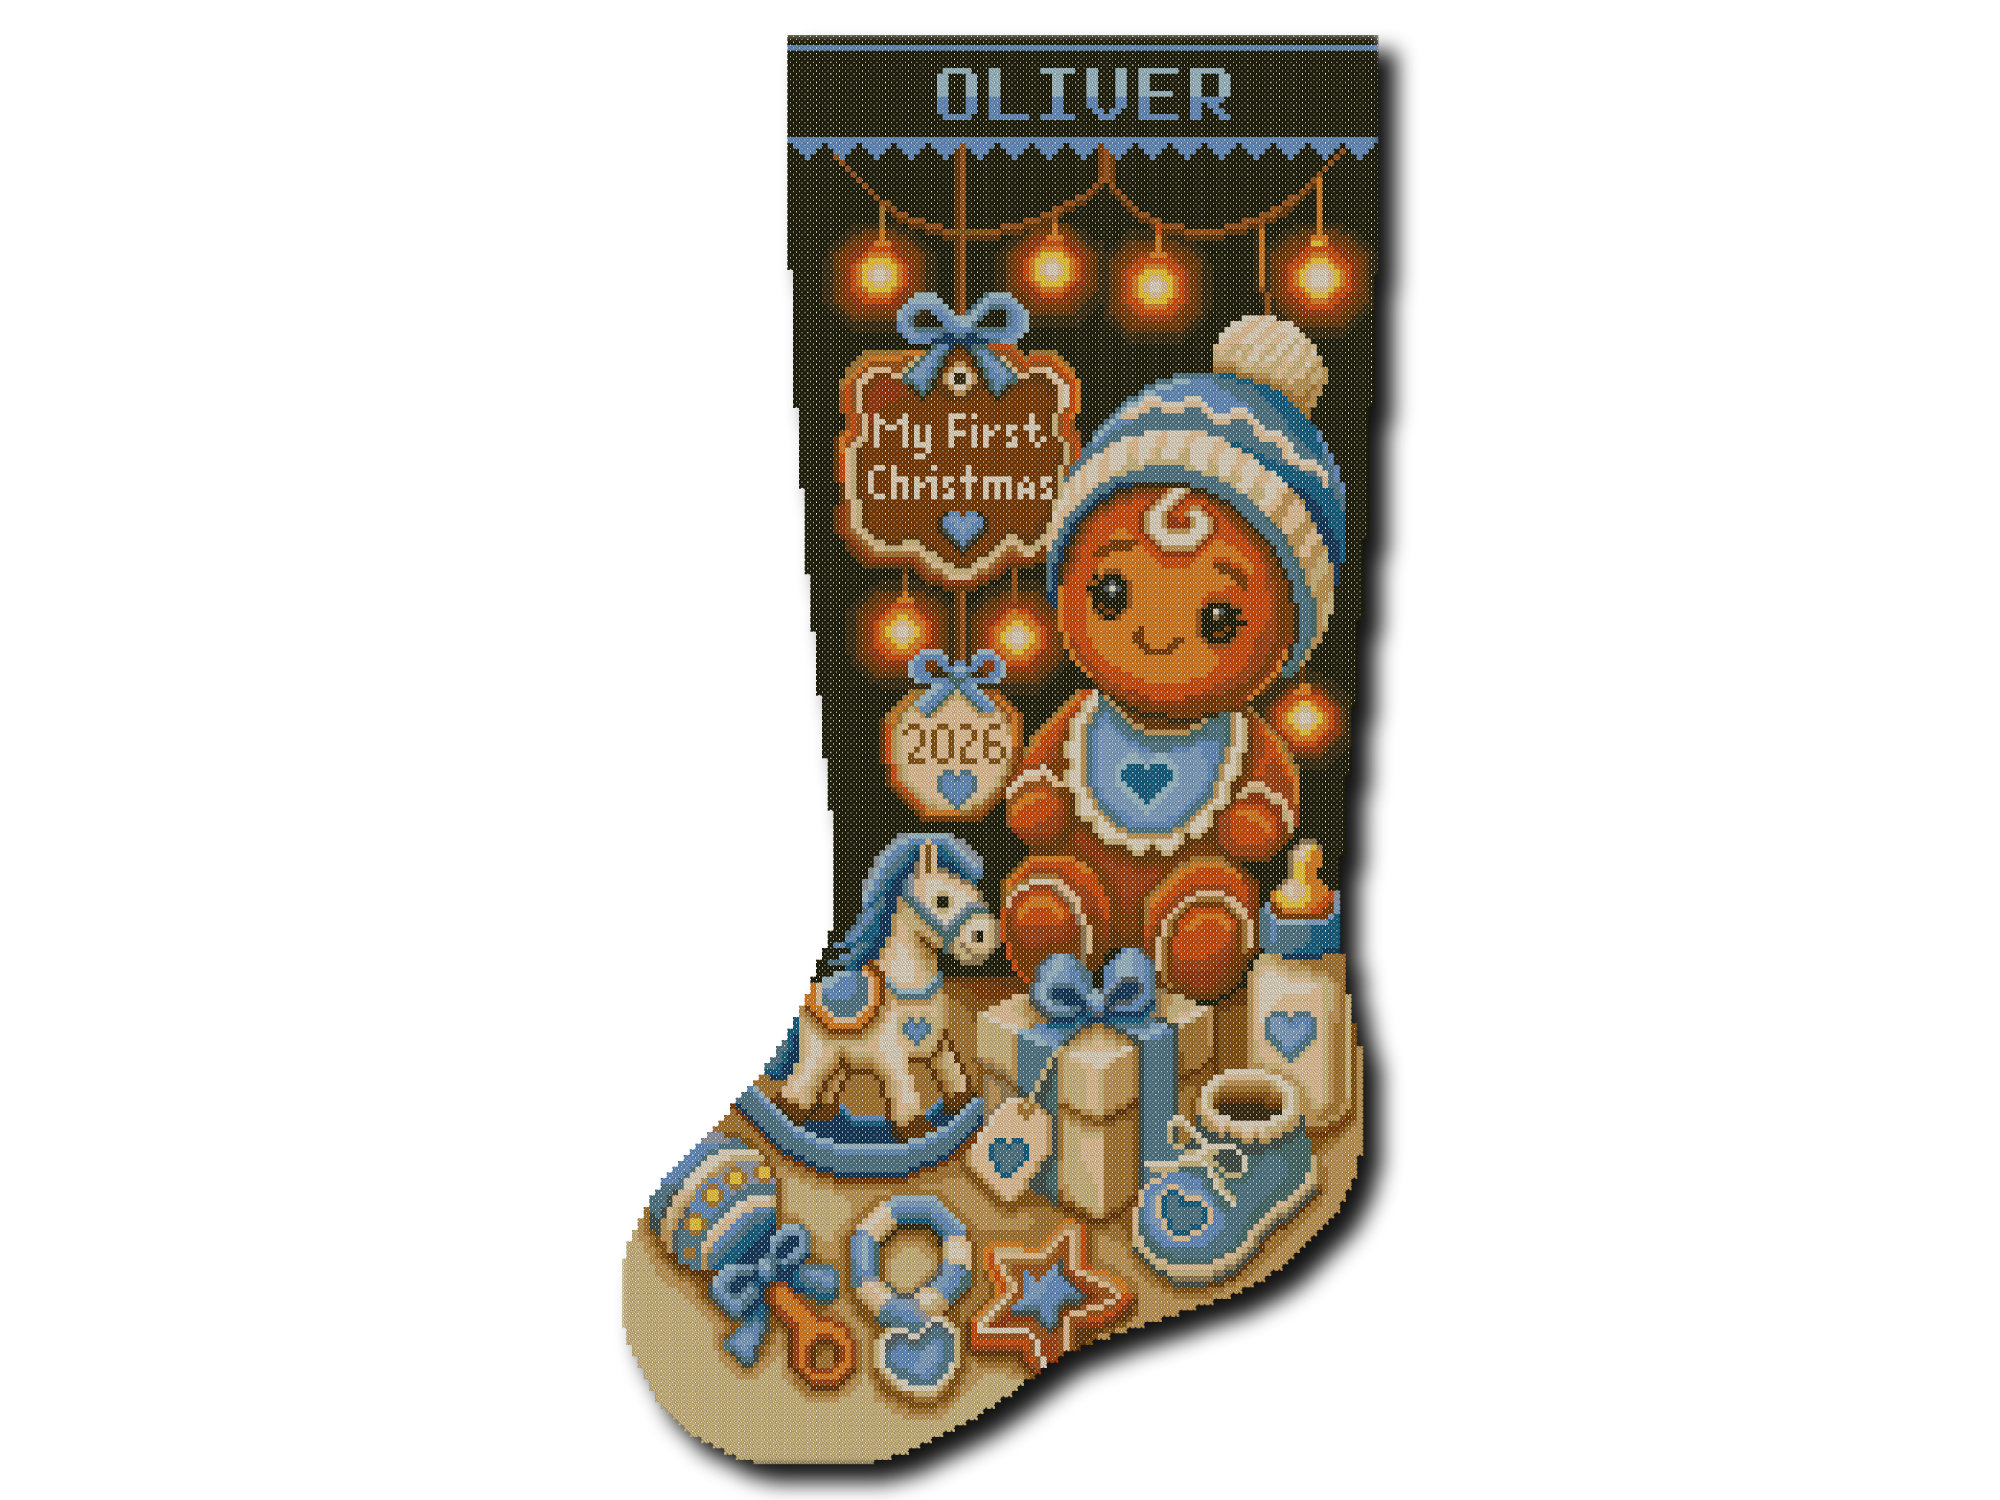
Backstitch is one of the simplest stitches to learn, but it can completely change the appearance of a cross stitch design.
Cross stitches create the main colors and shapes. Backstitch adds the final lines: facial features, lettering, branches, clothing details, small decorations and clear outlines.
You can think of backstitch as drawing with embroidery floss.
In this beginner-friendly guide, you will learn how to backstitch in cross stitch, how to recognize it on a pattern, how many strands to use, how to stitch straight lines and curves, and how to correct the most common mistakes.
Quick answer: Complete the surrounding cross stitches first. Bring the needle to the front where the line begins, make the first straight stitch, then bring the needle up one line segment ahead and take it backward into the endpoint of the previous stitch. Continue until the charted line is complete.
What Is Backstitch in Cross Stitch?
Backstitch is a straight embroidery stitch that creates a continuous line.
Each new stitch is worked backward toward the previous stitch. That backward movement gives the technique its name.
In cross stitch, backstitch is commonly used to:
- outline people, animals and objects;
- add eyes, mouths and facial expressions;
- define fingers, paws or small features;
- create branches, strings and decorative lines;
- add lettering and numbers;
- separate areas with similar colors;
- make details easier to recognize;
- give the finished design a cleaner appearance.
Backstitch is normally worked over completed cross stitches. It lies on the surface of the embroidery and creates a clear line without covering the entire square.
Is Backstitch Difficult?
No. The basic movement is easy to learn.
The most important skills are:
- following the correct line on the chart;
- using the recommended thread color;
- keeping the tension gentle;
- placing every endpoint accurately;
- avoiding stitches that are unnecessarily long.
Backstitch may look complicated when many lines appear on a chart, but you only need to follow one small segment at a time.
What Does Backstitch Look Like on a Cross Stitch Chart?
Full cross stitches are usually shown as symbols inside chart squares.
Backstitch is different. It is generally shown as a solid or dotted line that travels:
- along the edge of a square;
- from one corner to another;
- across several squares;
- through part of a square;
- around an object or area of completed stitching.
The pattern key should tell you:
- which line represents backstitch;
- the required floss color;
- how many strands to use;
- whether different line styles use different colors;
- whether any special placement is required.
A black-and-white chart may use several line styles, such as solid, dashed or dotted lines. Do not assume that every dark line uses black floss. Always check the pattern key.
If you are still learning chart symbols, read How to Read a Cross Stitch Pattern before beginning.
Should You Backstitch Before or After Cross Stitch?
Backstitch is normally added after the surrounding full cross stitches are finished.
There are several reasons:
- cross stitches may cover backstitch added too early;
- the outline is easier to position over completed color areas;
- you can see which details need definition;
- the finished line remains clean and visible;
- it is easier to correct a missed cross stitch before outlining.
You do not always need to finish the entire project before adding any backstitch. On a large design, you may complete the cross stitches in one section and then add its backstitch before moving the hoop or frame.
However, every cross stitch underneath or immediately beside that line should normally be finished first.
If the pattern includes beads, charms or French knots, these are generally added after the main cross stitching and backstitch. Follow the instructions included with your specific pattern.
How Many Strands Should You Use for Backstitch?
One strand of embroidery floss is commonly used for fine backstitch outlines.
Two strands create a darker and heavier line.
The correct number depends on:
- the pattern instructions;
- fabric count;
- desired line thickness;
- thread color;
- the type of detail being outlined.
Never assume that every backstitch line uses one strand. Check the pattern key first.
A design may use:
- one strand for faces and fine details;
- two strands for stronger outlines;
- different colors and strand counts in different areas.
Embroidery floss normally contains six separate strands. If the pattern calls for one strand, separate one strand from the bundle rather than stitching with the complete six-strand length.
Read our complete guide on how many strands of floss to use for cross stitch if you need help separating and preparing embroidery floss.
What Materials Do You Need?
You only need a few basic materials:
- your cross stitch project;
- the pattern and backstitch key;
- the specified embroidery floss;
- a tapestry or embroidery needle;
- embroidery scissors;
- a hoop, Q-snap or frame if preferred;
- a highlighter or digital marking tool for tracking finished lines.
Use the needle recommended by your pattern or kit. It should pass through the fabric without forcing the holes open or damaging completed stitches.
A comfortable thread length is approximately 18–24 inches or 45–60 cm. Very long floss can twist, knot and become worn as it repeatedly passes through the fabric.
How to Start Backstitch Without a Knot
Large knots can create bumps behind the embroidery and make a finished Christmas stocking more difficult to press and sew.
If completed stitches are already nearby:
- Turn the project to the back.
- Pass the thread under three or four completed stitches.
- Leave a short tail.
- Turn the project to the front.
- Begin the backstitch.
Make sure the secured thread does not show through a light or unstitched area.
If there are no nearby stitches, follow the starting method recommended by the pattern. A temporary waste knot may be used and removed after the thread has been secured, but most cross stitch backstitch can be anchored beneath existing stitches.
How to Backstitch in Cross Stitch Step by Step
Imagine that you are working from left to right along a straight charted line.
Step 1: Finish the Cross Stitches
Complete all cross stitches underneath and immediately around the backstitch line.
Check the chart for missed stitches before beginning the outline.
Step 2: Prepare the Floss
Choose the exact color and number of strands listed in the key.
Thread the needle and secure the tail on the back of the work.
Step 3: Bring the Needle to the Front
Bring the needle up at the point where the backstitch line begins.
We will call this point A.
Step 4: Make the First Stitch
Take the needle down at the next charted endpoint.
We will call this point B.
The straight thread between A and B is your first backstitch segment.
Step 5: Move One Segment Ahead
On the back of the fabric, move forward to the next endpoint.
Bring the needle to the front at point C, one segment ahead of point B.
Step 6: Stitch Backward
Take the needle backward and down through point B, where the first stitch ended.
The two front stitches now meet without leaving a gap.
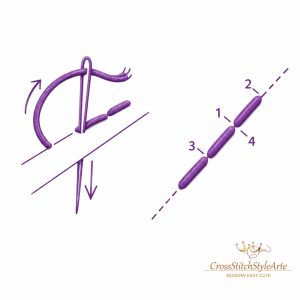
Step 7: Continue the Line
Bring the needle up at the next endpoint, point D, and take it backward into point C.
Continue using the same movement:
- come up one segment ahead;
- go backward into the previous endpoint;
- repeat until the charted line is complete.
Step 8: End the Thread Securely
Turn the project to the back.
Pass the needle beneath three or four nearby completed stitches. Do not pull so hard that the front line changes shape.
Trim the remaining thread close to the secured area.
How Long Should Each Backstitch Be?
Follow the individual line segments shown on the chart.
For a regular straight line, the pattern may show stitches of equal length. In other areas, one line may span several fabric squares or change direction at specific points.
Do not automatically make every backstitch one square long if the chart shows different endpoints.
As a general rule:
- use shorter segments for curves and small details;
- use the charted endpoints for corners;
- avoid extremely long loose stitches;
- do not divide a line differently unless necessary.
Long stitches can sag, catch on other objects and lose their shape. Shorter connected stitches usually create more control around curves and detailed outlines.
How to Backstitch Straight Lines
For a clean horizontal or vertical line:
- Identify every endpoint on the chart.
- Use the same fabric holes where neighboring segments meet.
- Keep the line resting flat on the surface.
- Maintain gentle, even tension.
- Check the direction after every few stitches.
When two stitches meet correctly in the same hole, the front should look like one continuous line.
Do not leave tiny gaps between segments. Do not overlap the ends unless the pattern specifically requires it.
How to Backstitch Diagonal Lines
A diagonal backstitch normally travels from one corner of a fabric square to another charted point.
Follow the line exactly rather than moving horizontally and then vertically.
For a simple diagonal:
- bring the needle up at the first corner;
- take it down at the next charted corner;
- bring the needle up one segment ahead;
- stitch backward into the previous endpoint.
Some designs use diagonal lines that cross more than one fabric square. Follow the complete charted segment, but divide a very long line if it becomes loose or easily caught.
How to Backstitch Curves
Cross stitch fabric is built on a square grid, so a curve is created from several short straight lines.
For a smoother curve:
- follow every change of direction shown on the chart;
- use shorter stitches around tight curves;
- allow each segment to meet in the same endpoint;
- do not pull the line around a corner;
- check the shape frequently from the front.
Some curved lines may end between the main holes of Aida fabric. If the pattern clearly requires this placement, carefully pierce the fabric at the indicated point.
Do not pierce the center of an Aida block unless the chart requires it. Avoid forcing a blunt needle through the fabric or enlarging the hole unnecessarily.
Evenweave can make unusual backstitch placement easier because its fabric threads provide more possible endpoints.
How to Turn a Corner
Finish the first line exactly at the charted corner.
Bring the needle up at the next endpoint and stitch backward into that same corner.
Do not pull one long stitch around the turn. Thread cannot bend into a clean corner without a separate endpoint.
Using the same corner hole for both lines creates a sharp, connected result.
How Tight Should Backstitch Be?
Backstitch should lie flat against the embroidery without pulling the fabric.
Correct tension means:
- the line touches the surface;
- it does not form a loose loop;
- it does not disappear between cross stitches;
- the Aida holes remain their normal shape;
- the fabric stays flat.
If you pull too tightly, the fabric may pucker and the cross stitches underneath may become distorted.
If the thread is too loose, the outline may sag or catch.
Pull only until the line rests neatly on the surface.
How to Keep Backstitch Neat on the Back
The back does not need to look perfect, but it should remain reasonably flat.
To reduce unnecessary bulk:
- avoid knots;
- secure thread tails under nearby stitches;
- do not carry floss across large empty areas;
- end the thread and restart when moving far away;
- avoid repeatedly stitching through the same crowded hole;
- trim loose tails before final finishing.
A neat back is especially helpful when the embroidery will be made into a Christmas stocking, pillow, ornament or other sewn item.
Can You Carry Backstitch Thread Across the Back?
You may carry the thread across a very short distance if:
- the area is fully stitched;
- the thread will not show through;
- the carried floss will not create bulk;
- the new section is close to the previous one.
For a longer distance, secure the thread and restart at the new location.
Long jumps waste floss and can show through light fabric. They may also catch during washing or finishing.
Backstitch on Counted Cross Stitch
In counted cross stitch, the fabric is blank and the line is followed directly from the chart.
For accurate placement:
- Complete the surrounding cross stitches.
- Find the same section on the backstitch chart.
- Identify the exact starting and ending points.
- Count carefully from a recognizable nearby feature.
- Mark completed line segments as you work.
If the chart is divided across several printed pages, check the overlap area before continuing a line onto the next page.
The complete Christmas stocking cross stitch guide explains how to prepare and organize a large counted project.
Backstitch on Stamped Cross Stitch
With stamped cross stitch, the main symbols are printed directly on the fabric.
Complete:
- all full cross stitches;
- all required backstitch;
- the personalized name;
- any other details shown in the instructions;
before removing the water-soluble printed design.
Once the stamped markings have been washed away, they cannot be restored. Washing too early may remove the guide you still need for unfinished backstitch.
Follow the instructions included with your kit and read How to Use a Stamped Cross Stitch Kit before washing the fabric.
Common Backstitch Mistakes and How to Fix Them
Adding Backstitch Too Early
Problem: Later cross stitches cover or distort the outline.
Solution: Finish the surrounding cross stitches first.
Using the Wrong Number of Strands
Problem: The line looks too thick or too weak.
Solution: Check the pattern key instead of assuming that every outline uses one strand.
Pulling Too Tightly
Problem: The fabric puckers and the line cuts into the cross stitches.
Solution: Relax the tension and allow the thread to rest on the surface.
Leaving the Thread Too Loose
Problem: The line sags or catches.
Solution: Pull gently until it lies flat, but stop before the fabric moves.
Making Every Segment One Square Long
Problem: The stitched line does not match the chart.
Solution: Follow the actual endpoints of every charted segment.
Using Stitches That Are Too Long
Problem: The line becomes loose and can snag.
Solution: Divide long lines into shorter connected segments when necessary, especially around curves.
Missing a Shared Endpoint
Problem: Small gaps appear between stitches.
Solution: Make adjacent segments meet in the same fabric hole or charted point.
Piercing Completed Cross Stitches
Problem: The backstitch splits or damages the floss underneath.
Solution: Guide the needle through the correct fabric hole without forcing it through the completed thread.
Using Black for Every Outline
Problem: The design looks harsher than intended.
Solution: Check the key. Many patterns use dark brown, gray, blue, green or another coordinated shade instead of black.
Washing a Stamped Pattern Too Soon
Problem: The backstitch guide disappears before the project is finished.
Solution: Complete every stitch and check the project carefully before washing.
Carrying Thread Too Far
Problem: Long thread jumps show through or create bulk on the back.
Solution: Secure the floss and restart near the next section.
How to Remove Incorrect Backstitch
Backstitch can usually be removed without undoing the cross stitches underneath.
Work slowly:
- Identify the beginning or end of the incorrect section.
- Turn the project to the back.
- Cut only the backstitch thread.
- Use the needle or small tweezers to lift each segment.
- Avoid pulling against the completed cross stitches.
- Remove loose fibers from the front.
- Check that the fabric and nearby stitches are undamaged.
- Restitch the line using the correct chart points.
Do not use a seam ripper directly against the front of the embroidery. It can cut the cross stitches or Aida fabric.
Does Every Cross Stitch Pattern Need Backstitch?
No.
Some patterns use only full cross stitches. Others rely heavily on backstitch for faces, lettering and small details.
A pattern without backstitch may have a softer or more pixel-style appearance. A pattern with backstitch often looks more defined and illustrated.
Neither method is automatically better. The correct choice depends on the intended design.
Always check the product description and stitch key before purchasing if you prefer patterns with or without backstitch.
Explore our collection of digital Christmas stocking cross stitch patterns to compare different styles.
Practice Backstitch With a Complete Christmas Stocking Kit
A prepared kit can make learning easier because the fabric, floss, chart and instructions are selected for the same design.
CrossStitchStyleArte 2-in-1 Christmas stocking kits include:
- pre-printed 14-count Aida for stamped stitching;
- blank 14-count Aida for counted stitching;
- organized embroidery floss;
- printed charts;
- two needles;
- backing fabric;
- personalization alphabet;
- step-by-step instructions.
You can choose the stamped fabric for a more guided experience or use blank Aida and follow the counted chart.
Explore:
- Polar Bear 2-in-1 Christmas Stocking Kit;
- Funny Gingerbread Man 2-in-1 Stocking Kit;
- Reindeer 2-in-1 Christmas Stocking Kit;
- Penguin 2-in-1 Christmas Stocking Kit.
You can also browse all Christmas stocking cross stitch kits.
Plan Extra Time for Backstitch
Backstitch is normally faster than filling a large area with full cross stitches, but a detailed design can still contain many separate lines.
Allow time for:
- changing outline colors;
- checking line endpoints;
- working around small details;
- correcting missed sections;
- securing short thread lengths;
- inspecting the finished design.
The free Cross Stitch Time Calculator and Planner allows you to include additional time for backstitch and finishing.
Helpful Cross Stitch Guides
Continue learning with these beginner-friendly resources:
- How to Cross Stitch a Christmas Stocking;
- How to Read a Cross Stitch Pattern;
- How Many Strands of Floss Should I Use?;
- How to Make Neat and Consistent Cross Stitches;
- How to Finish a Cross Stitch Christmas Stocking;
- Christmas Stocking Cross Stitch Guides.
Backstitch FAQ
Is backstitch the same as cross stitch?
No. A cross stitch creates an X that fills a fabric square. Backstitch creates a straight line used for outlines, lettering and details.
Do you backstitch before or after cross stitch?
Complete the surrounding cross stitches first, then add the backstitch. This keeps the outline visible and correctly positioned.
How many strands should I use for backstitch?
One strand is common for fine details, while two strands create a stronger line. Always follow the pattern key.
Can I use the same needle for cross stitch and backstitch?
Usually, yes. Use the needle recommended by the pattern or kit. If a backstitch endpoint must pierce the center of an Aida block, a sharper needle may be helpful, but use it carefully.
Should every backstitch be one square long?
No. Follow the line segments shown on the chart. Some stitches may cross one square, several squares or part of a square.
Why does my backstitch look crooked?
Check that every stitch begins and ends at the correct charted point. Use shorter segments for curves and keep the tension consistent.
Why is my fabric puckering?
The backstitch is probably being pulled too tightly. The line should lie flat without changing the shape of the fabric.
Can I backstitch over completed cross stitches?
Yes. Backstitch is normally worked over or beside completed cross stitches to define the design.
Can I use a different backstitch color?
You can substitute a color, but the result may look different from the designer’s intention. Check the original key first. A dark coordinated shade can create a softer outline than black.
Do I need to backstitch a stamped cross stitch project before washing?
Yes, if the backstitch placement is printed or shown by the water-soluble guide. Complete all stitching and personalization before washing away the stamped pattern.
How do I finish the backstitch thread?
Pass the thread beneath three or four nearby completed stitches on the back, then trim the excess. Avoid large knots.
Can I skip backstitch?
You can, but any details created by those lines will be missing. Faces, lettering and object outlines may look unfinished or difficult to recognize.
Finish Your Design One Line at a Time
Backstitch may seem confusing when you look at the complete chart, but each line is made from a series of simple straight stitches.
Remember:
- Finish the surrounding cross stitches.
- Check the backstitch color and number of strands.
- Secure the thread without a bulky knot.
- Follow the charted endpoints.
- Come up one segment ahead and stitch backward.
- Keep the tension gentle.
- Use shorter segments for curves.
- Secure the thread neatly on the back.
Take your time and work on one small section at a time. As the outlines appear, the colors and shapes will become clearer, and the finished cross stitch design will gain the detail and character intended by the pattern.